Triumph TR4A Dashboard
Here you will see the refurb and restoration of the dashboard. Complete strip down, heater vent tunnels removed and cleaned up, The gauges and lights will also be restored not forgetting the crash pads and trim.
Dashboard


Dash Top
The new dash top is a very different material to the original and it stands out against the crash pads and centre switch plinth. SO the plan is to try and find a vinyl that matches the dash top and retire the 2 side crash pads and the centre switch plinth. We chromed the air vent covers. Originally these were black but we thought a little bling would not harm on the top of a very dull dash. The replacement dash holes are not in the right place so we expect some fettling to get the vent covers on.


Dash Crash Pads


Crash Pads and Switch Plinth
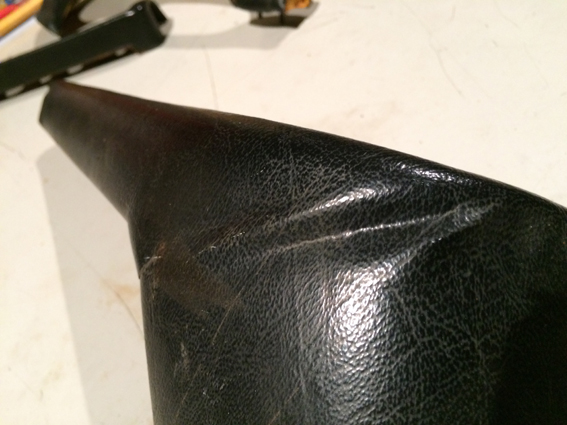
Here are the crash pads prior to the grad handle being recovered (An obsolete part) and the replacement right hand trim and centre switch plinth. We managed to find a dead match to the new vinyl crash pads for the recovering. The Grab handle foam had to be filled and sanded. The new parts are an OK fit. Not as tight as the original but pretty good all round. They give you quite a bit of over vinyl to glue to the sides but not quite enough to reach to the bottom. Most of it gets hidden anyway when installed so no drama.


|
|
Crash Pads InstalledHere you can see the new and retrimmed crash pads installed. Next stage is to see the walnut dash over the top to see how it all lines up.
This is a Right Hand Drive (RHD) dash. So the grab handle is on the left for the passenger. The foam used in the sixties gets brittle but in a way that helps for restoration as you can fill it to get the shape back. Our grab handle had to be filled and a vinyl match was need so that we could get the new right hand crash pad and switch plinth matched up. Both of those items are available new from the TR SHOP. Most people consider their stock to be the best and I believe their supplier is Bastuck in Germany. |


Dash Top


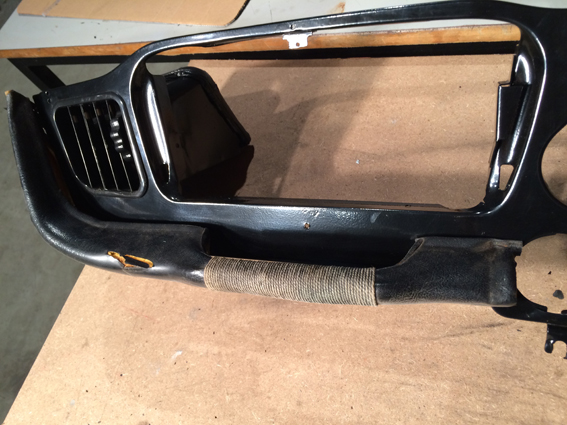
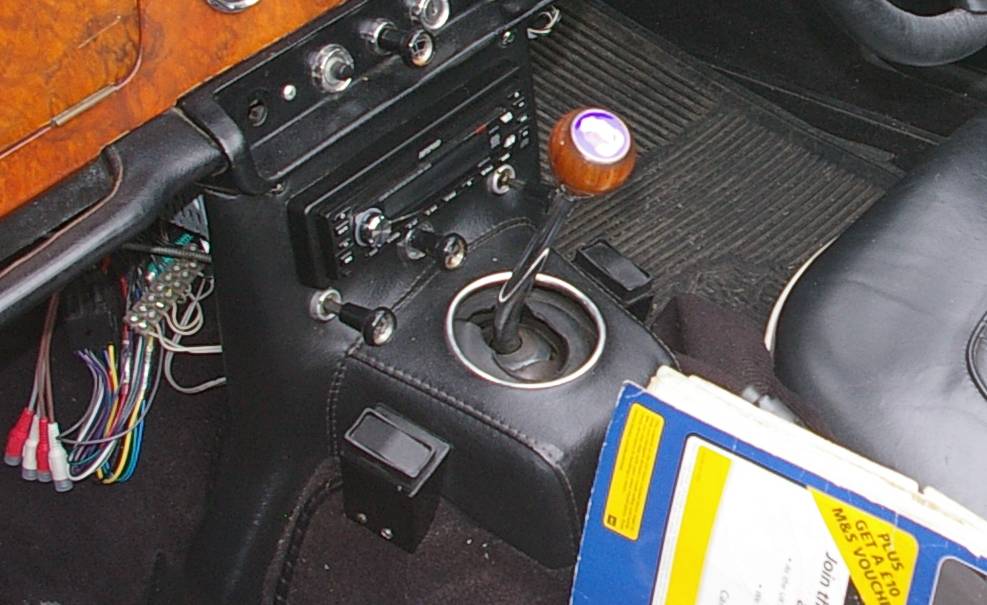
Centre console
Ours just had a painted finish but a lot of people have the trimmed. This is our plan to match the vinyl of the dash pad and crash pads.


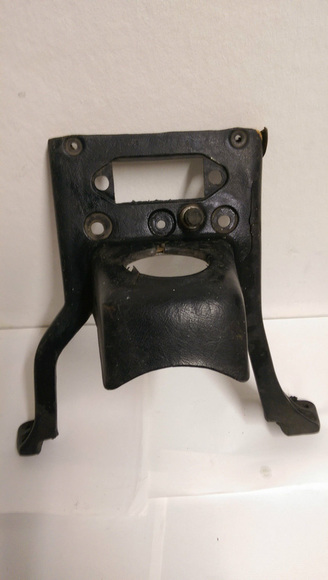
H Frame Centre references pics out of another TR4AAs from factory - Modern replacement trim kits don't allow for lip
|
Addition of a chrome bezel surroundThis is a non-standard custom piece.
|
The picture above and the two on the right belong to other TRs not mine. They are just for reference.
|
|
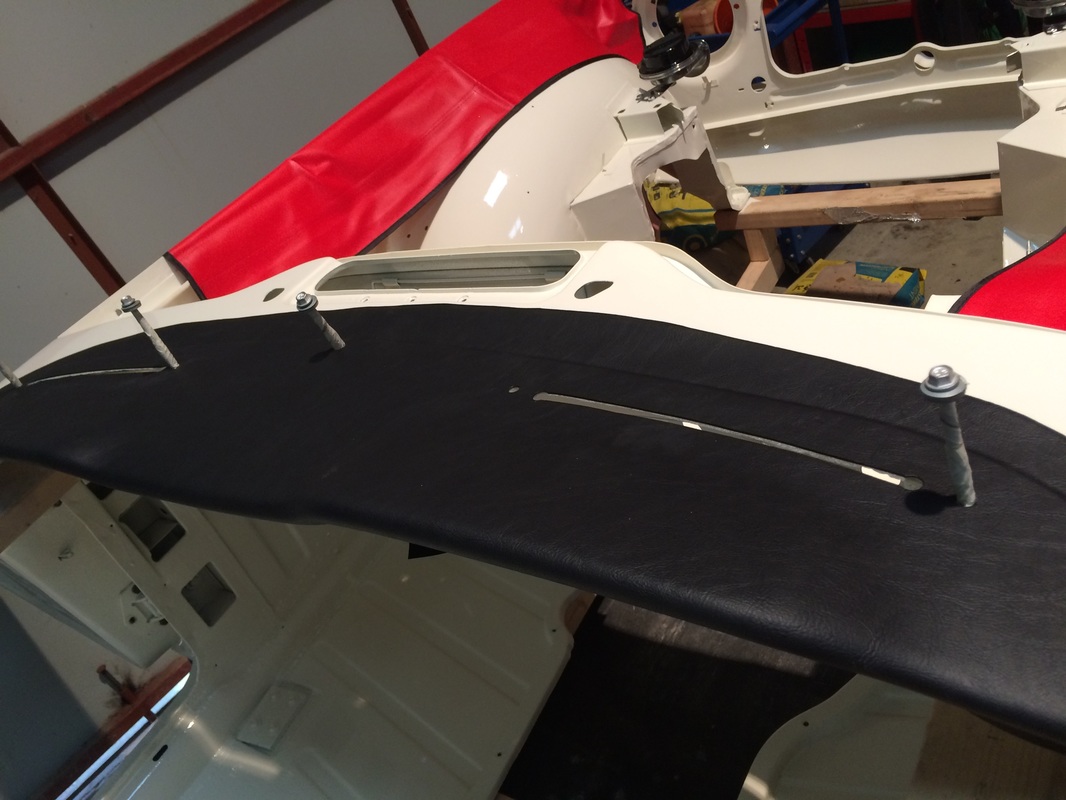
Fitting the foam top
We did use a little Evostick to keep it all in place. The aftermarket vinyl top had the holes drilled in the wrong place for the vent cover. Be warned. Check the fit first.


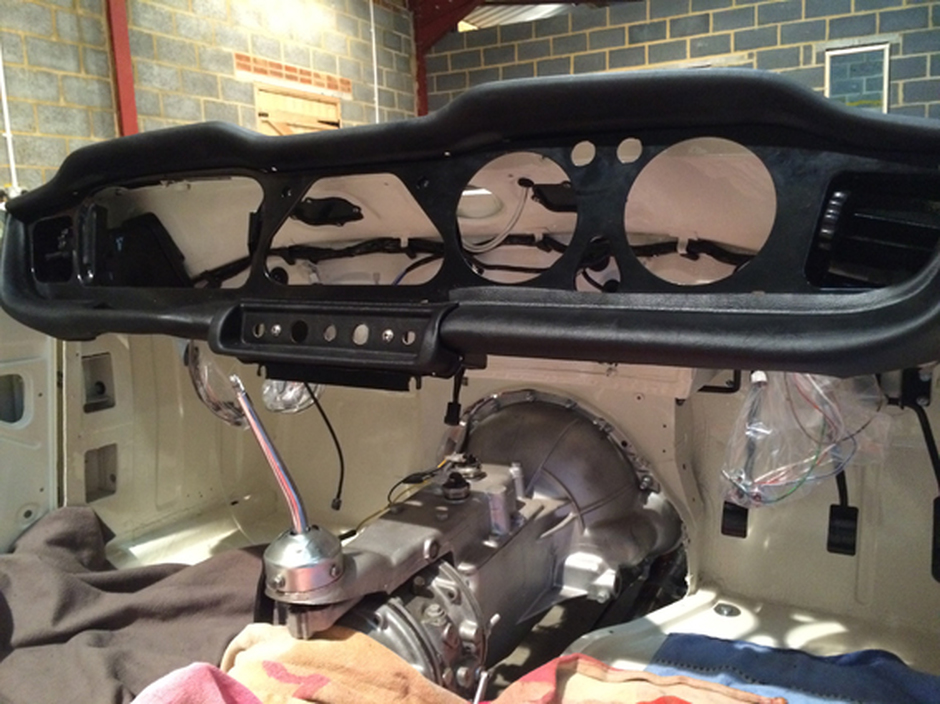


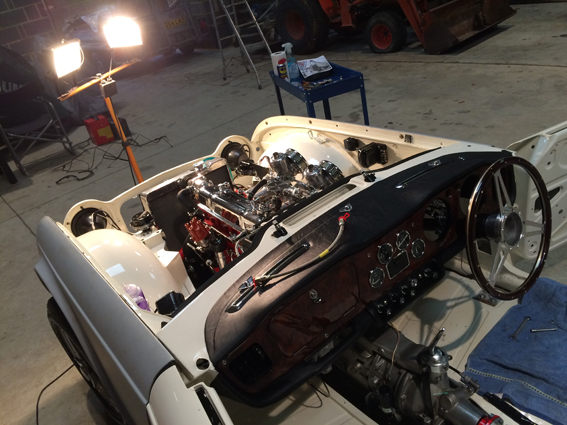


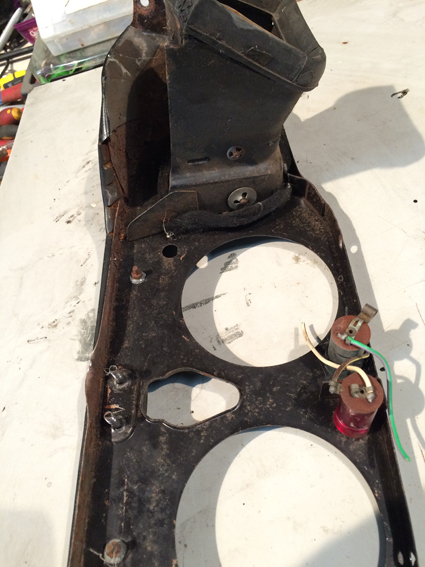
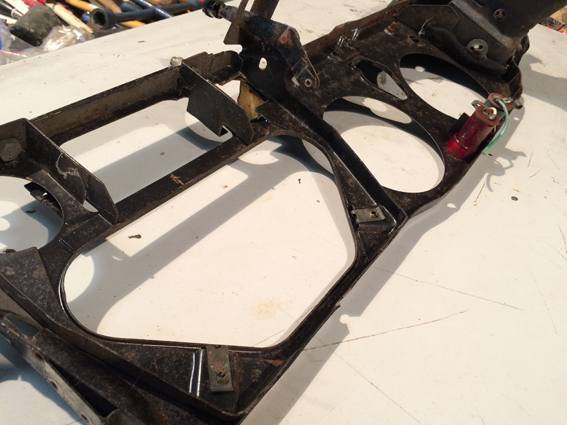
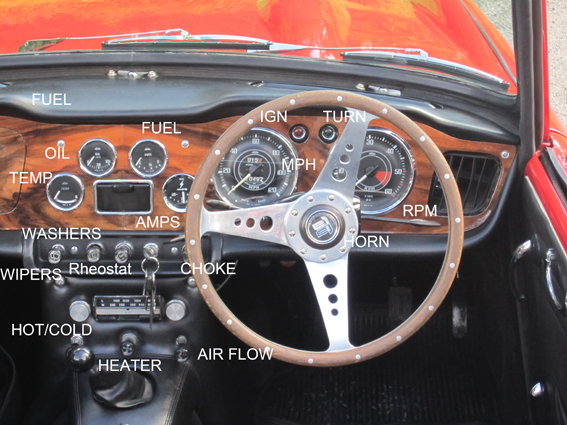
Before I stripped down the TR it has a walnut dash. We are sticking with it. The Speedo and RPM gauge did not really seat properly and this was due to the metal dash frame being out of line with the wood dashboard. Our solution was to bring the gauge holes in the metal dash frame so it matched the wooden one. I used a dermal and a drill with grinding tools. It took quite a while. Once complete I filed the apertures and painted them so they don't rust. A new set of rubber dial gaskets made all the difference and the gauges all not sit correct.


Stalks
Here you can see the Headlight Stalk (On the left sitting inside the car), the turn signal stalk on the right and the overdrive stalk on the right also.


|
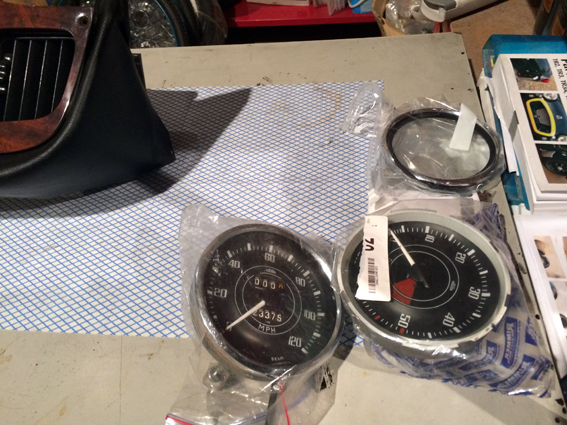
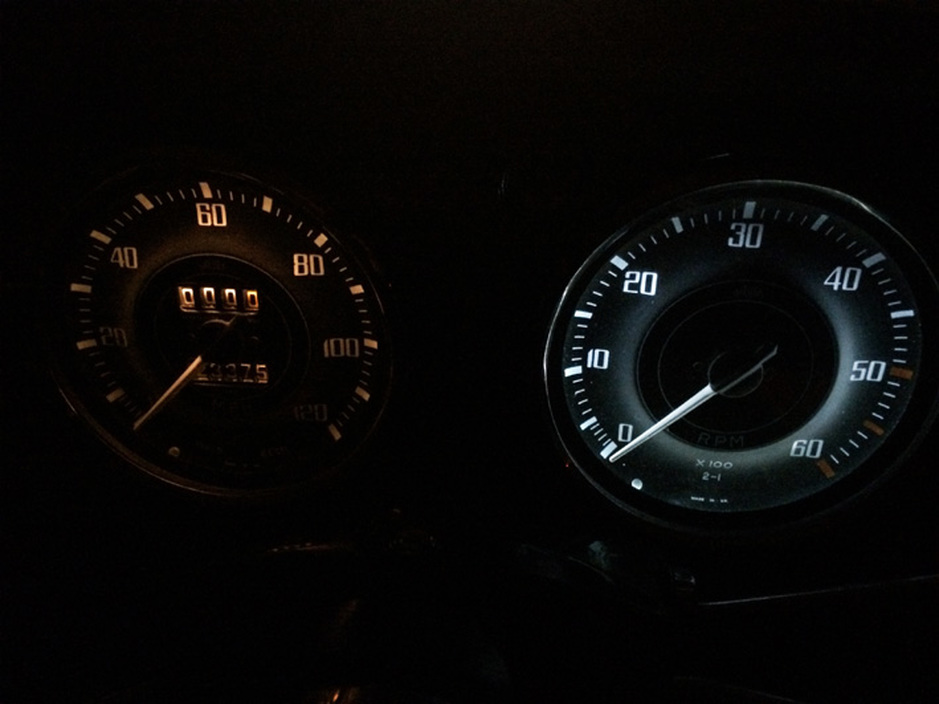
Triumph TR4A - Dash LightingWe have gone for LED conversions - Real easy to fit but a couple of helpful tips that we have learnt the hard way. Capless LED bulbs only work one way around. So if your light is not illuminating turn it around and reinsert it. You'll need Capless Bulbs if you are working with a new wiring loom as that is the fitting they use for the instrument lights. The RPM Guage and MPH Guage both take traditional screw-in bulbs but you can get a screw-in LED conversion. So, don't screw too hard:-) as the top of the light will detach and you will have to buy another like I did. Be very gentle when you screw.
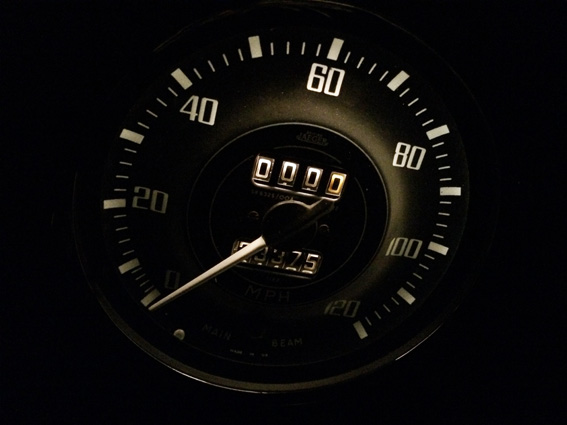
Picture on the left shows the LED lights in action. Not bad, not amazing but certainly a lot brighter than the originals. The reason it its not a huge shift from he original bulbs is the fact that this is the 'Warm White' LED. Below you can see the comparison from 'Warm White. To Bright White'. Your rheostat control does not really work with LED lights. The capless LEDs also work great in the side repeaters and make them a lot brighter. |
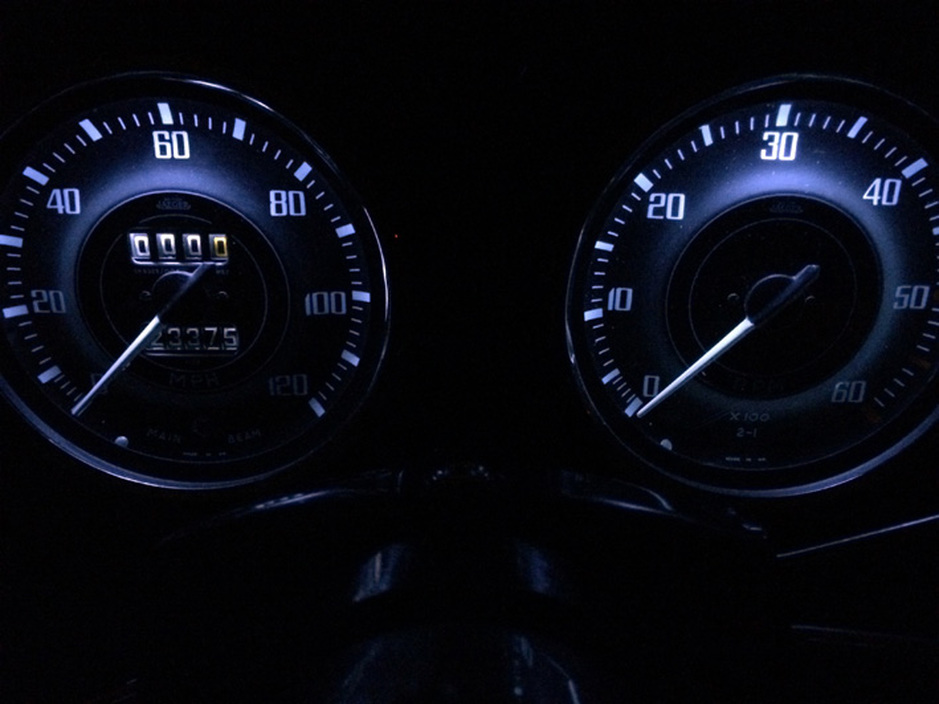
Triumph TR4A LED Dash Lights -Our final choice.
You can get a flat head LED light as opposed to a taller one. The taller ones hit the back of the gauge face. So, better you go with the flat ones. Also, the taller ones disintegrate in your fingers all too easily. Leo you can see the matched coloured lighting. Looks blue in these pictures but is actually white.
|

|
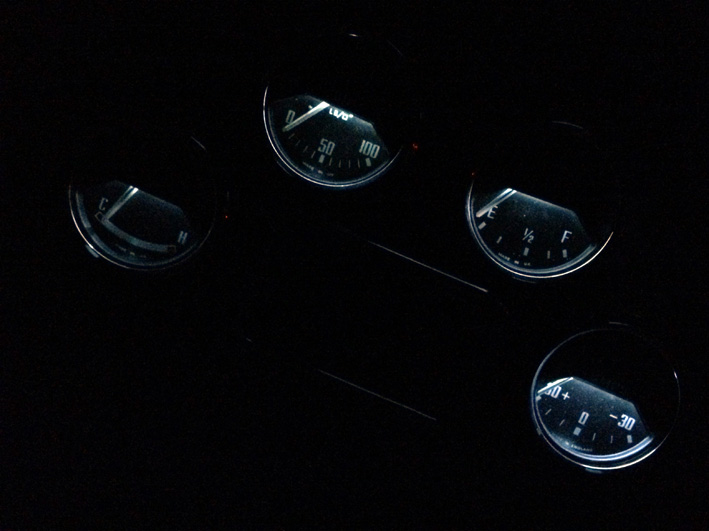
Fried Amp Gauge
We fried the amp gauge due to an override wire touching the body when the battery was connected. Bit of set back but we now have a new amp gauge. Pictures below show the old one. As we have an alternator now we really should have a volt-meter but it would not look right. So, we are sticking with the amp gauge. It does read but you only know that it is getting power.


