Triumph TR4A Suspension & Chassis Refurb and Rebuild
|
I am lucky in that where I live there are plenty of specialist companies all within a 40 minute drive from home. The rebuild of the suspension is probably the fist task at hand when getting the rebuild underway. I am using Baker Coatings for the powder coating and C.E.S for the duplex nickel. Where we had alloy casting and can't use duplex nickel we are using a chrome powder coat finish. Amazingly the old Triumph TR4A suspension parts are in pretty good condition so no serious repair work is needed just plating and powder coating. You can find all of the companies I have used and their contact details here.
|
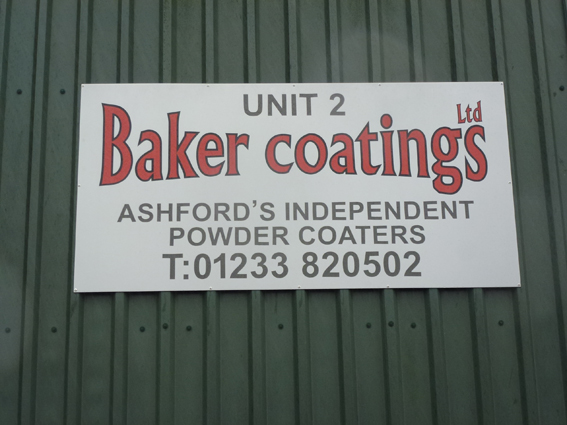
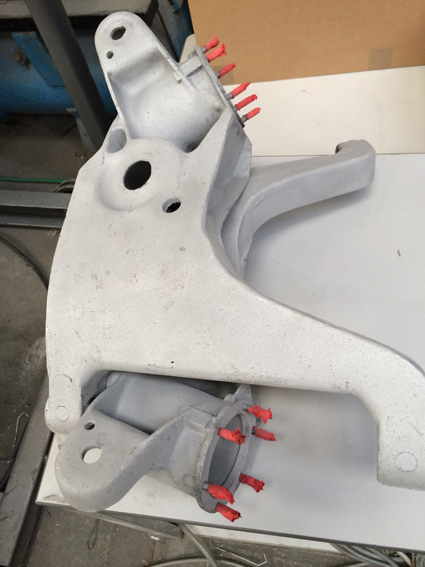
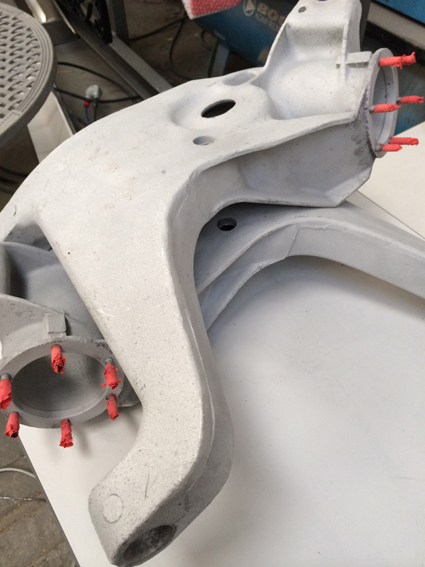
The guys doing the Powder Coating. Most of that parts are red but the rear IRS will be silver.
|

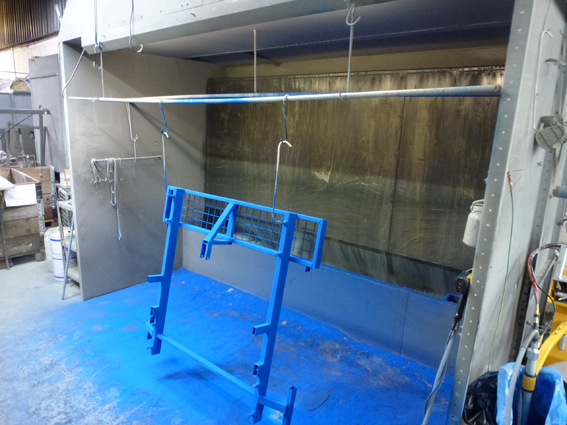
The Chrome Shop that will be giving the suspension a Duplex Nickel finish.
|
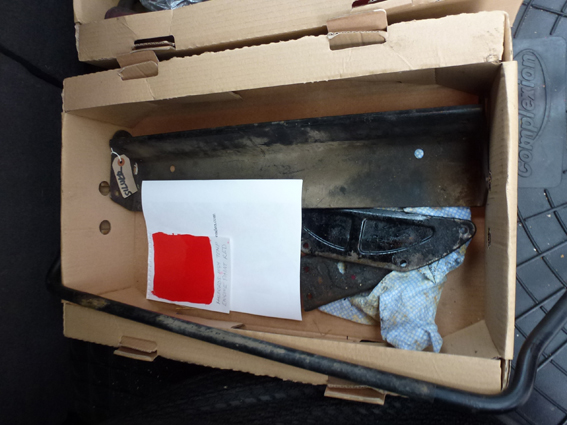
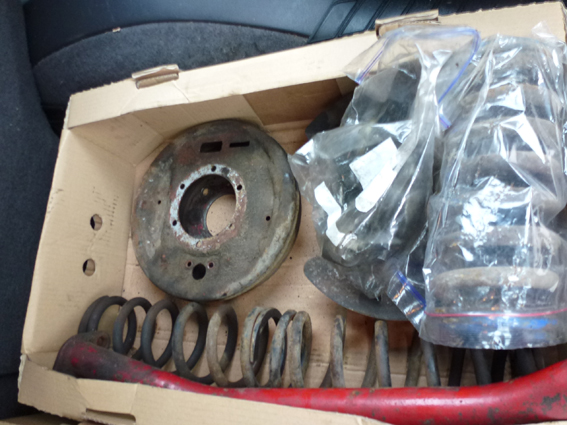
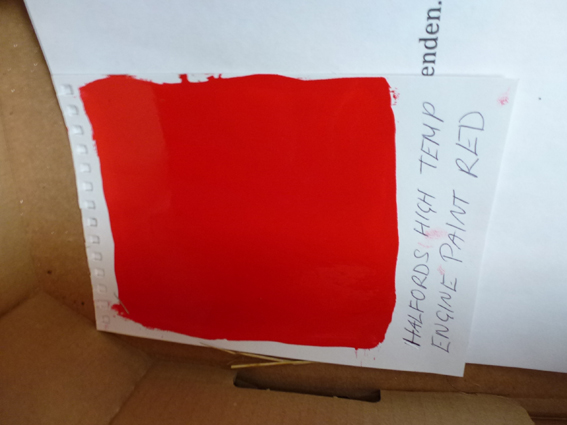
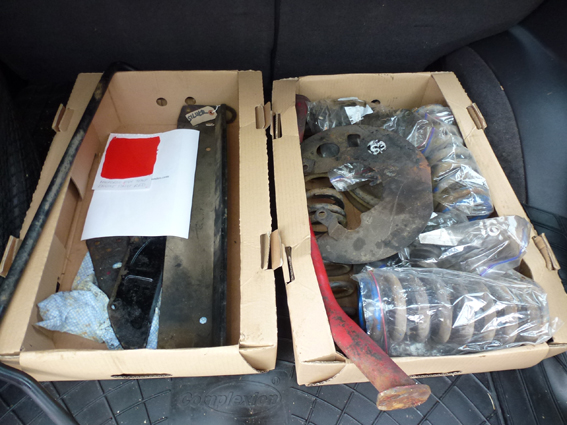
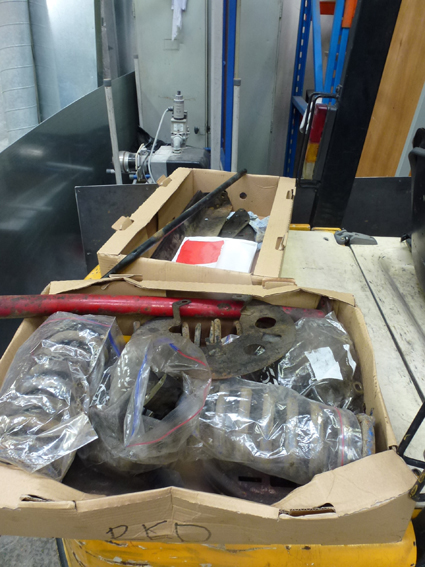
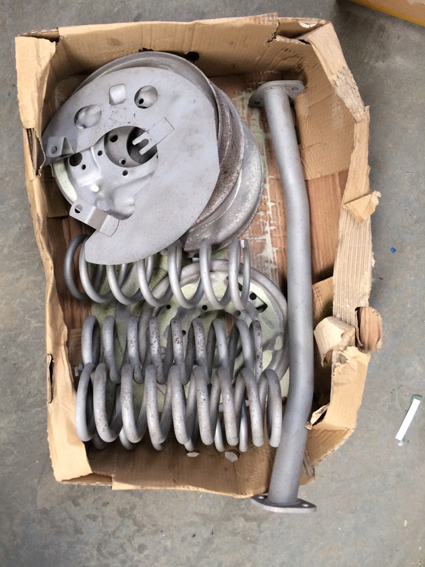
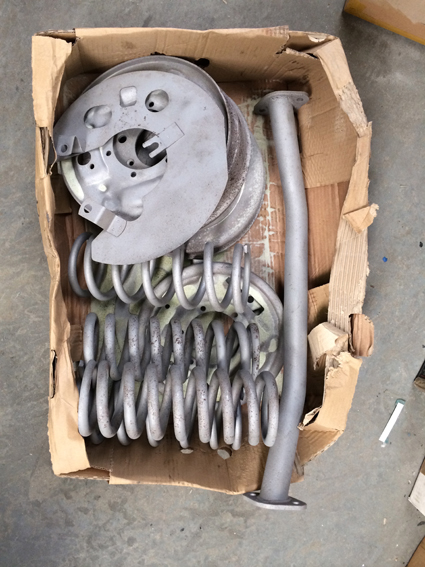
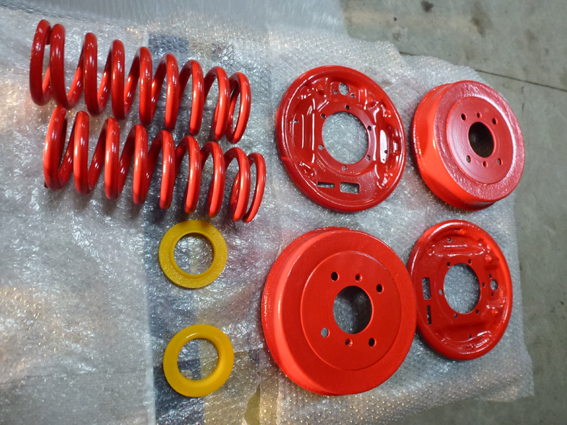
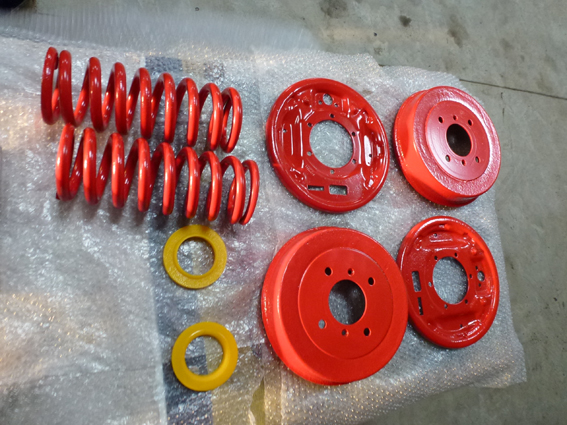
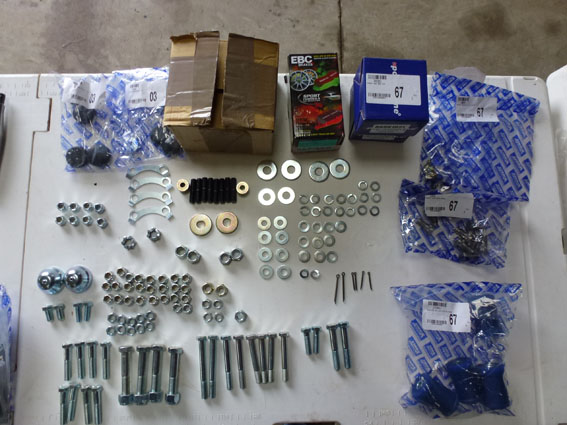
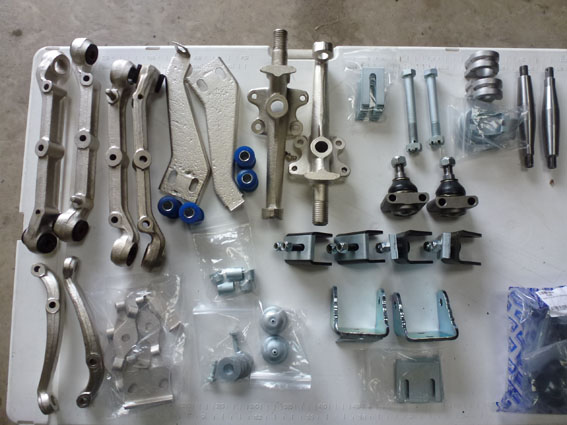
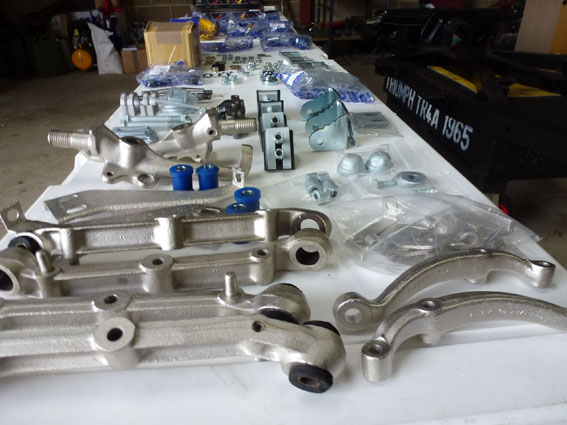
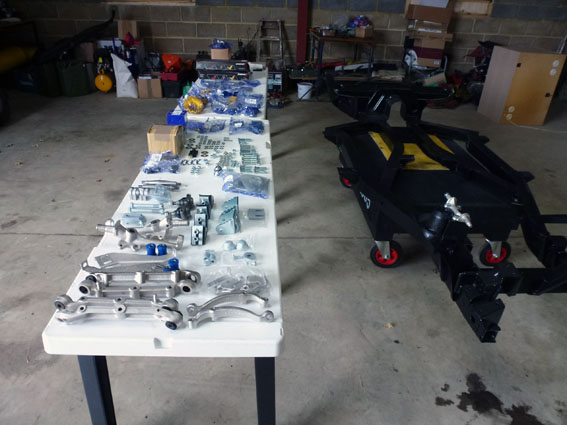
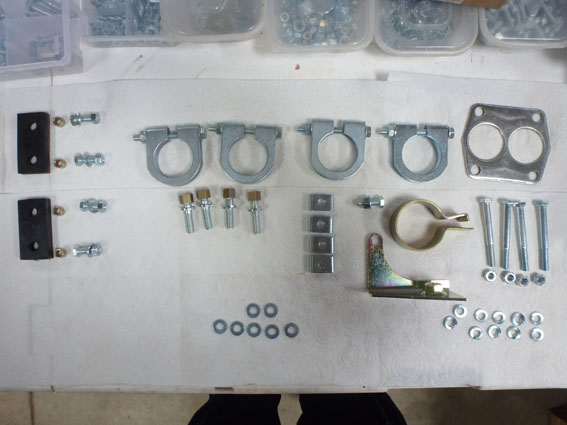
Parts split in to 'Colour' boxes and sample colours ready for powder coating
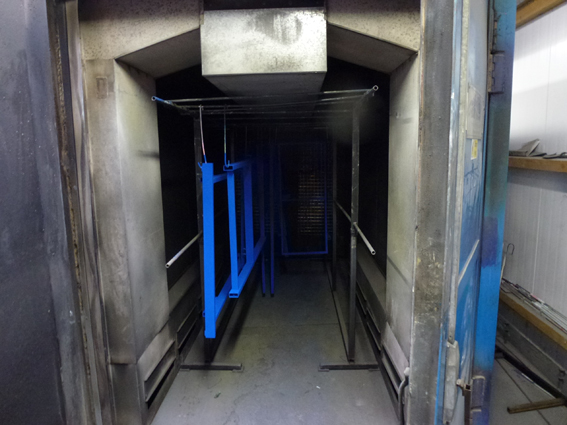
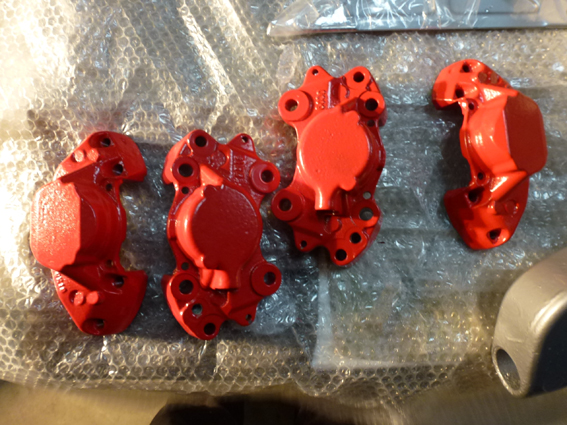
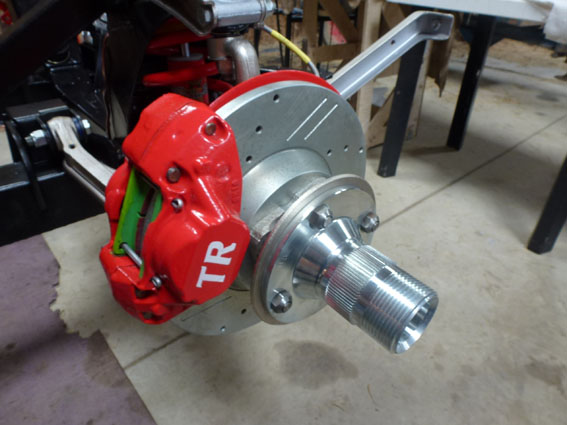
The parts get blasted first then powder coated and baked in an oven. The real care and attention is required on the brake callipers. So lots of masking and care when blasting.

The powder coating process
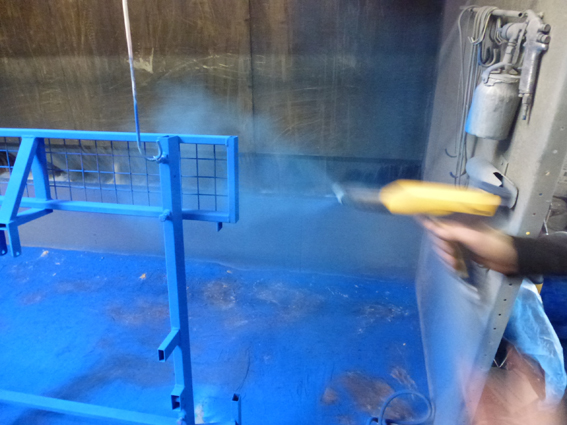
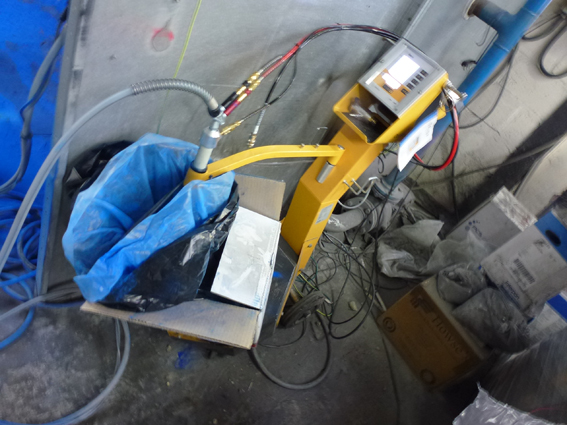
Pictures show the powder gun (This one is brand new and cost £4,000!) The power is applied to the part and an electrical charge sticks the powder to the metal. The part then goes in an oven to be baked. the result is a super gloss coated and painted part.
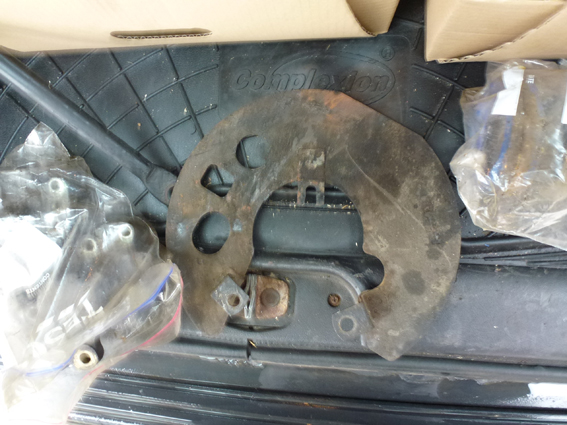
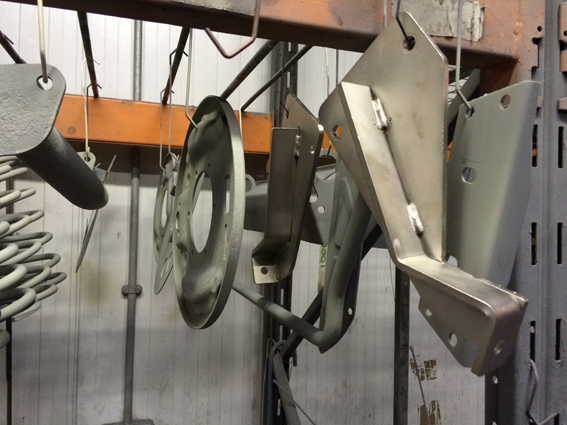
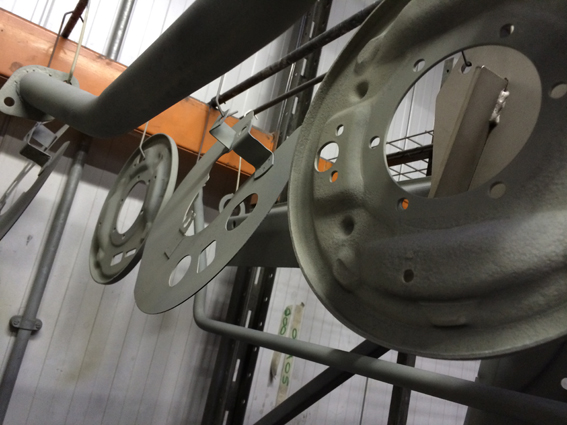
The Parts Blasted with Glass Media
Here are the parts all ready to be powder coated. They will be given a light rub down where the surface rust has started to appear through moisture.

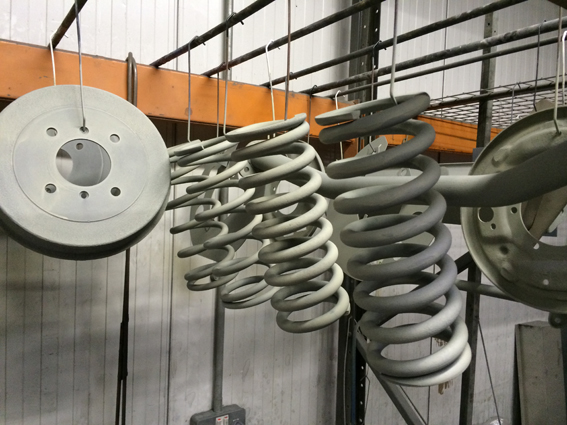
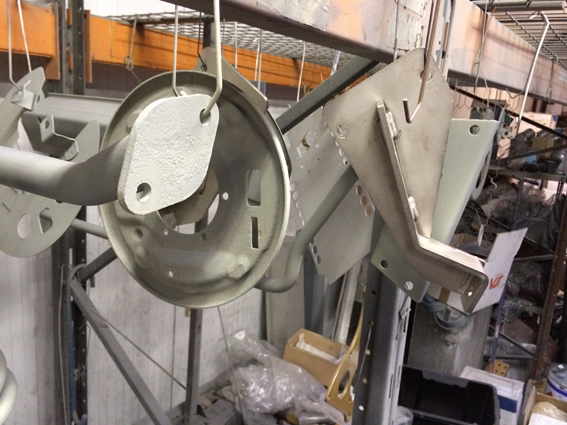
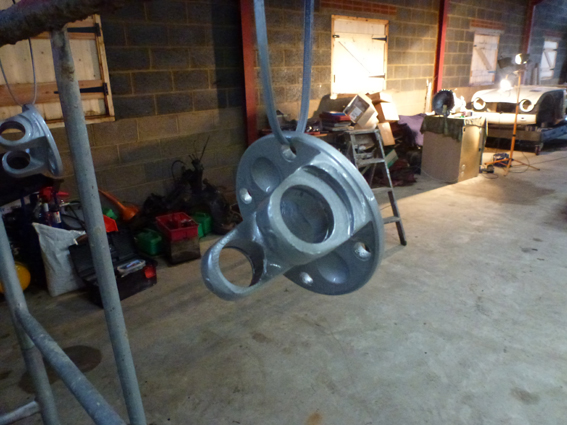
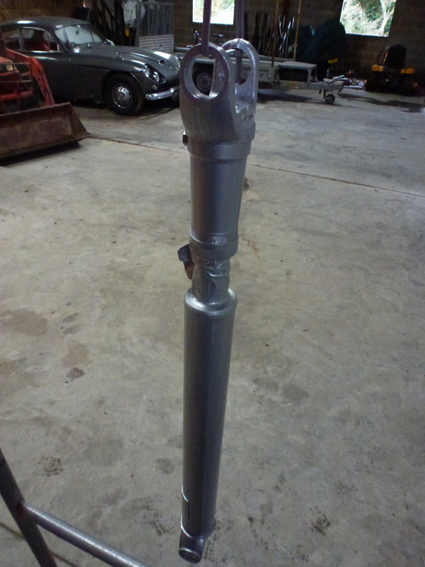
The Powder Coated Parts

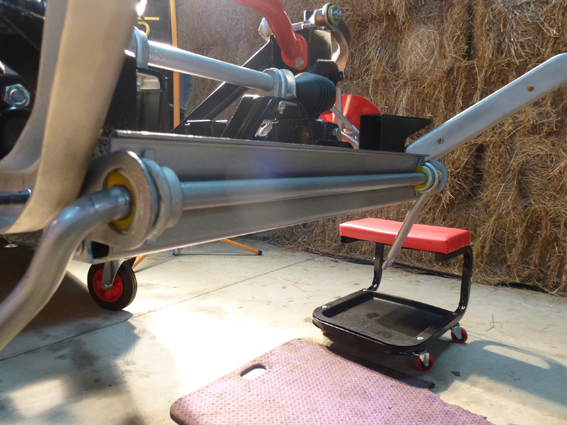
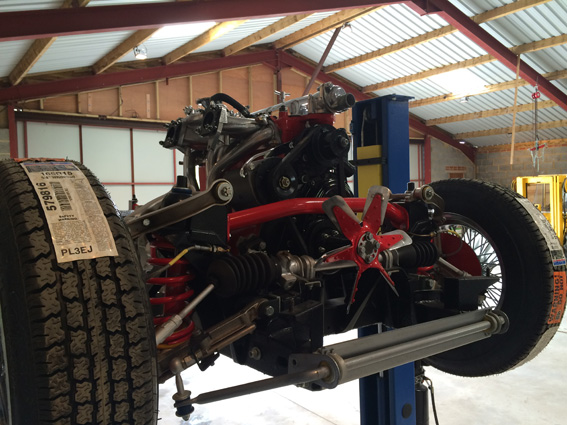
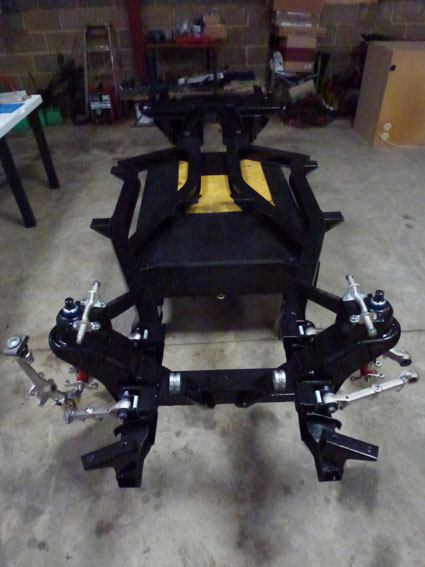
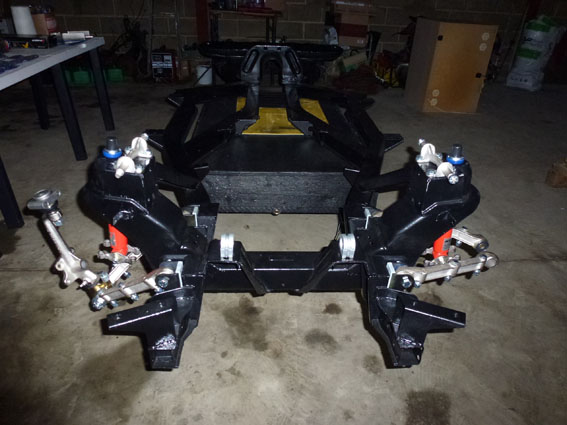
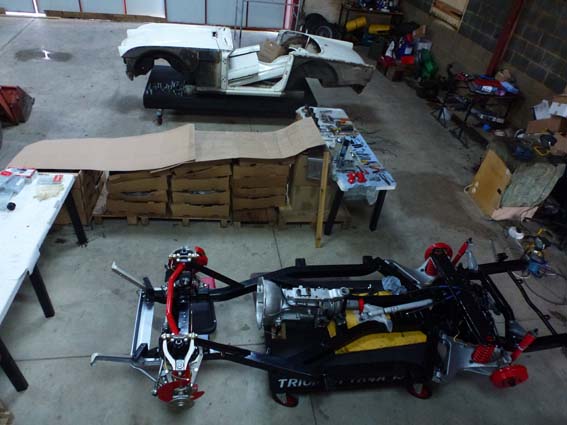
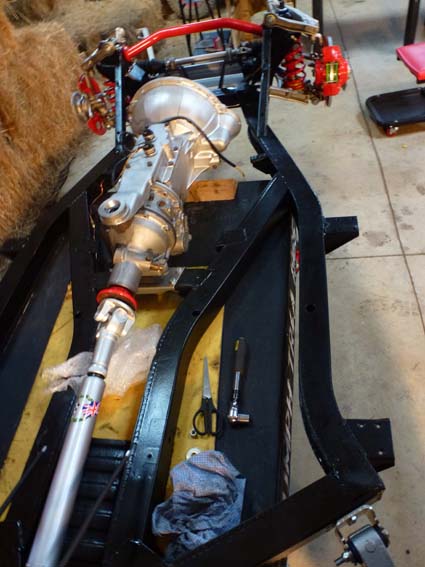
Starting the rebuild


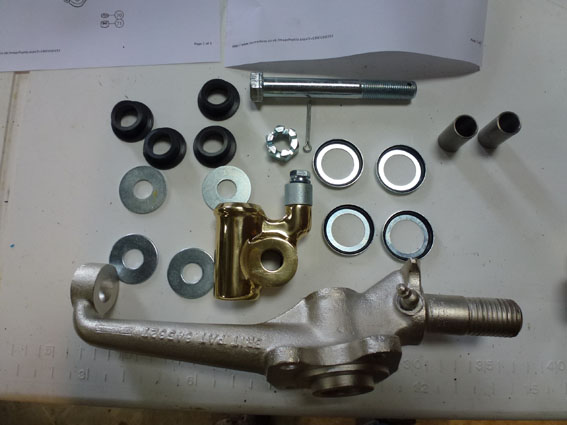
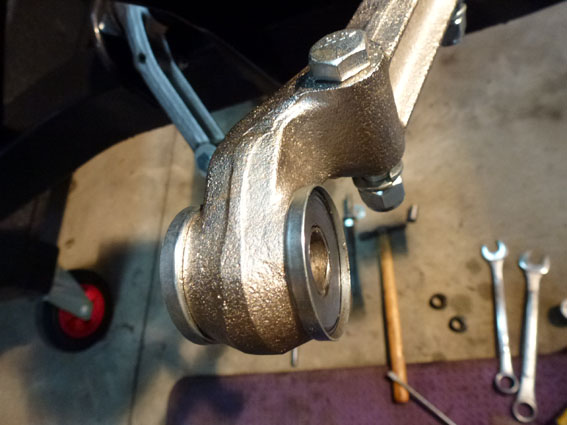
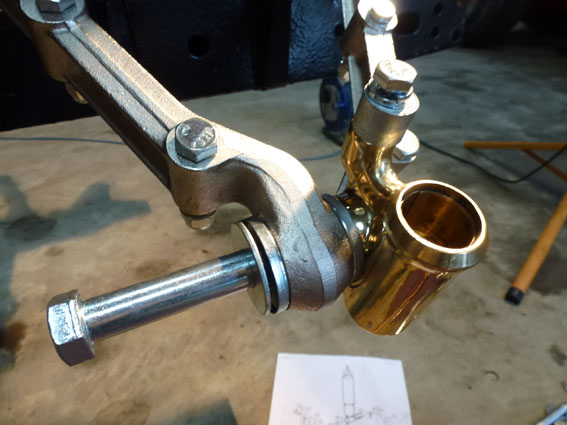
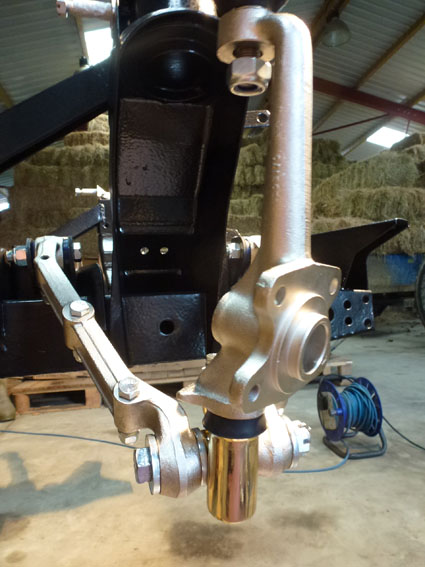
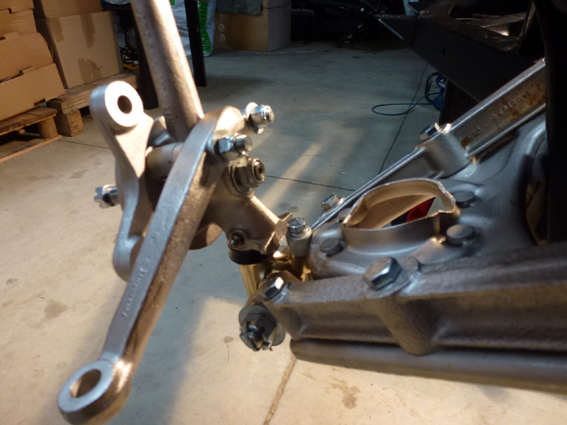
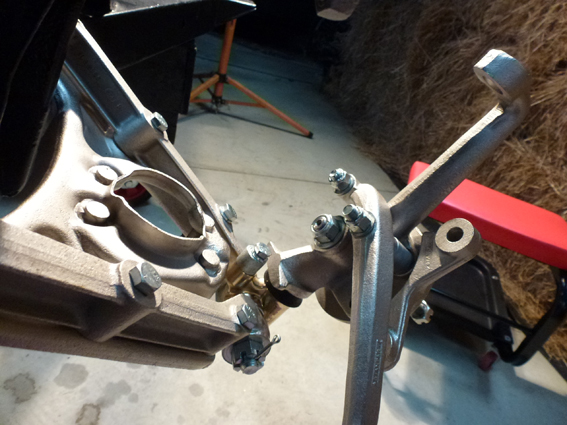
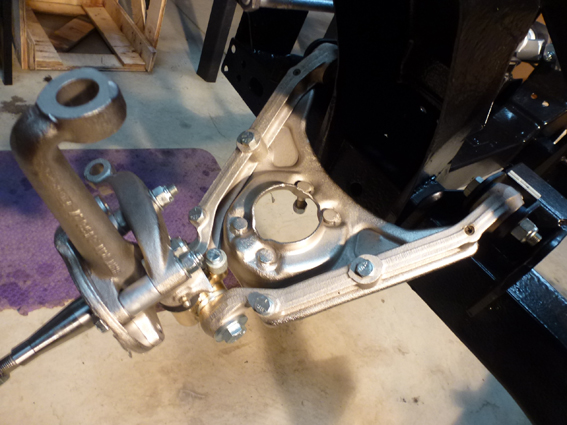
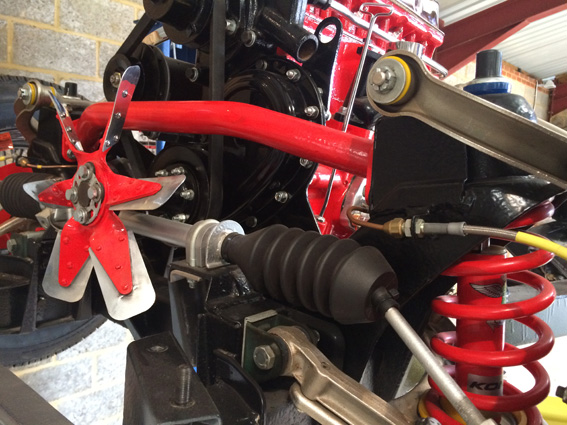
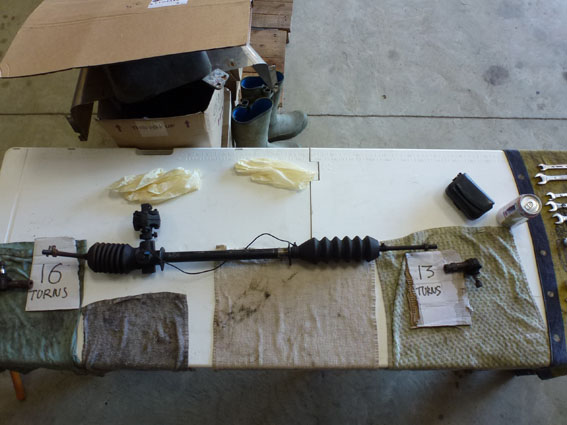
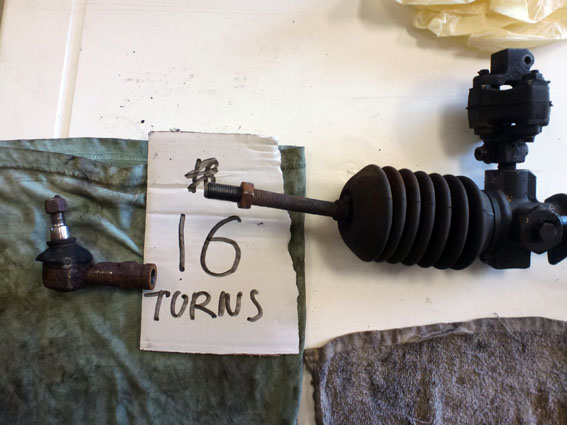
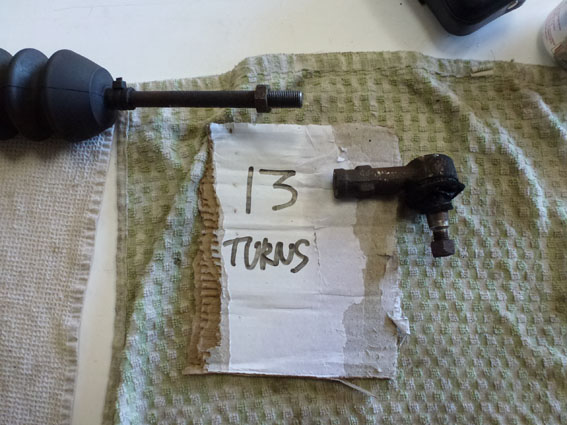
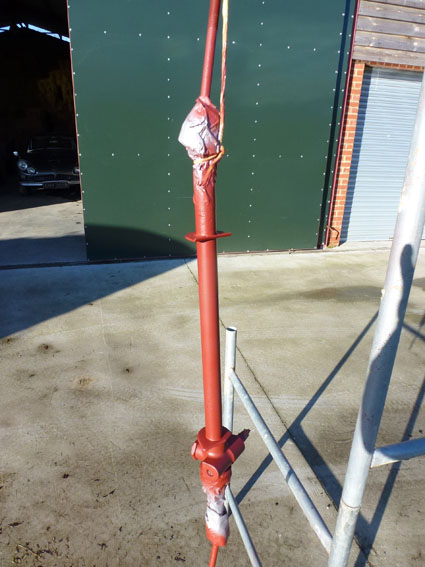
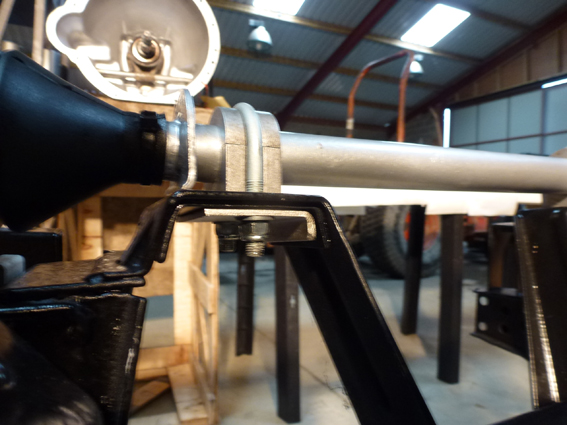
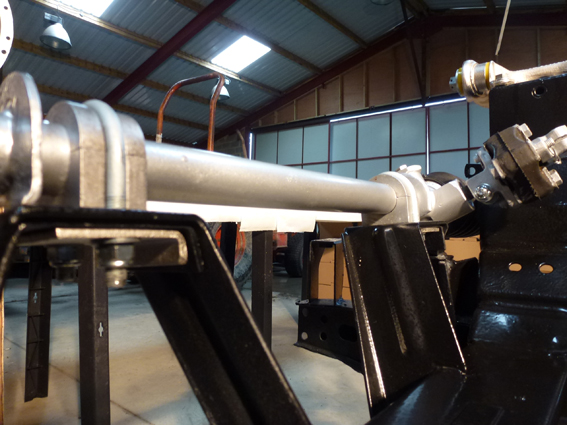
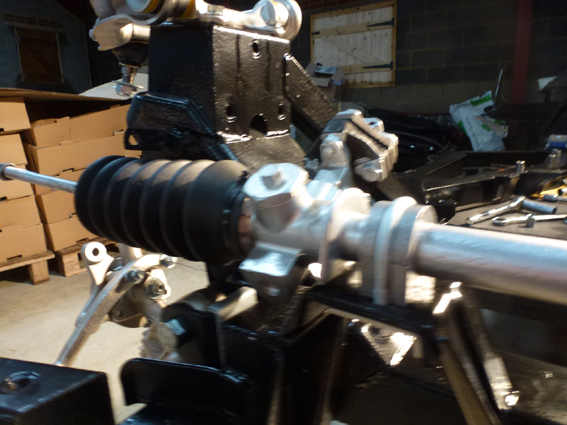
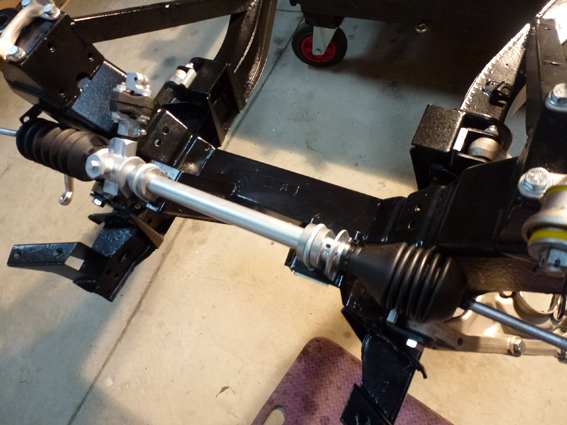
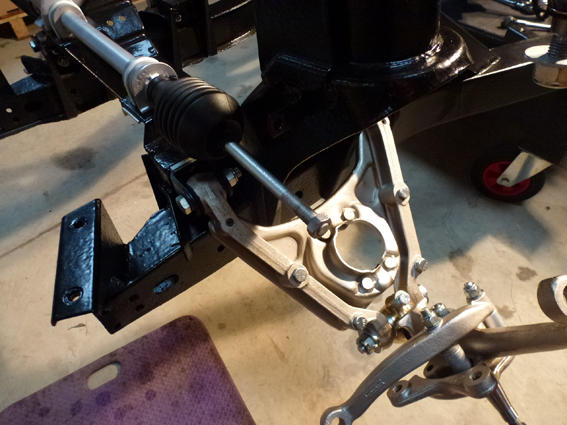
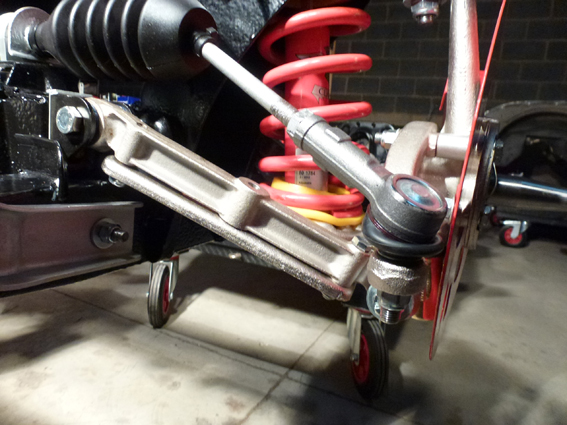
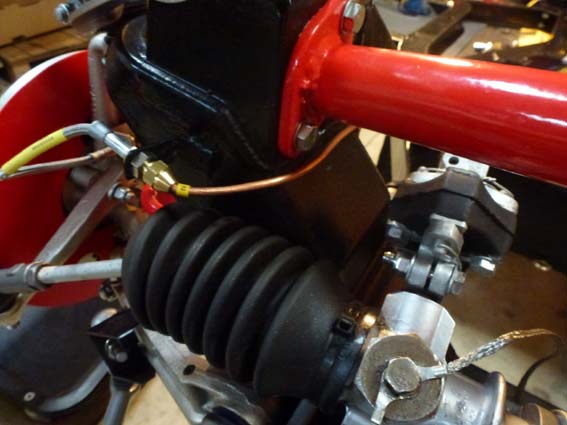
Steering Rack


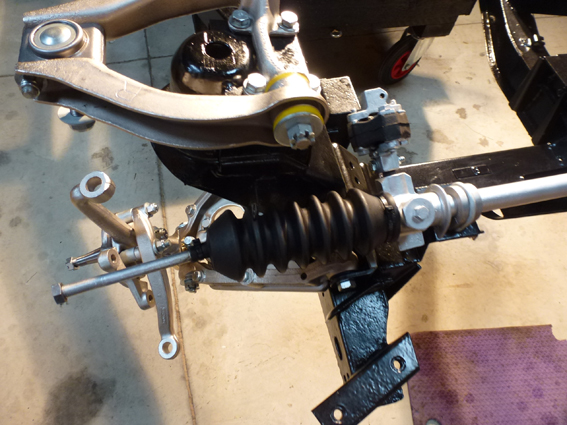
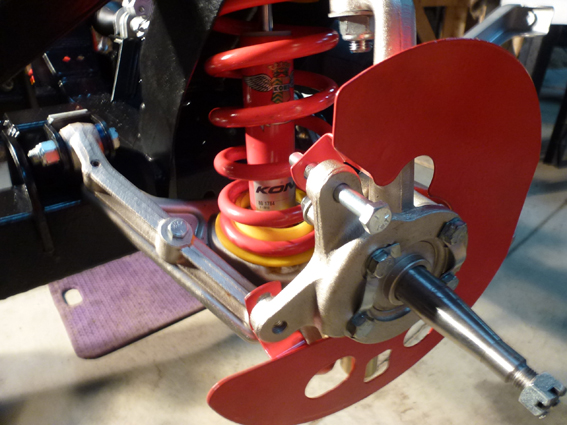
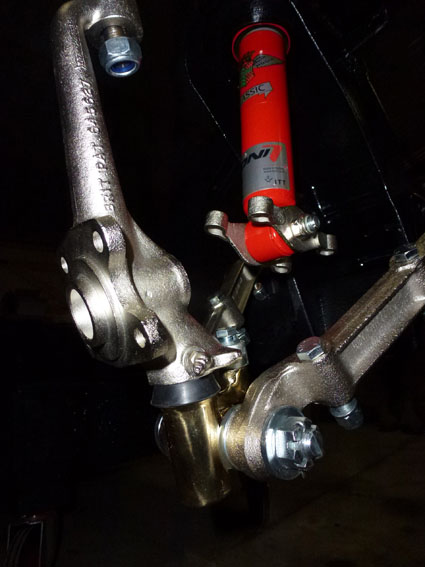
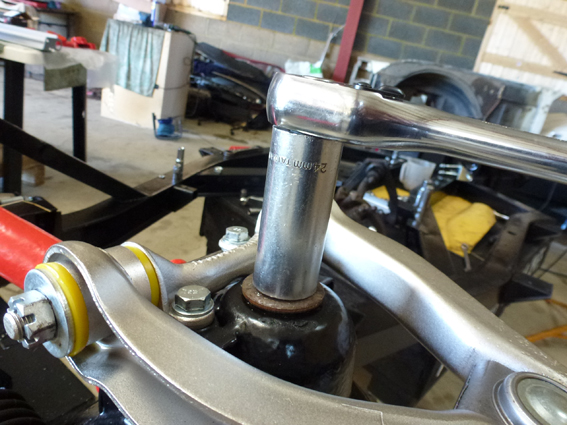
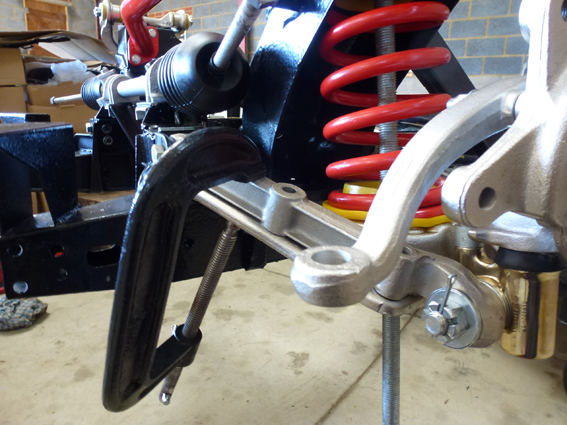
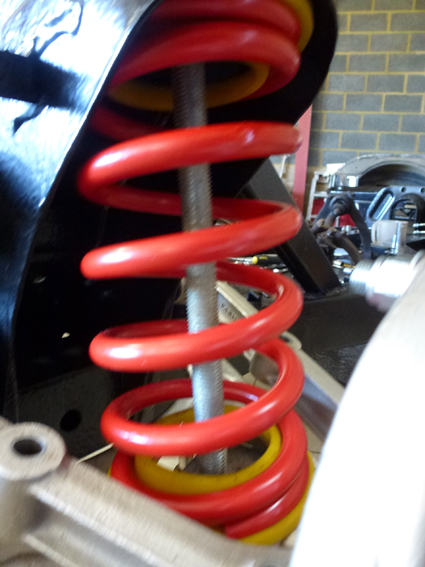
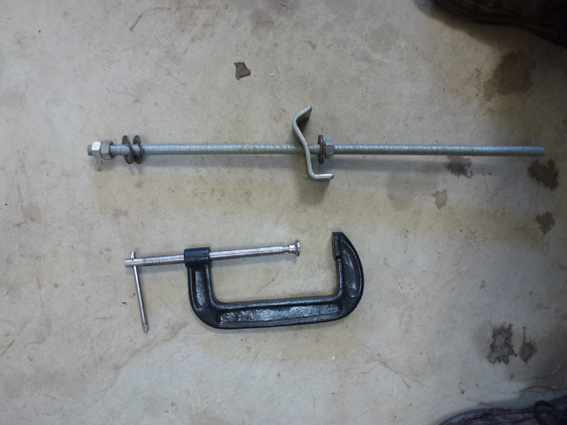
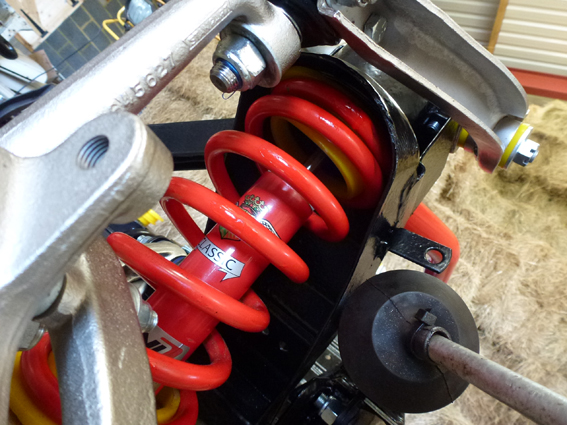
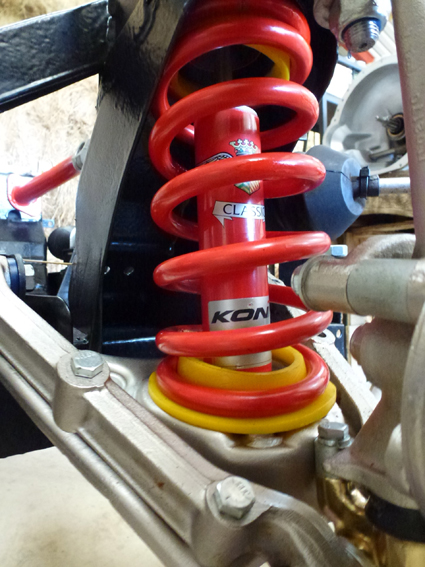
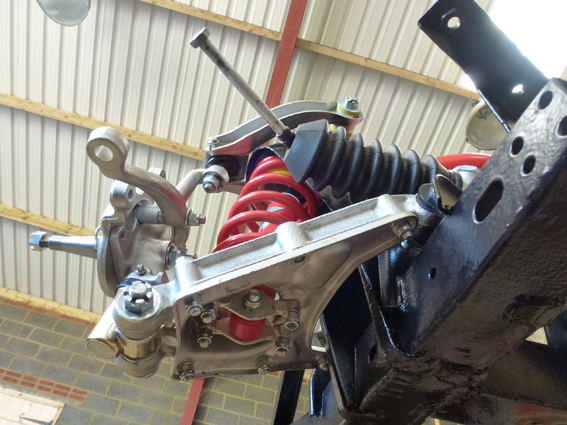
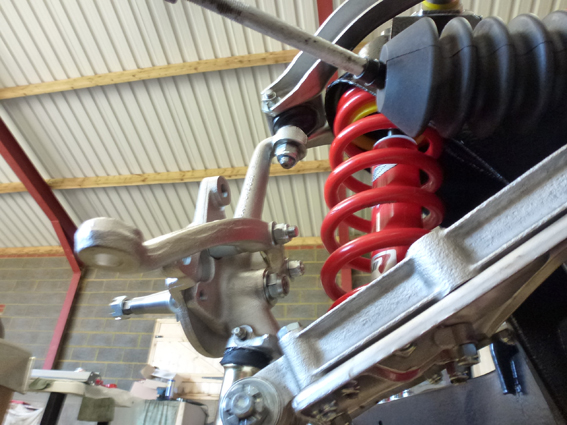
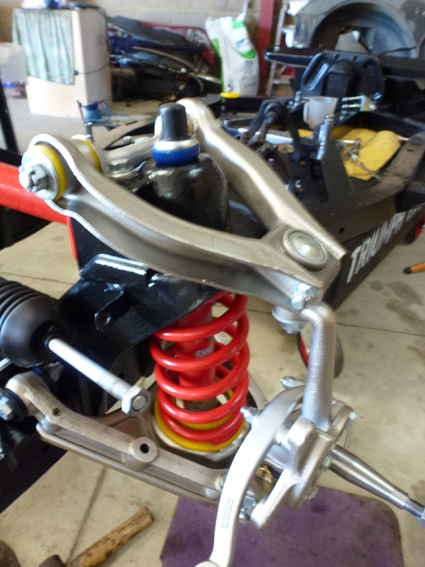
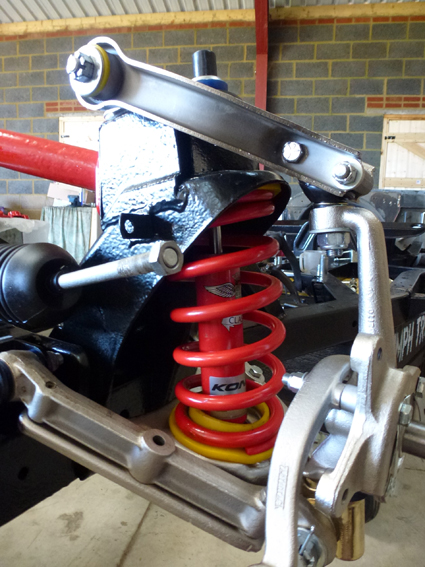
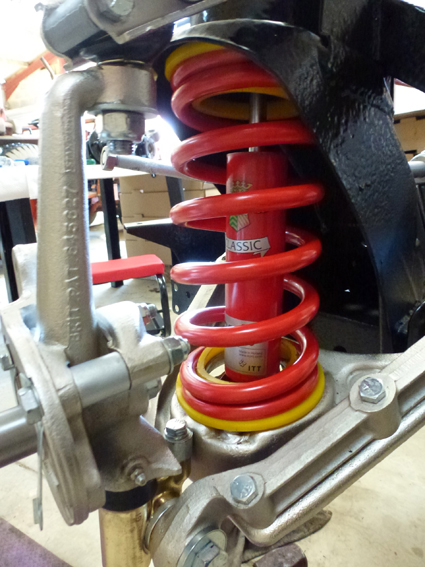
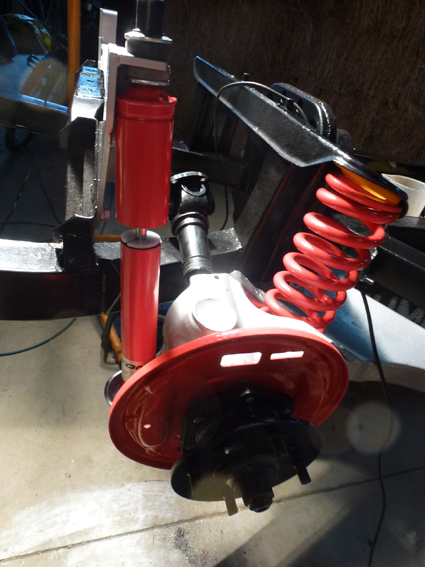
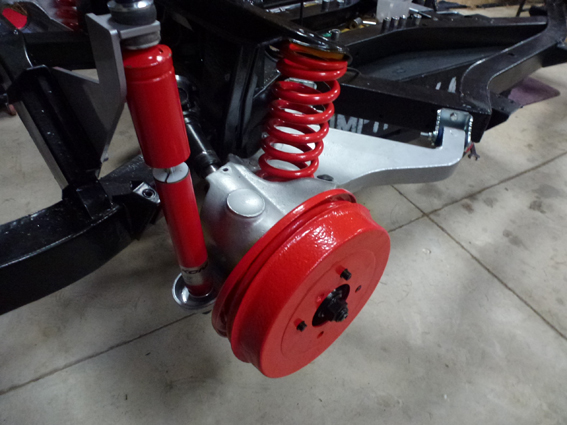
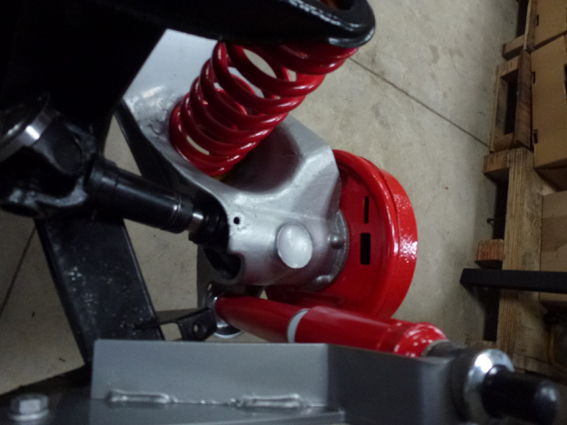
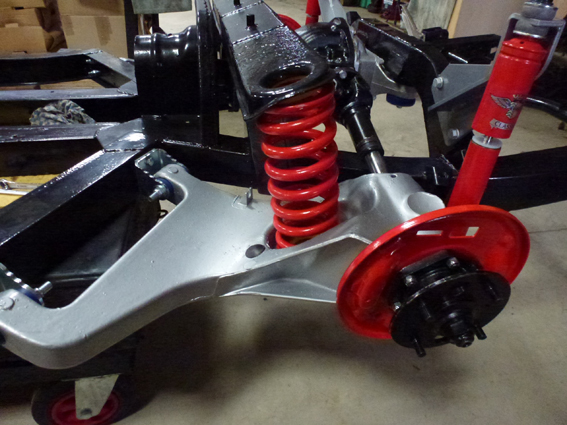
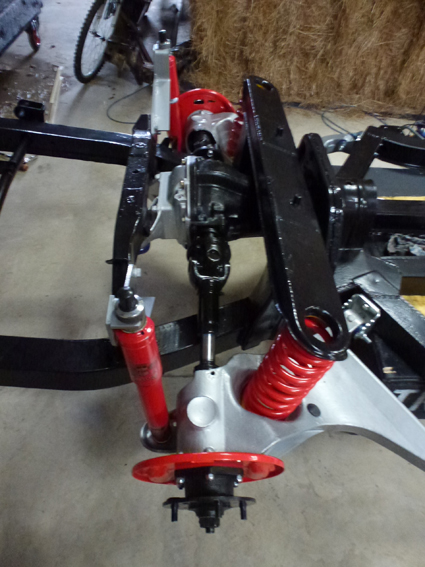
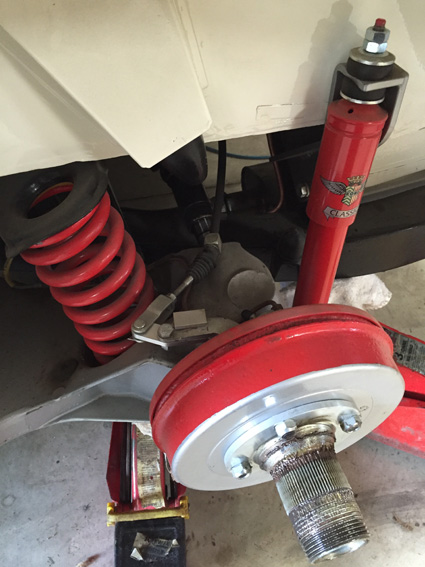
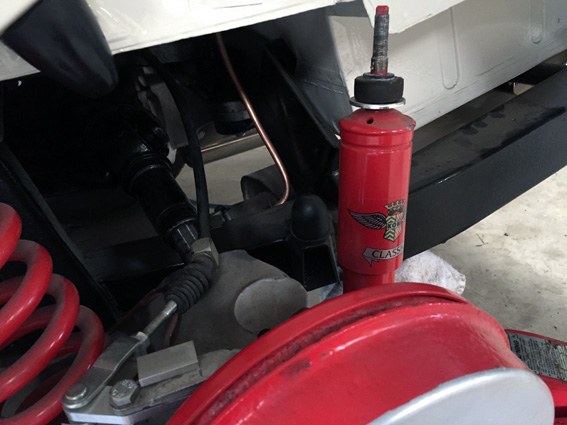
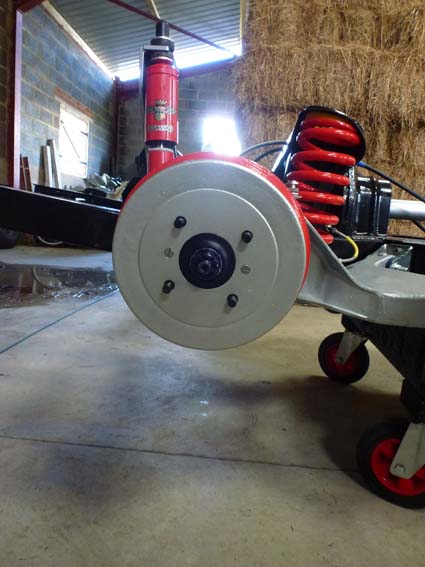
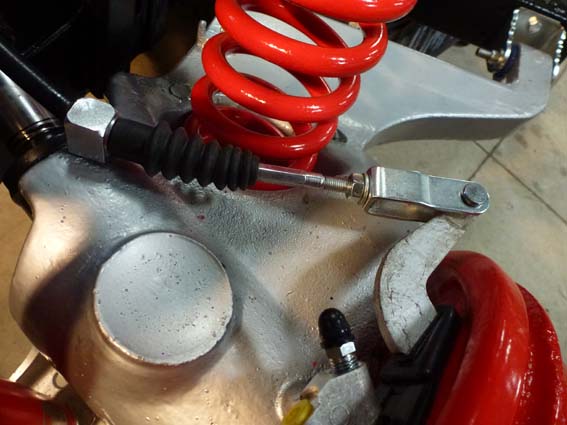
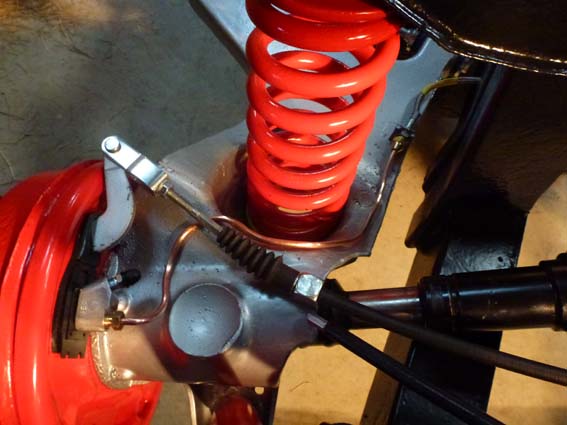
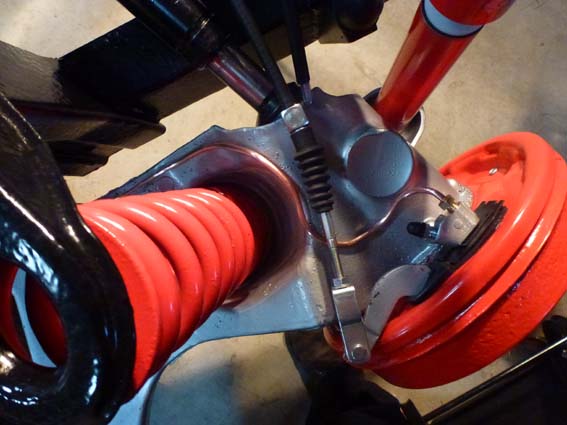
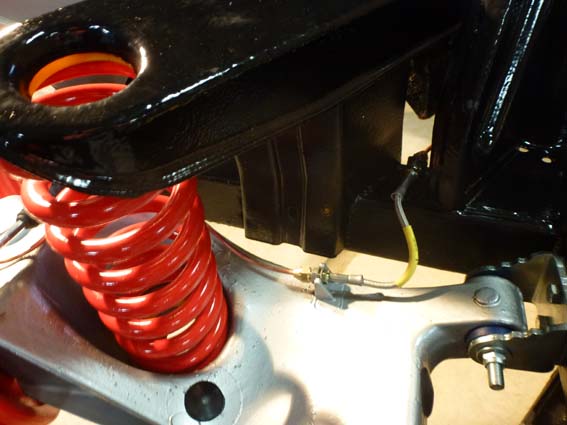
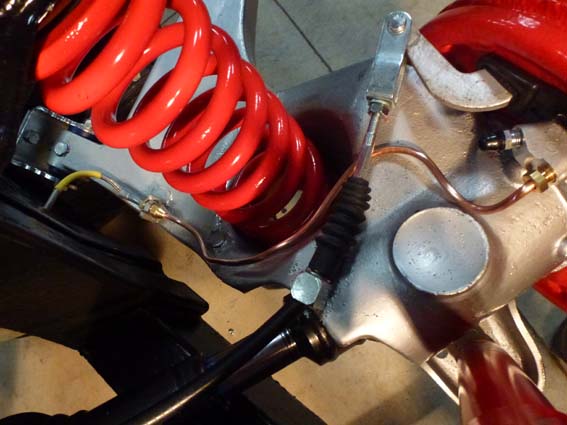
Front road spring fitting

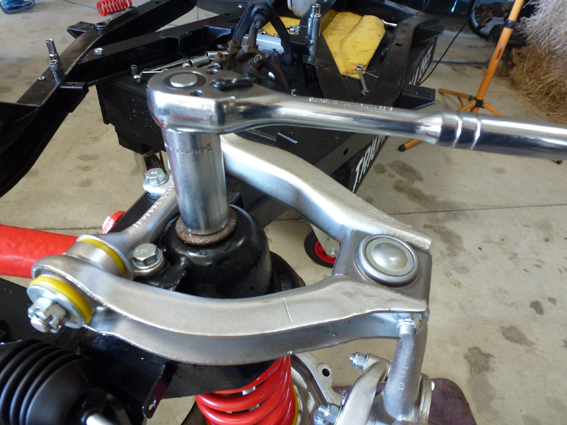
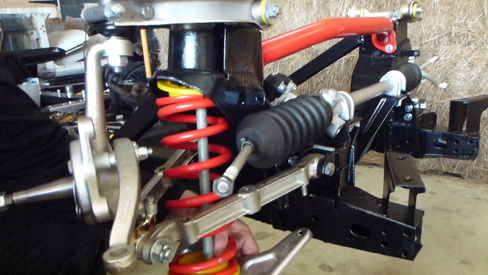
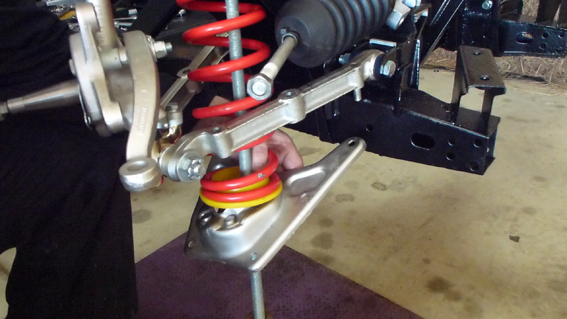
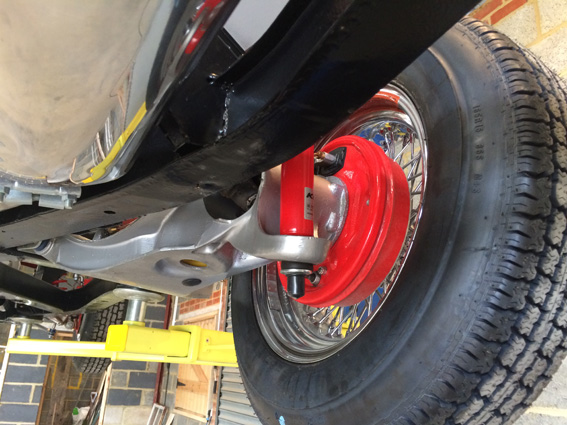
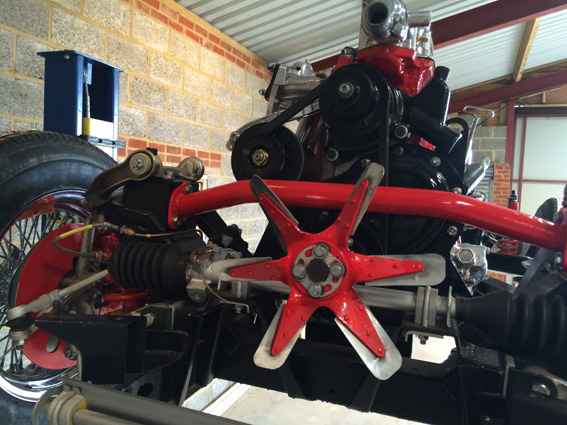
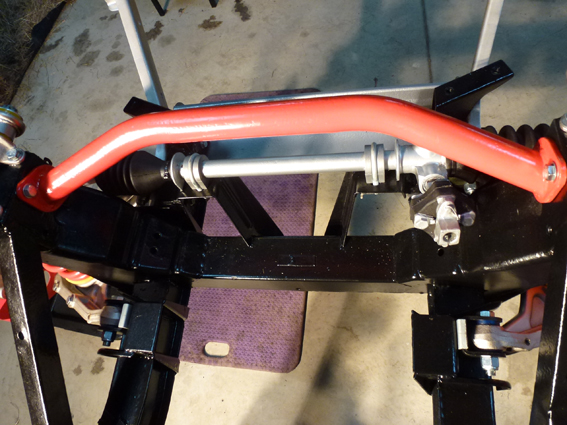
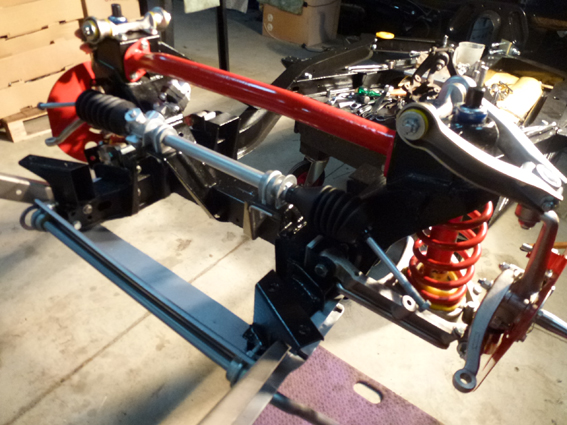
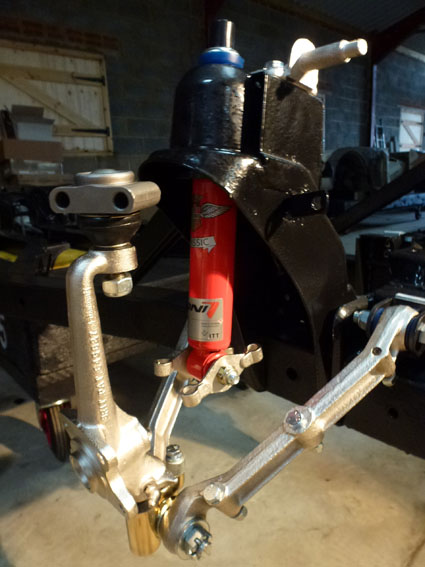
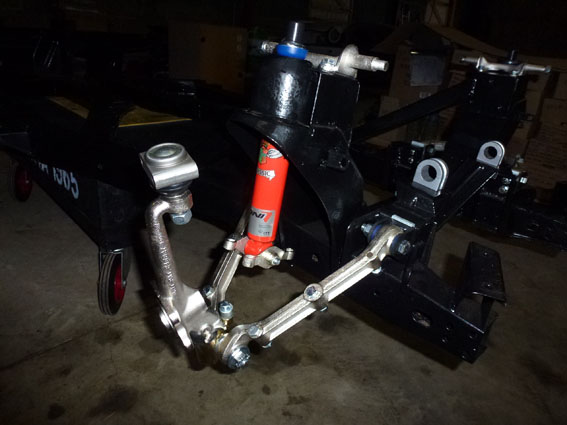
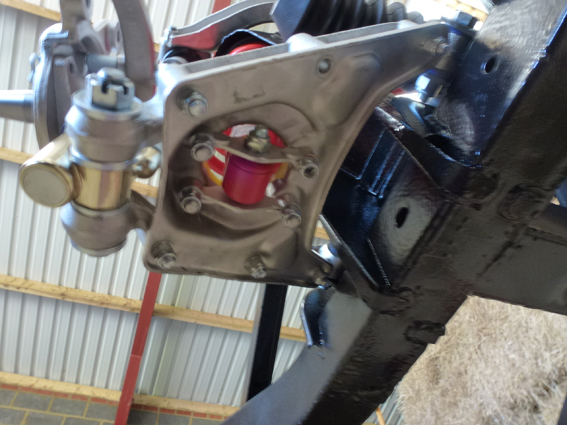
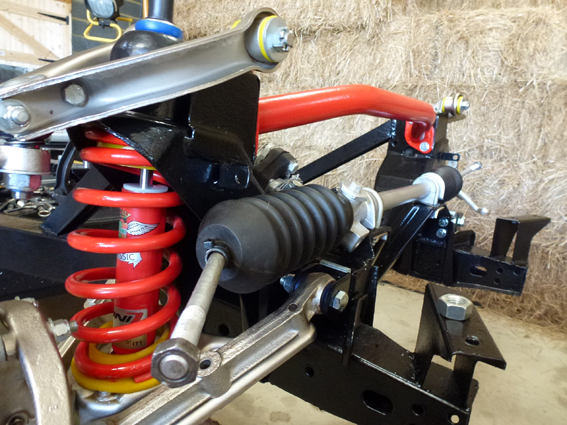
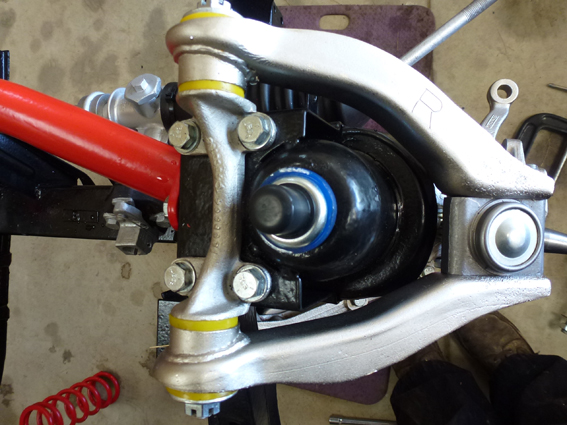
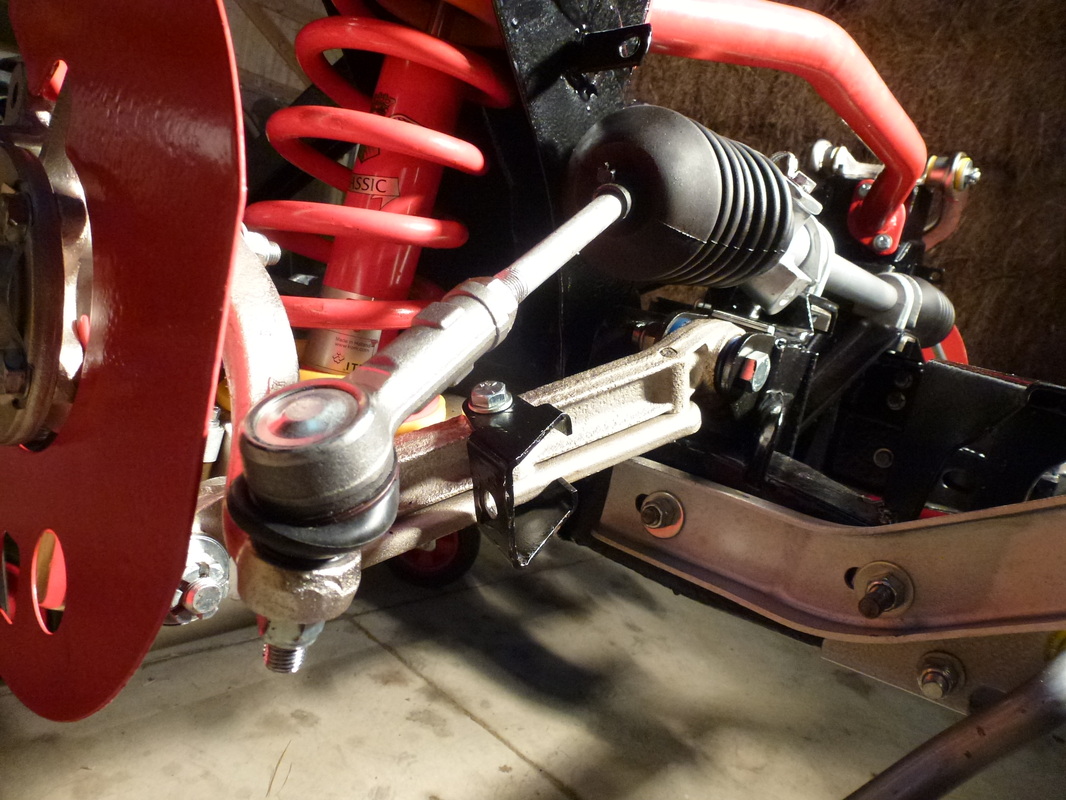
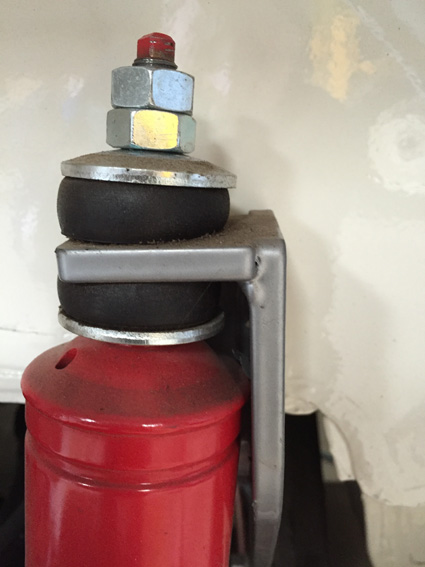
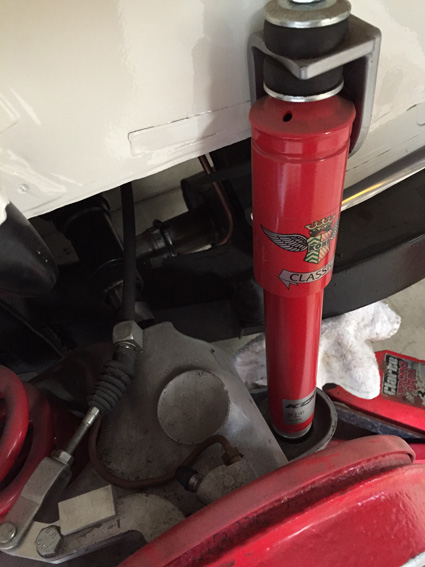
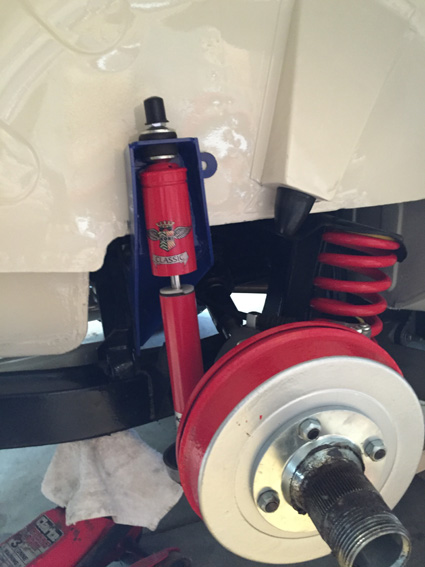
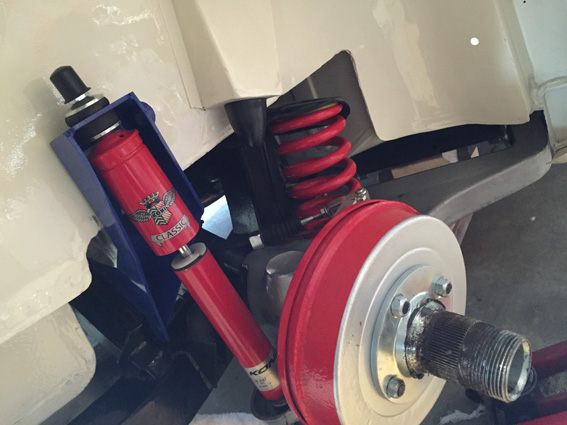
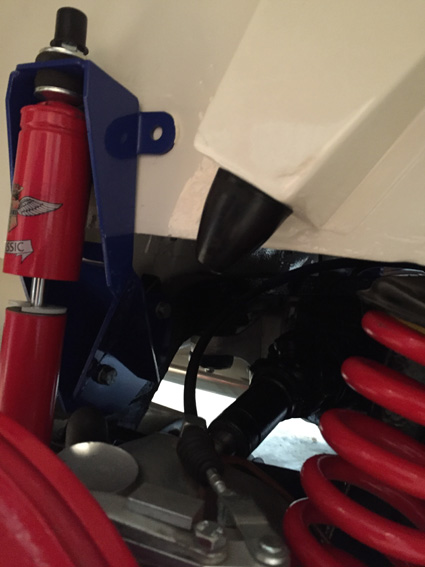
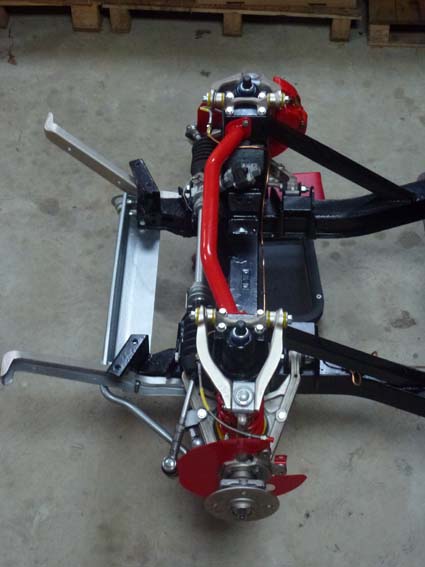
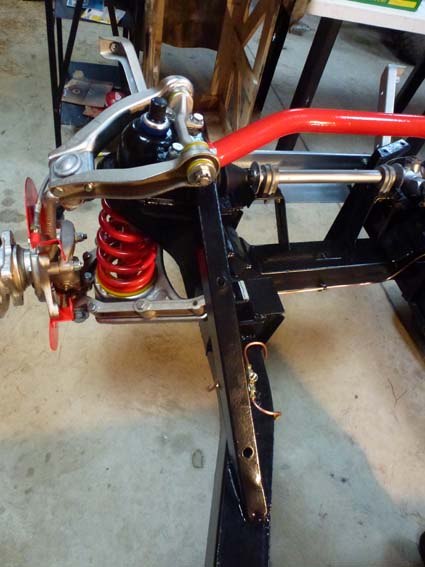
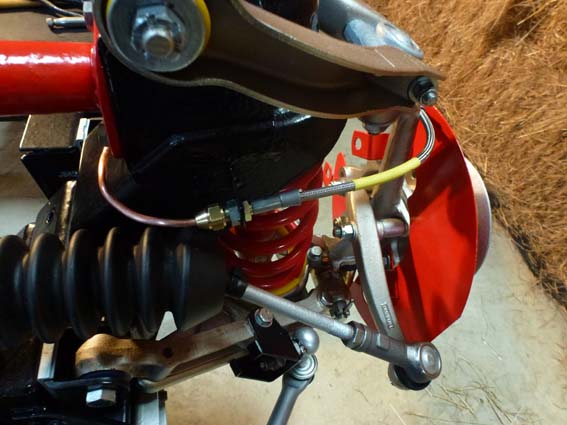
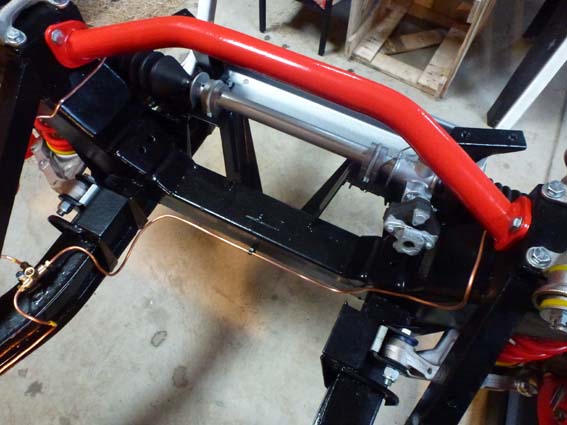
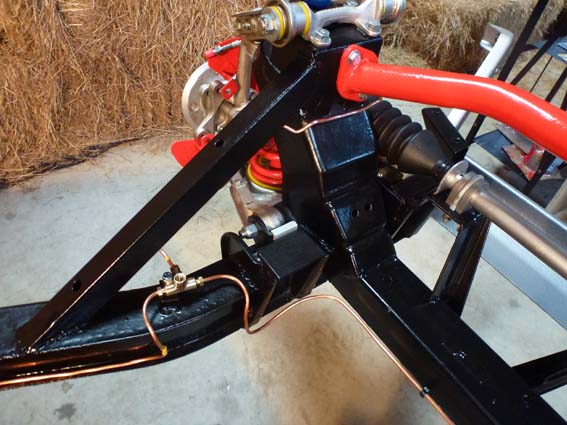
Front suspension, shock absorbers, anti-sway bar.


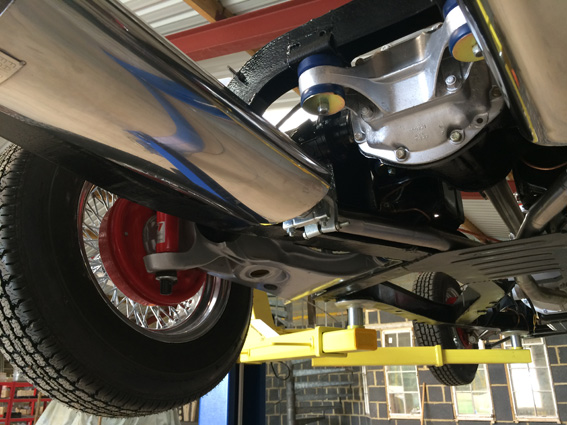
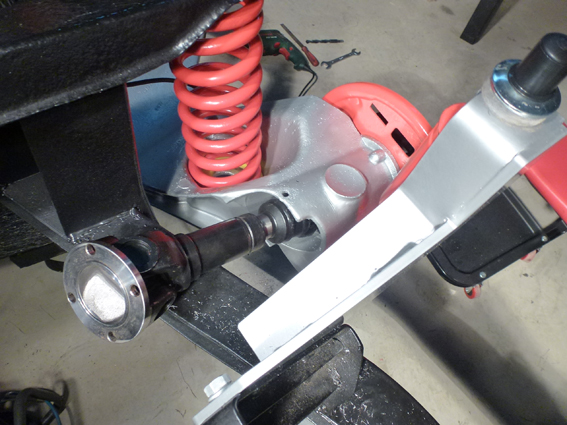
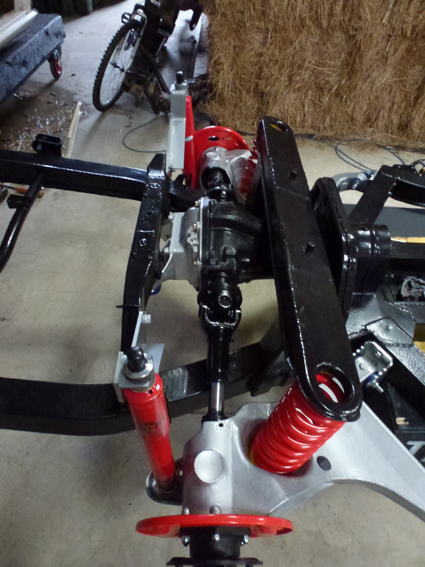
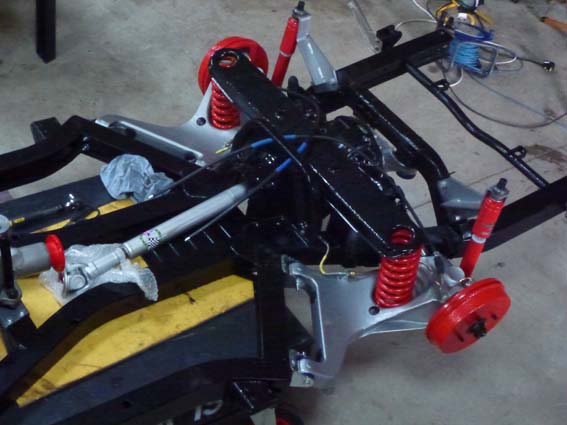
Rear suspension, Axels & Differential
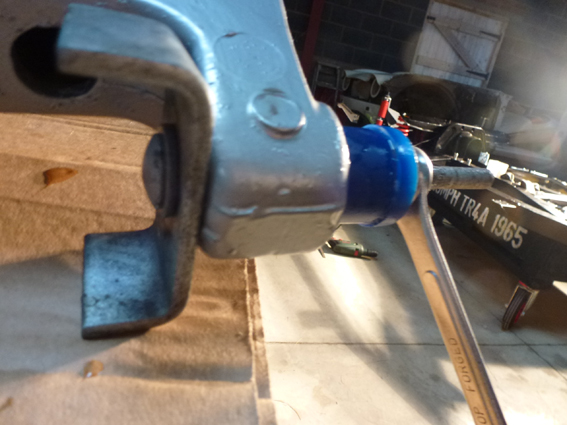
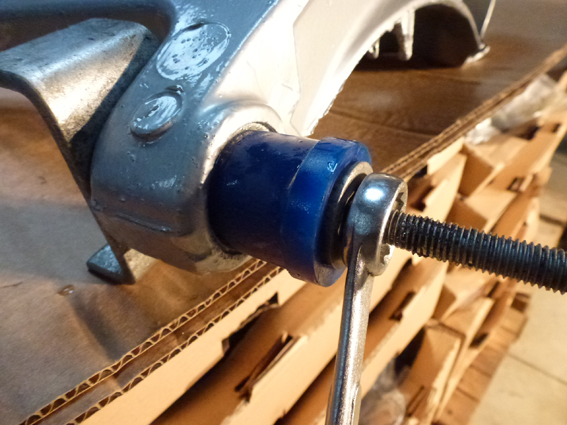
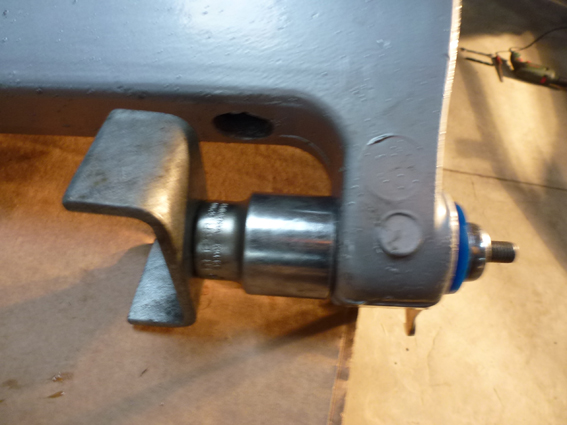
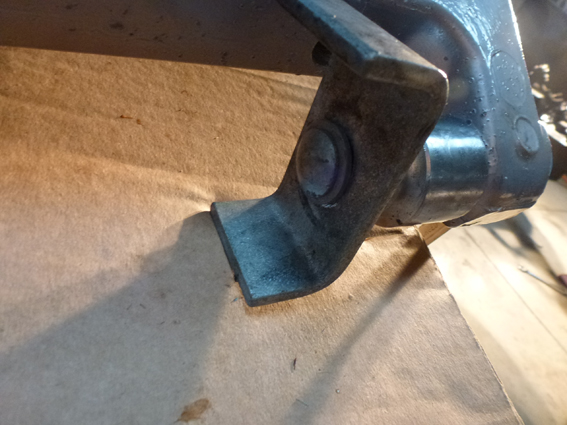
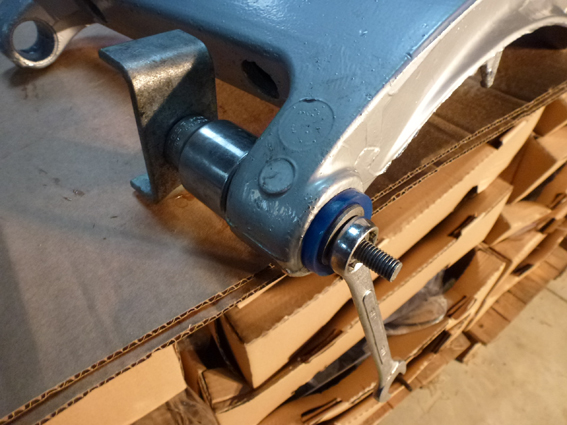
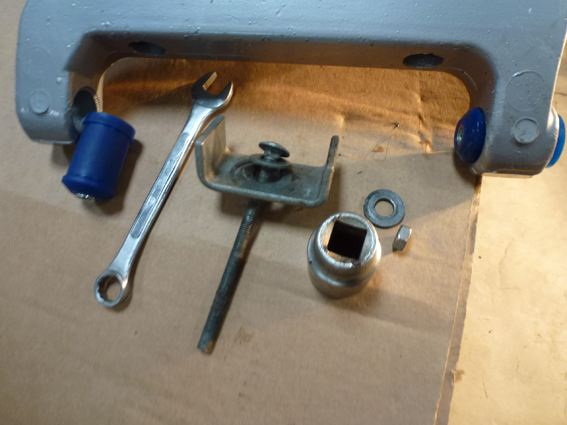
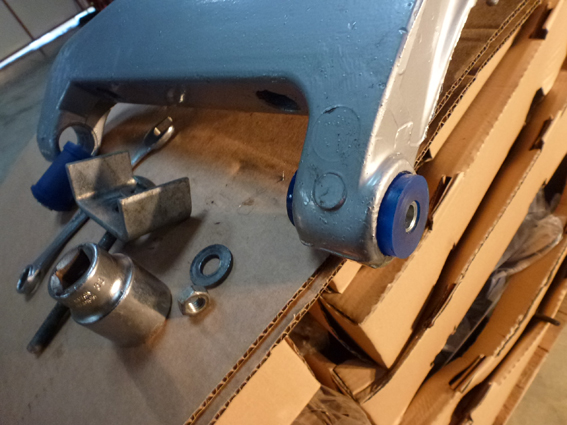
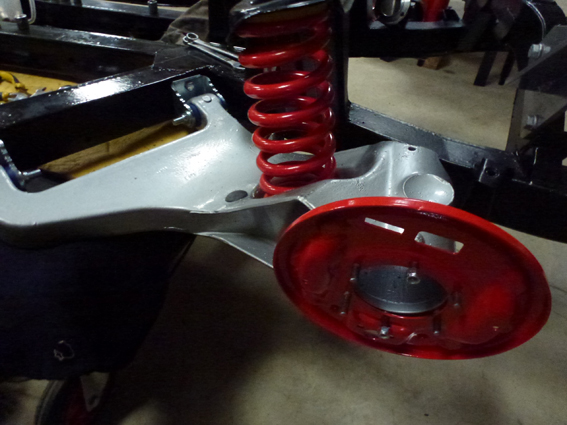
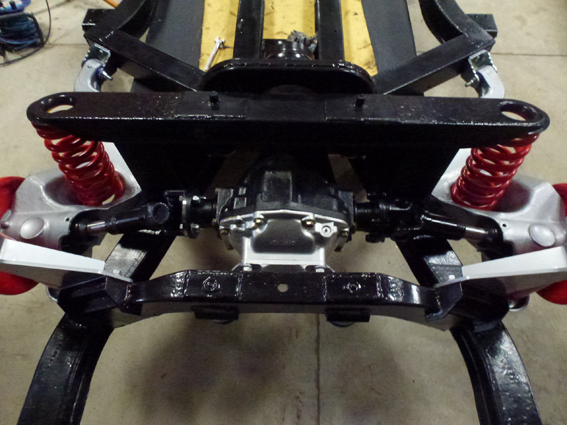

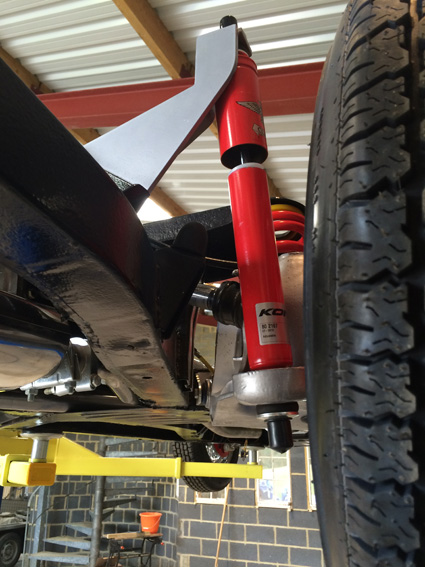
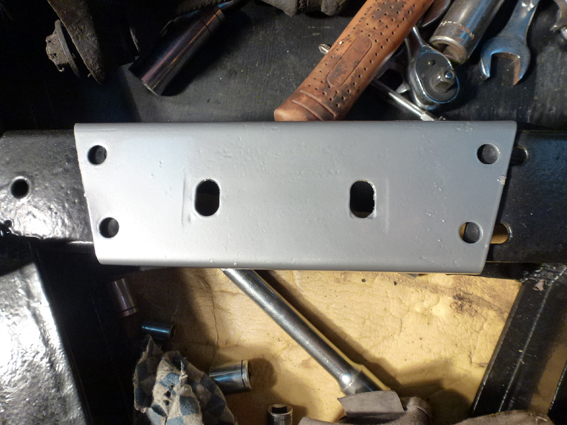
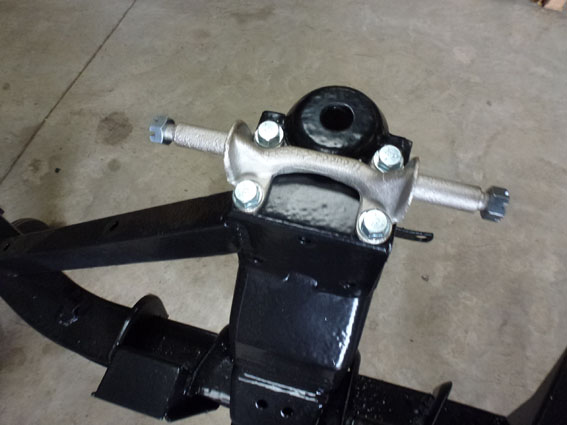
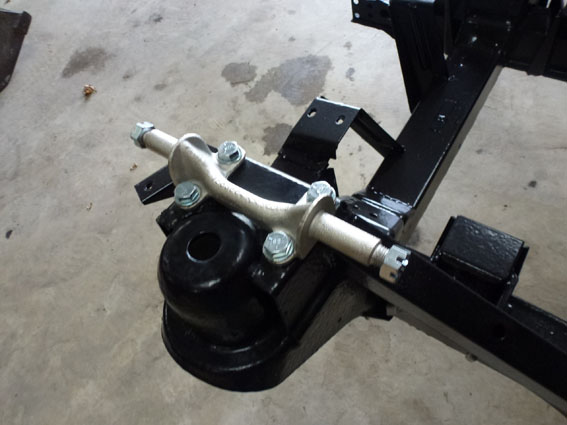
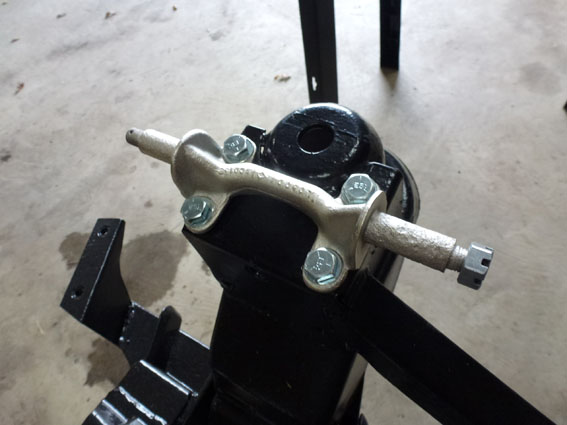
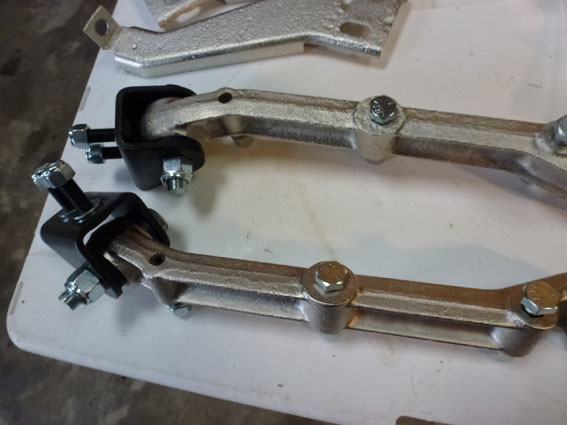
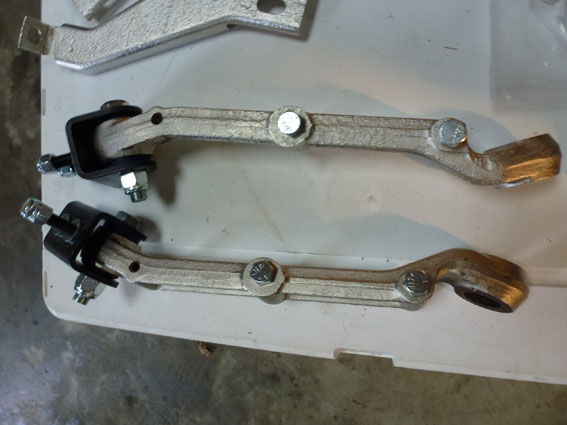
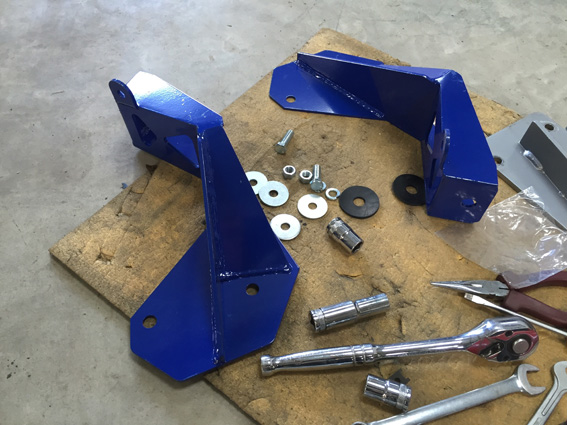
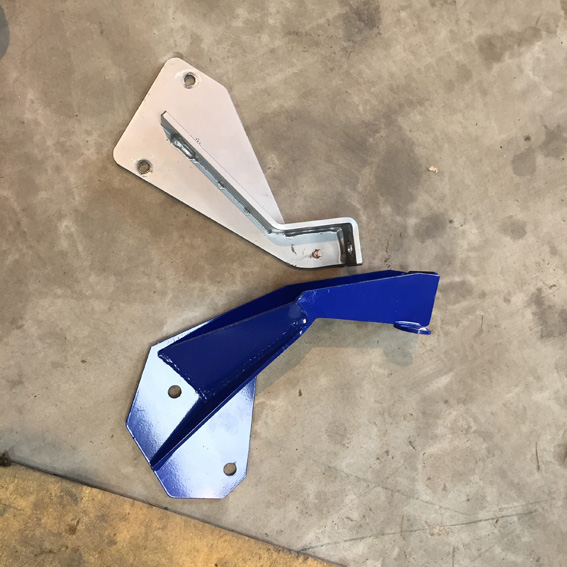
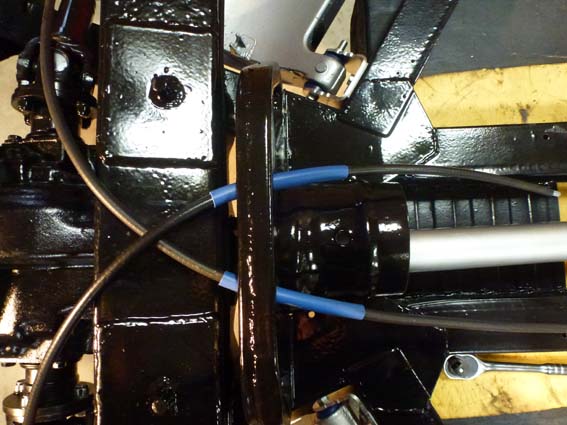
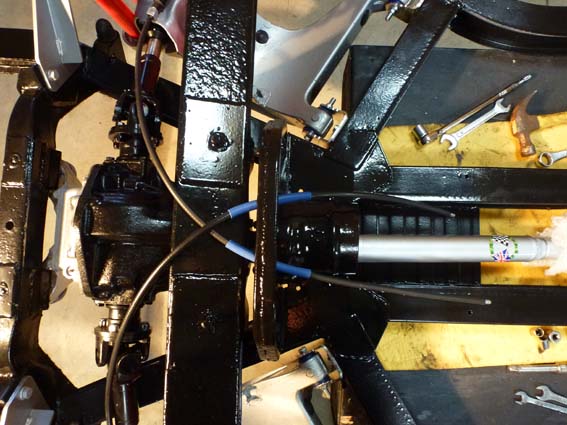
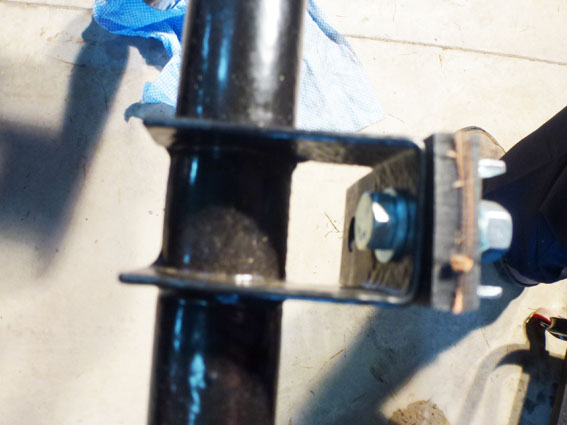
Problem with the suspension mounting brackets
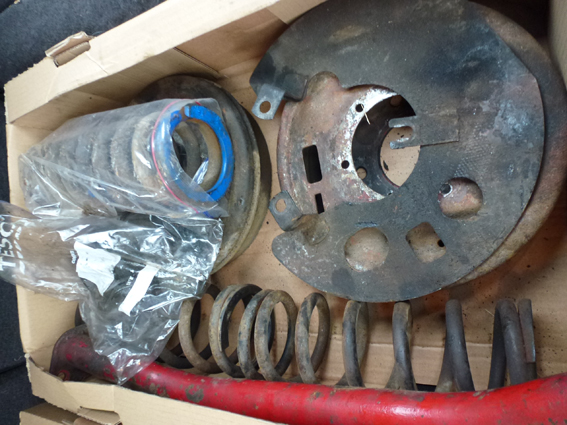
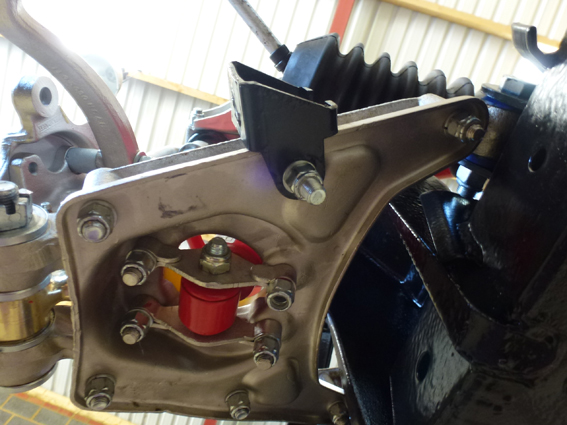
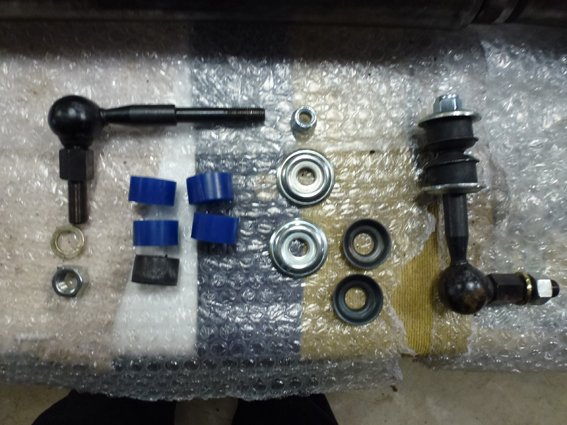
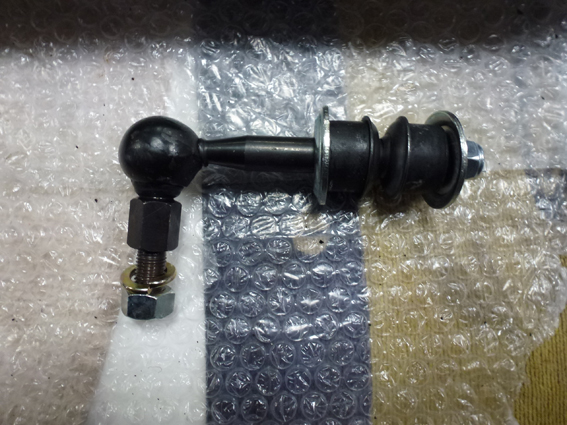
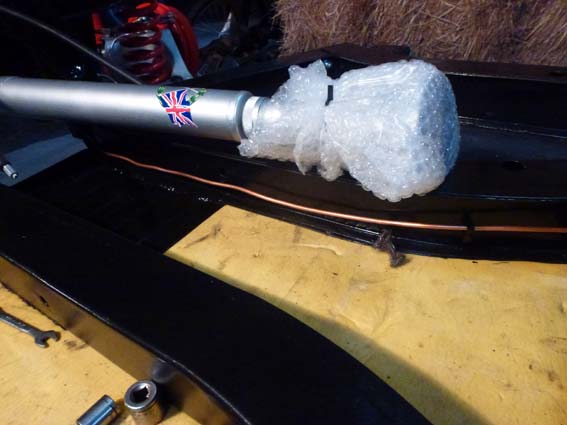
We reused the rear suspension mounting brackets that were on the car and fitted Koni adjustable shocks. When you jacked the car up the rear spring fell out and we could not work out why as we assumed all parts we correct! Incorrect! The rear brackets were shorter than required by about an inch and a half. So replacement brackets were ordered from Rimmers and it solved the problem. One of the pictures shows the difference in size of the brackets. The blue ones are correct. Refitting the brackets too about 2 hours to do.

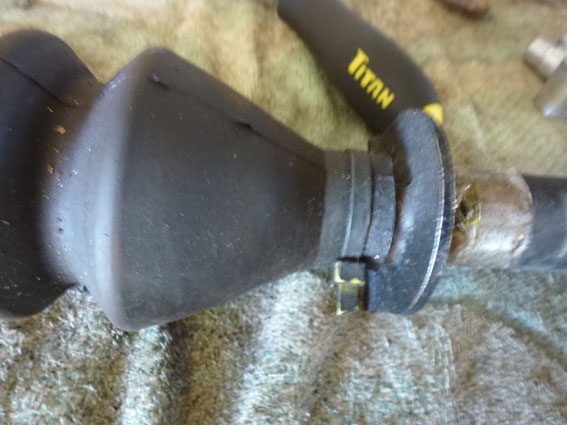
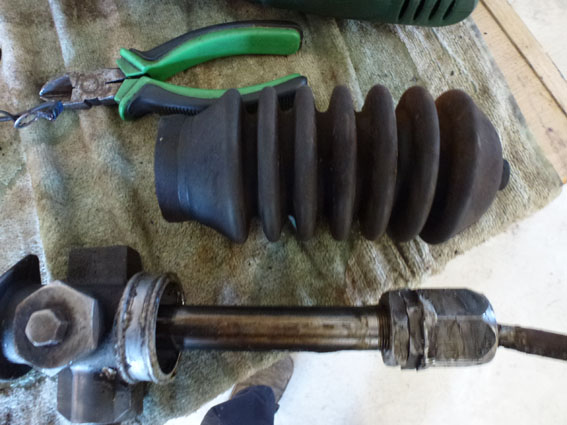
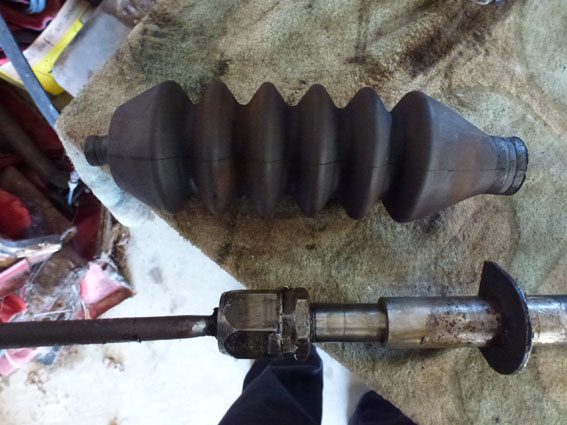
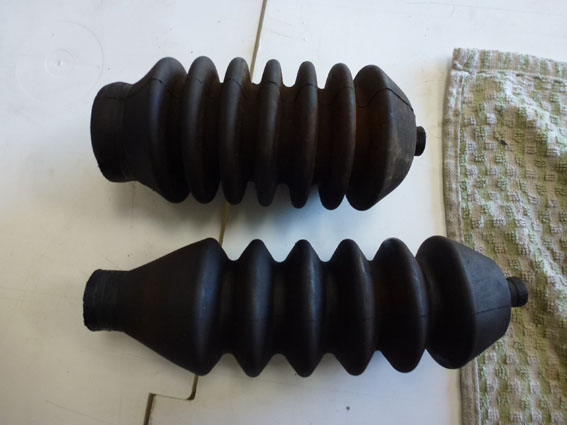
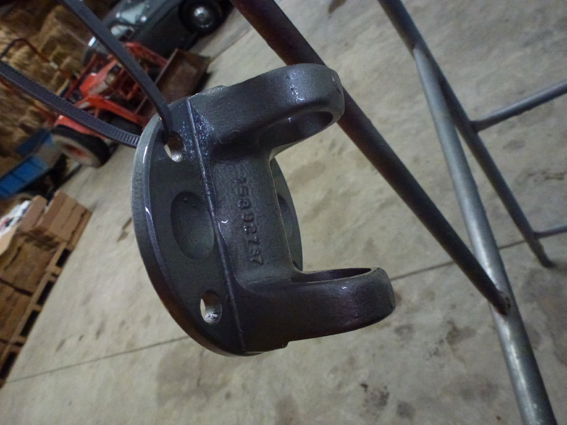
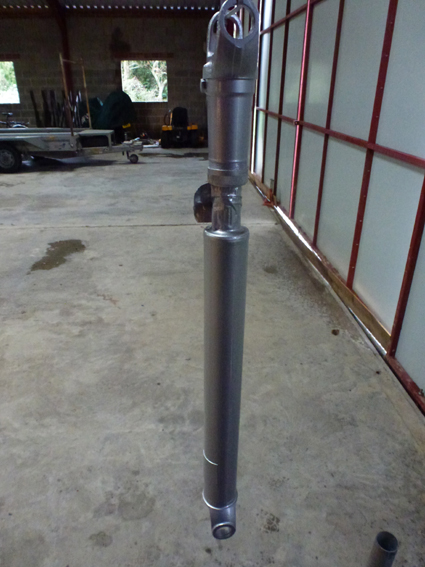
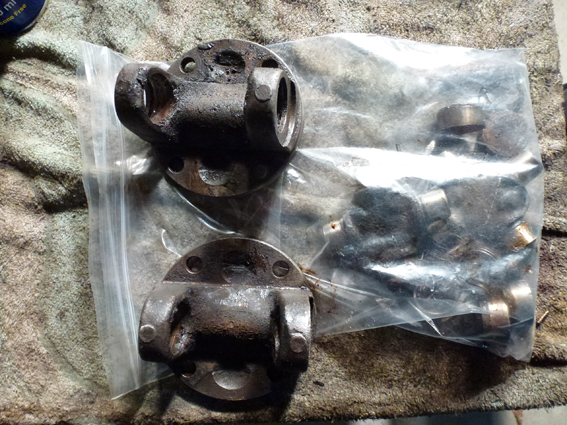
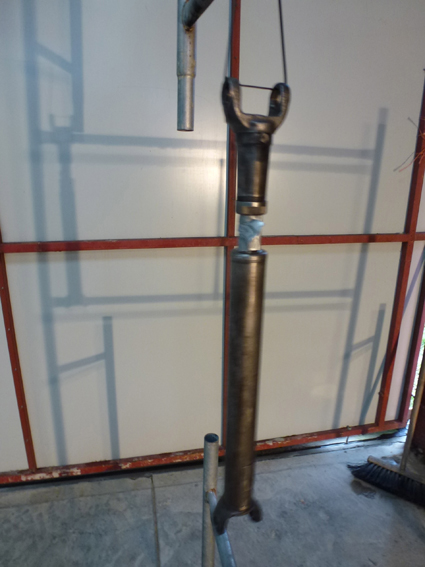
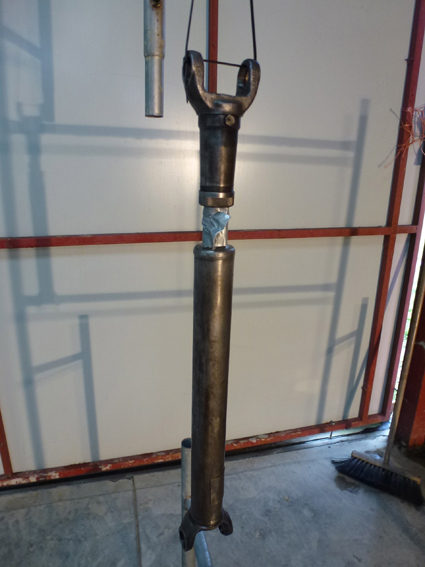
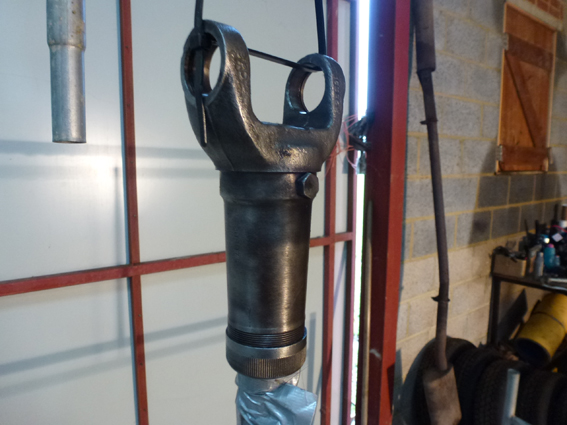
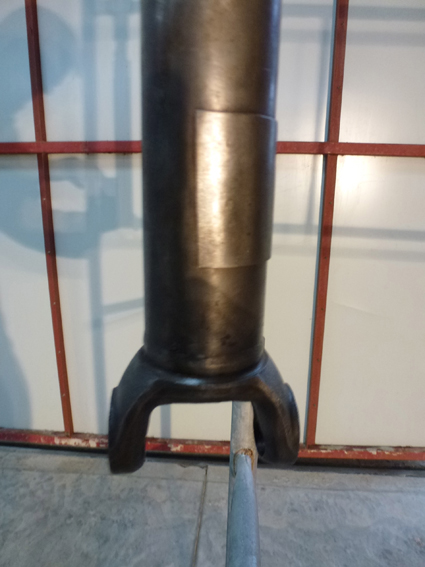
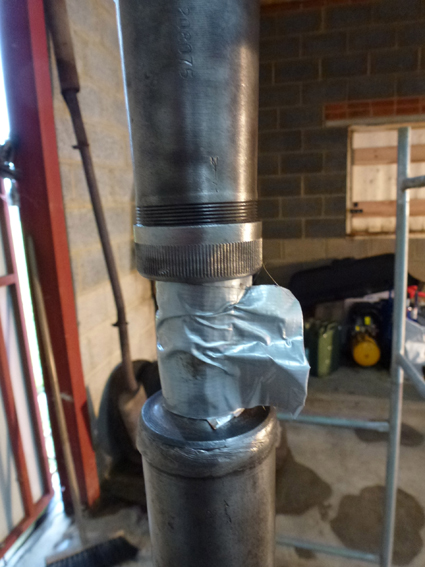
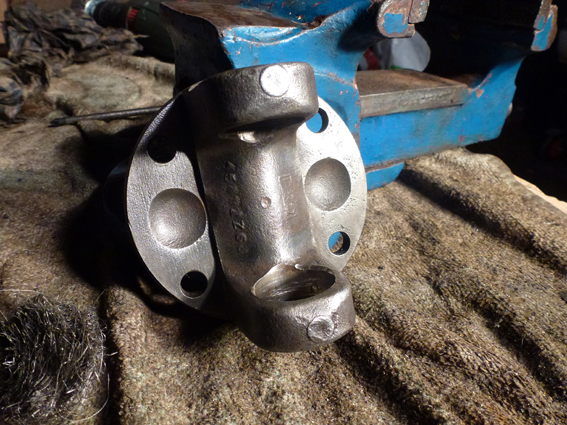
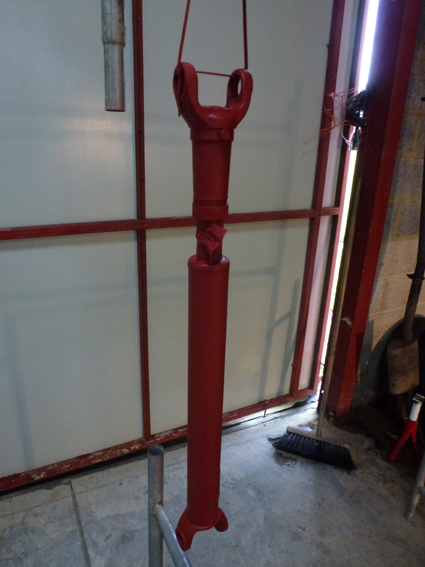
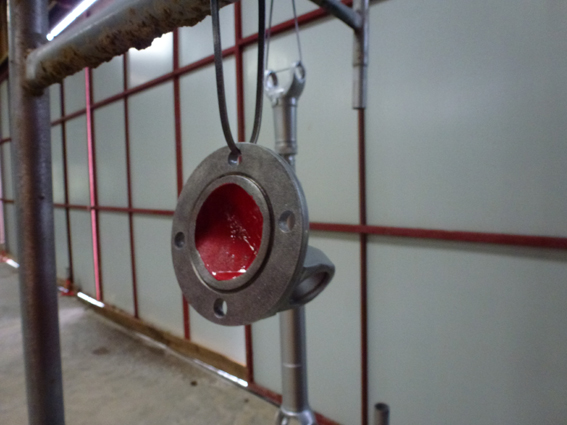
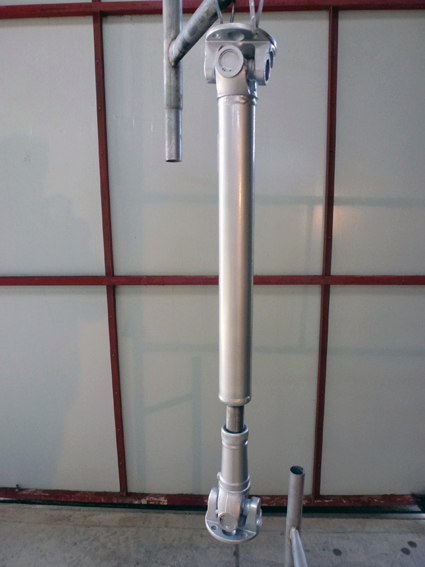
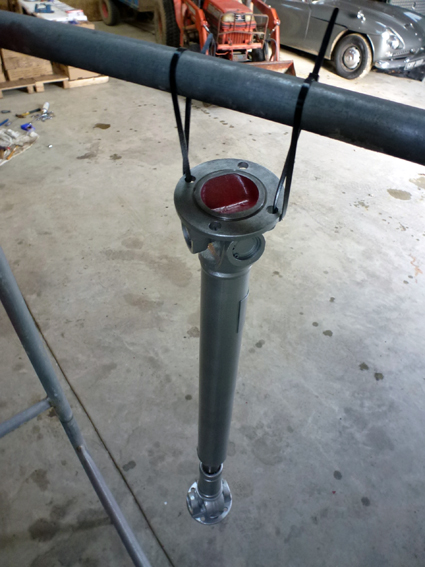
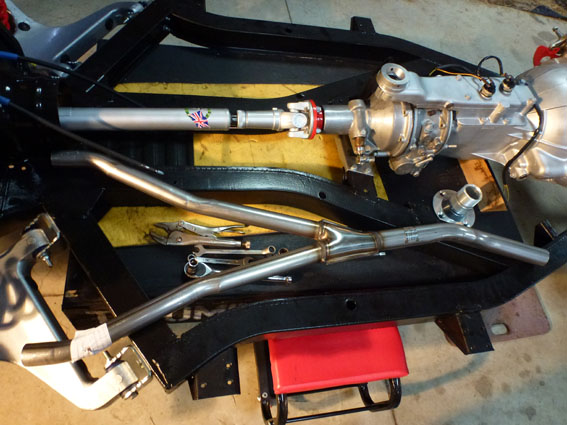
Propshaft

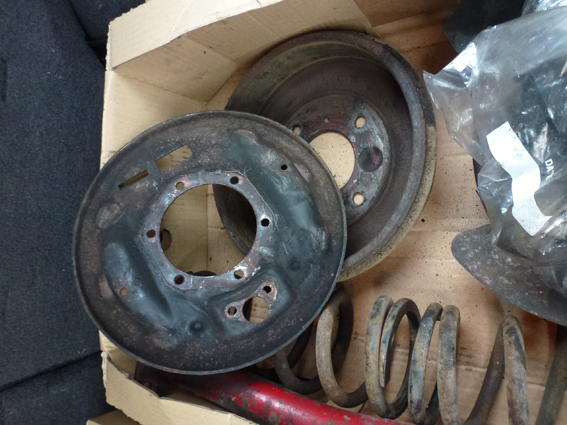
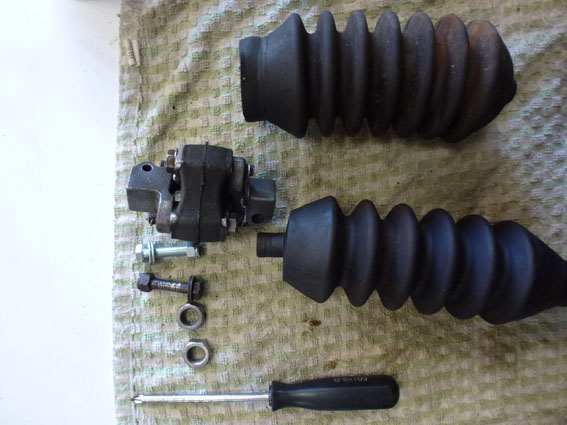
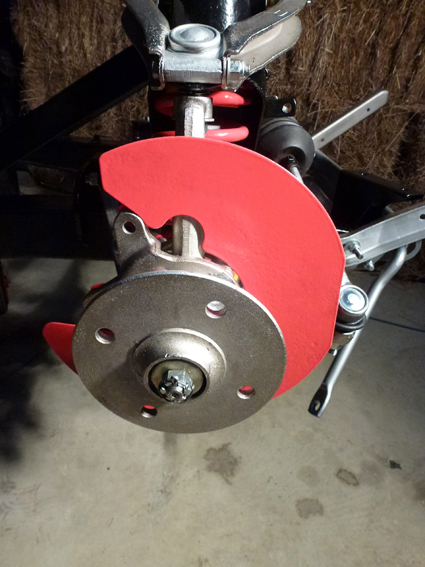
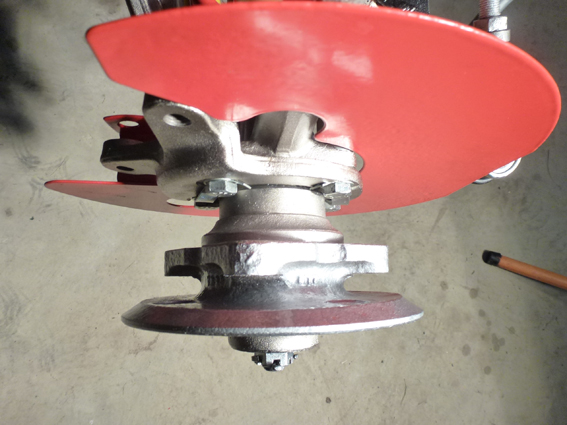
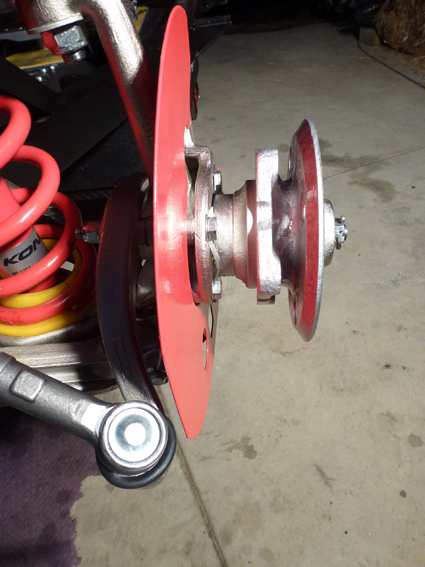
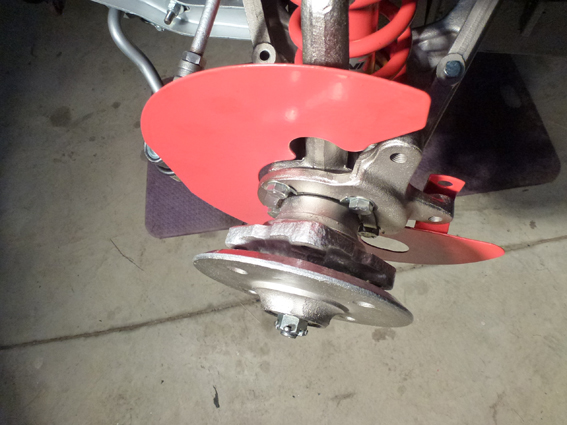
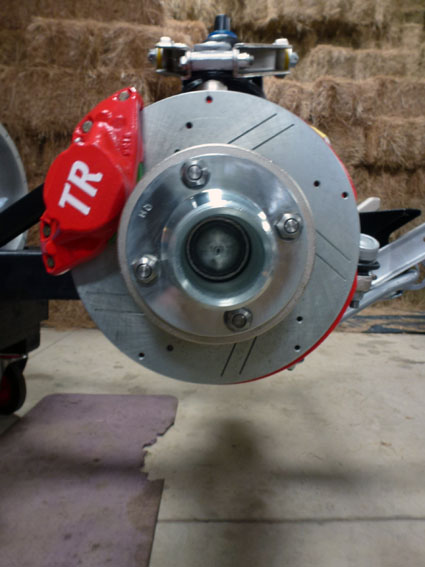
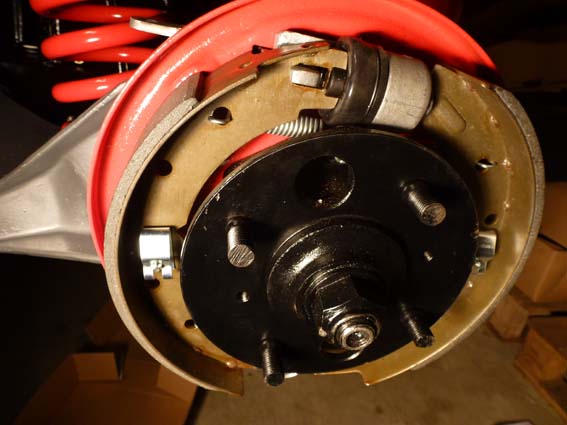
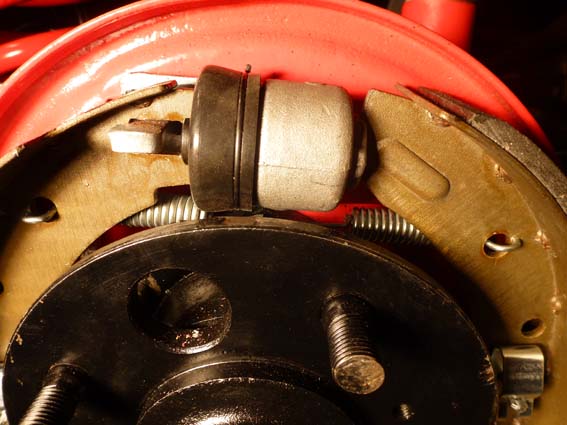
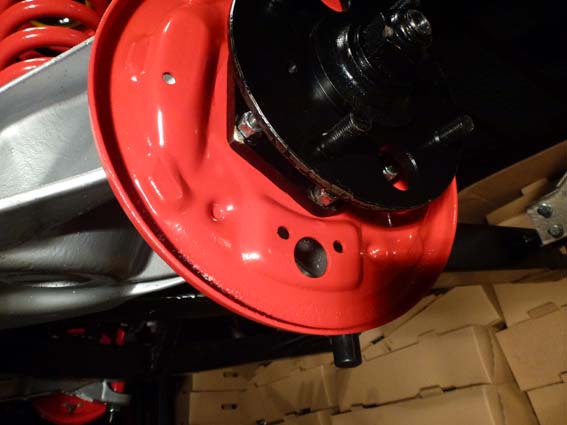
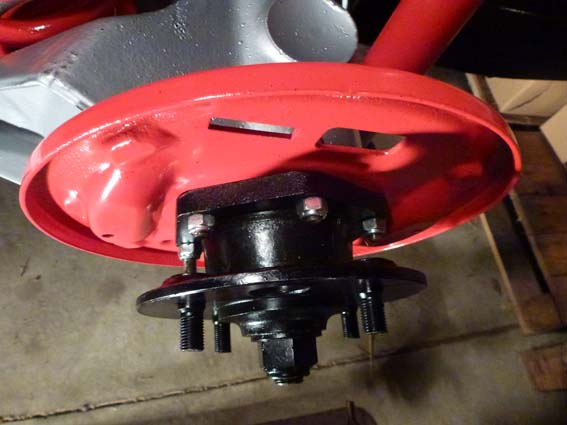
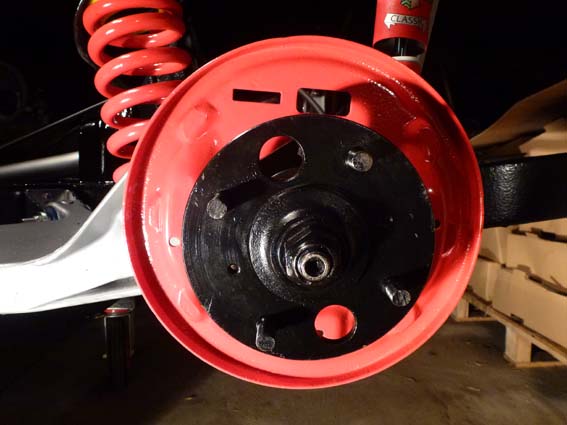
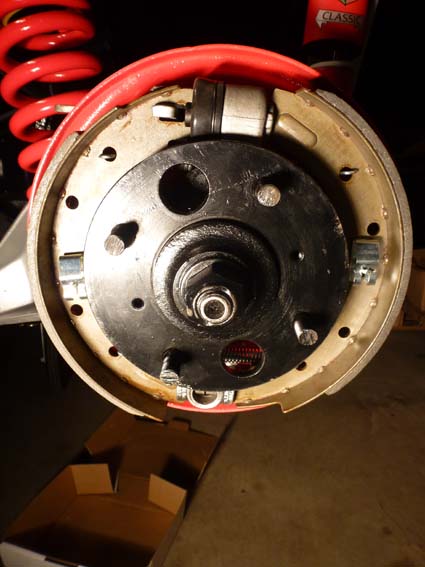
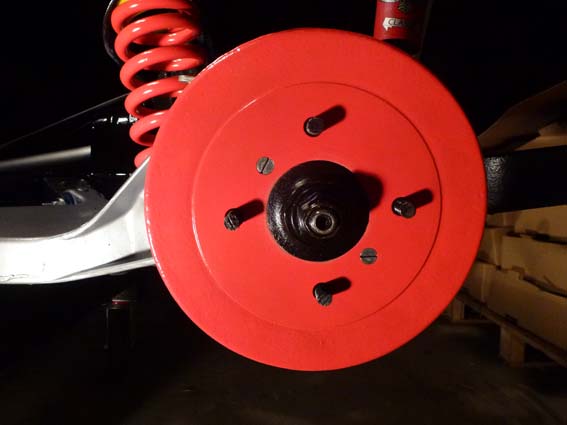
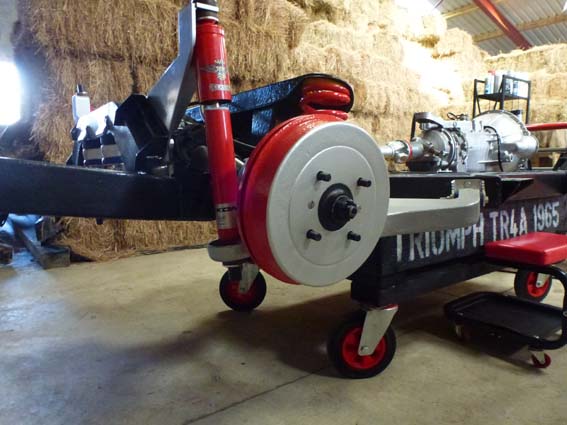
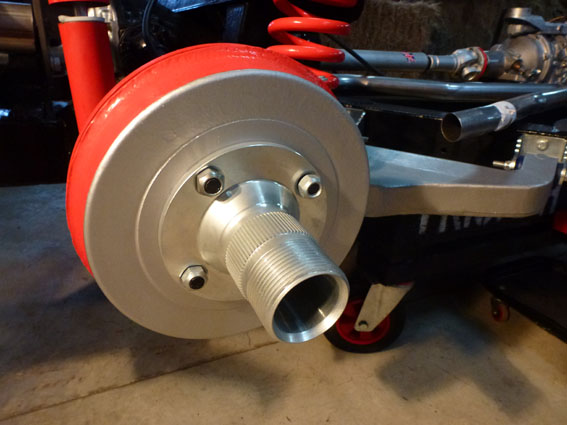
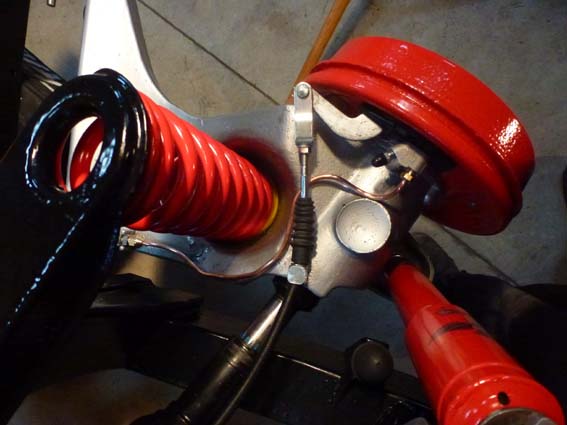
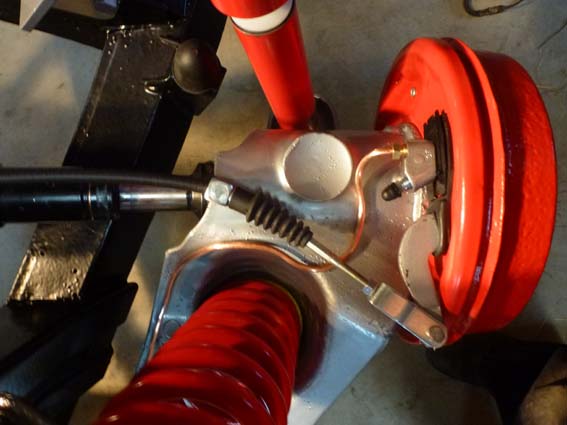
Rear Brakes Rebuild


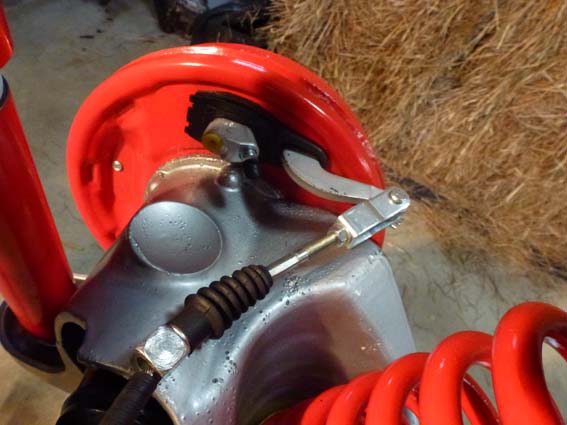
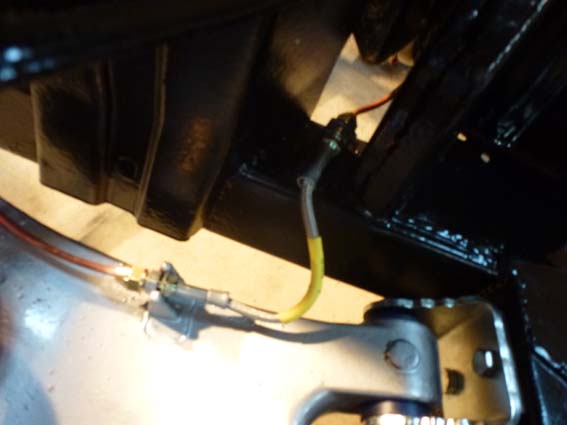
Rear Handbrake Cables
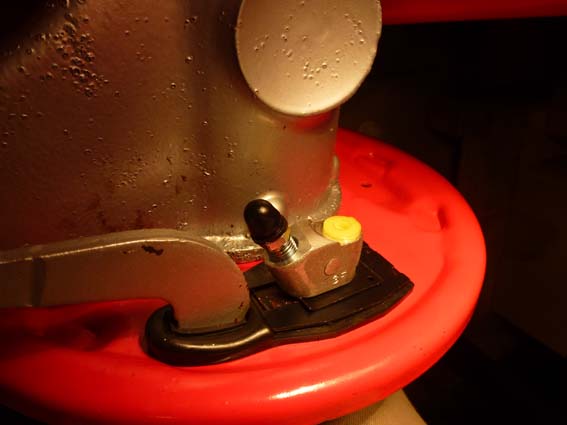
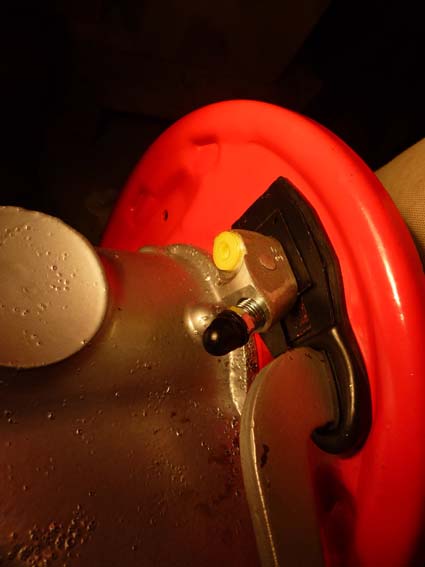
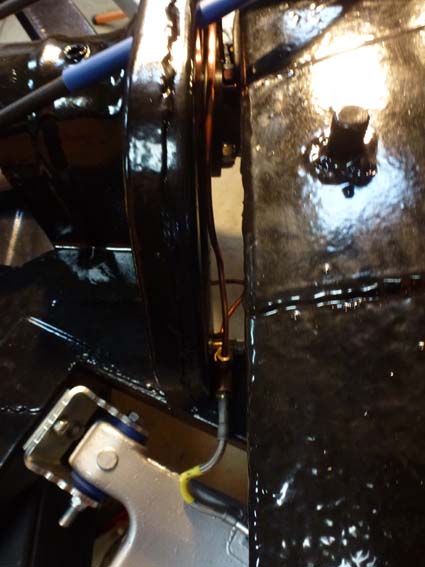
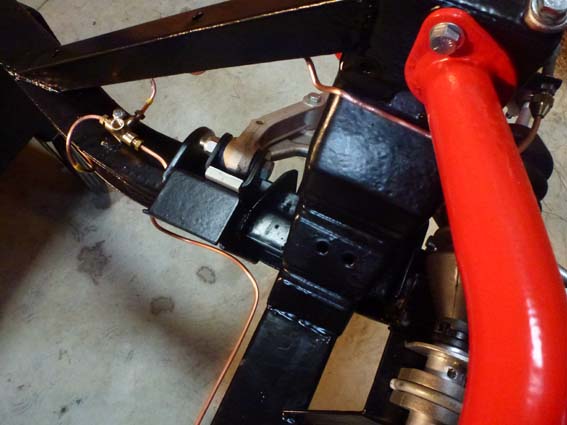
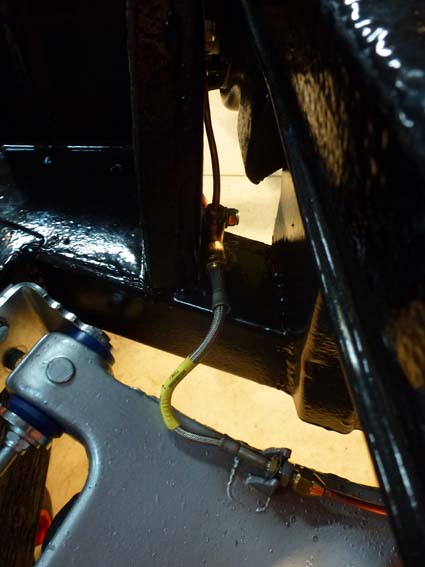
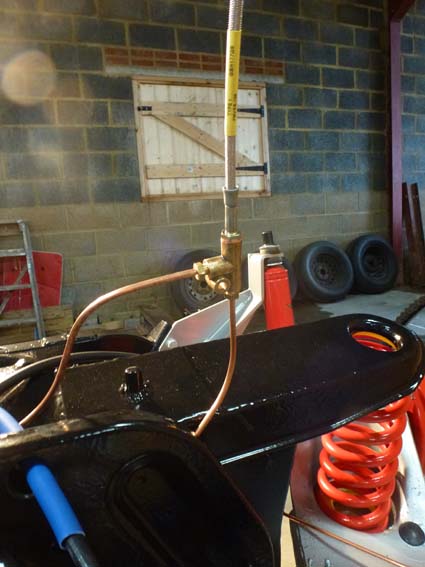
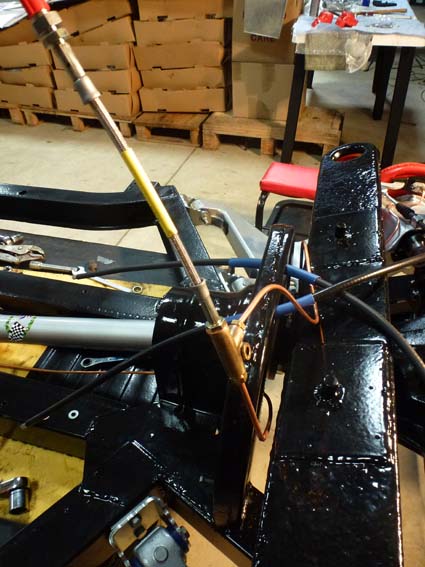
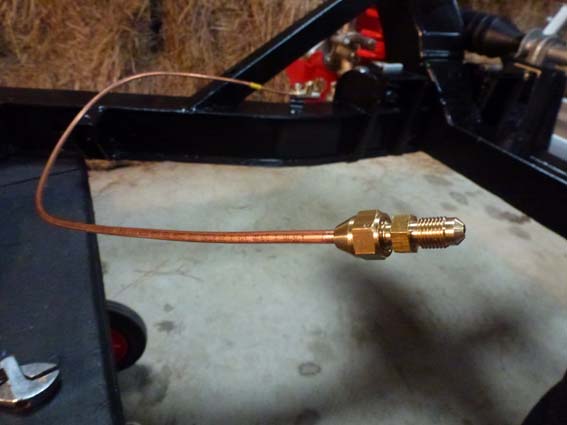
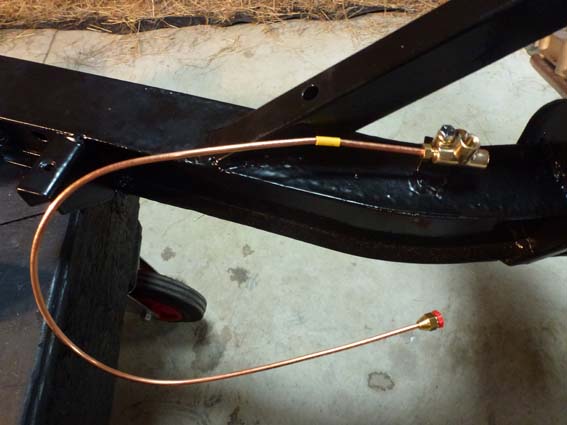
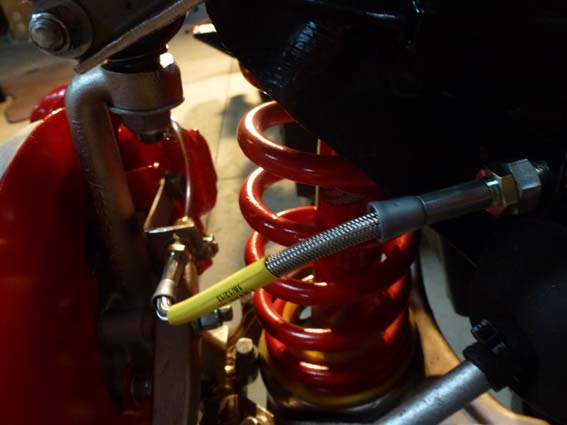
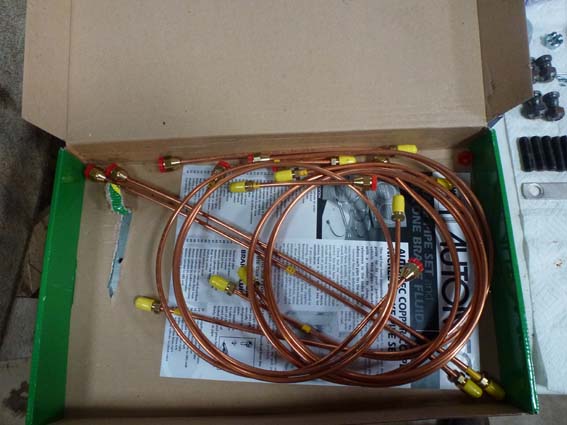
Brake Line Fitting


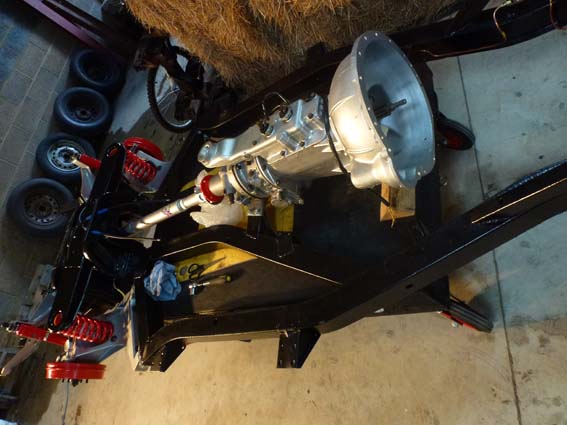
Transmission
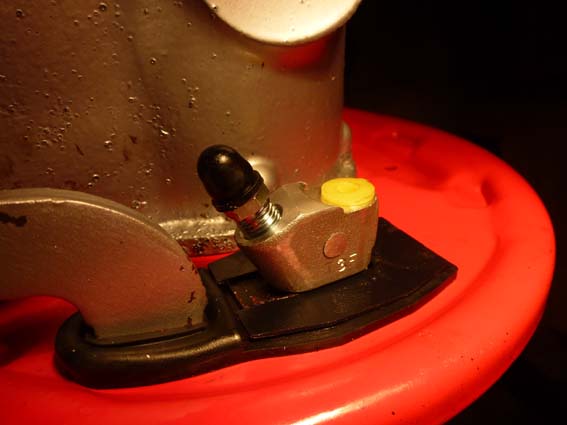
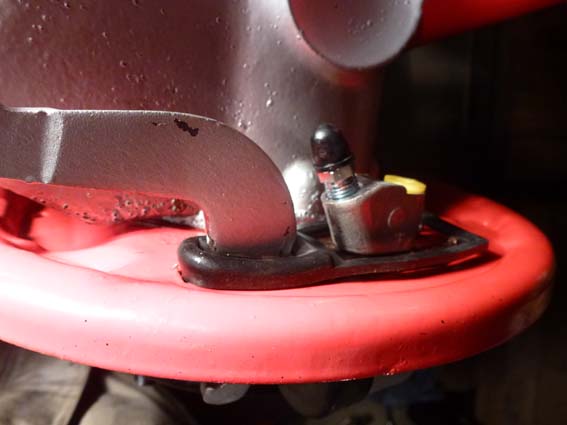
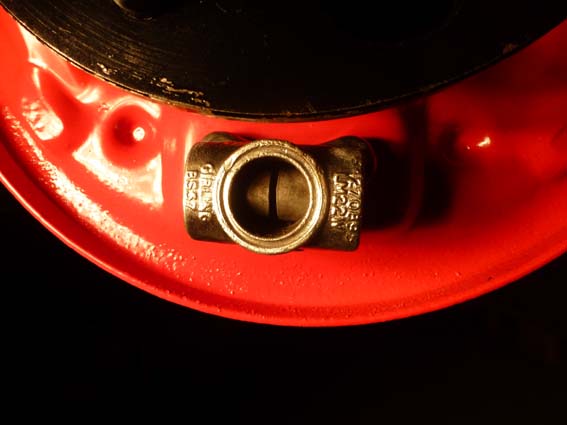
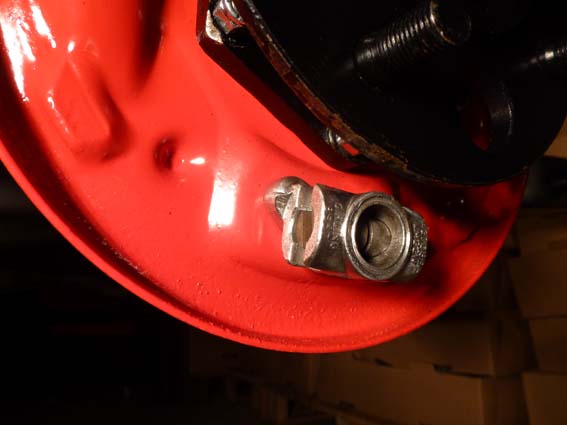
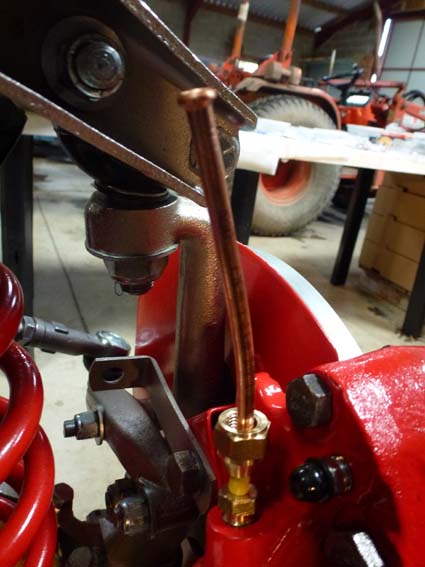
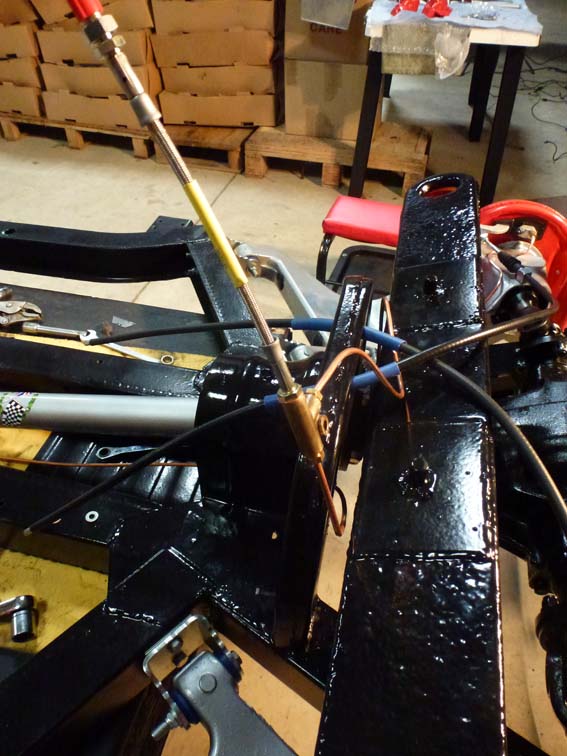
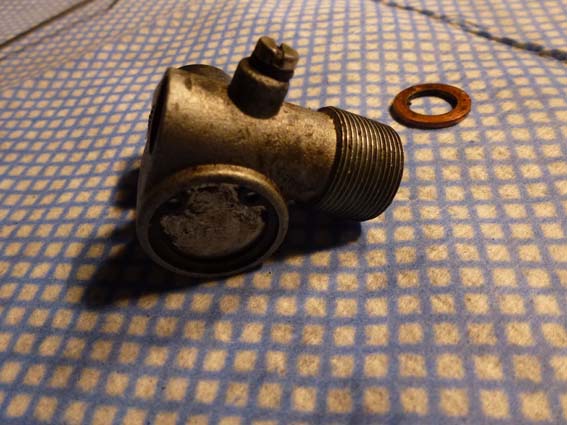
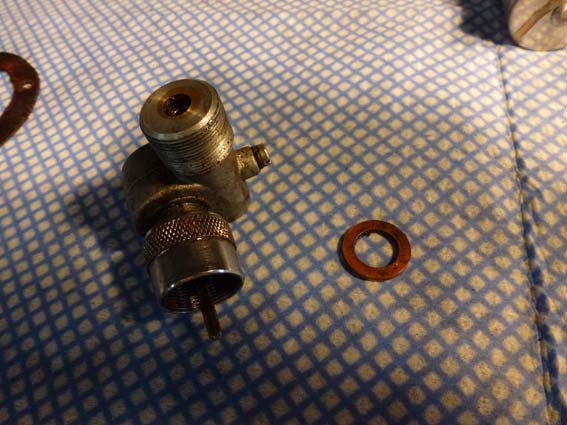
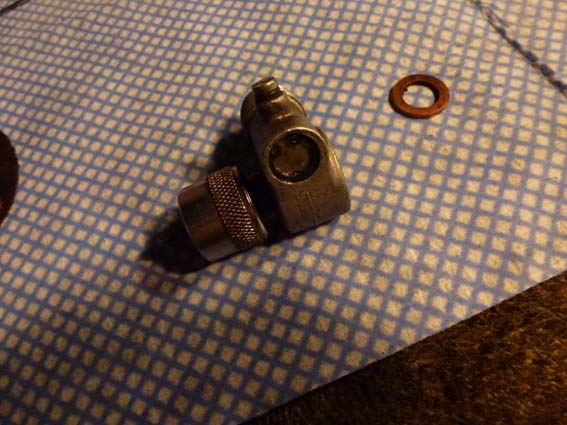
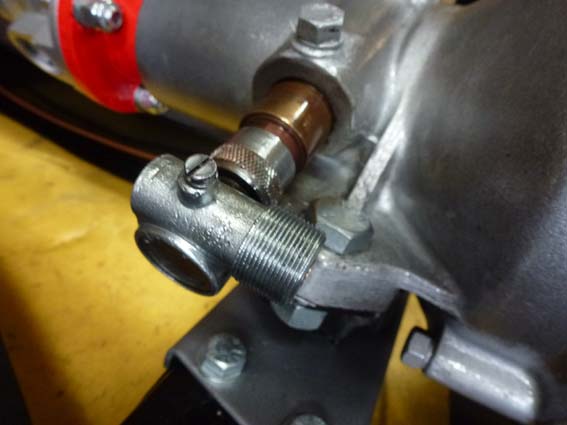
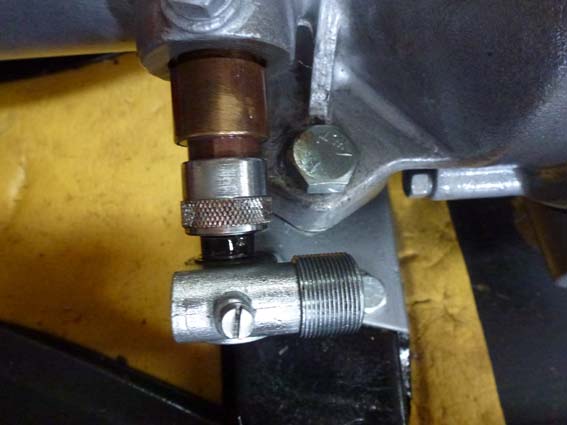
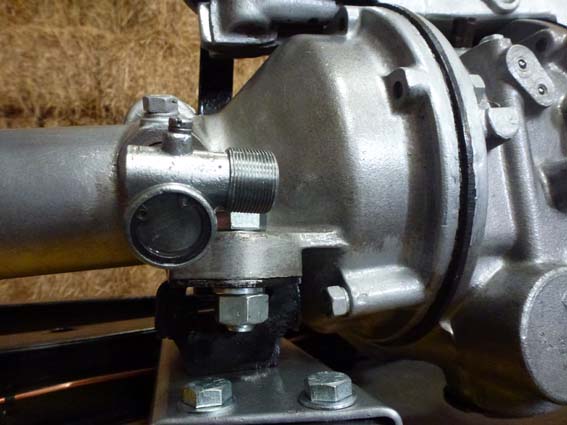
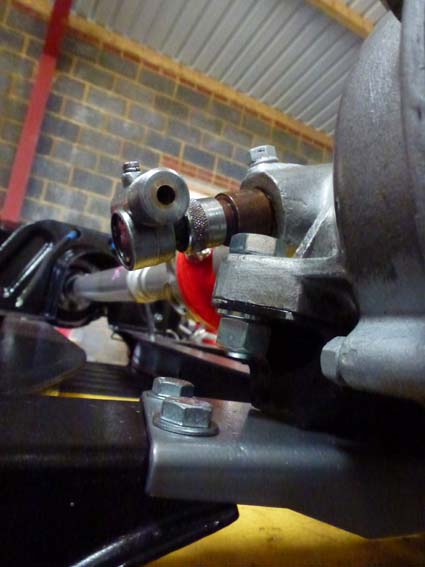
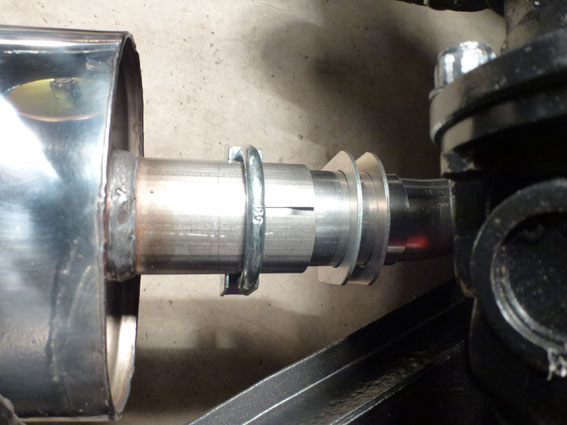
Angle Drive - Speedo


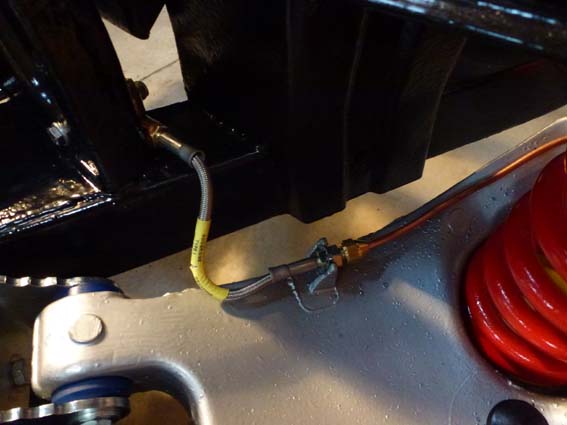
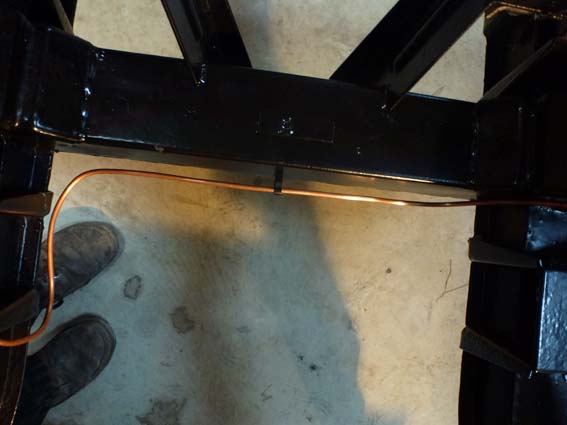
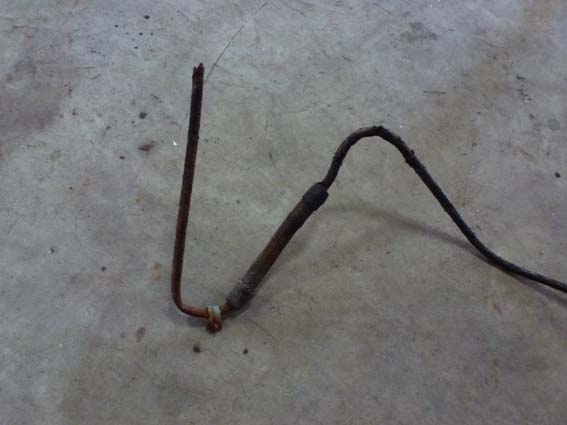
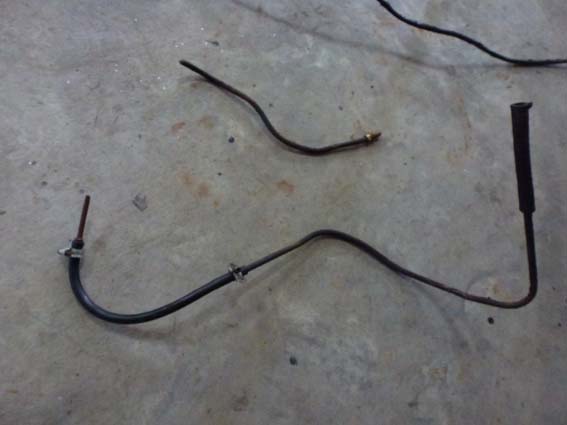
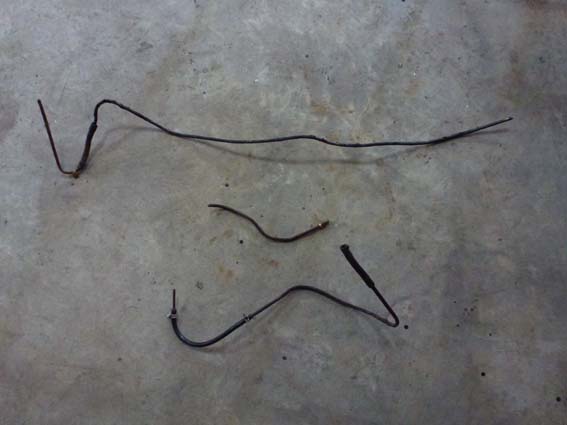
Fuel Lines
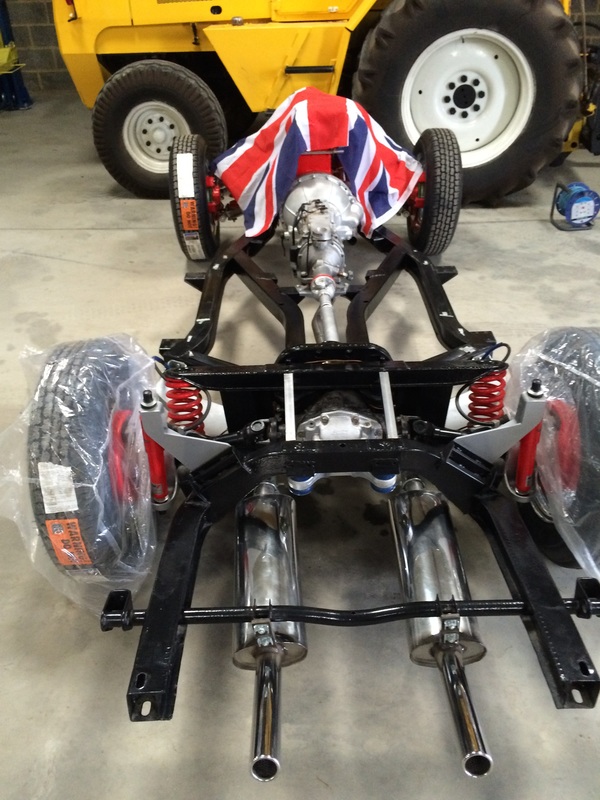
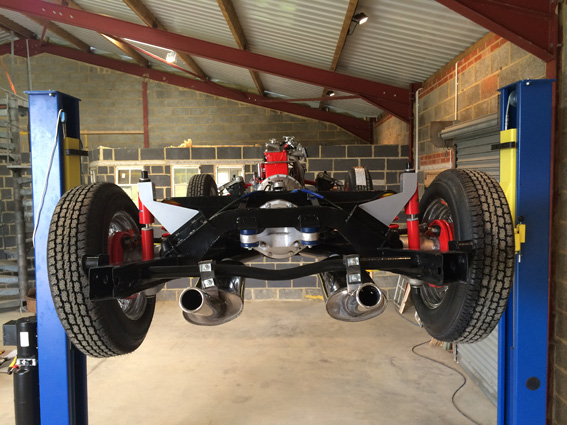
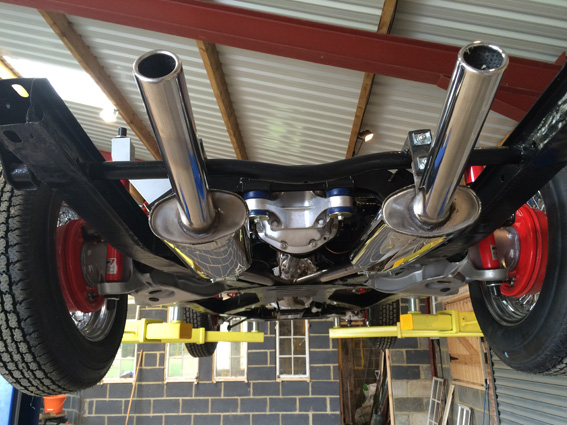
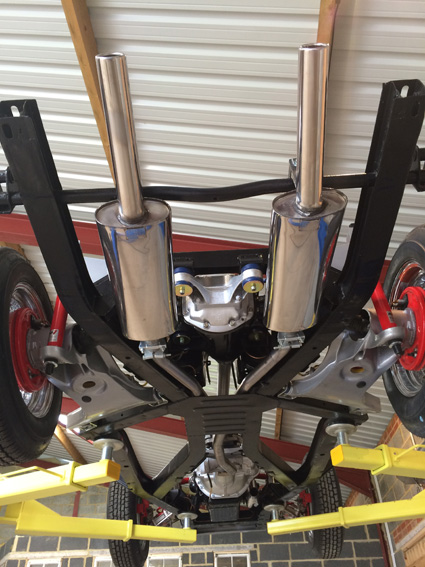
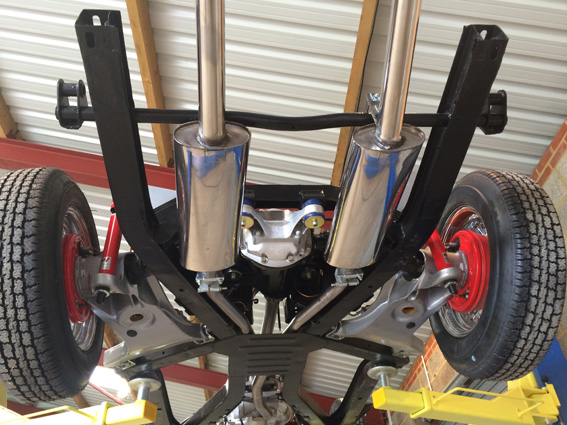
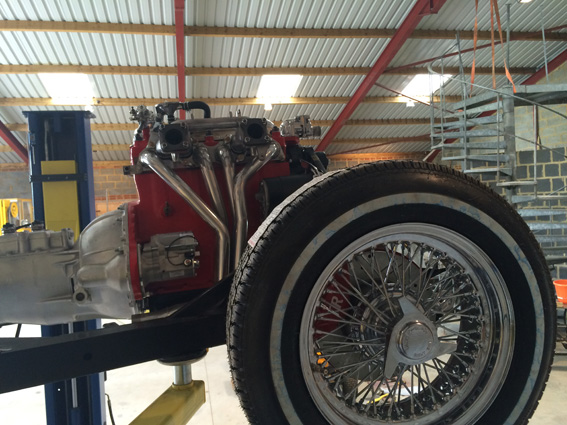
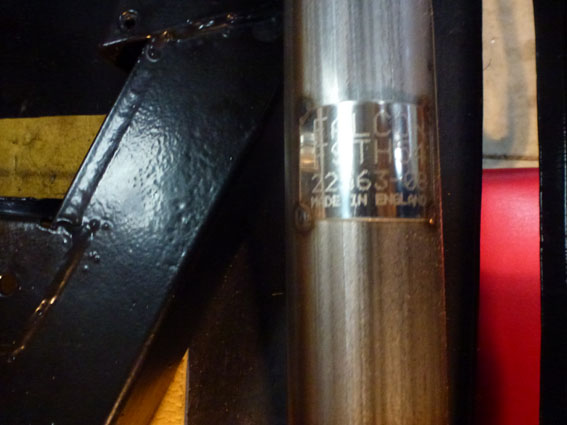
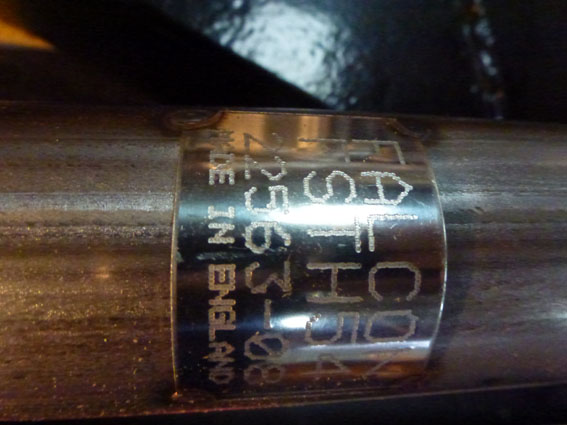
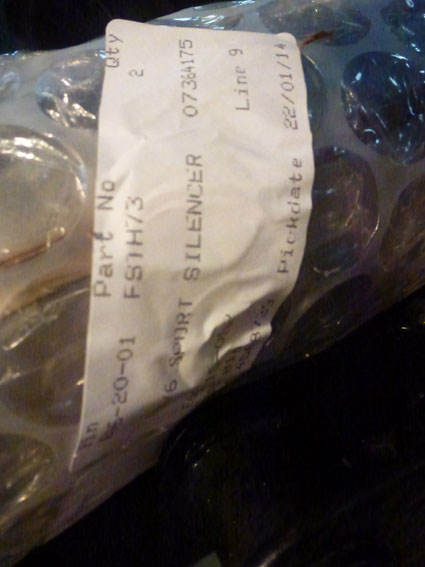
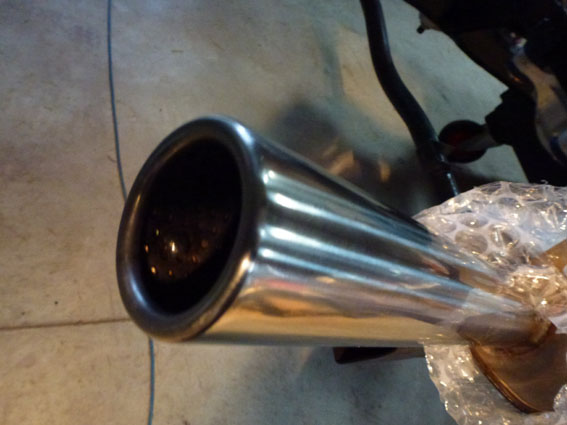
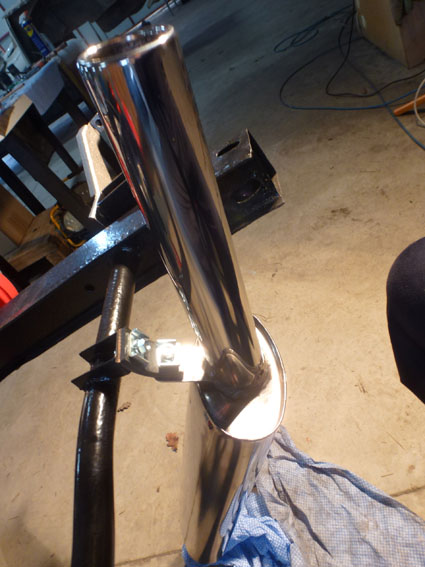
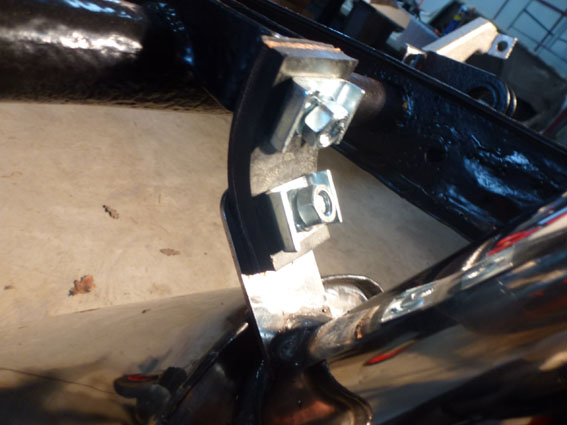
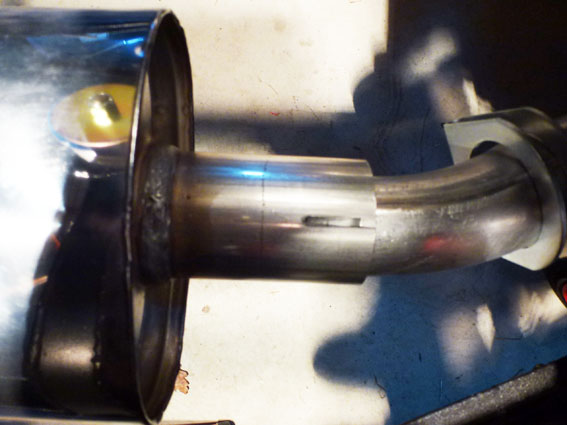
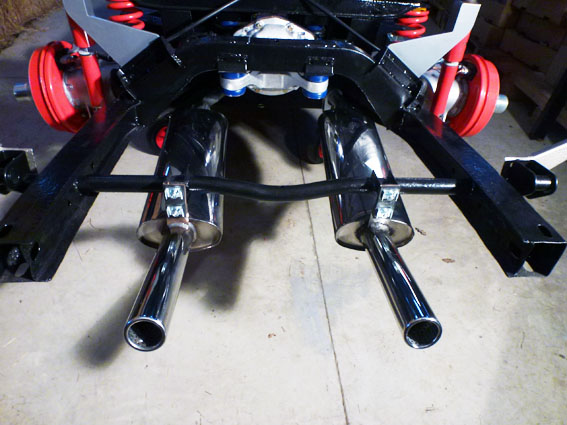
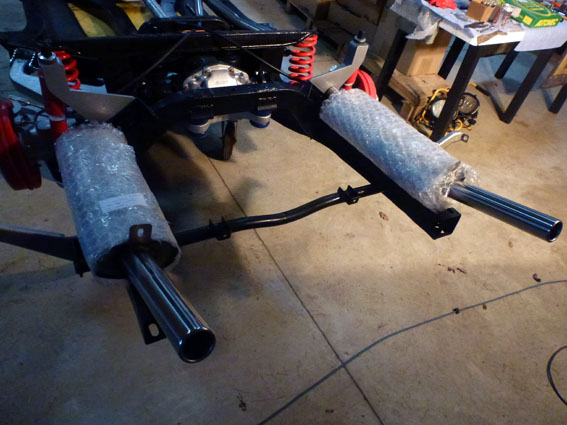
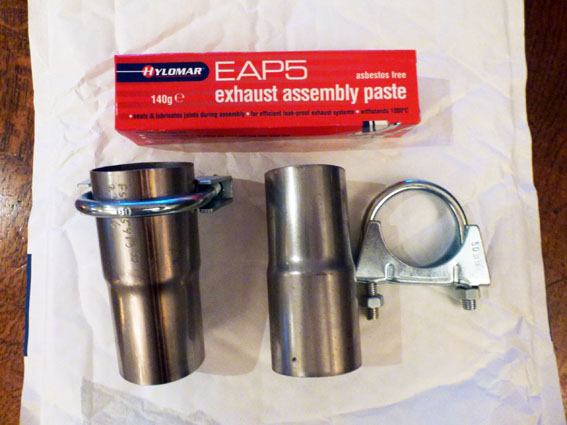
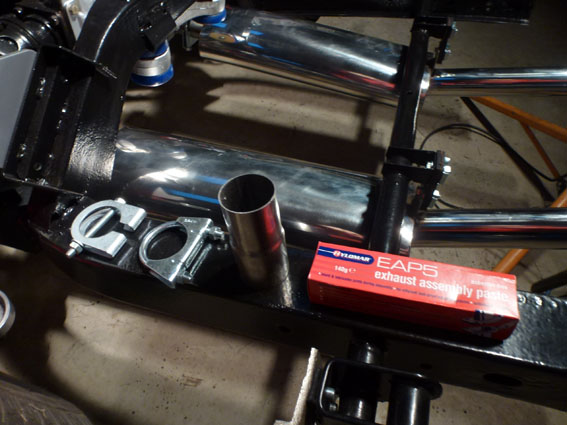
Exhaust


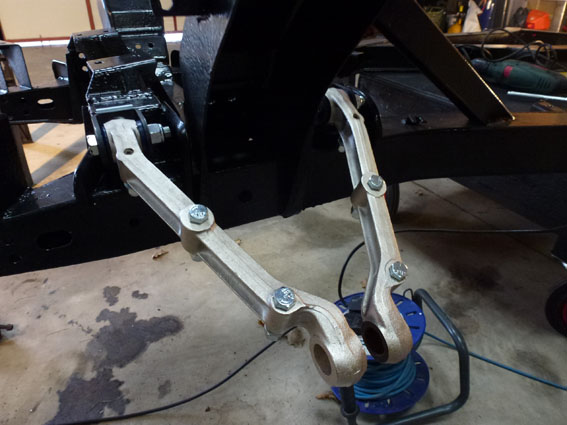
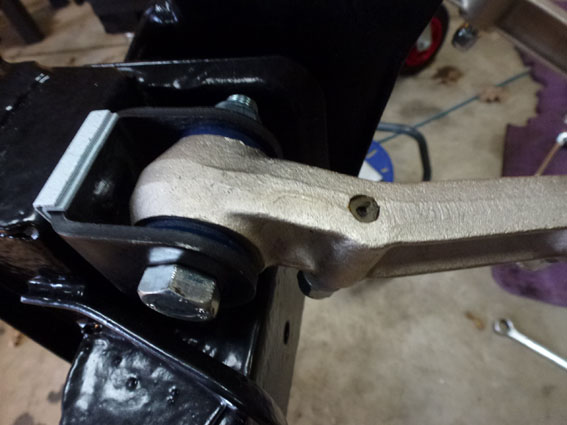
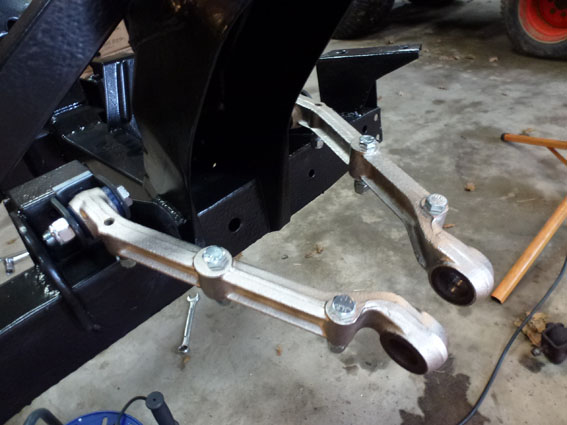
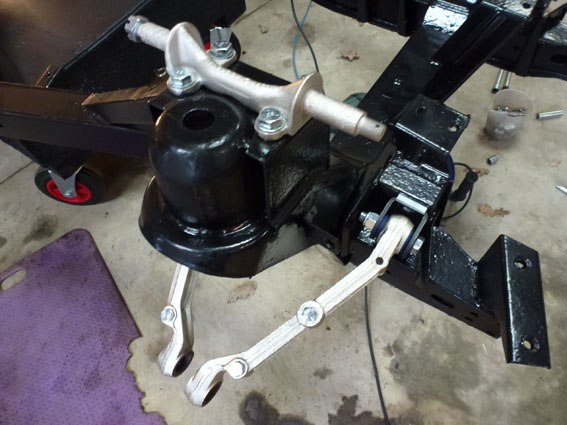
Rear body mounting arms
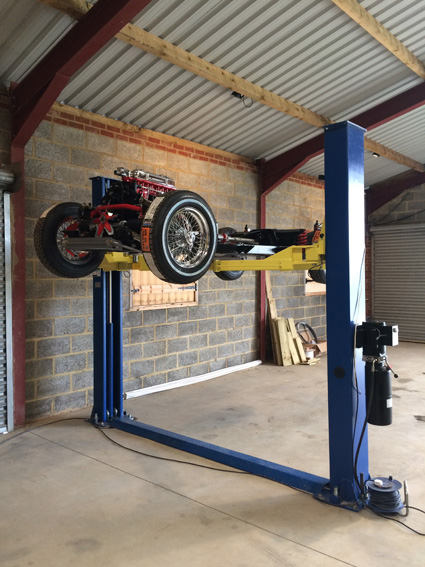
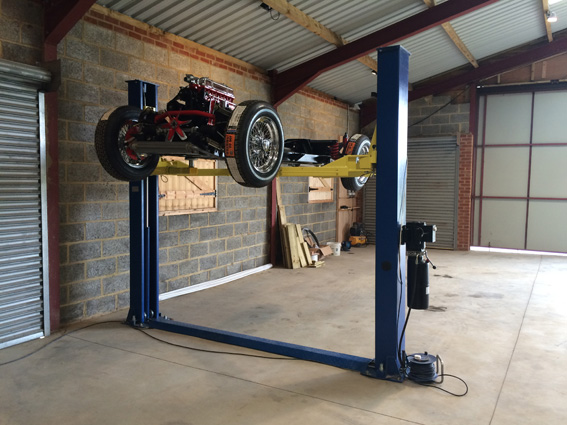
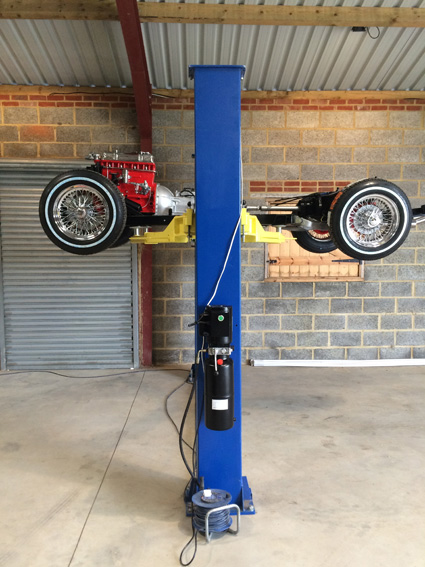
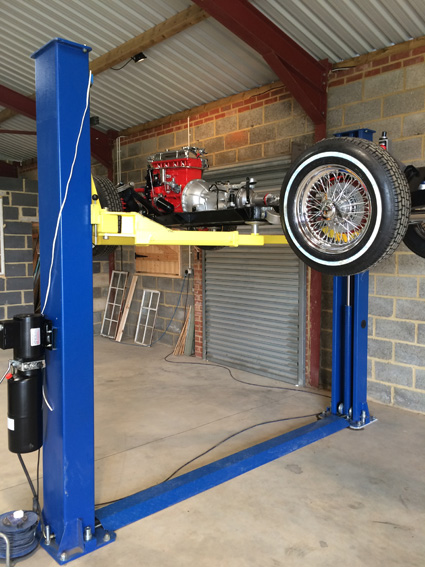
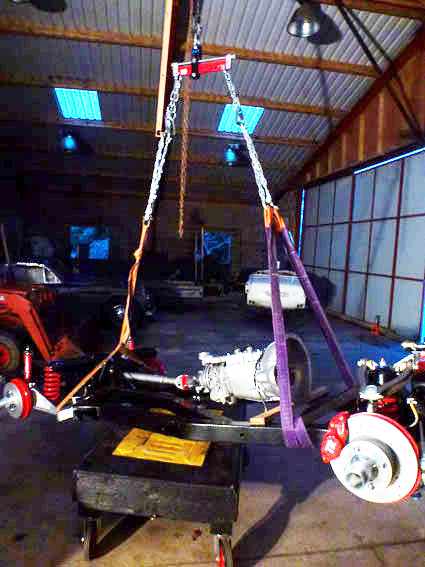
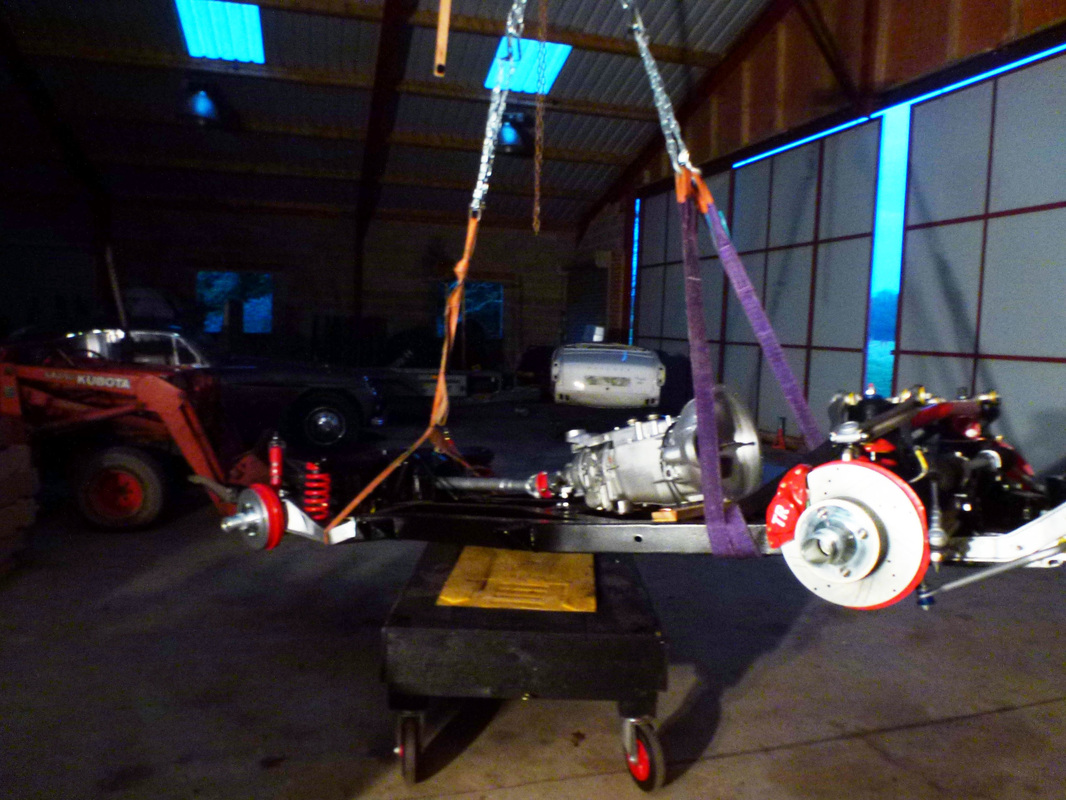
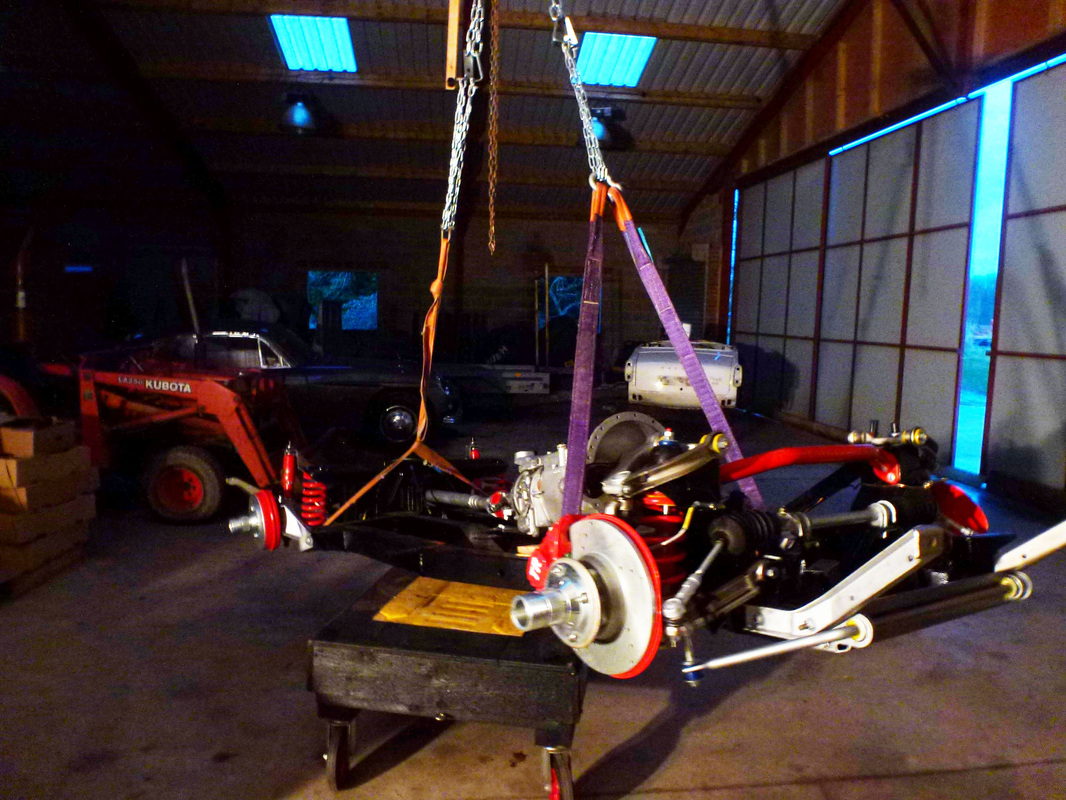
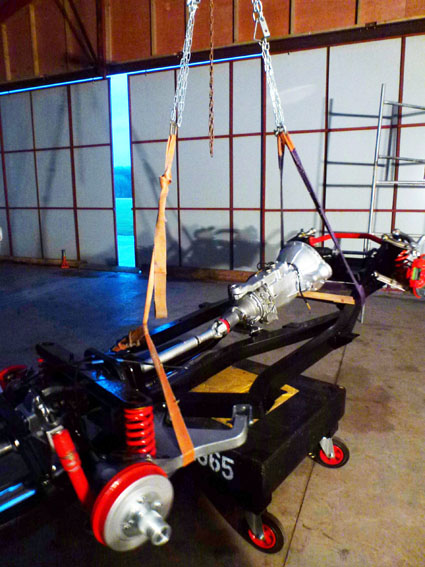
Raising the Chassis off the chassis dolly and back on to wheels
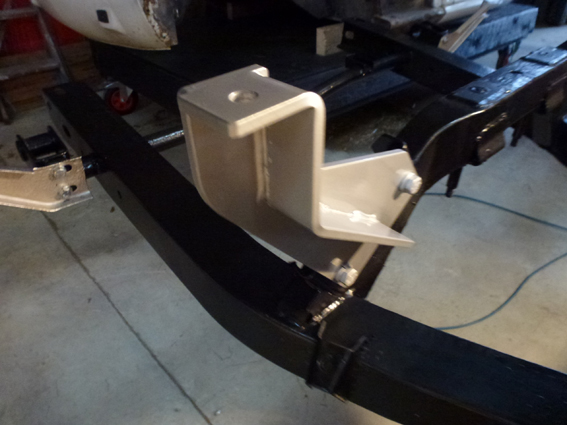
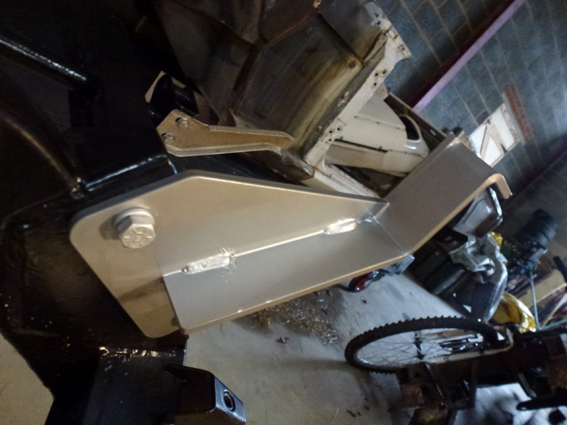
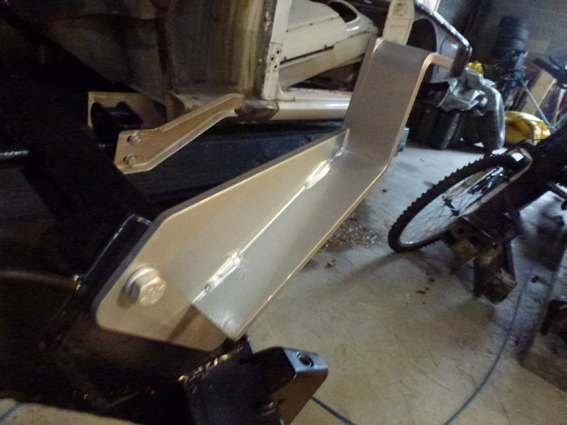
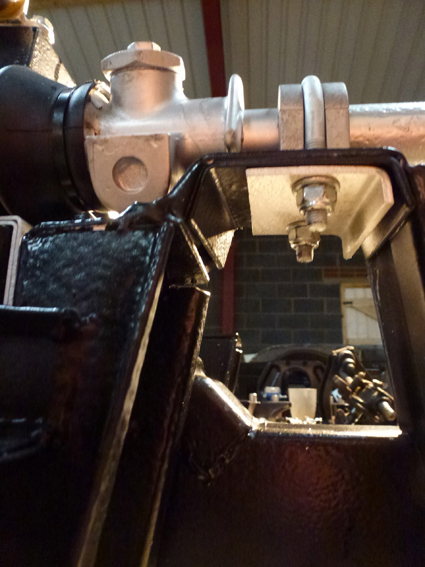
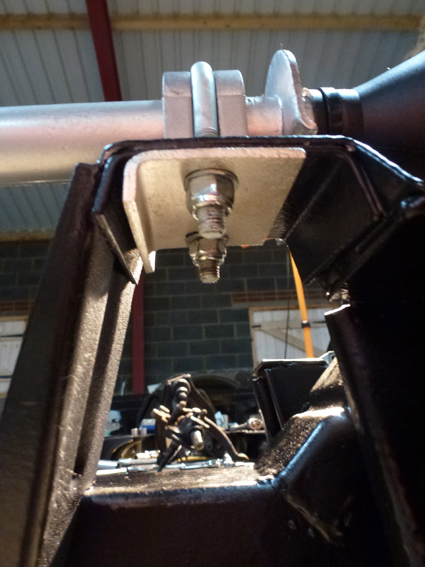
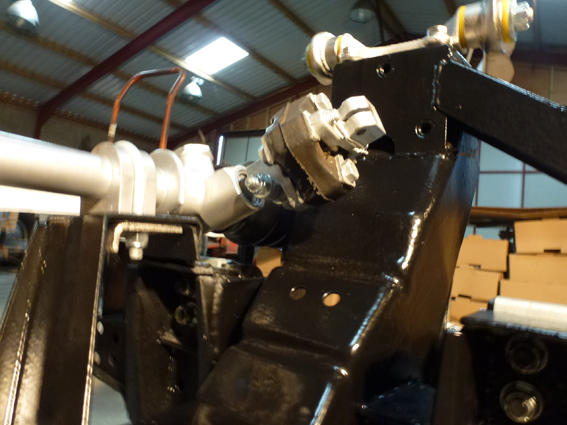
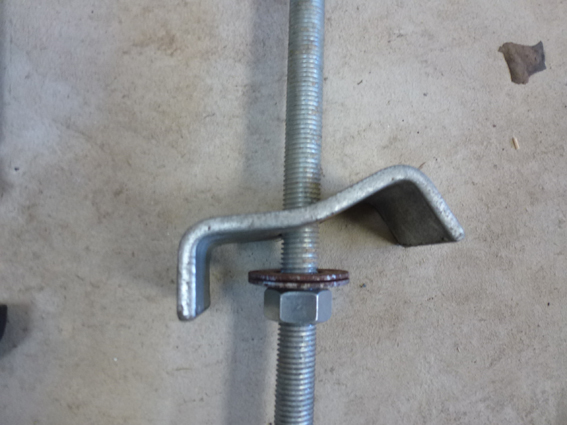
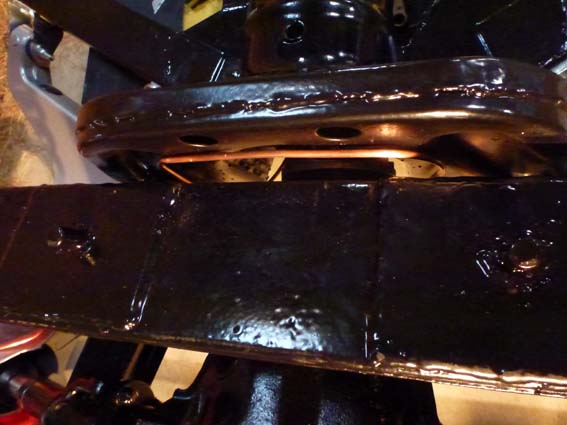
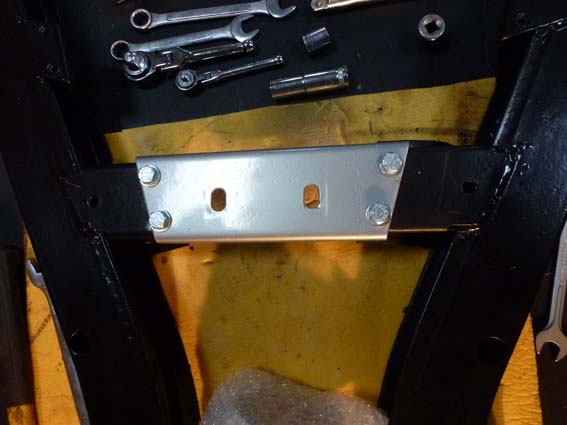
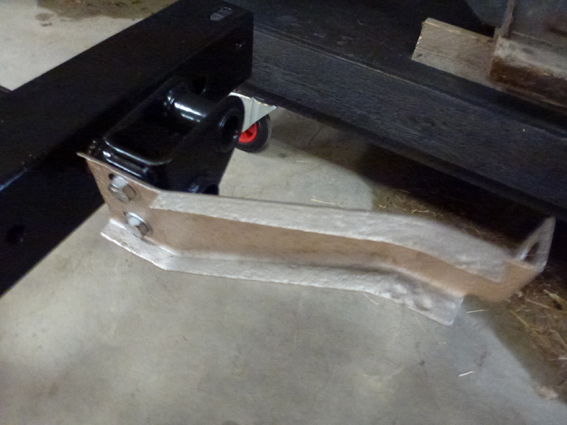
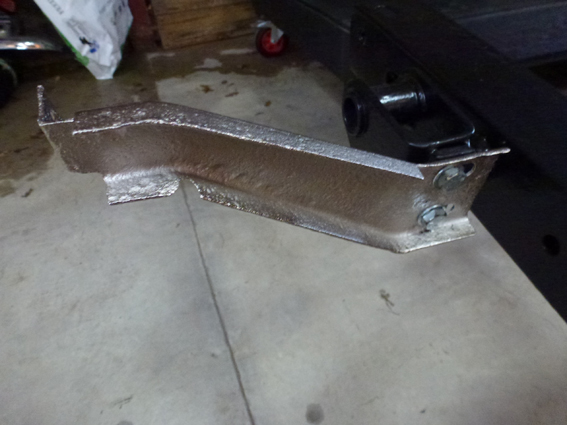
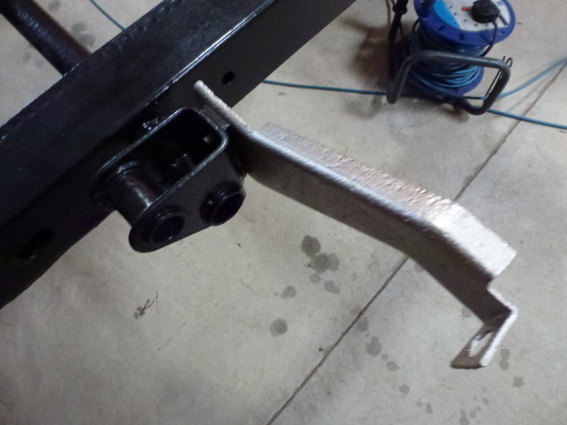
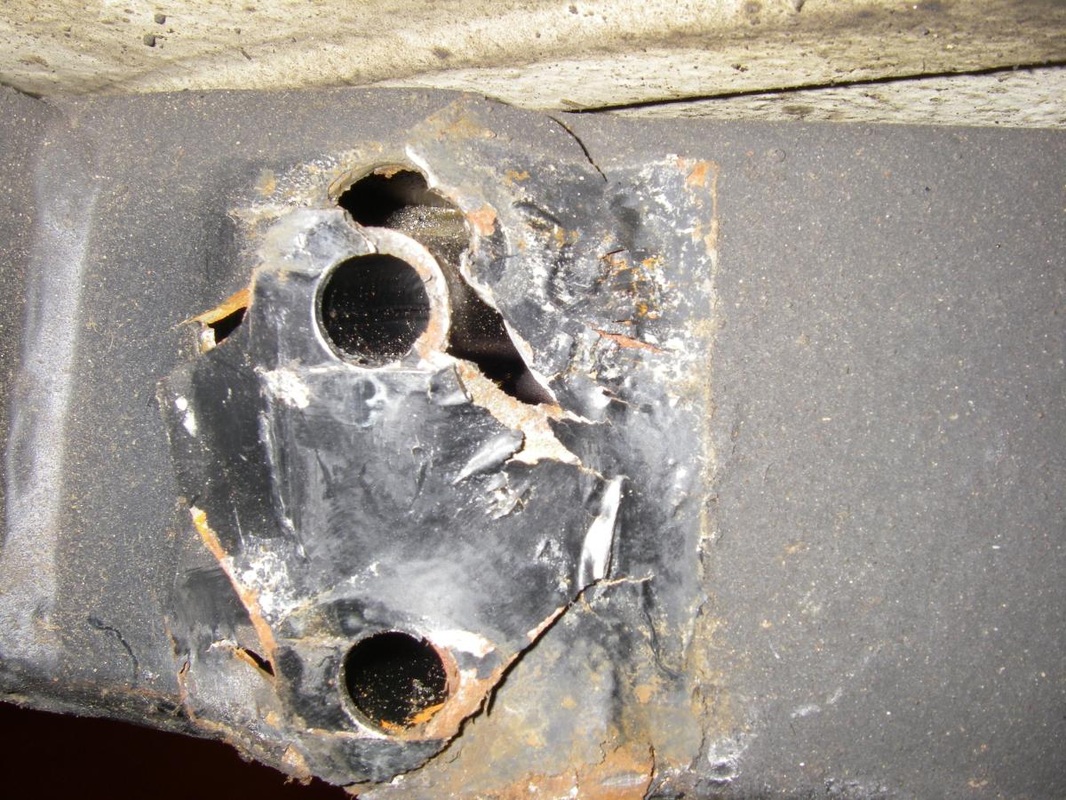
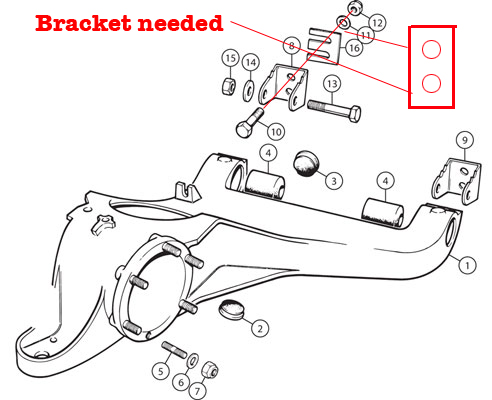
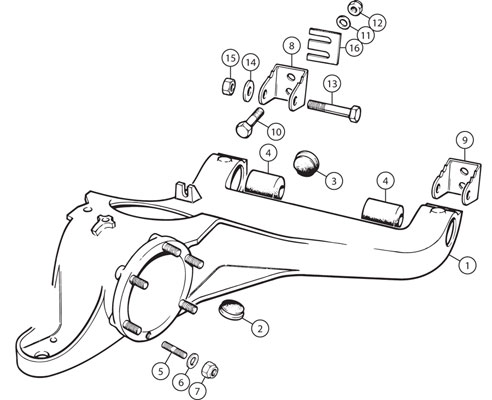
TR4A Rear Trailing arms support bracket
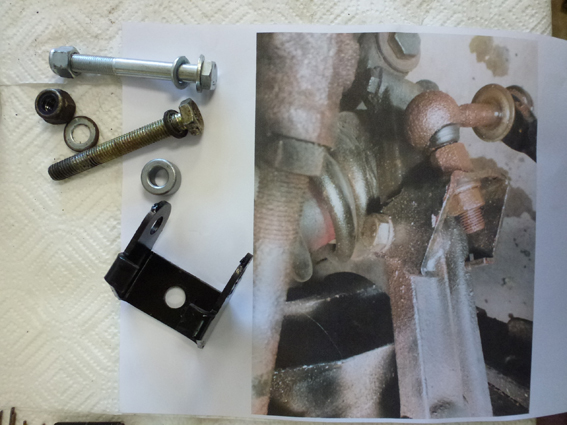
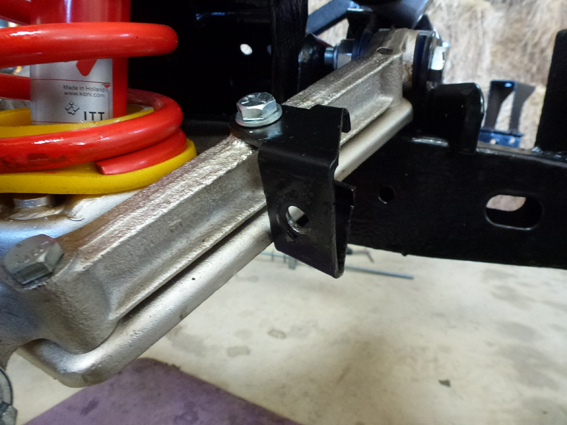
There has been a lot of talk about the bolts that hold the rear trailing arm brackets being pulled through the chassis and the chassis failing.
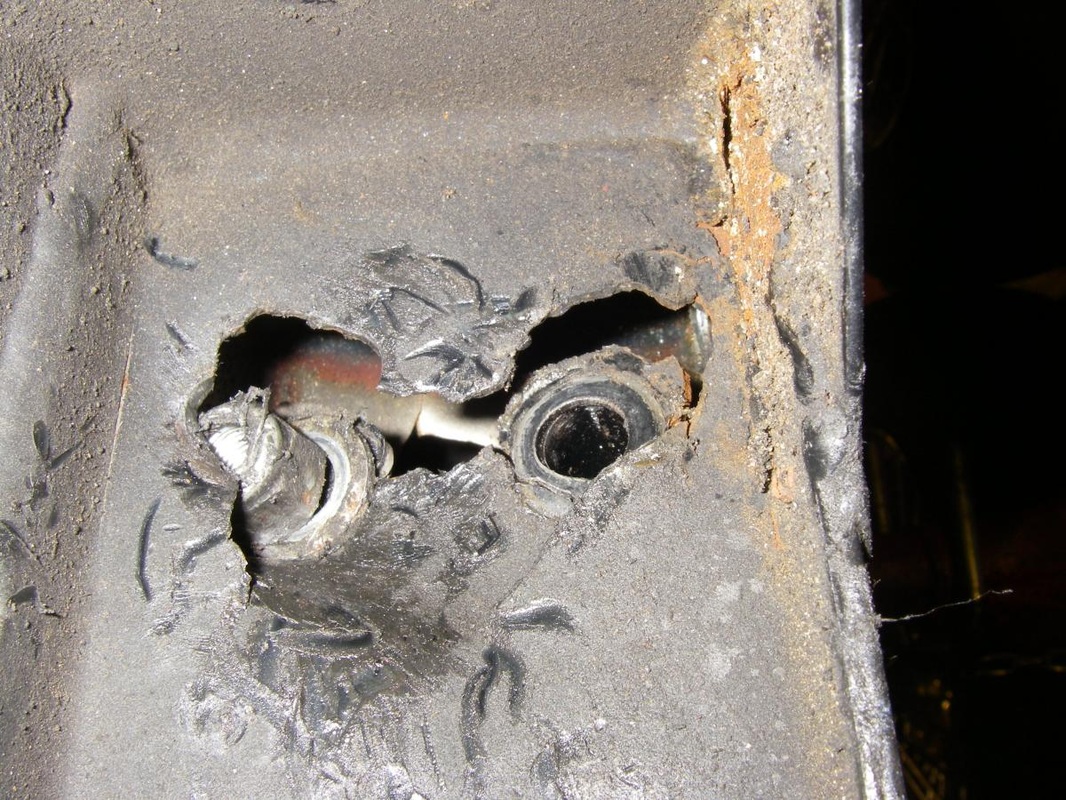
There is a couple of pictures here. To sort this problem we will fabricate a couple of brackets. The damage to the chassis shown is from another vehicle not ours to give you an idea of the potential problem. The small brackets stop this happening. Well worth the investment.
There is a couple of pictures here. To sort this problem we will fabricate a couple of brackets. The damage to the chassis shown is from another vehicle not ours to give you an idea of the potential problem. The small brackets stop this happening. Well worth the investment.
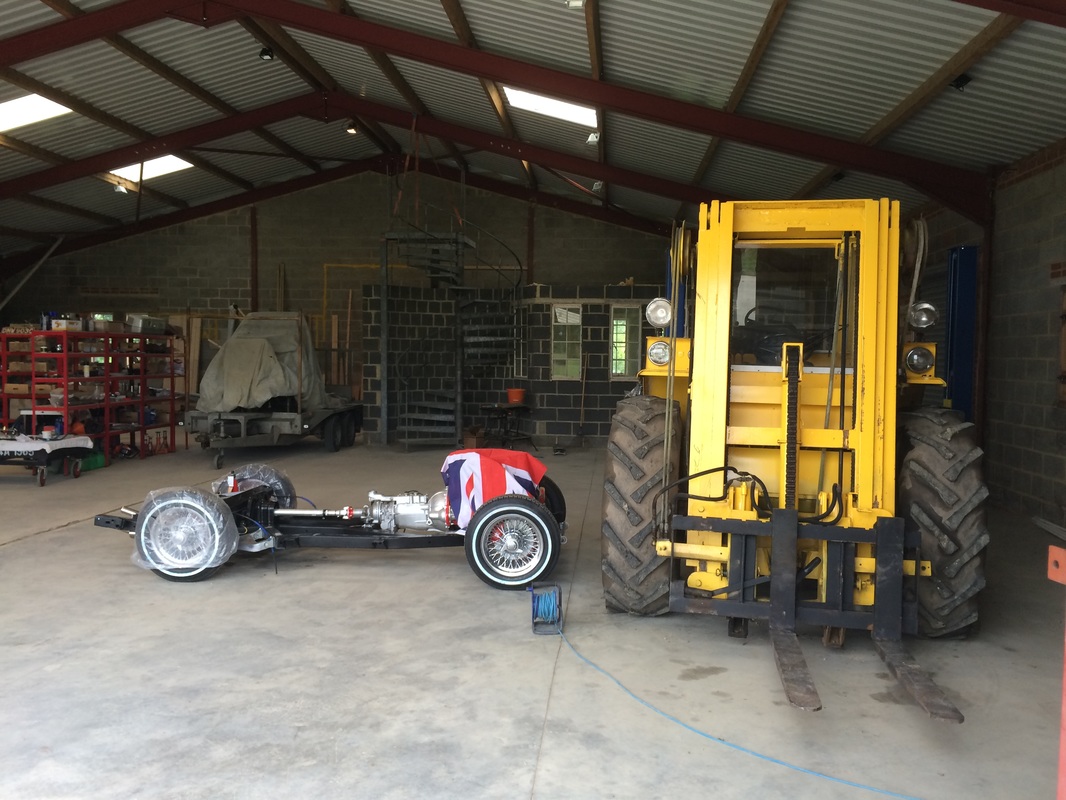
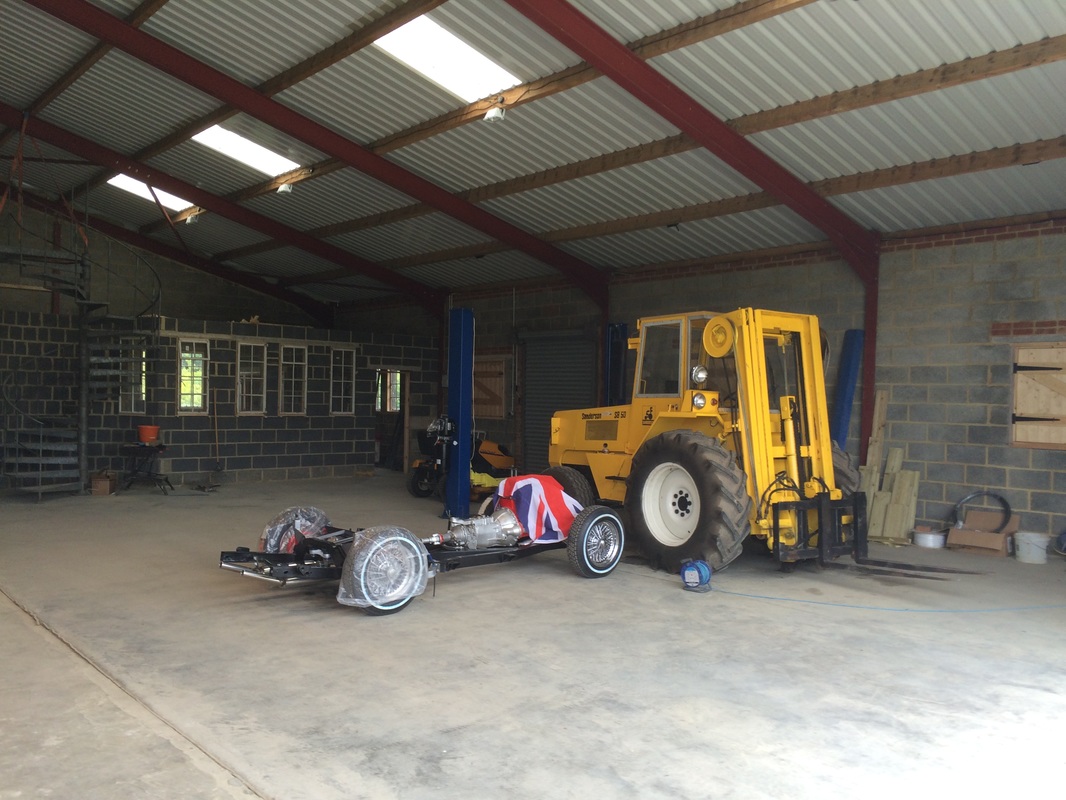
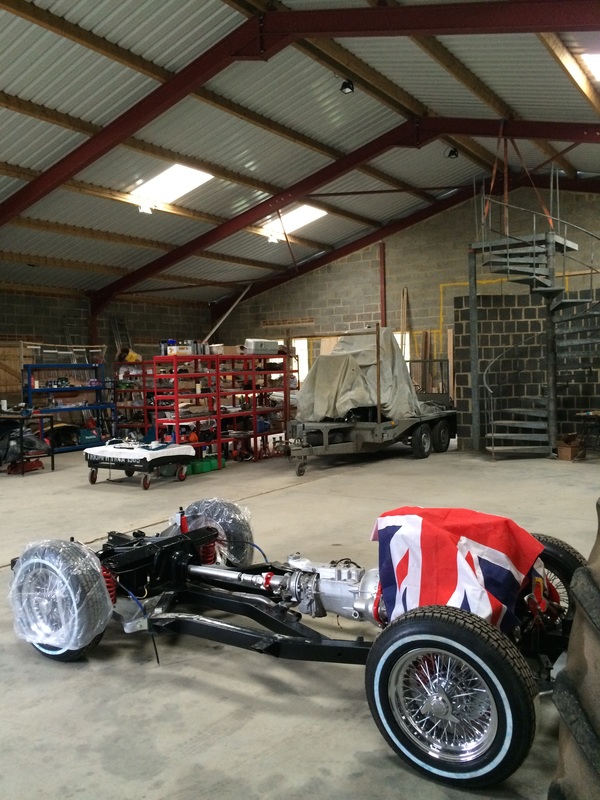
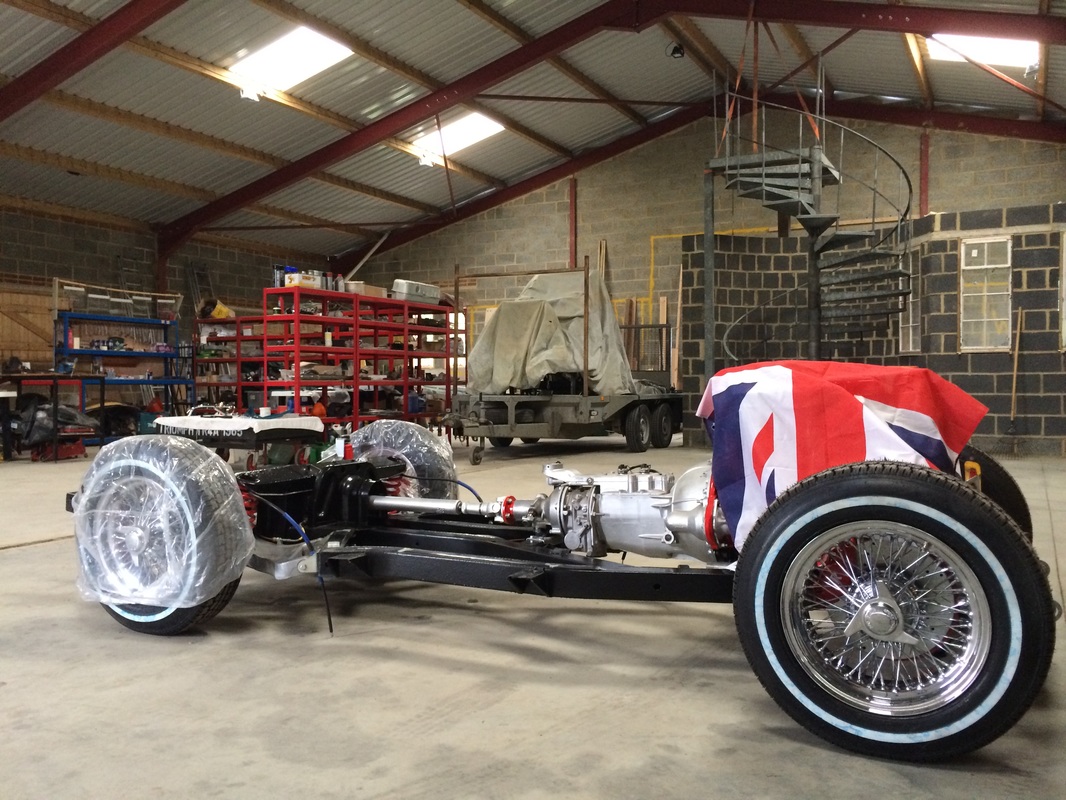
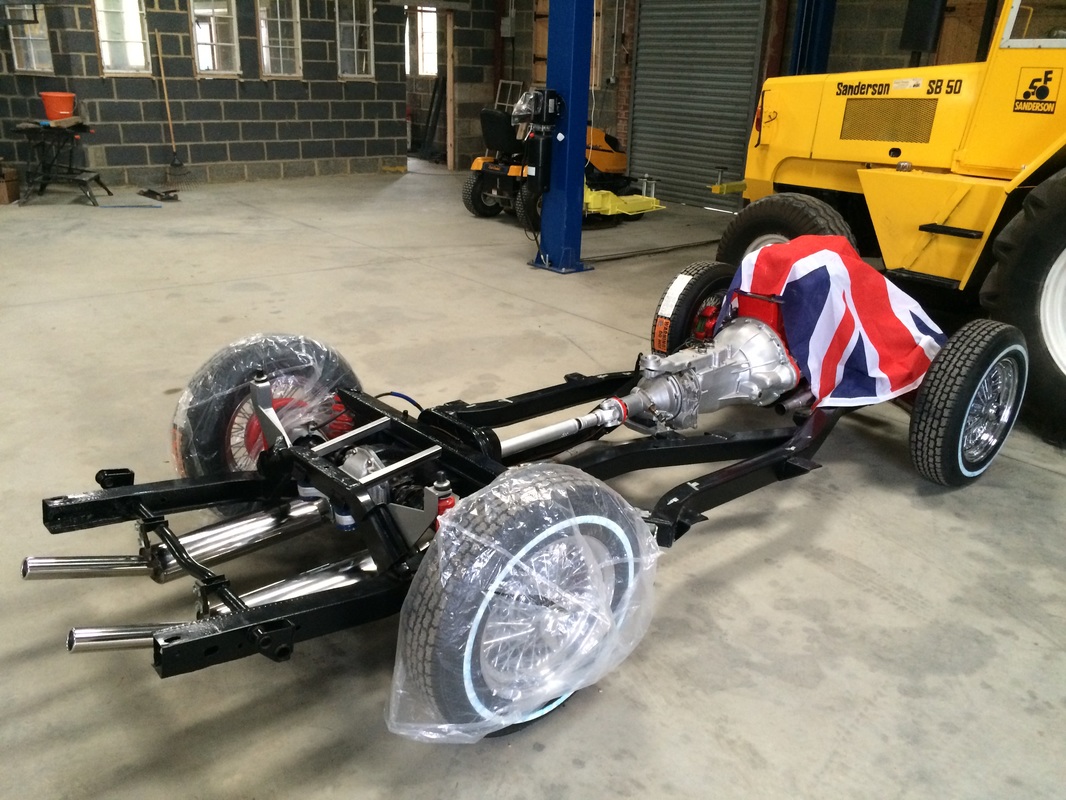
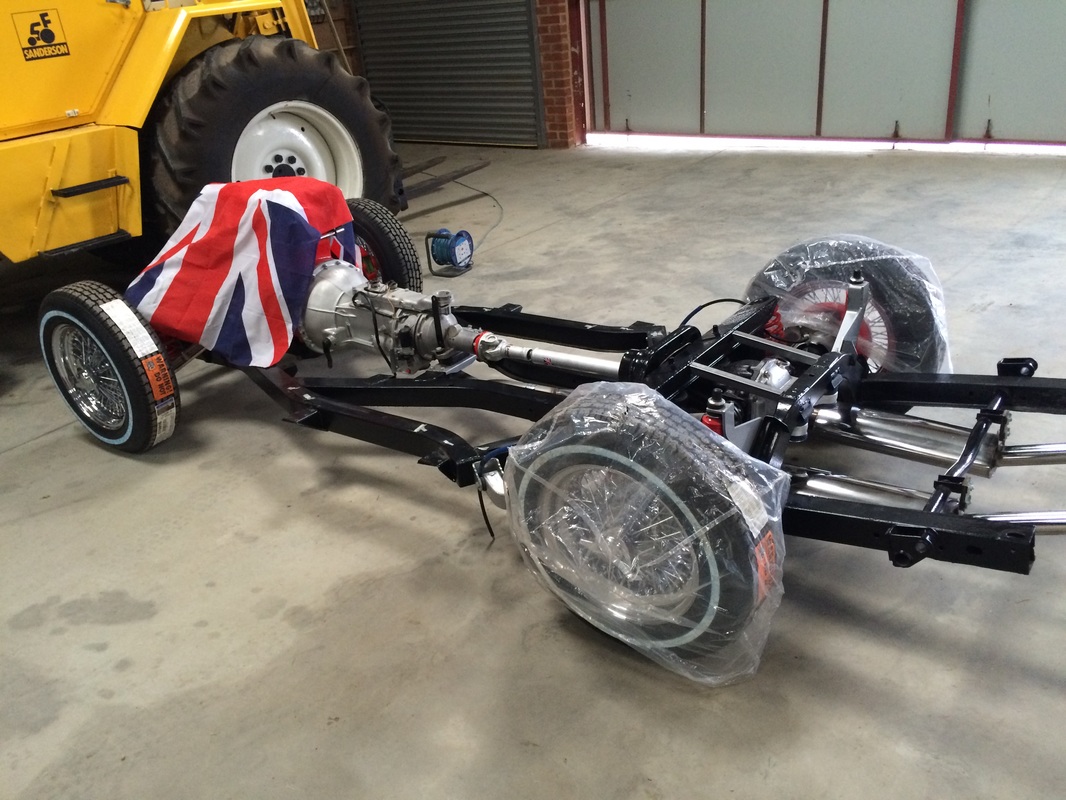
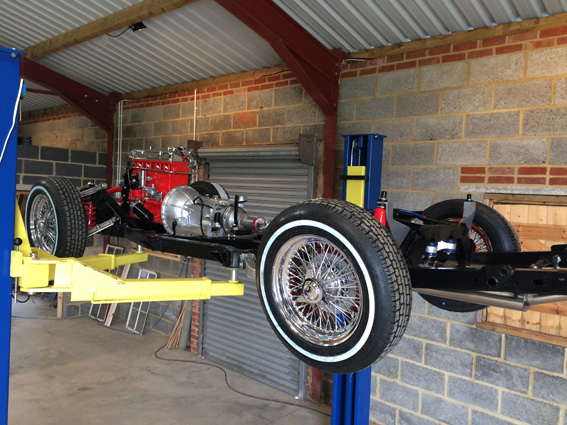
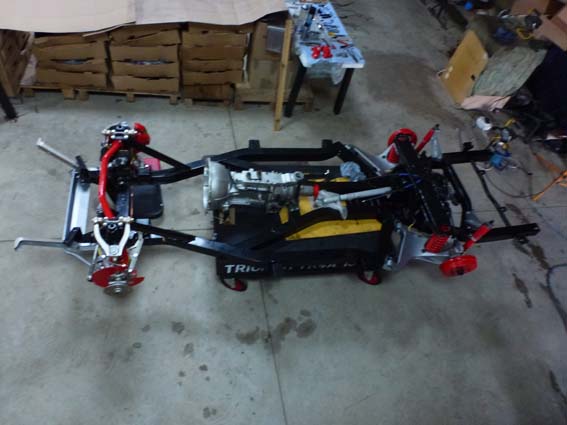
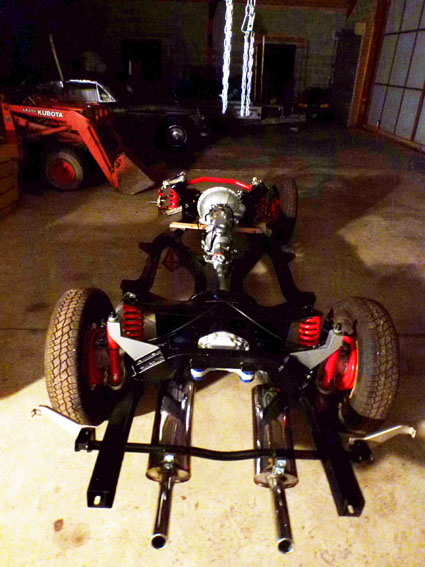
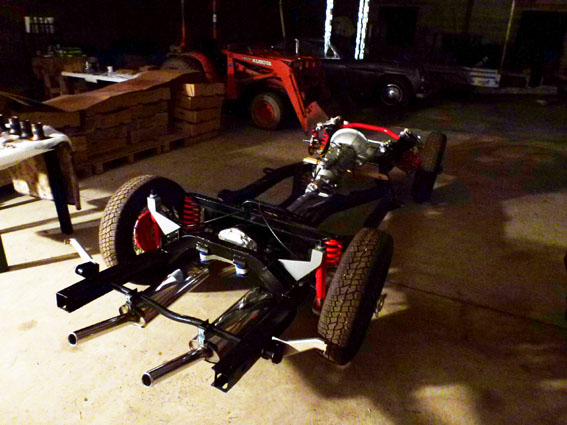
Built up Chassis |
|