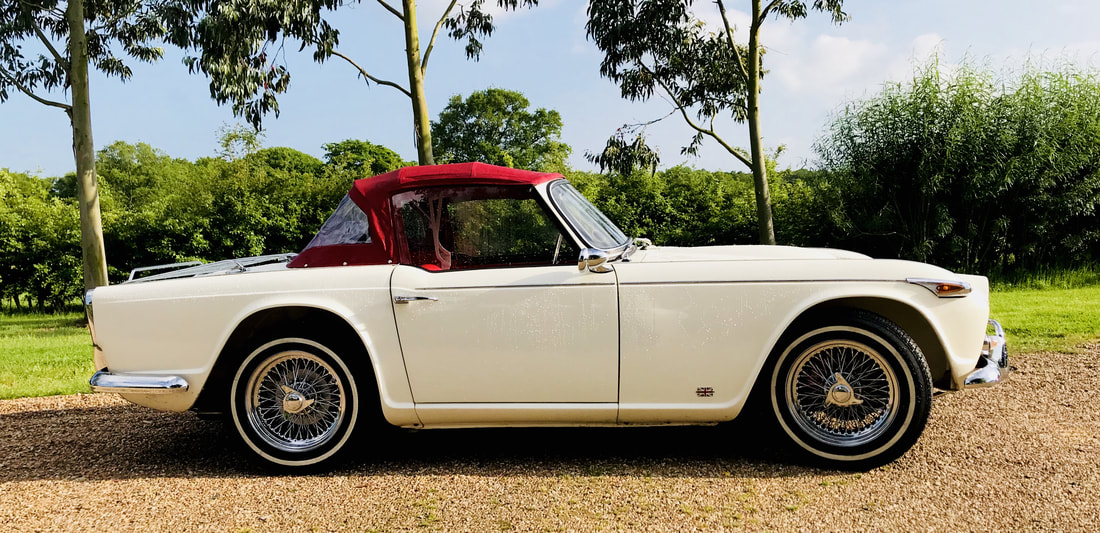
Living with the Triumph TR4A 2018
So, we had a few interesting issues during 2017. You rebuild a Triumph TR4A front the ground up and you hope everything will just work - it often doesn't. Right now we have a watchful eye on the alternator and hope that it does not fry like the last one.
|
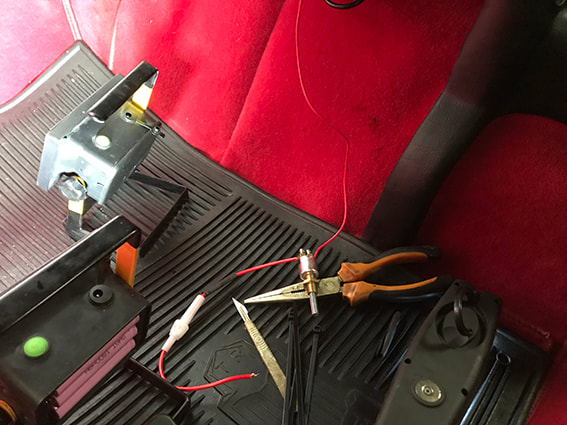
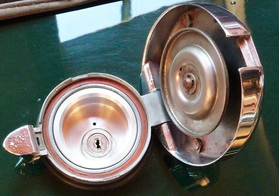
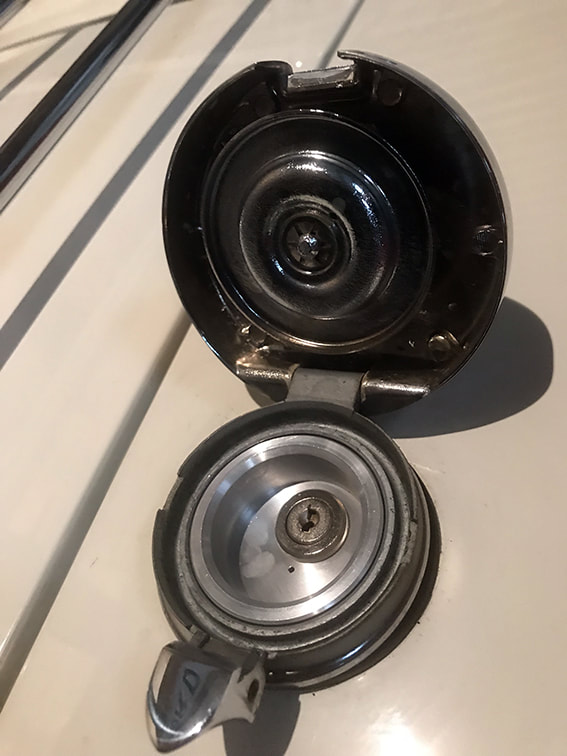
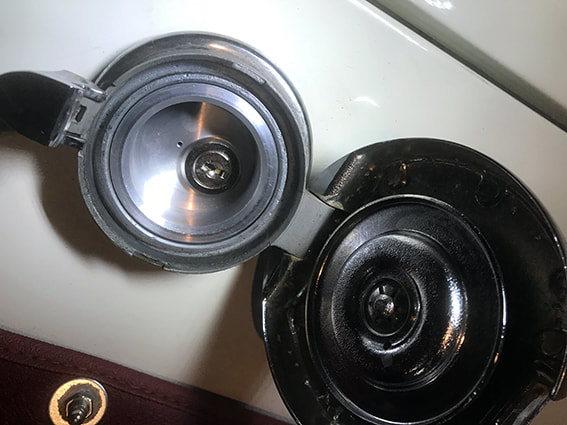
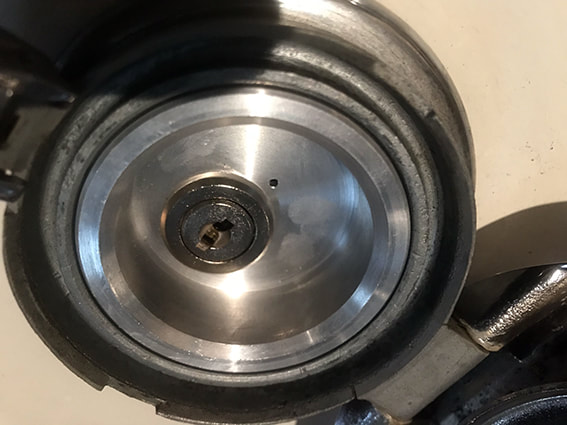
Locking petrol cap - January 2018I met Marco on the TR Register forum. He has fabricated a locking petrol cap insert. It is really discrete and does not detract from the originality. I have ordered one at £60. The picture on the left was taken by Marco to show how it sits inside the LeMans Petrol Cap that is standard issue on a Triumph TR4A.
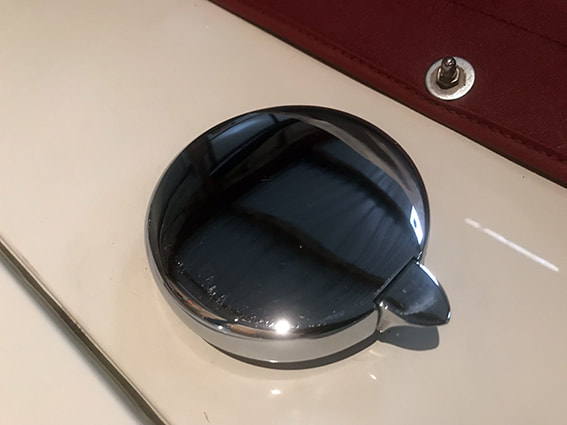
The gallery below shows our locking petrol cap from Marco installed on our TR4A. Takes 2 seconds to fit and works a treat! We are really pleased with it. Superbly made and comes with a spare key. |
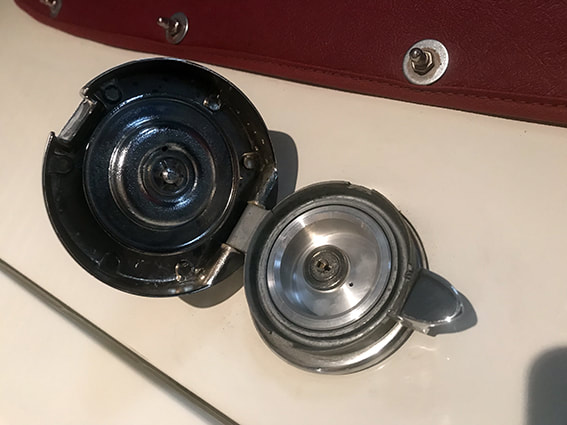
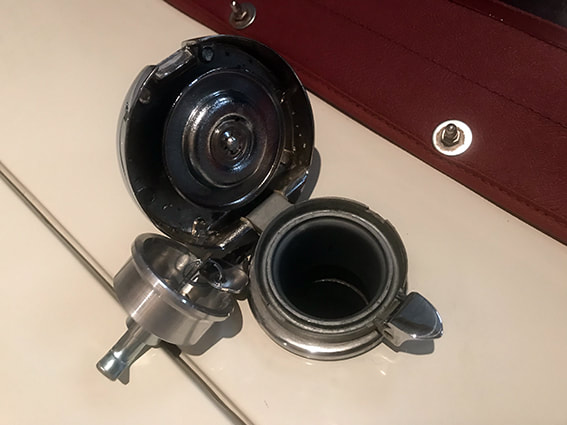
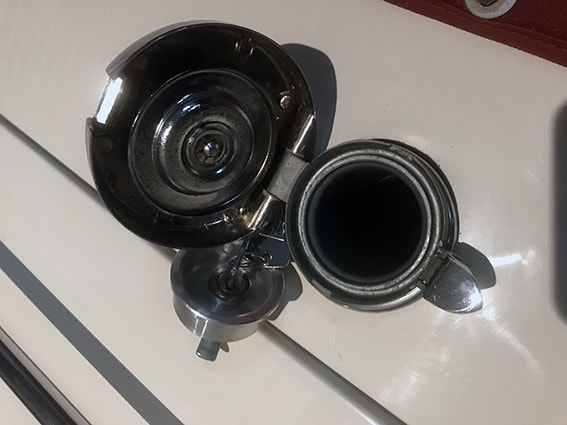
A new (old) petrol cap seal.
Marco noticed that my petrol cap did not have the seal in place (He's a petrol cap geek). You can't buy them new. The size is 60mm outside diameter, the width is 3mm making the inside diameter 54mm. Interestingly it appears the seal is actually made up of three seals. 2 of them are 2mm deep and the other is 1 mm deep making a total depth of 5mm. It maybe that these 3 were originally 1 seal and it has delaminated with age? You can get 'O' rings in similar sizes but the seal is a flat washer type. I bought an old fuel cap on Ebay that had the seal in place. I then put the cap in a pan of simmering water to soften the rubber to get the seal out. I went around the outside edge with a very sharp knife and that released the seal. I then put the seals back in the water to continue to soften them. My plan is to sell the cap on Ebay as it is in good condition and works well - minus the seal. As I can't get a replacement seal I will reuse these here starting with the split seal at the very bottom working my way up to have the one that is in the best condition touching the cap when it closes.


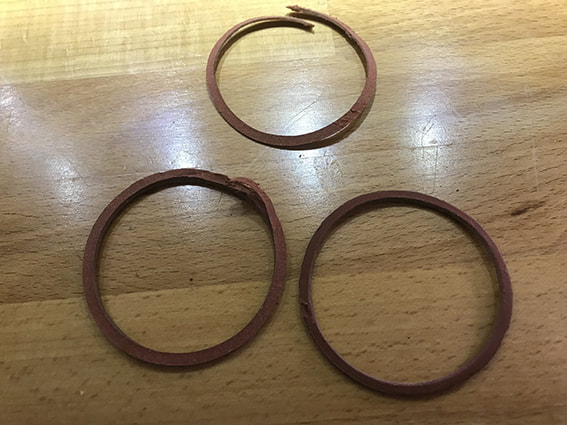
Seals in place
3 seals came out but I could only get 2 back in. I guess it was because they were old. Still, they are pliable enough now and the inner spring loaded cap has sat the seal in securely. Another job finished!


Overdrive not disengaging? January 2018 (Started in November 2017)
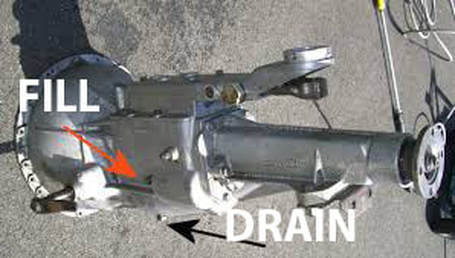
The picture above was found online. It shows the fill and drain points on a Moss box. This is NOT correct on a Triumph TR4A. The fill plug is correct but the drain on a TR4a is the brass spinner that sits at the bottom of the box. Behind the spinner you'll find the brass filter.
|
I have been looking in to this issue. The overdrive engages well but it takes a 'blip' of the throttle to disengage it. There are many theories. Firstly, the electrics were checked and they are all fine. Secondly, the solenoid operates fine on the switch/stalk. So, in the hope that it is nothing serious inside the overdrive itself, I will be investigating the oil as I do know it was seeping a little from the brass turn screw/plate at the bottom of the the box. It could be, without the right amount of oil, the pressure is not enough to disengage the overdrive.
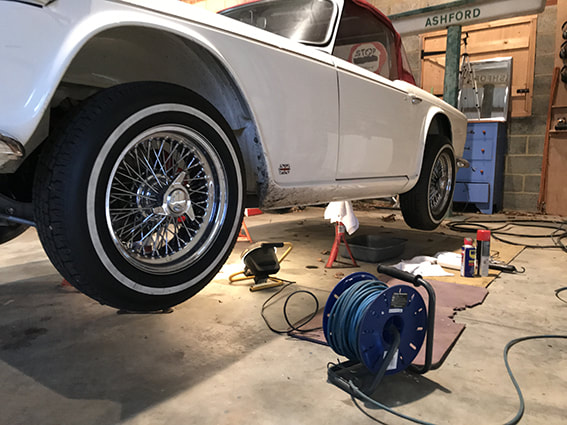
I am using Castrol Classic EP90. The box holds about 2 litres. I also bought a pump for £8.95 on Ebay that allows you to feed in or remove oil. ideal for filling gearboxes and differentials that are often hard to access. Below you can see the TR4A up on axel stands. We do have a ramp but there is another car on it with the engine out - pain!!!
|

The overdrive investigation starts - January 2018
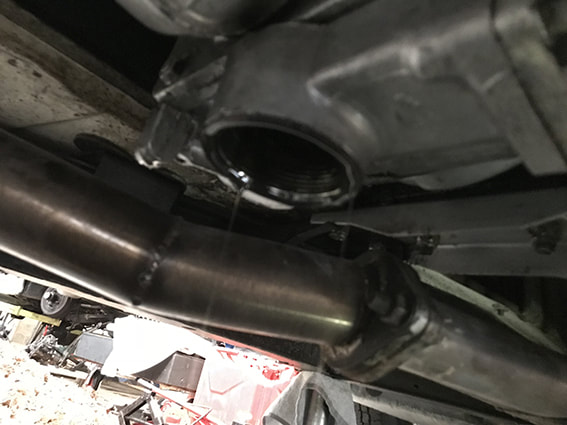
So I spotted leaks from front and rear seals as well as the seal where the OD joins the box. There is only one way to fix this - take the gearbox out and dismantle it and replace the gaskets/seals. This is a home workshop task but it is a bit of a mission. It could be done in a weekend but I will need the use of my ramp. You can see the transmission oil leaking at the lowest points in the pictures below. It is a gentle seep but you can see where it lands on the exhaust (This would burn off in seconds once the engine is running so good to see it here as it gives a clue to the problem). The fill plug is in very, very, tight and I don't have the square spanner that gets a tight fit around the plug. So, I have ordered one and will continue once the right tool for the job is here. The car has done 3,oo0 mies on the gaskets and seals, so one would hope that they would be more resilient than that??? My plan is to check the oil level and then drain the box and refill it with EP90. I can only imagine that in another 3,000 miles it would need doing again so I maybe able to hold off taking the gearbox out until next winter? The oil is probably the cause of the overdrive issues as there would not be enough pressure for the overdrive to disengage. In many ways this is good news as it points to nothing sinister in the overdrive causing the problem.


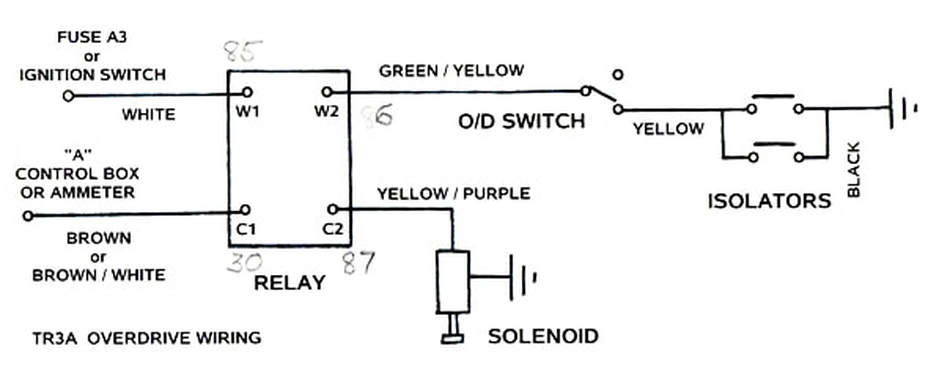
Overdrive Wiring diagram TR3A - covers TR4A
Overdrive advice from CCK Historic
I was down at CCK historic and managed to chat to the very knowledgeable Graham (He rebuilt my TR engine). On hearing my issue, he thought the most likely cause was a blocked filter not allowing the oil to run back. So, I will start there and see what we have?
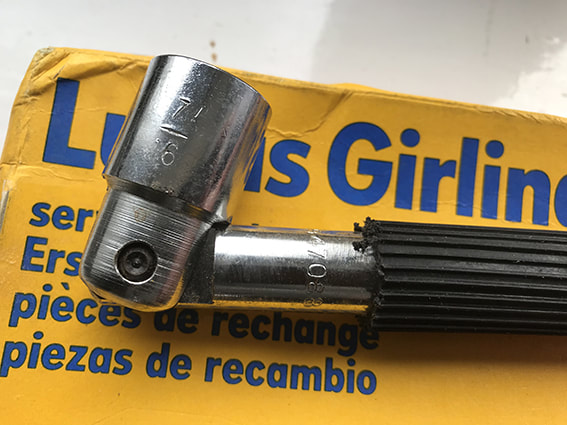
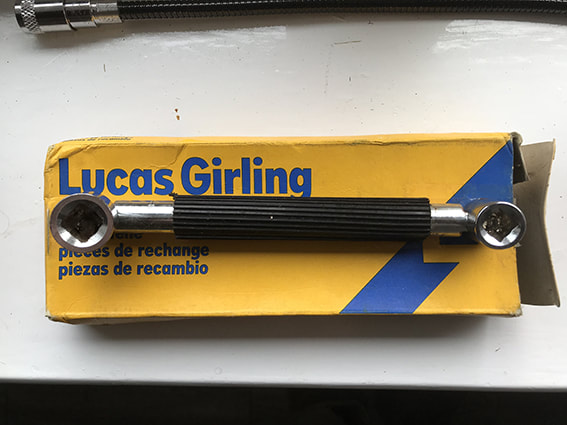
The right tool for the job
I managed to find this Girling Square Socket Spanner that was used to remove the drain and filler plugs on gearboxes, overdrives and brakes. Great find as now I have the right tool for the job. The drain and fill plugs are in tight and a conventional spanner is not doing the job.

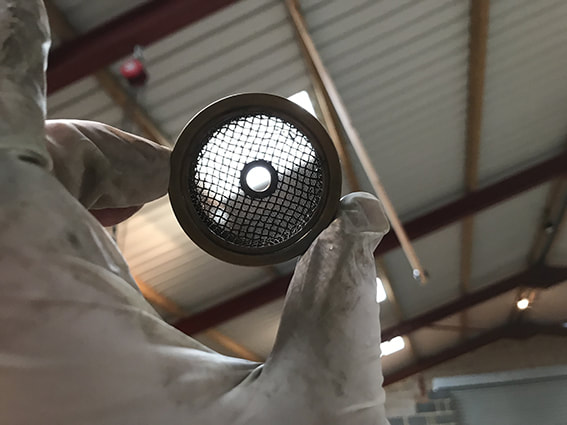
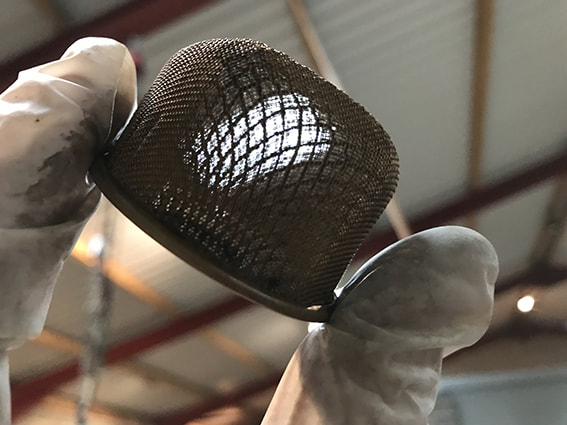
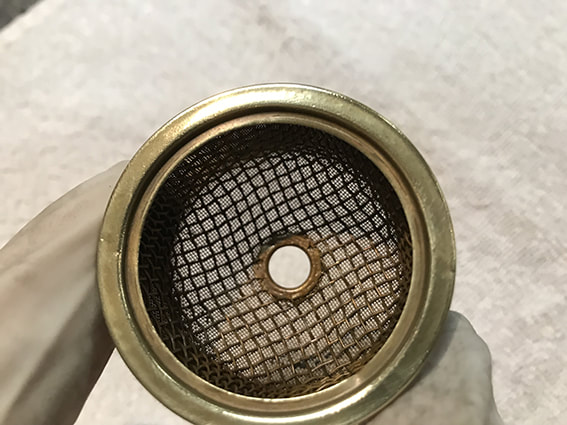
Overdrive February 2018
I've not had much time to get on with this task but I finally found the time to get stuck in. The Girling plug spanner worked a treat - everyone should have one. I used my finger to check the oil level and could not feel any oil. So I used a coffee stirrer and managed to get a slight level. So, I am guessing that oil has dripped out. Next, I checked the filter by undoing the brass spinner at the bottom of the box. A lot of gloop came out and the filter did have deposits blocking it up. So, I cleaned out the filter and cleaned everything up. Lastly I started to refill the box using the pump I bought. The pump is not so great. In fact pretty useless, so I am trying to find another plan. The pictures below show the Girling spanner, the beautifully clean filter and the spinner that is made of brass that sits at the bottom of the box.


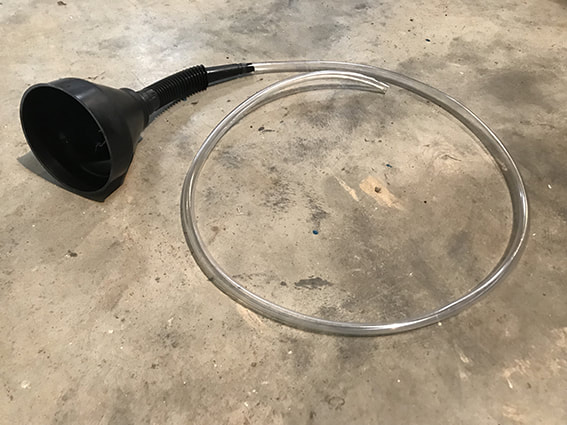
Making a Gravity Fed Gearbox Oil Filler February 2018

|
So, the next mission was how to get the fresh oil into the gearbox. The pump I bought was rubbish. I was pump furiously and nothing much was happening. After half an hour a quarter of the oil had gone in to the box and my arm and given up with cramp. So, after sleeping on it, I came up with a gravity fed system. So easy to do and I have to say it works a treat.
1: Drill a hole in the gearbox tunnel from inside. This is easily done as you only need to pull the carpet back.
2: I used a transmission jack to hold a funnel with a filter in it. 3: A plastic tube was slipped on to the funnel and pushed through the hole in the tunnel and pushed into the gearbox from underneath the car - it was on axel stands. 4: The oil was placed in the funnel and I went for a walk as it slowly drained in to the box. 5: On pulling the tube out of the box oil started to pour out which means I had overfilled it. This is a good thing as when the oil stops dripping out you know the box is full. Worth remembering to have your car level on the axel stands. 6: Cleaned up the oil that had dripped down the box. 7: Refit the oil filler plug in the box with the Girling tool. 7: Put a rubber cover in the hole in the gearbox tunnel. 8: Replace the carpet. It is that easy:-). I have a small video here to show how it all worked. 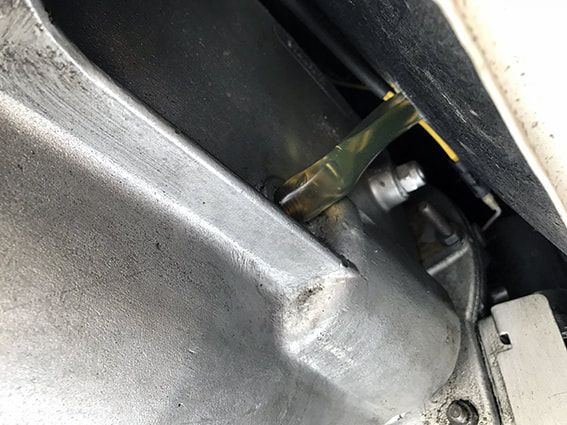
|
Test-drive to check the overdrive
The problem of the overdrive not disengaging still exists so I'll have to think on to try and resolve this. Still. it was great to get out in the TR4A for a drive - the first of 208 and the first great day of weather we have had. Went driving at night too - 6pm at this time of year!

Getting to the overdrive
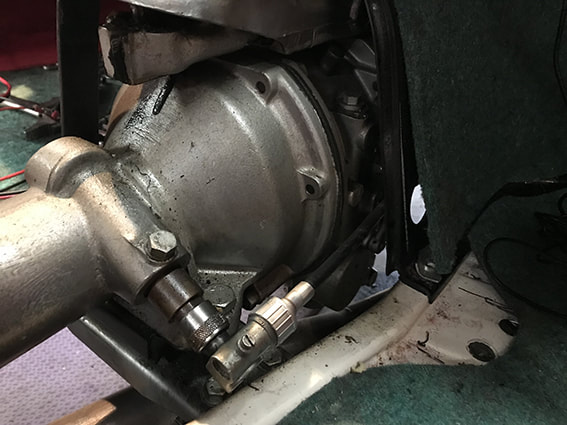
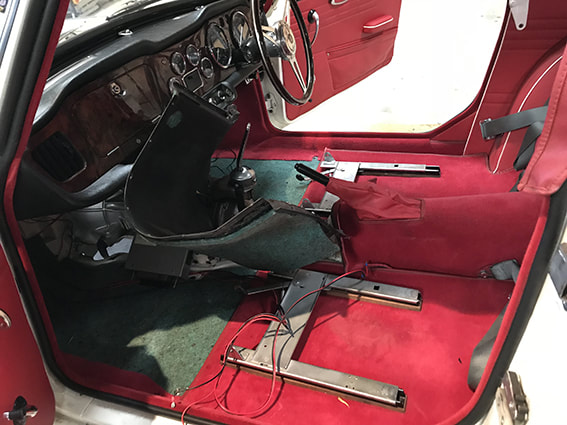
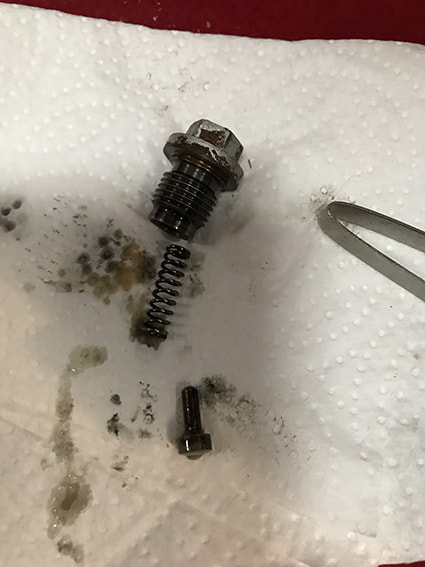
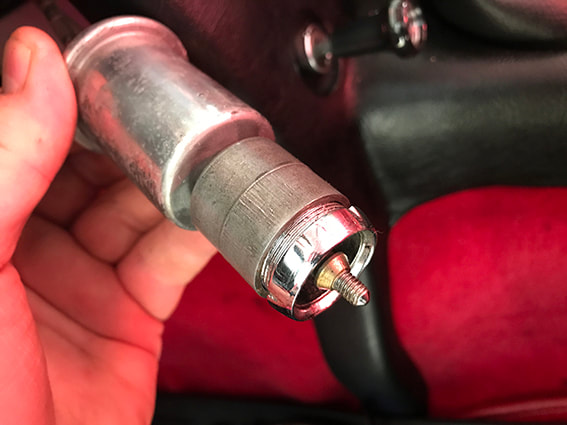
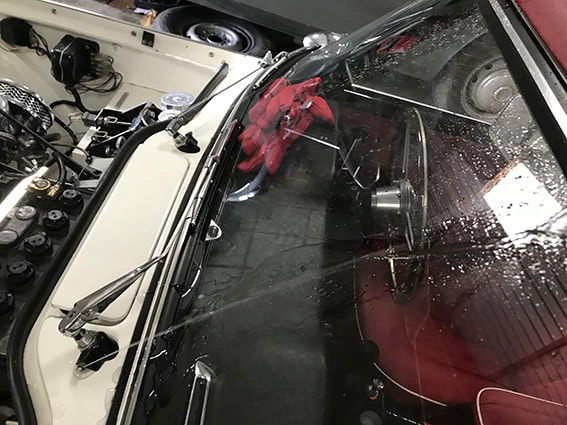
Nothing for it but to get to the overdrive to check if it could be either a blocked restrictor or a frictional stick. Take out the 7/16 plug on the top of the overdrive and spring and ball then remove the restrictor rod underneath. Check the hole in the restrictor half way down the rod and make sure it is clear. If this does not work, the box will have to go to Overdrive Repair Services. Let's see if this works first? Getting to the top of the gearbox and overdrive is no easy job as the interior has to come out as well as the box tunnel.
|
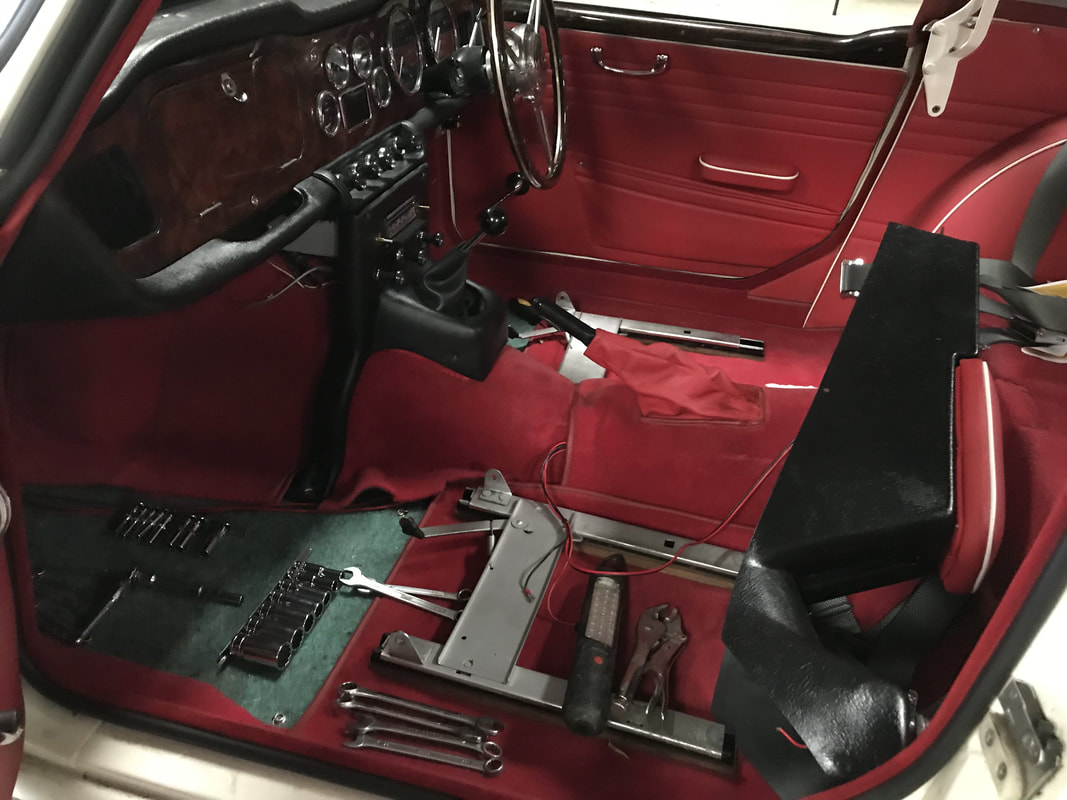
|
Overdrive Good and Bad News
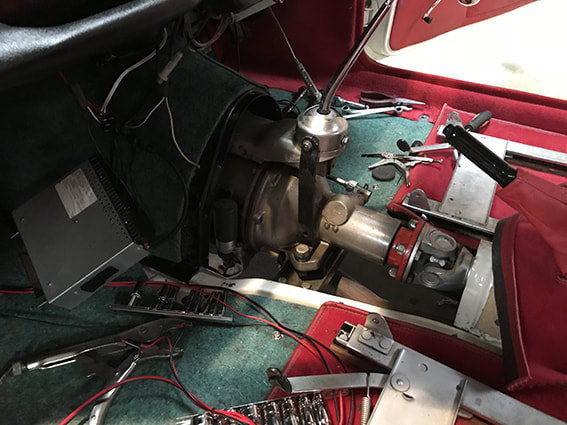
The bad news first. What a bitch of a job! Carpets out. H Frame out. Radio out. Gearbox Tunnel out. Seats out. Hi-Beam foot switch out. Heater Air circulation disconnected. Fan Heater Disconnected.....the list goes on. Getting to the plug that sits on top of the overdrive is a @@$$%$£))(@*&£^*.
Also, it is in a location where the Remington 2 piece gearbox tunnel joins. So you can't really get an inspection hatch in there...... SO, I have spent several hours dismantling my TR4A to get to the valve in the overdrive and the thought of putting it all back in a meticulous way makes me tired thinking about it. I reckon it will take me a whole and very long day to do it. I'll do all my test runs with the tunnel out and only one seat in.
The good news. The restrictor valve was blocked. Very blocked. I have cleaned it all out and I can get air rushing freely through it although the hole is the size of a pin so it is under pressure when you blow through it. I thought I had cleaned it out but then I put a pin in the whole and air ran through a lot faster when blowing to test it. So I have cleaned it and blown air through many times and I am now hopeful that we are on track to solving the issue.
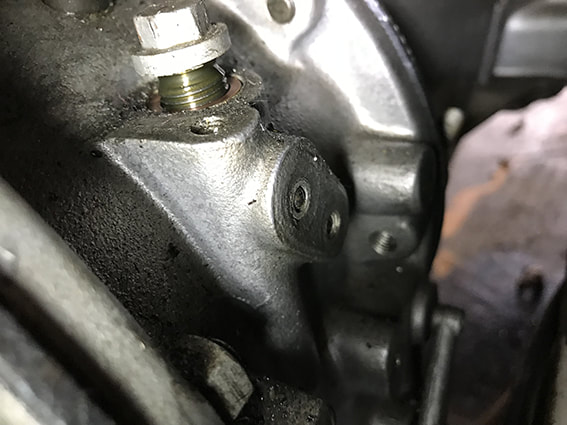
Stripping the car out to get to the overdrive valve.
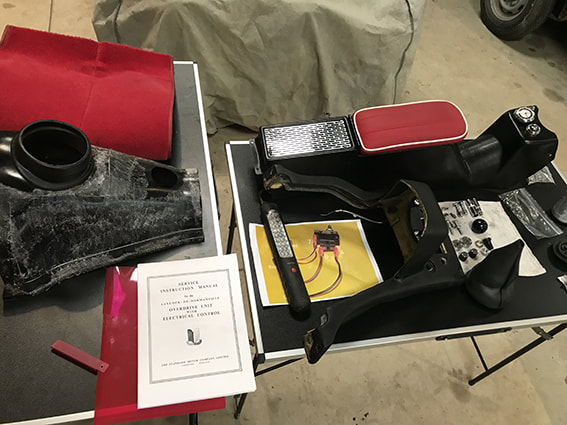
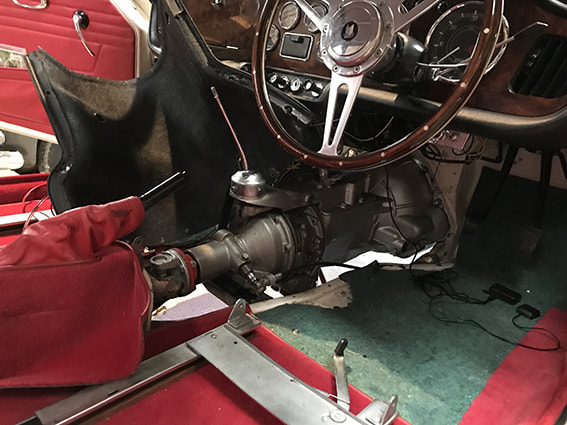
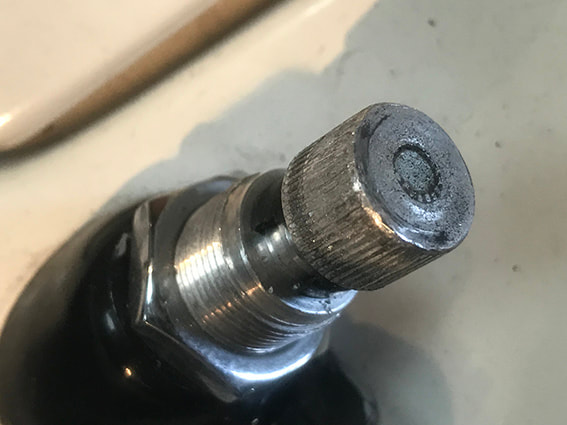
Finding the trouble.
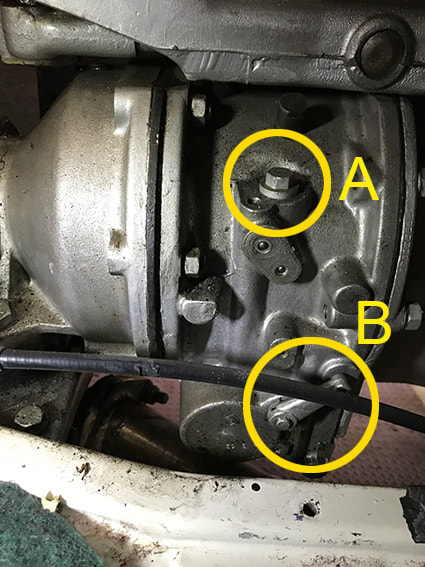
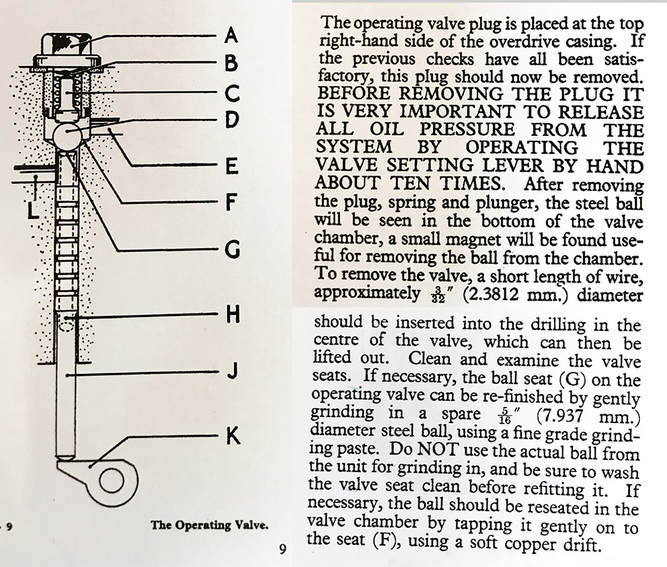
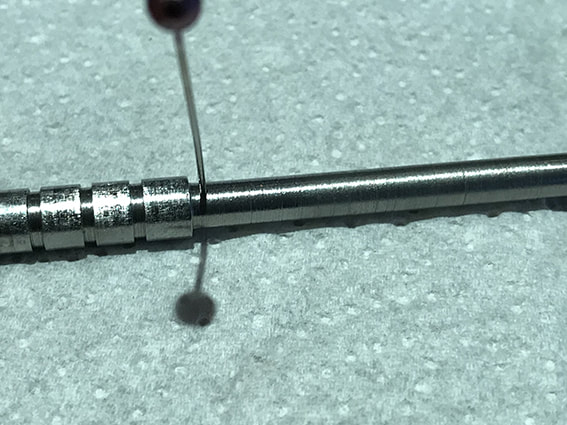
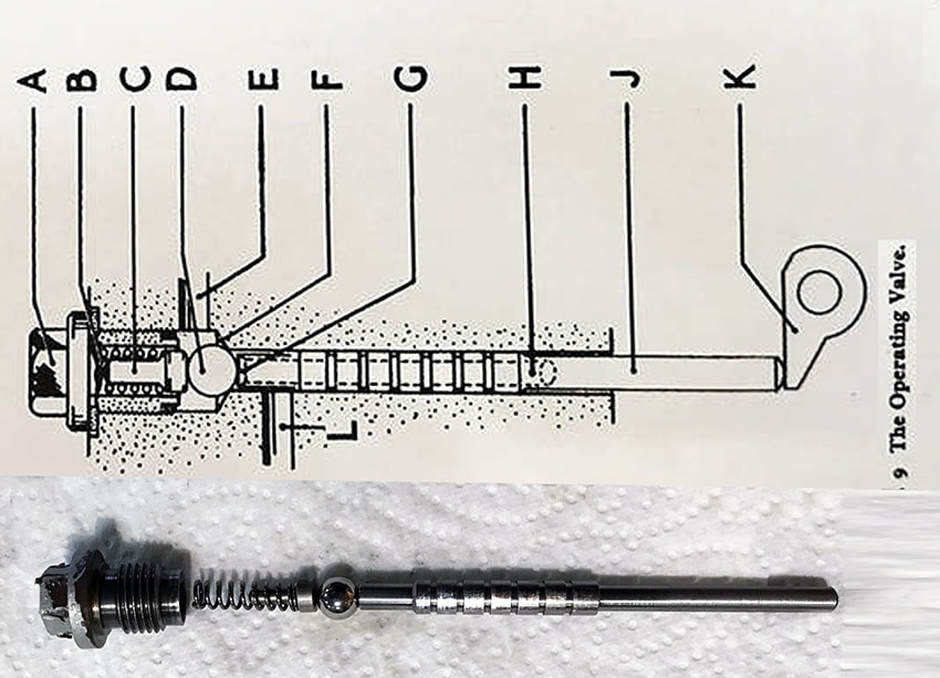
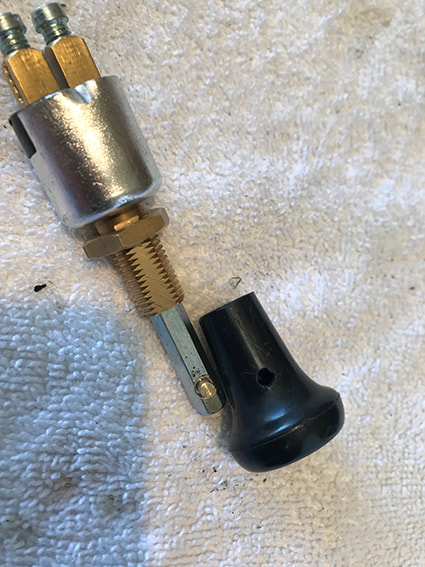
"A' = plug that you remove to access the valve. 'B' = the setting lever that you operate 10 times before removing the plug so the pressure in the valve is released.
|
The instruction and service manual for the Haycock overdrive is available on the PDF Downloads page of this website.
The issue I faced is covered here in the picture above. I have identified the plug 'A' and the valve setting lever 'B'in the picture on the left to help. I had to work it out. |
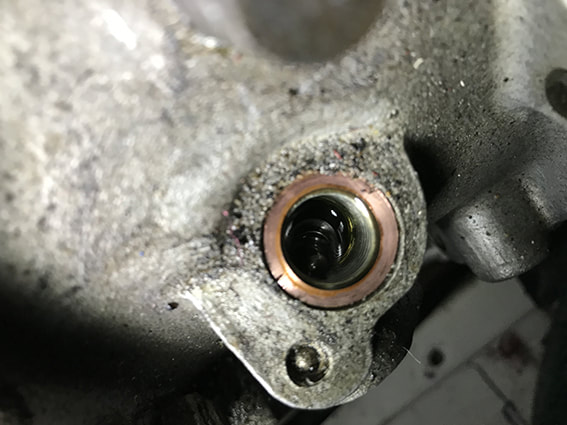
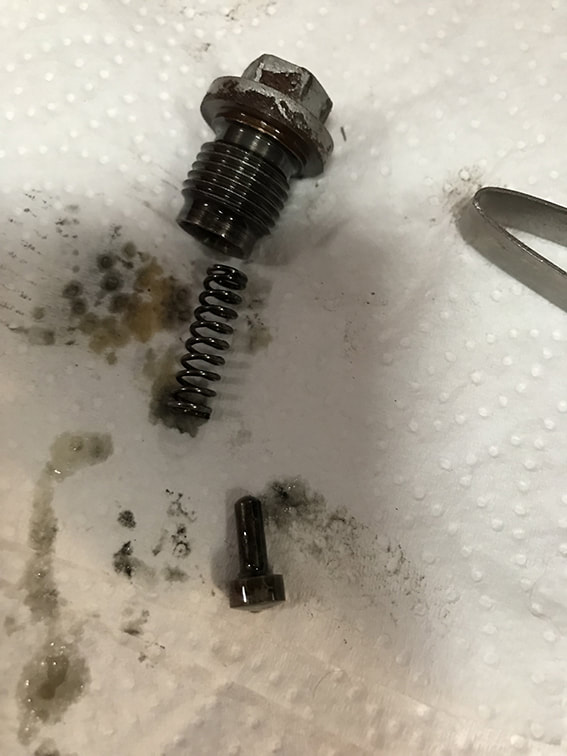
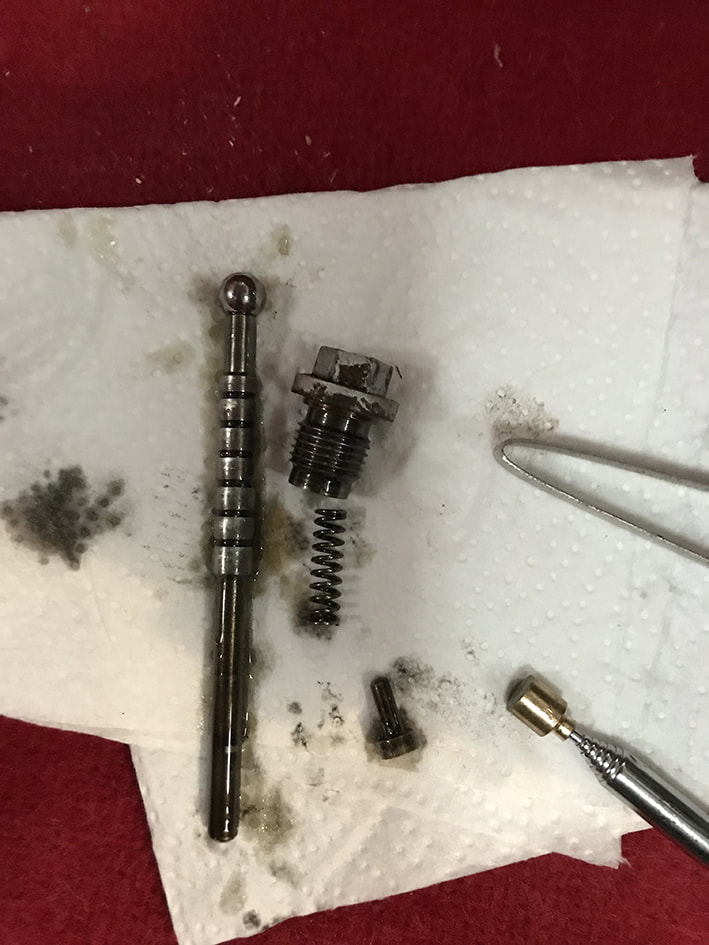
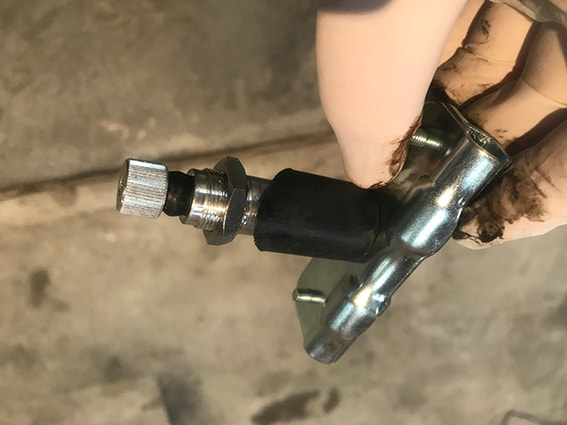
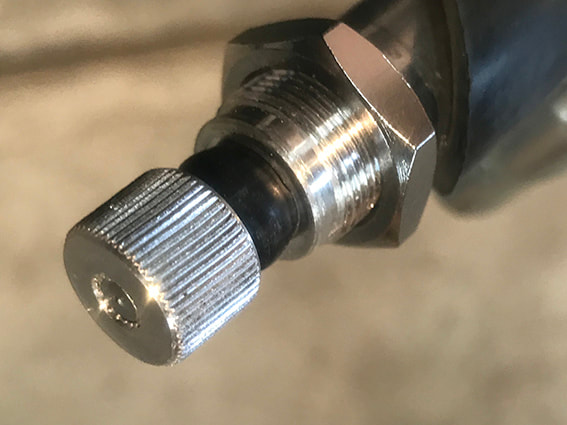
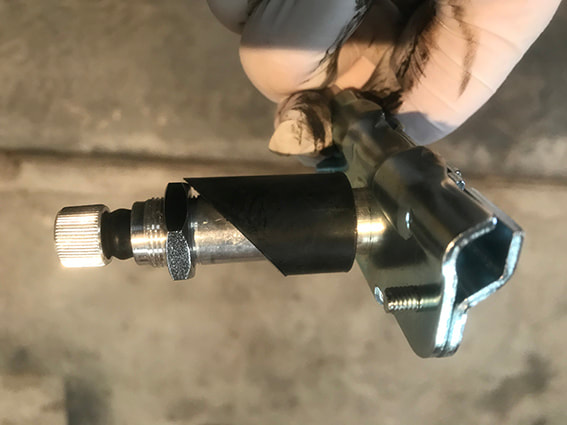
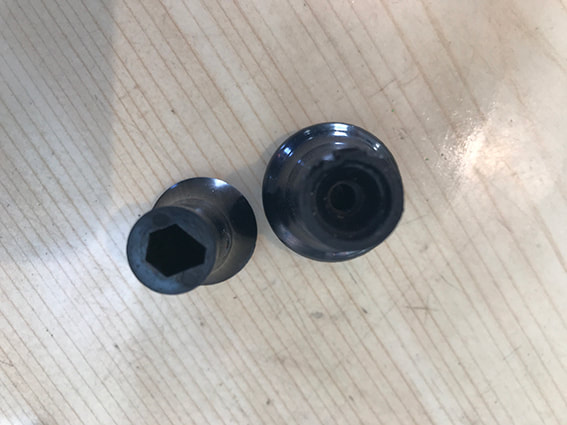
Once you access to the overdrive this is what you will need to remove and the parts involved.
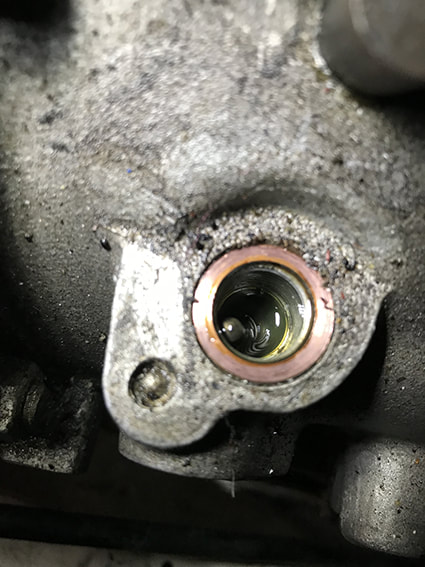
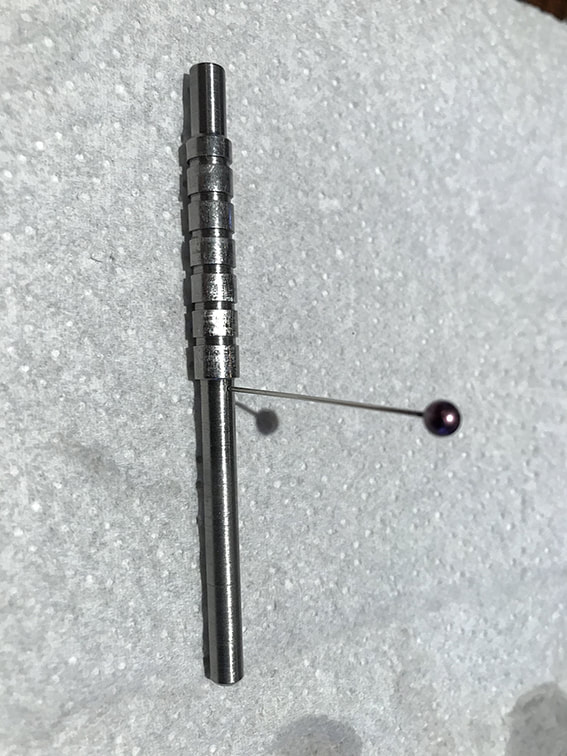
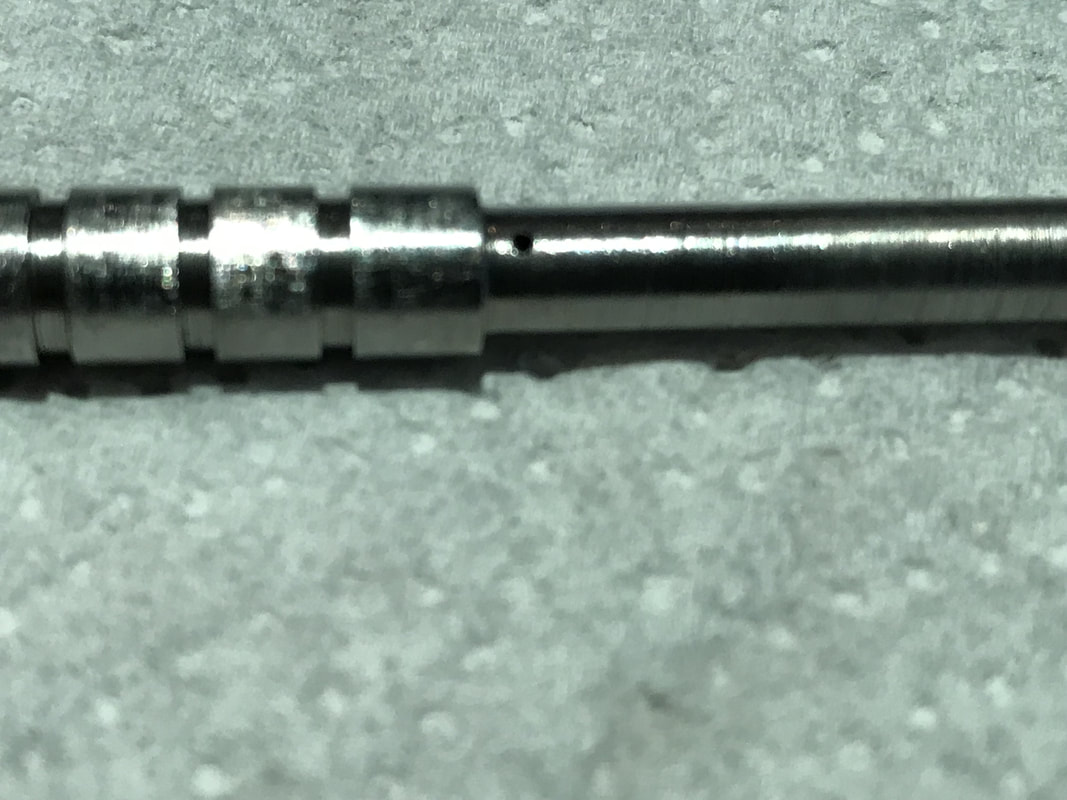
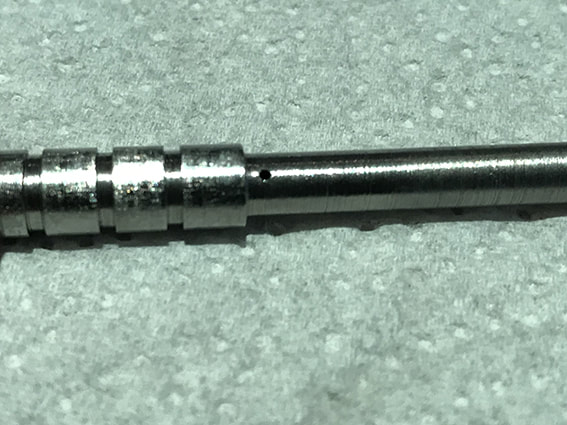
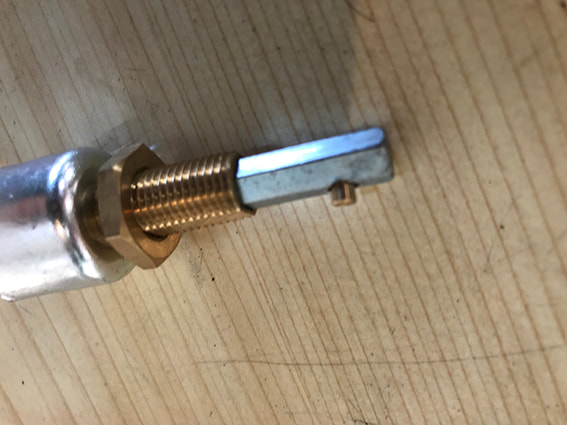
The small hole in the restrictor valve that caused all the trouble.
|
|
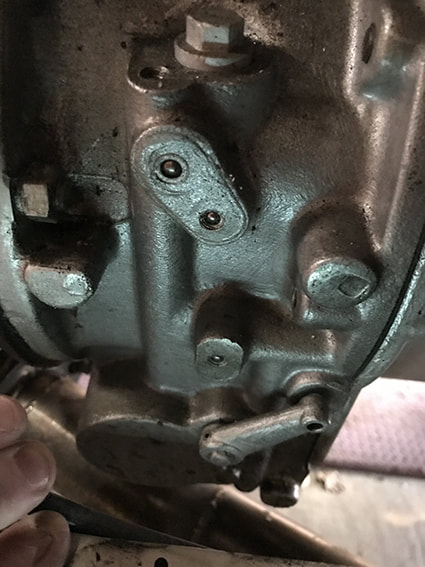
The operating valve. Actual item against the manual drawing for comparison
OVERDRIVE Problem Solved
|
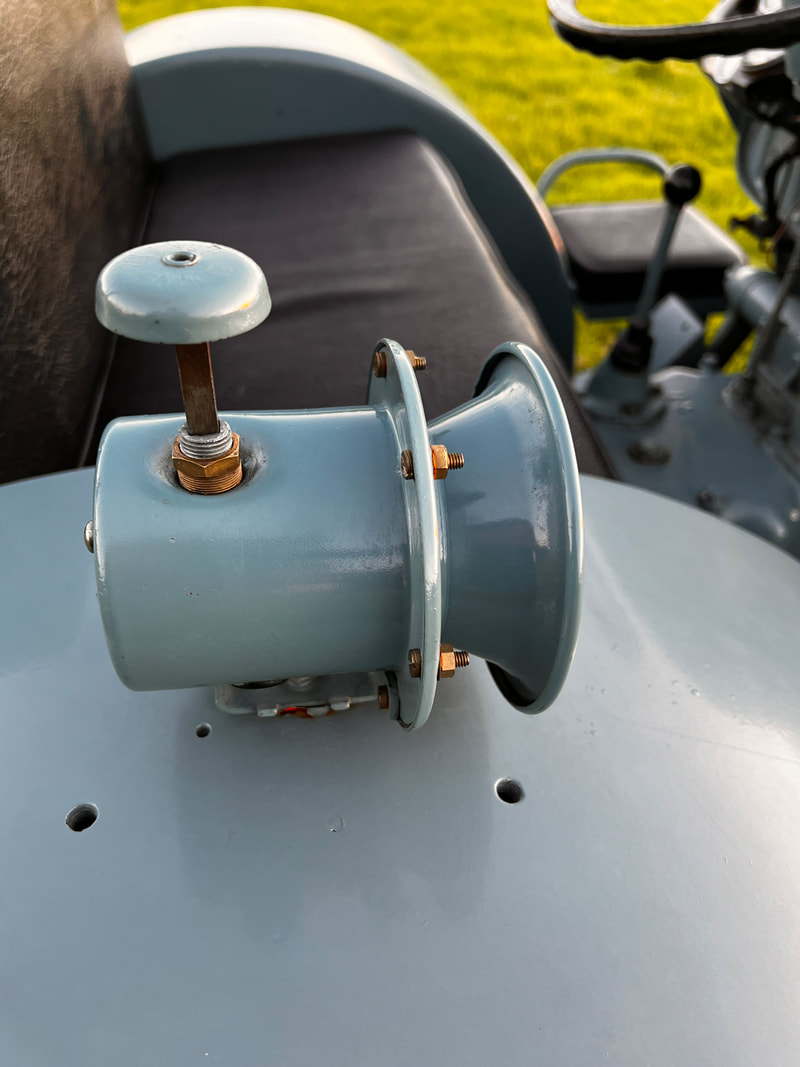
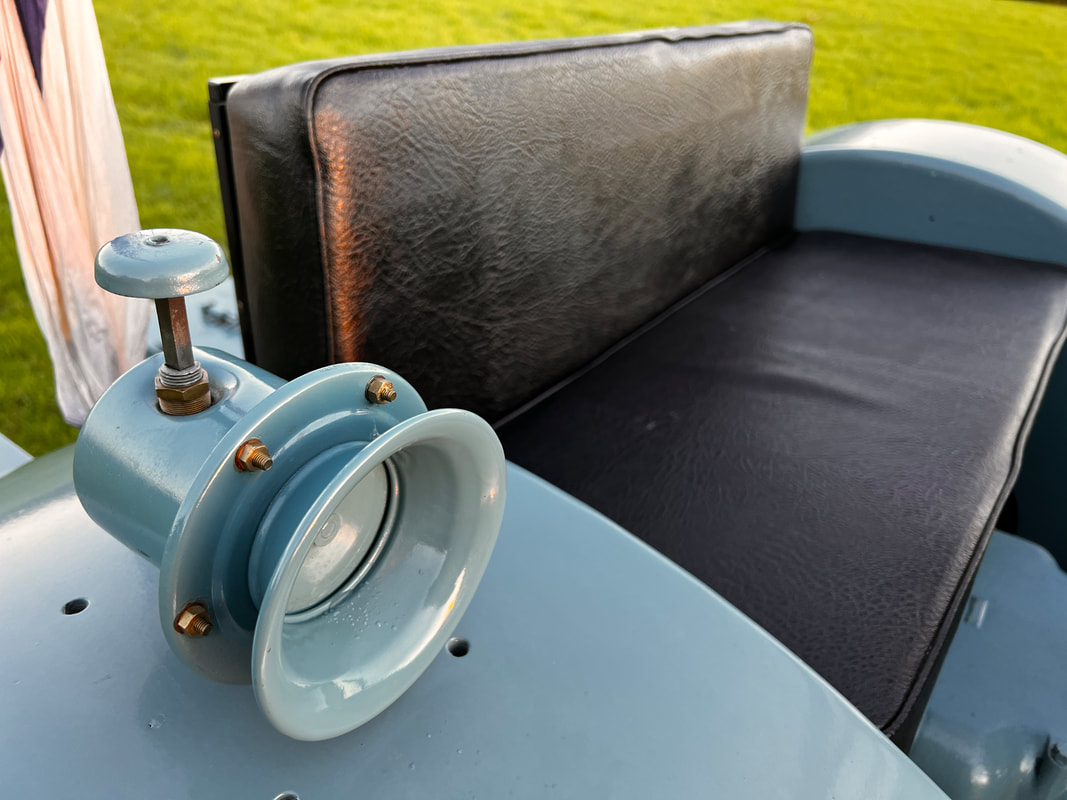
Sorting Horn Woes
|

|
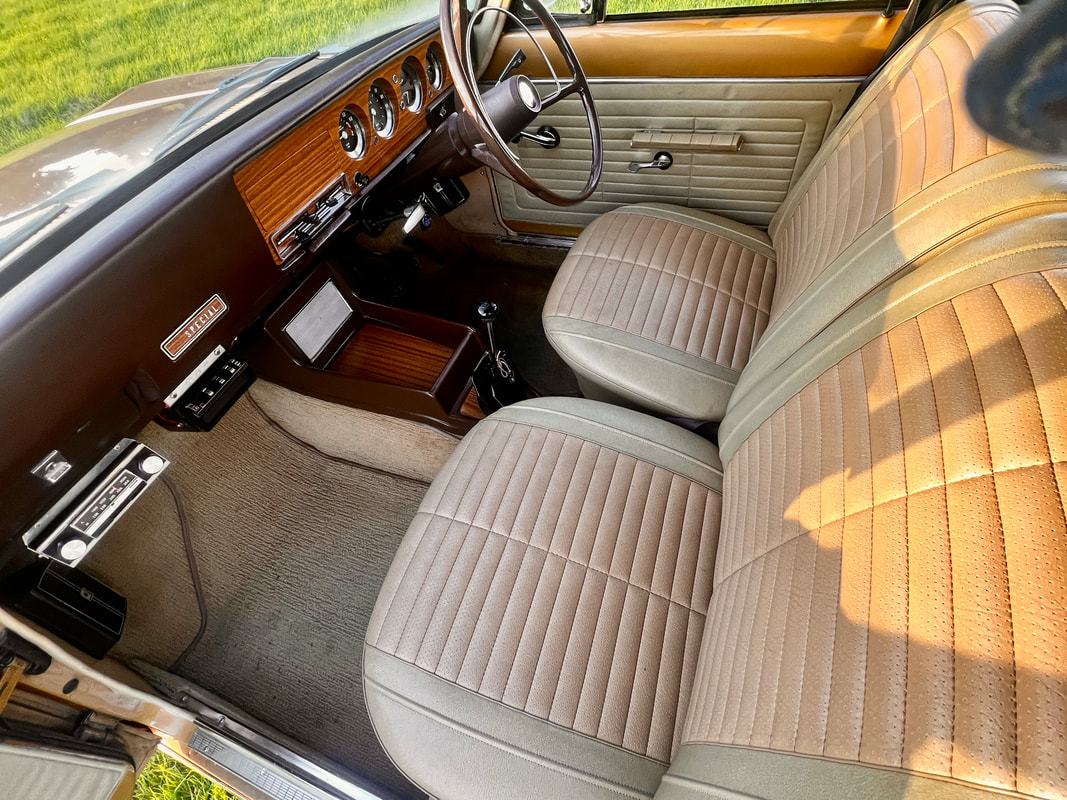
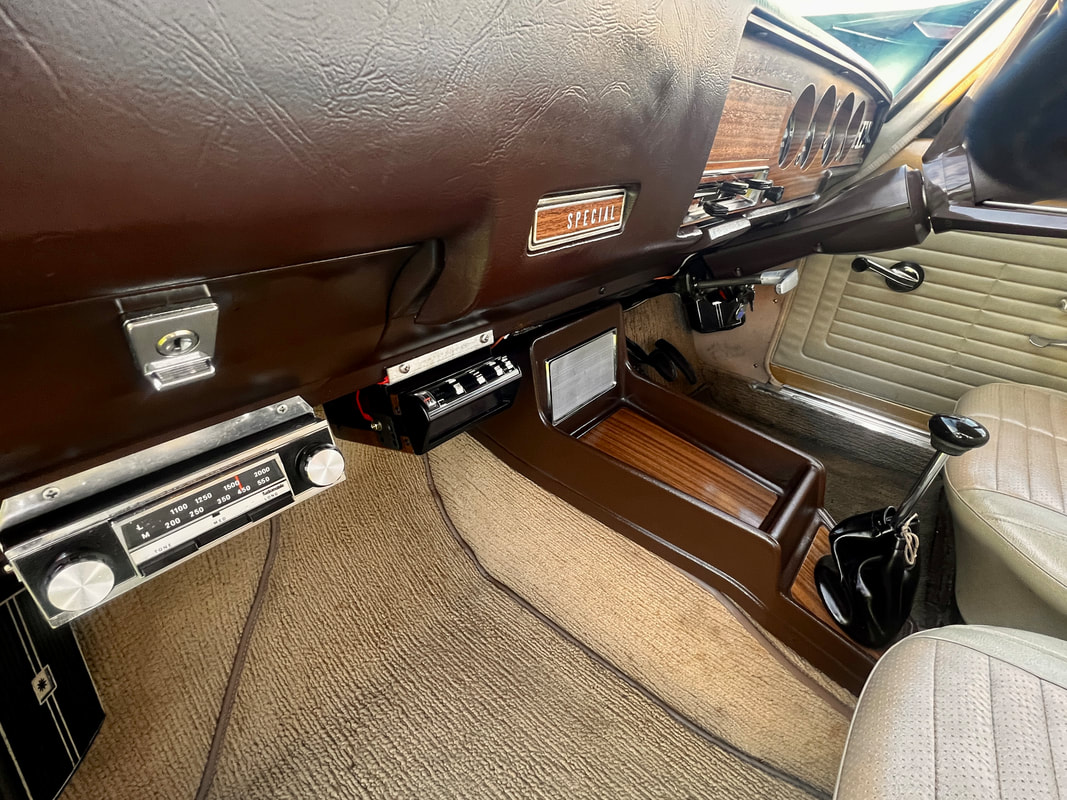
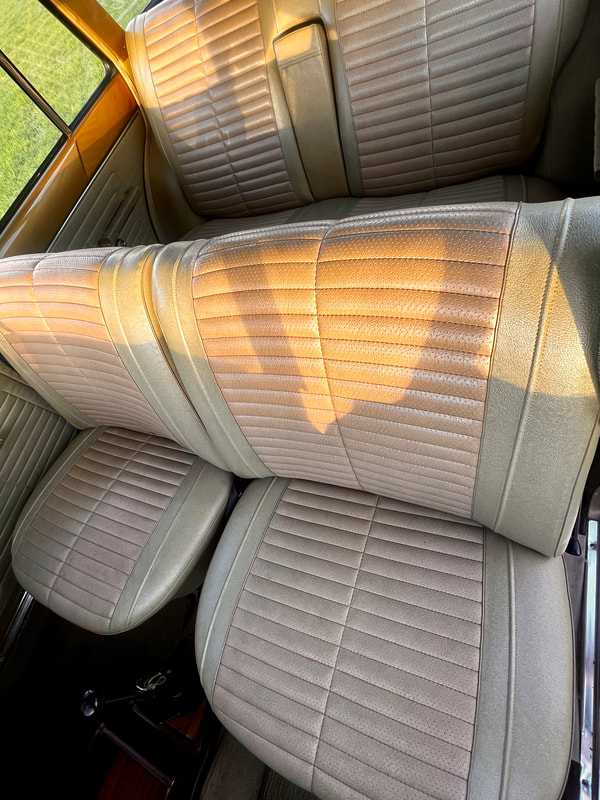
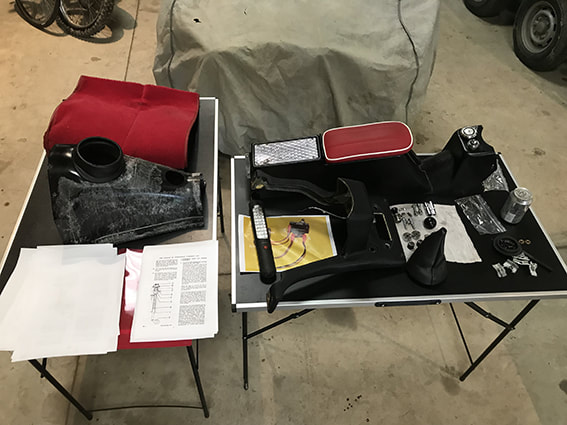
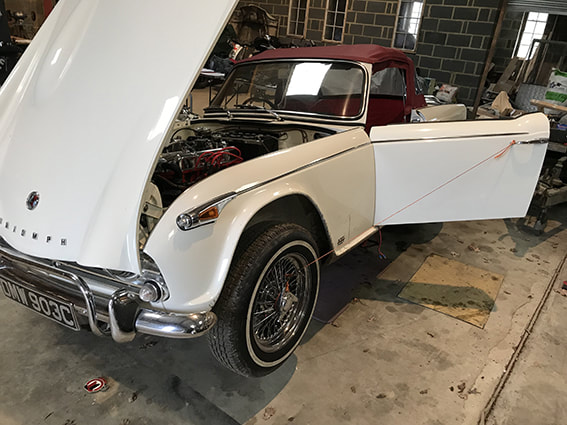
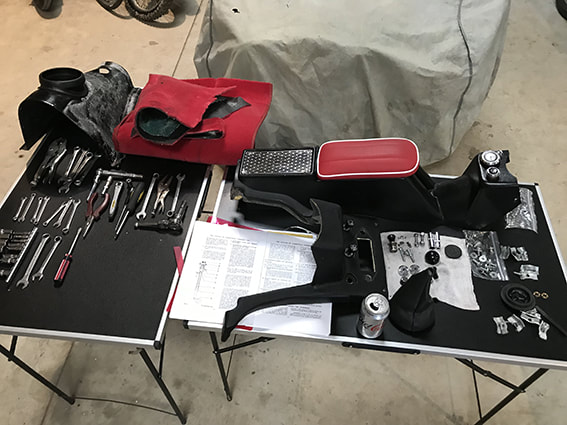
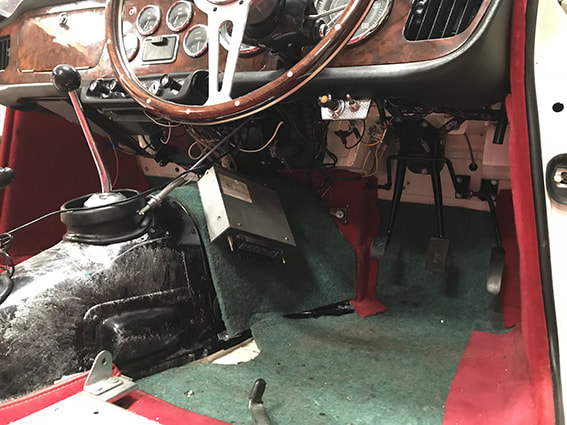
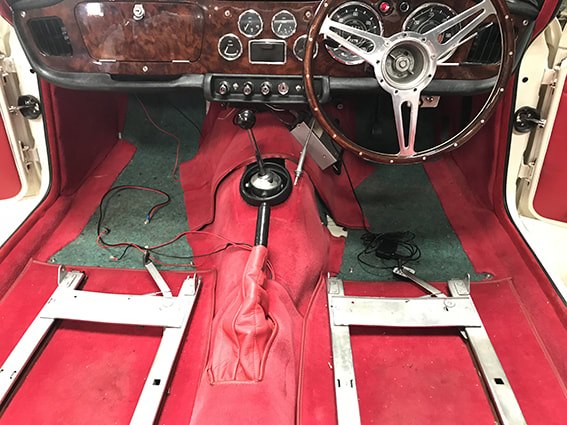
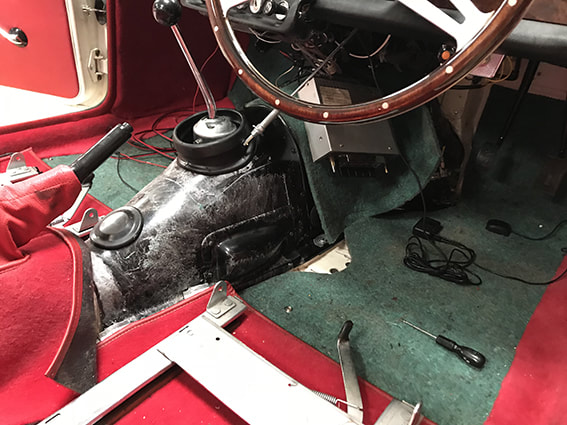
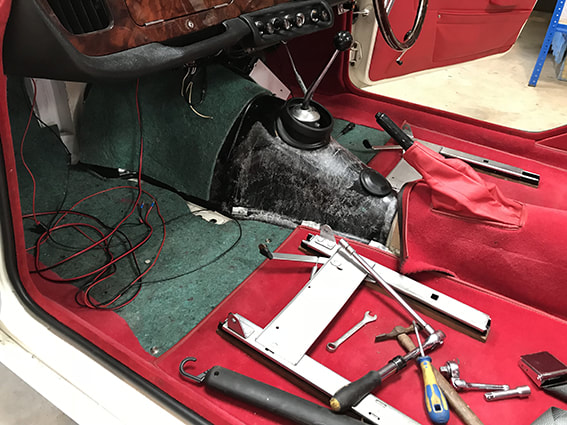
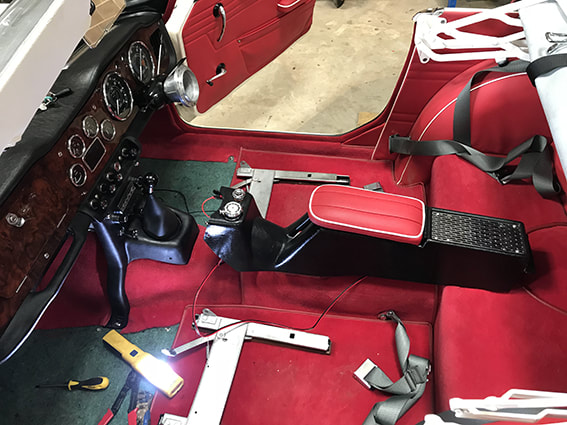
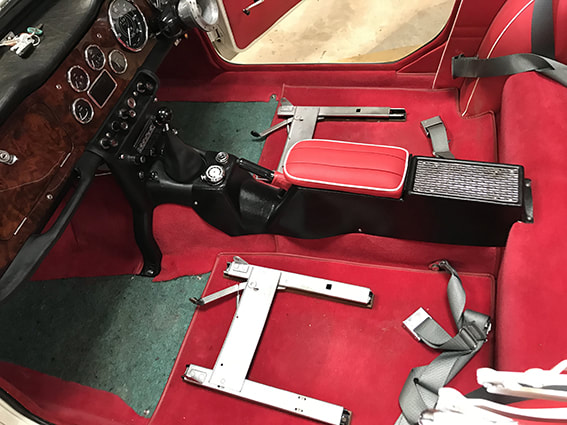
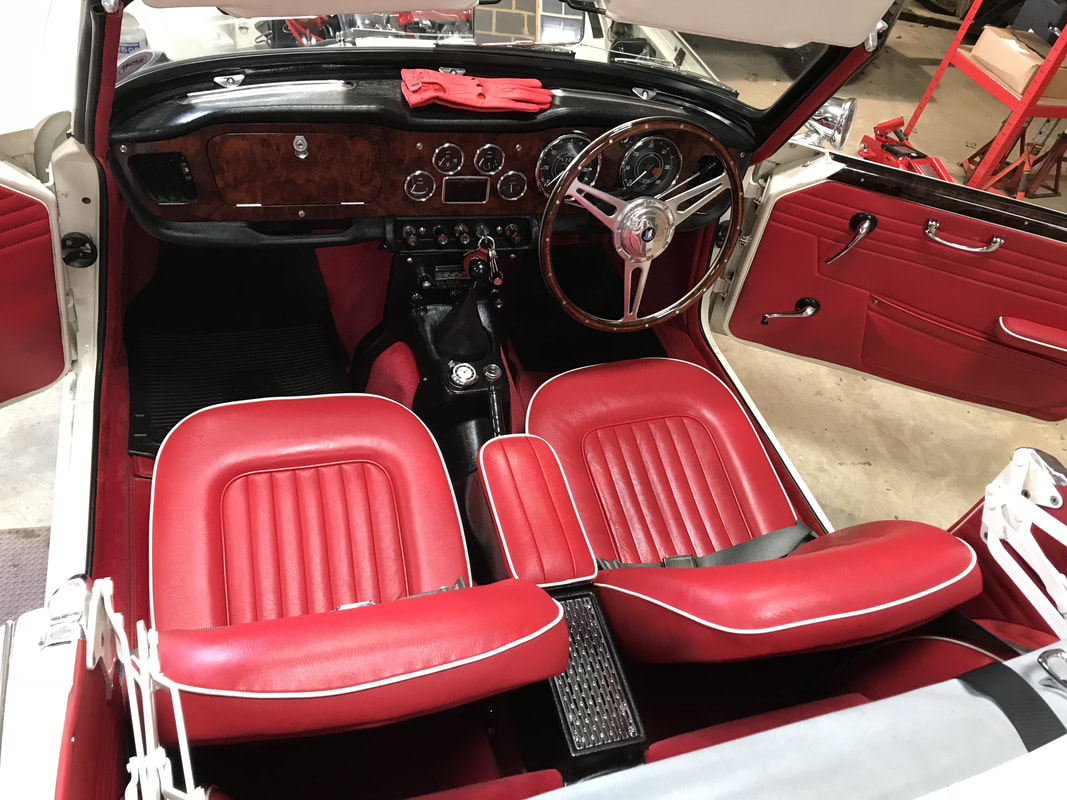
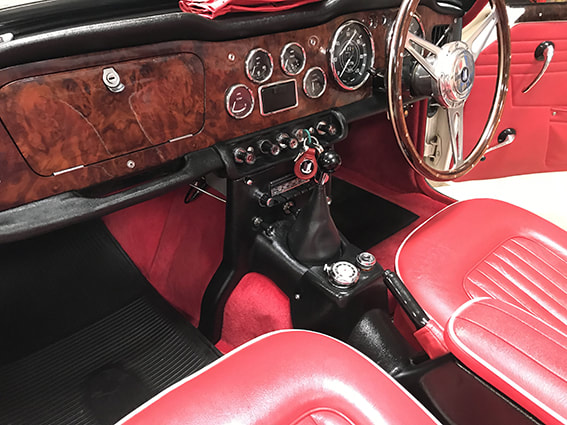
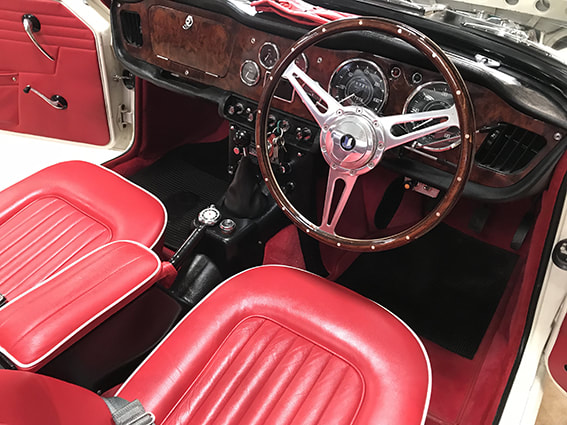
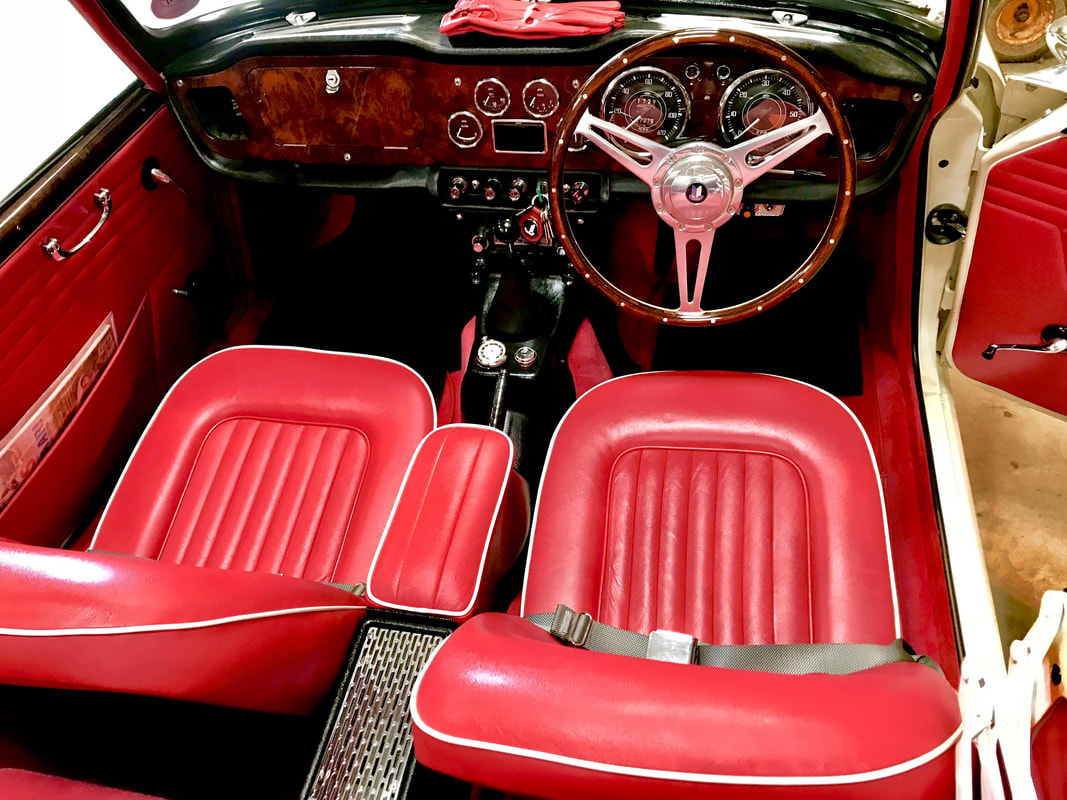
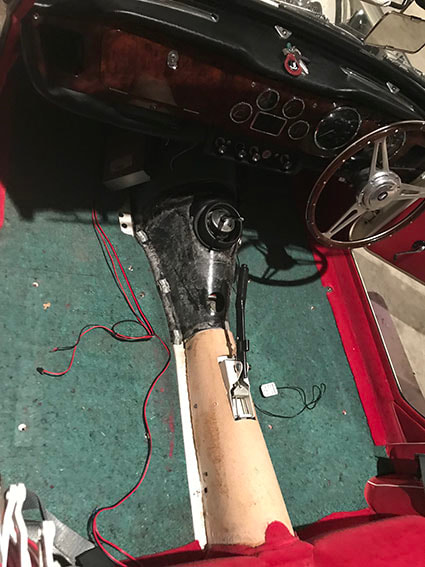
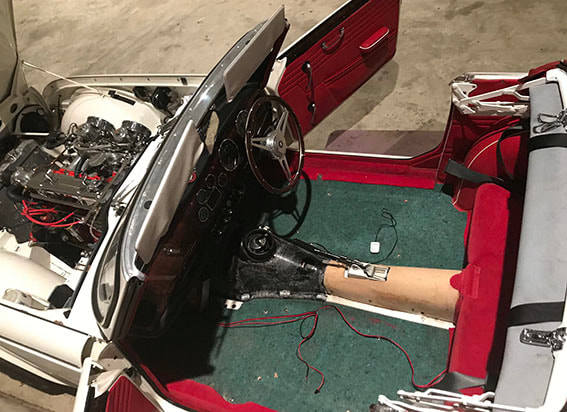
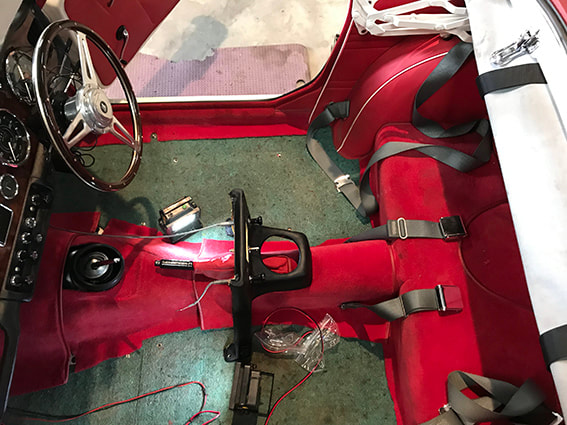
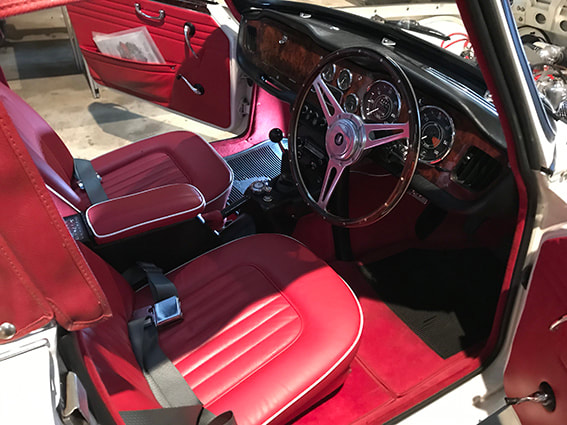
Rebuilding and reinstalling the Dashboard, Interior, Gearbox tunnel and H Frame - April 2018
|
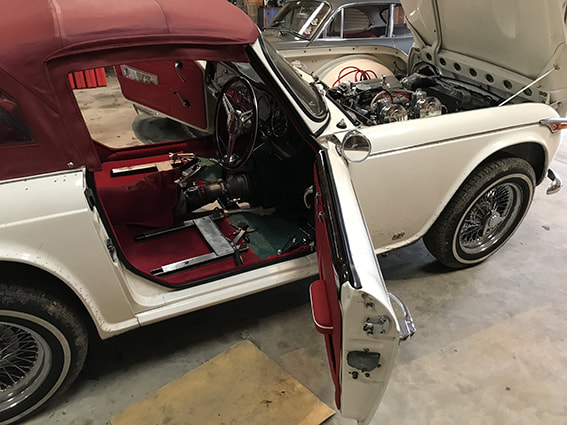
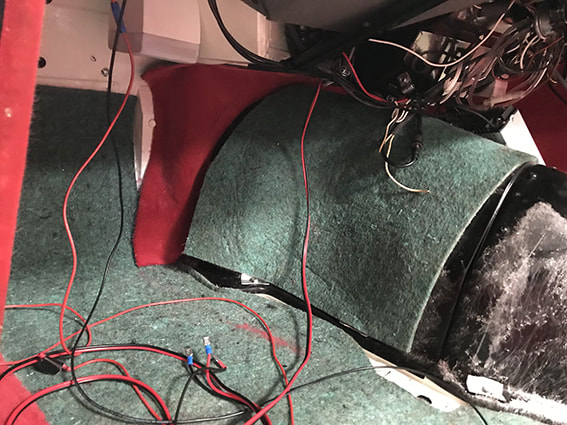
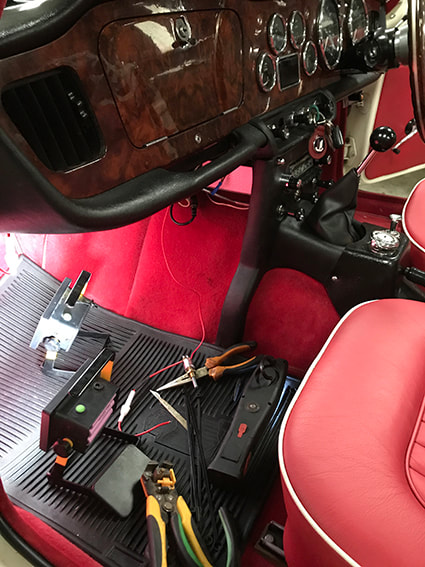
Now the overdrive is working again I have to rebuild everything and reinstall most of the car interior. It is a very fiddly job due to all of the electrics and sealing work required. It is a cramped space so I expect back ache. The picture gallery on the right shows the refit process. I am checking all fluid levels in the gearbox as the car is now back on level ground. Hopefully this is the last time I have to do this for a while. The list of tasks to put everything back together in no order are:
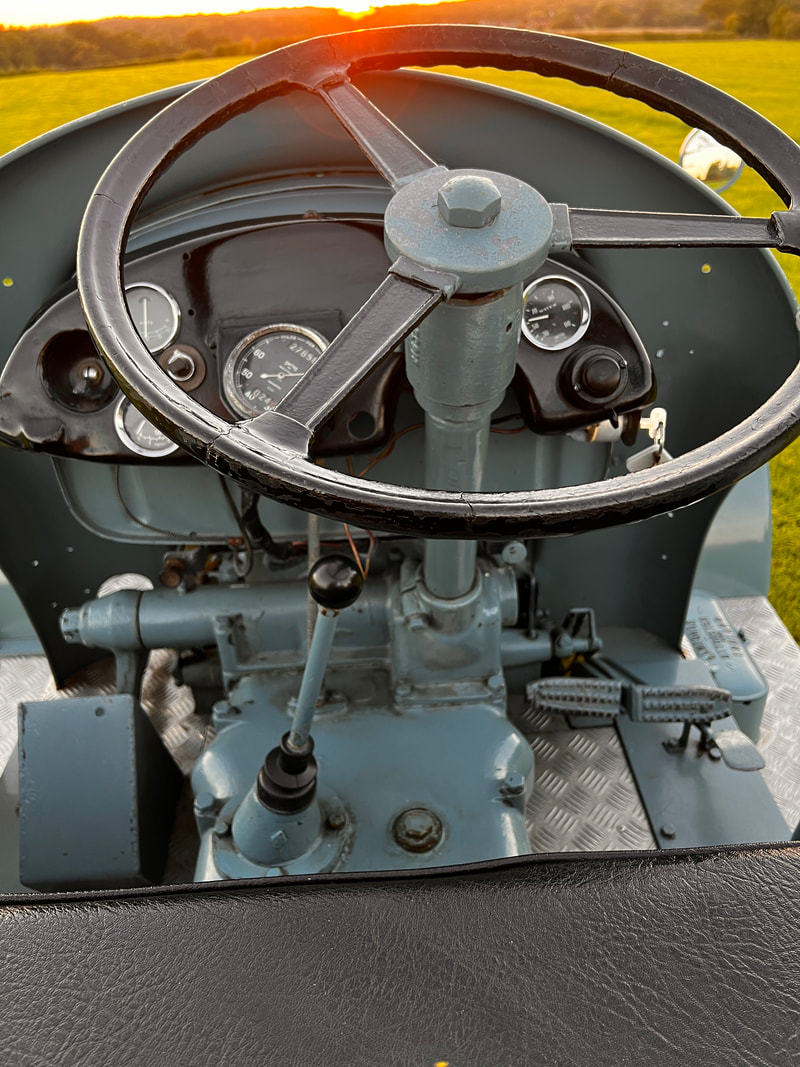
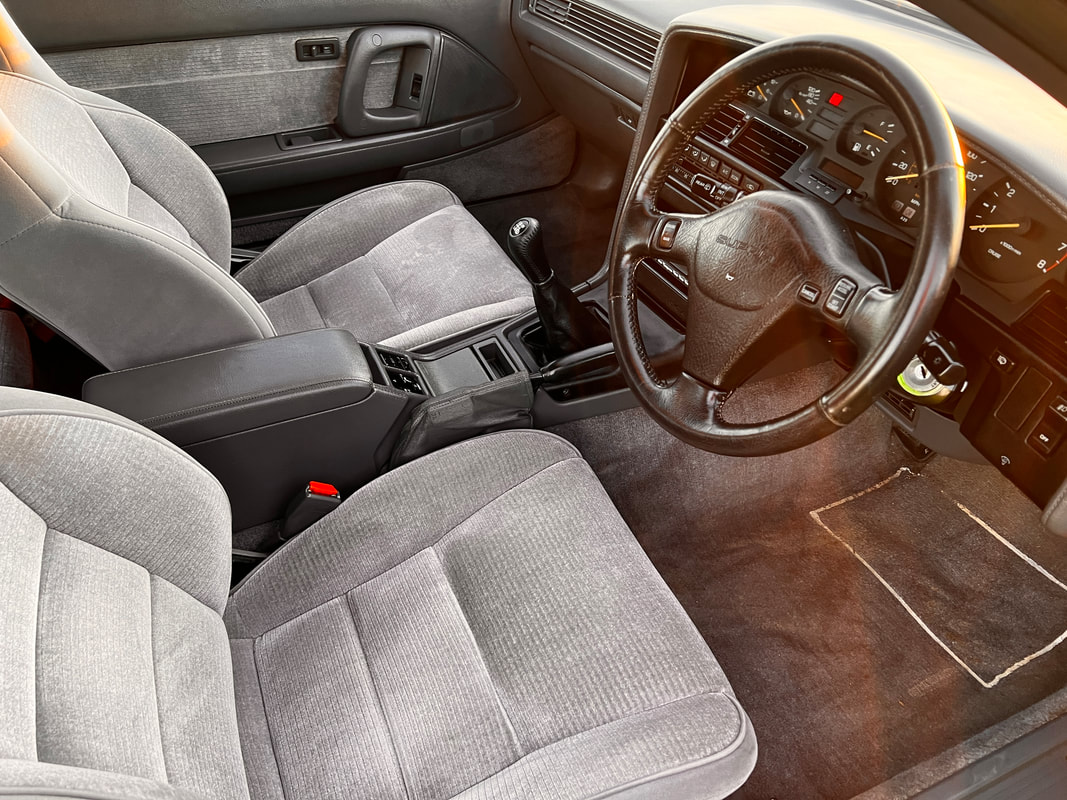
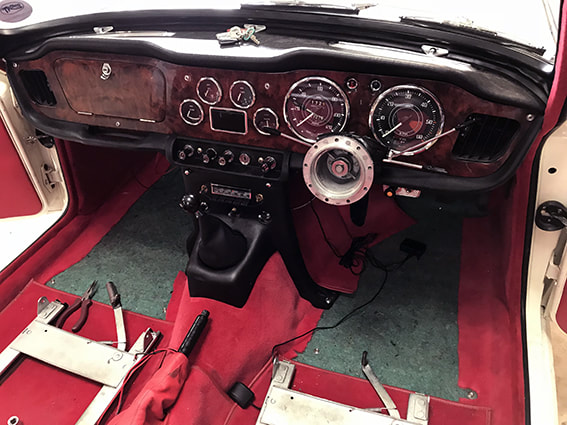
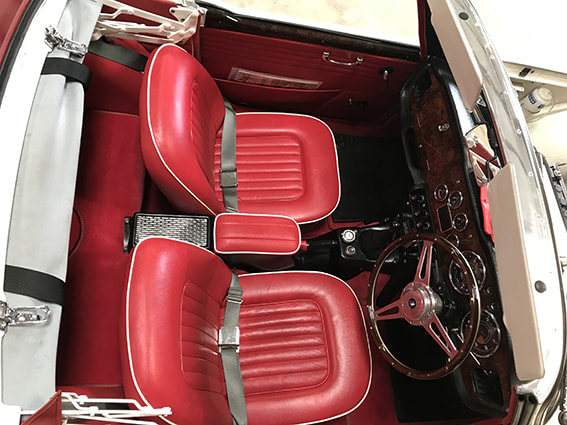
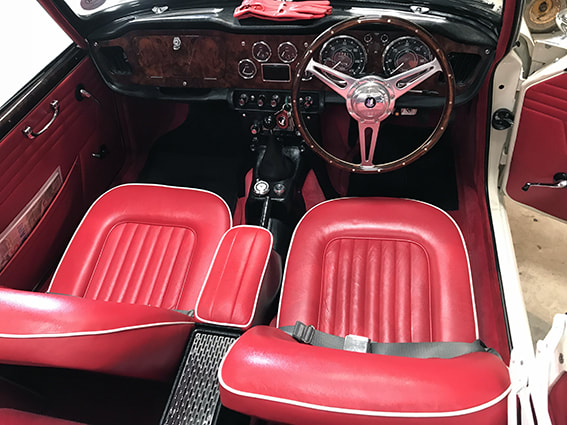
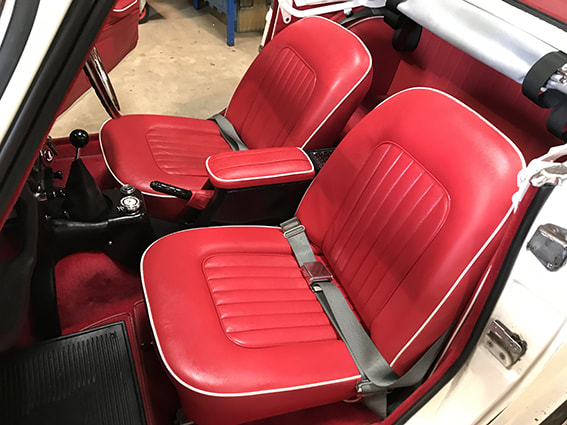
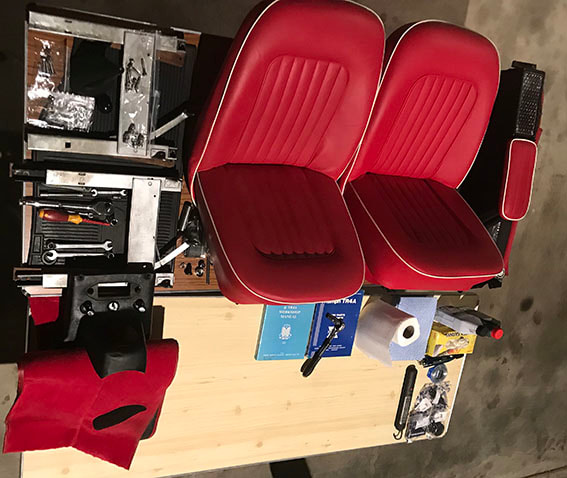
1: Check oil level of gearbox EP90 oil. 2: Clean gear box in all the hard to get to places whilst tunnel is off. 3: Check solenoid wiring to be solid and in place after all of the pulling. 4: Refit gearbox tunnel 5: Refit 'H' frame 6: Check wiring on Fan 7: Check wiring on wiper switch 8: Refit air control 9: Sort rattle on air vent at heater 10: Reaffix centre switch console and check wiring. 11: Check transponder fitted correctly for alarm. 12: Check tracker working and fitted correctly 13: Refit Amco Centre console and check speaker and cigar lighter wiring. 14: Refit steering wheel and ensure all cables to overdrive working. 15: Clean interior. That is a whole weekends work. The cockpit - 2018Below in the large inmate you can see the cockpit all built back up. I sorted all of the niggles whilst it was in bits. The wiper switch works correctly, the horn is sorted, The 'H' frame is now secure and dare I say it, but I think the rattle from the heater air flow box has disappeared!!!!! So, now the car needs a deep clean for the 2018 season. We are at the London to Brighton Classic again this year which is a great event!
|
|


APRIL 2018 - One of those amazing rare finds. I was really pleased to find an AMCO centre console as they are rare and I have only ever seen one - mine! To find the original ad from 1965 that proves they came in red is just great. We retrimed our AMCO console as the sponge cushion was shot and we changed the material to red leather to match the interior of our car and the ad proves we did the right thing. I have bought this ad to a dd to my collection. You can see most of the Triumph TR4 and TR4A HERE.
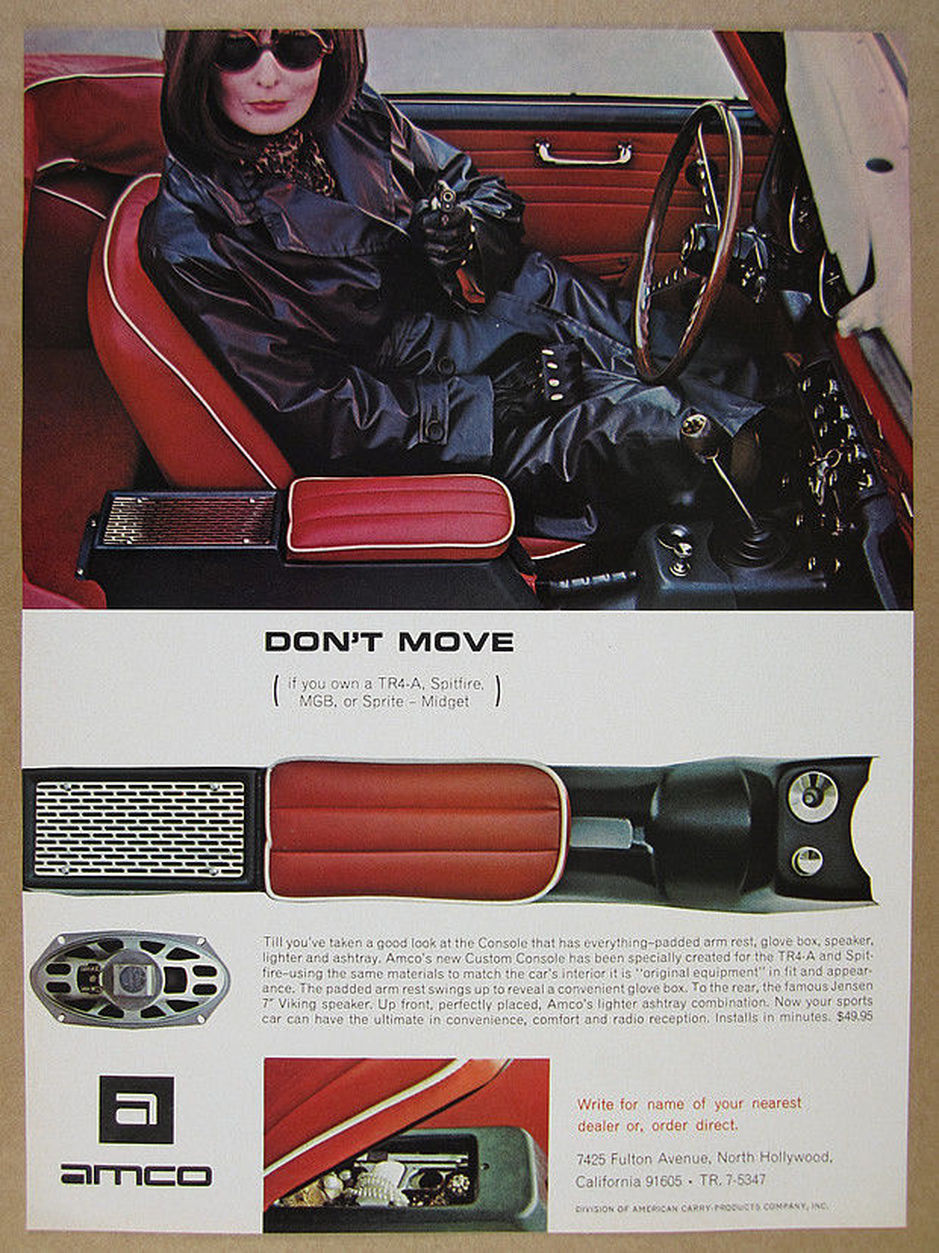
This ad proves that the centre console was too tight a fit for the handbrake:-) I did wonder but the look is so cool who cares!!!
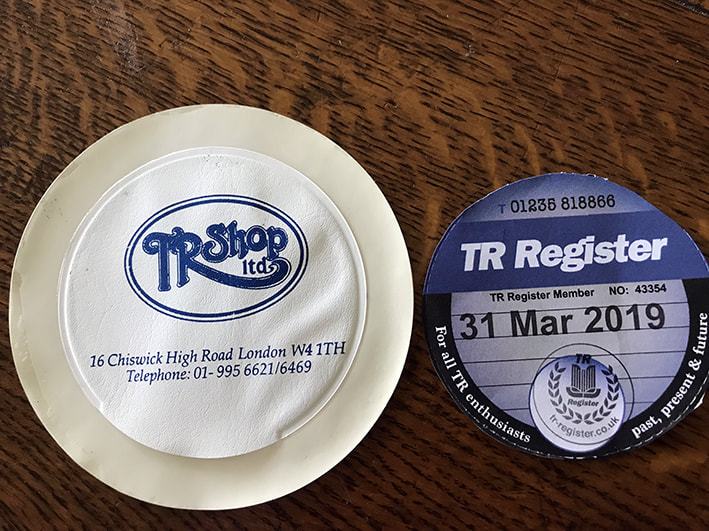
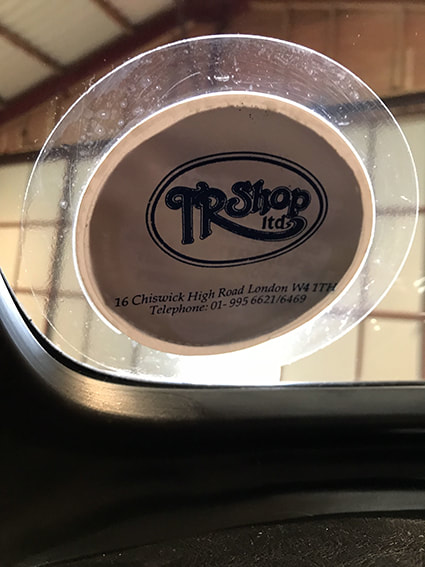
Period Tax Disc Holder - April 2018I am a member of the TR Register and they give a 'Tax Disc' replica now that the DVLA does not issue Tax Discs. What better way than to display it in a period tax disc holder. This one is from the TR shop who are alive and well and have ben supplying Tr owners with parts for over 30 years. I think they should issue these again for TR Register members. I picked it up on Ebay. The eagle eyed will note the 01 London dialling code on the phone number:-)
|
|

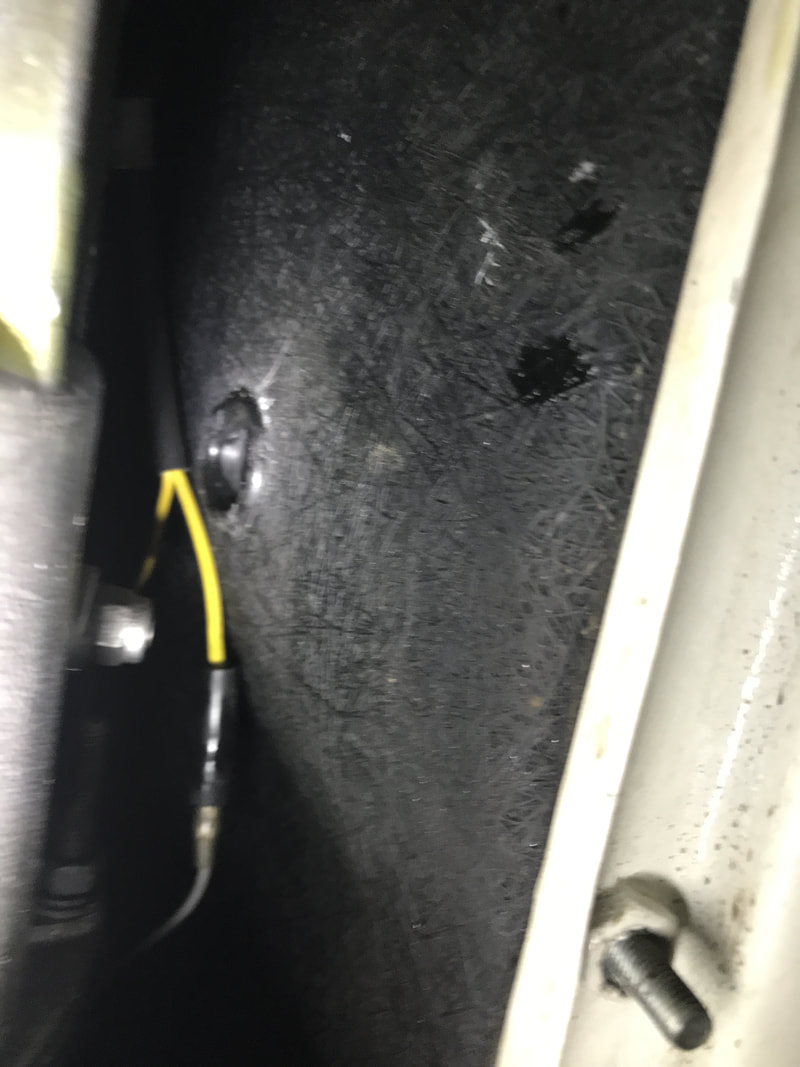
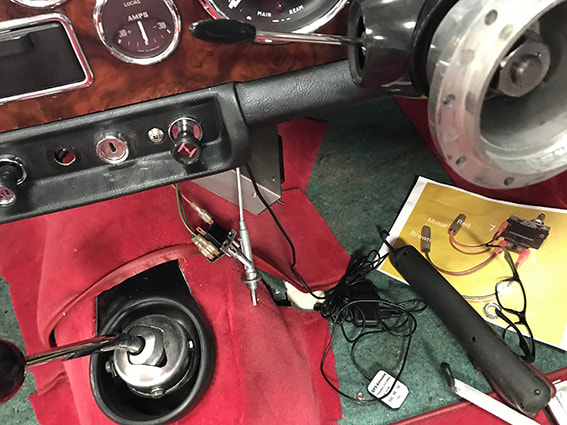
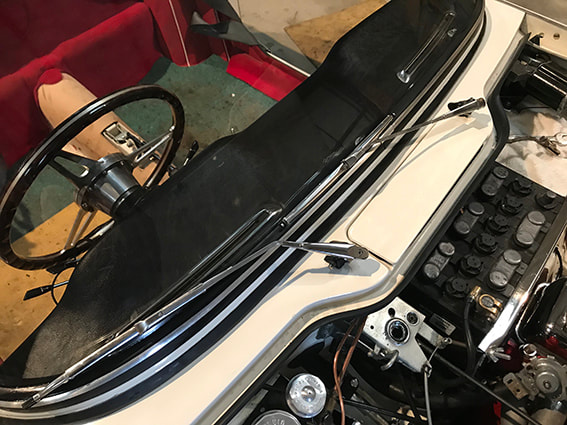
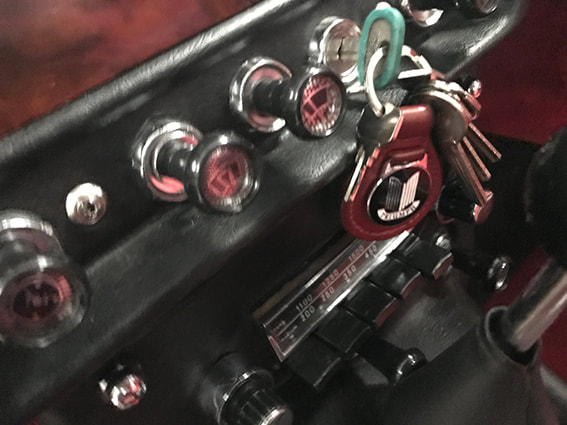
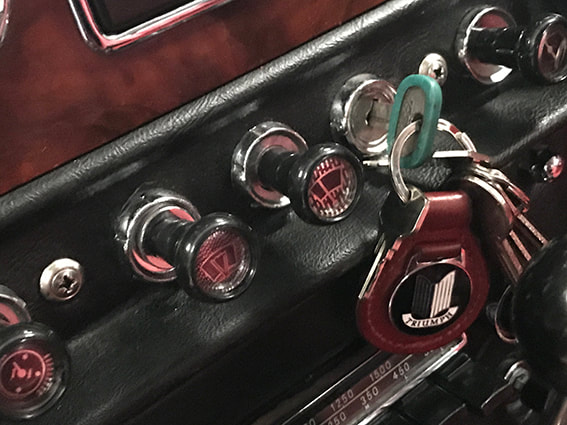
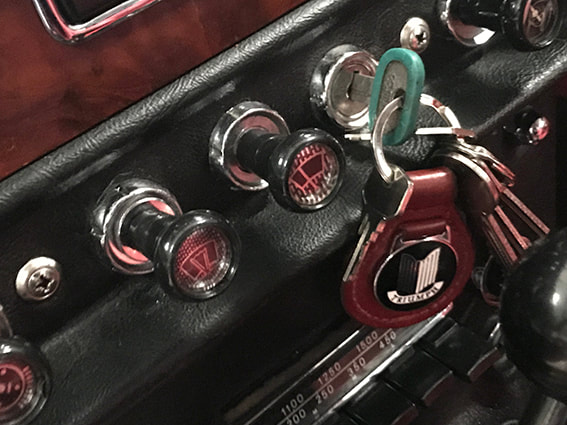
Triumph TR4A Wiper Switch Wiring - April 2018Rebuilding the 'H' Frame due to the overdrive issue gave me the opportunity to tackle the Wiper Switch that was running in the wrong order. 1st stage on the switch went fast and 2nd stage went slow.
On ten picture on the left you can see how I had its wired to achieve this odd running. The picture centre is a wiring diagram showing the correct wiring. The picture on the right shows mine wired correctly. This maybe useful as the wire colours are different from those in the centre picture. |
|

All ready for summer - April 2018 |
Cleaned up and ready to go. I got rid of the irritating whistle by slackening off the Dynomator as the belt was too tight and it was putting too much force on the Dynamator's bearing. The small car on the left is our Wolseley Hornet Shorty. This was restored prior to the TR4A.
|

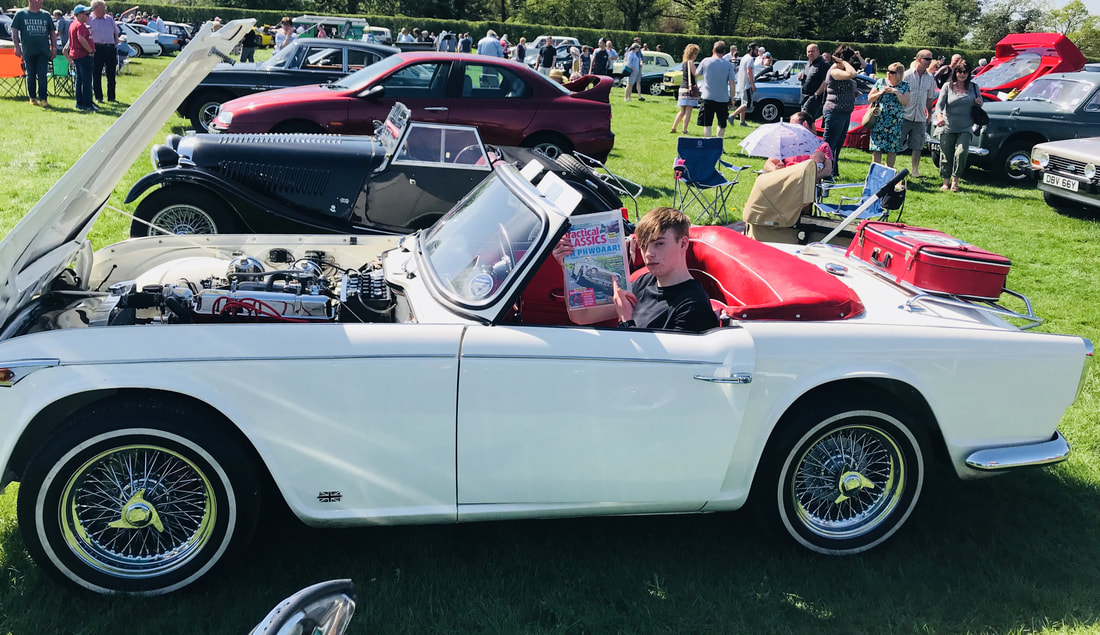
At The Headcorn Classic Car show April 22nd 2018
This was the first classic car event at Headcorn in Kent UK. Quite a good turn out and very grassroots as most of the car events are in Kent. We only hung around for a couple of hours. Brilliant sunshine, lots of great cars. 2 X TR6, 1 X TR5, 1 X TR4, 1 X TR3A, 2 X Stag. Not a bad Triumph turn out.
Picture show Thomas holding the copy of Practical Classics with our TR4A on the cover.
Picture show Thomas holding the copy of Practical Classics with our TR4A on the cover.
30th May 2018
|
|
The London to Brighton Classic 2018

Above. In the Davenport car park the night before. Above right our race number. Our TR luggage. Far right on reaching Brighton. Below enroute.
|

|

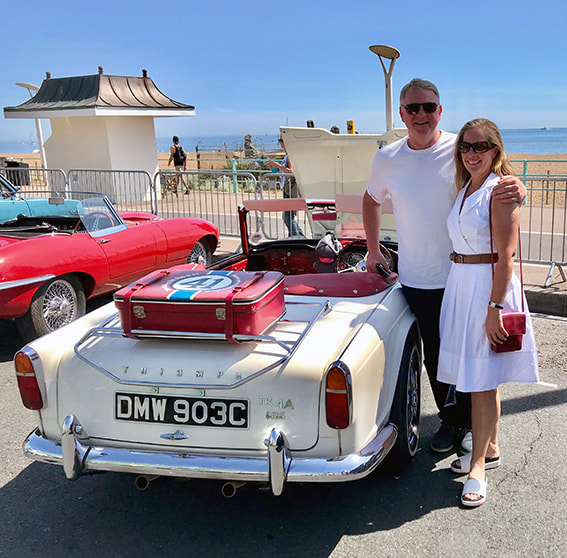

Below: Our TR4A on reaching home in Woodchurch Kent. Another great weekend in our Triumph TR4A

Quick Trip to the Chalfonts - June 2018A round trip of 160 miles and the car has no issues to report. Prior to this trip I did fix the heater control so the heater valve can be fully shut off. The car normally runs dead centre on the temperature gauge but with the heater valve shut it runs above centre when doing motorway driving. No where near the red so really pleased with the performance. The pictures show DMW 903C at Cobham Services by Heathrow Airport on the M25 cutting classic lines in the car park. The only failure we had was the iPhone connector cable and the GPS cable. Modern rubbish that is not built to last:-)

|
|
Goodwood Revival September 2018Probably the best weather we have ever experienced at the Goodwood Revival. We raced to get to the hotel after work on the Thursday night and got there just after the restaurant had closed. Shame. The bar menu made up for it. Pictures show the TR at Amberly Castle in Sussex on the morning of the Goodwood Revival. Great day out and the car park had quite a few TRs on display.

The only issue the TR4A has at the moment is a grumbling clutch release bearing and one of the wiper boxes is not gripping the wiper arm. Both of these will be winter jobs before the spring of 2019. These pictures made it to Issue 309 of TR Action Oct/Nov 2018. Below.
|

|

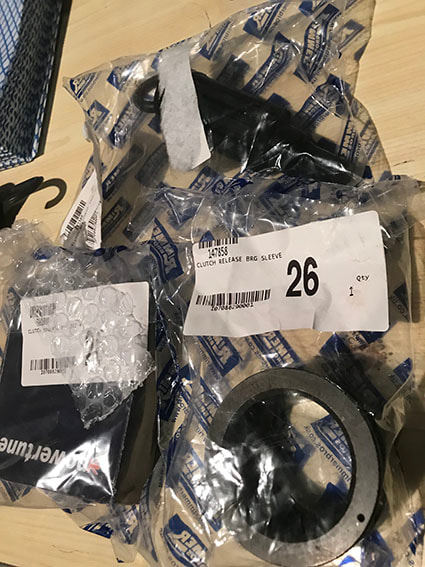
October 2018 - The grumbling TR4A Clutch Release Bearing.
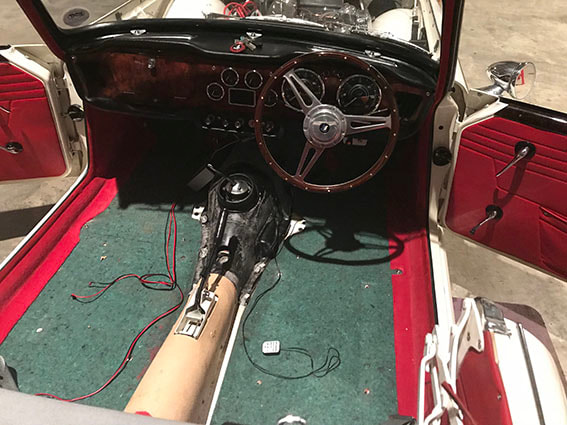
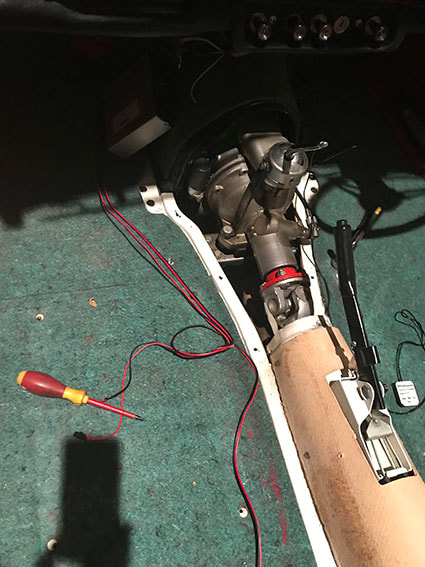
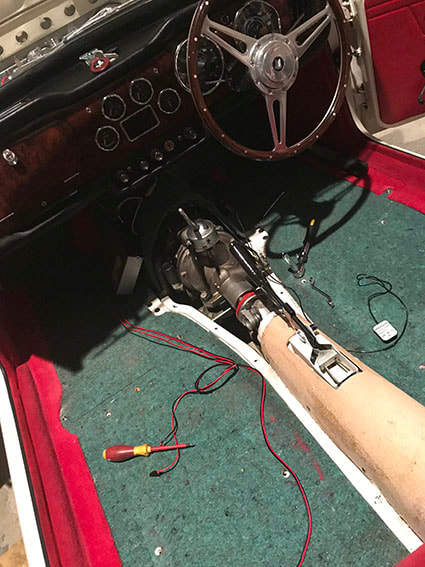
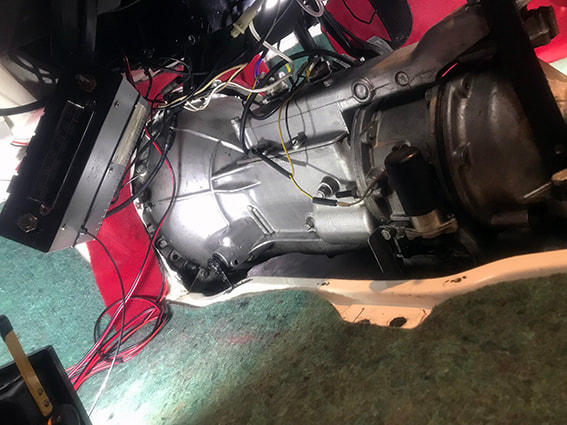
Some folk are happy to put up with the grumble from the clutch release bearing. Not me. I hate it - with a vengeance. So it is a complete interior strip out again to get to the gearbox. Stripping out the interior to such a degree takes about 4 hours. It takes longer to refit it. In the Uk the long nights are here with autumn so this is a good time to do this job. I am hopeful it will be a quick fix. At the same time I will refit the wiper box that has worn splines. If I ever build a TR again I will fit new wiper boxes as a matter of course. Pictures below show the strip out of the interior to get to the clutch release bearing. This taks can be completed without having to take the engine out.
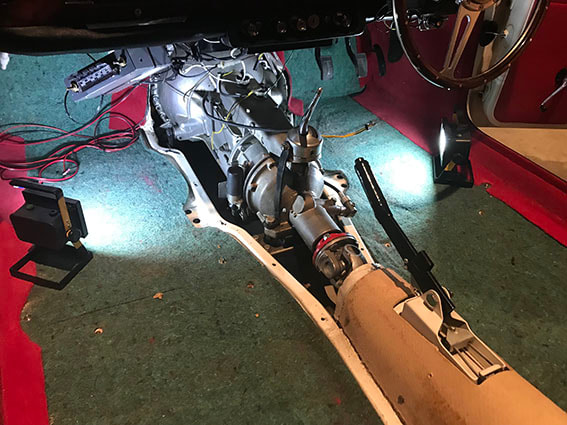
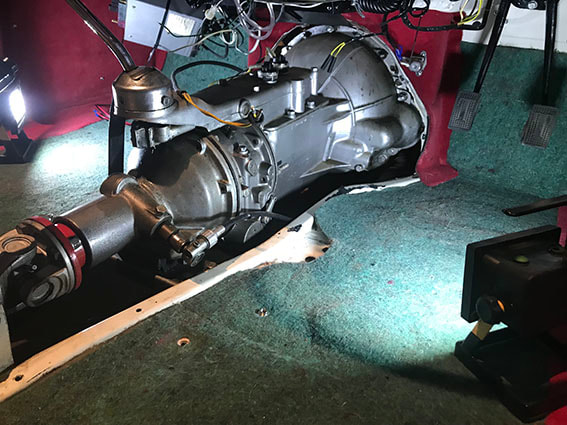

November 2018 - Clutch Bearing continues
|
I took this small video of the clutch releasing bearing. You can hear how noisy it is and so how much movement is in the bearing. This was a brand new part when fitted 3 years prior. Replacing it is a big job.
|

|
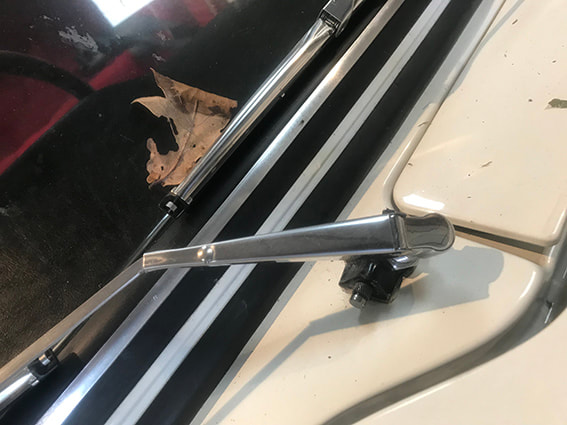
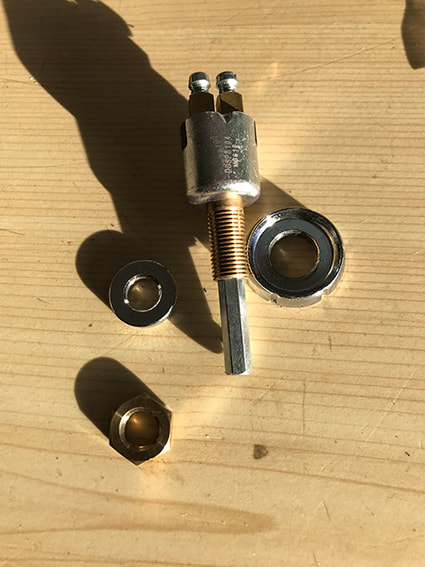
November 2018 - Wiper wheel box replacement
So, my big mistake was not to replace the wiper wheel box with a new one when I rebuilt the car. The teeth on the box shaft were worn and recent use in wet weather has worn them even more. So I have had to replace the wiper box. This is a big job that will take the best part of a day. you will need helping hand too. As I was about to refit the interior after fixing the clutch release bearing it presented the ideal opportunity to get to the wiper wheel box. I have 2 bits of advice that will save you loads of time. 1: Remove the front bulkhead vent. This will get you access from the side. 2: Lightly screw the backing plate on with enough room to get the wiper rod in and fit the box complete but loose. If you don't you will spend hours trying figure out how to do it.
NOTE: The CRANKED wiper arm is for the passenger side. The crank allows the arm to clear the front scuttle air vent lid when open.
NOTE: The CRANKED wiper arm is for the passenger side. The crank allows the arm to clear the front scuttle air vent lid when open.
THE WORN WIPER WHEEL BOX
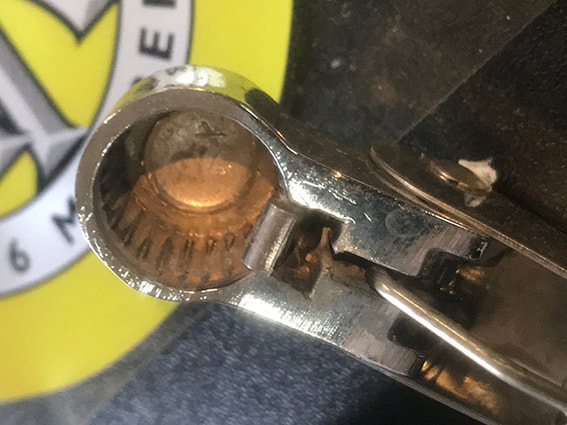
THE NEW WIPER WHEEL BOX
|
I installed the wiper box upside down and that resulted in some comical wiper motion. Now fixed but it took the best part of a weekend to fix.
|
|
Below you can see a little video of the Triumph TR4A wipers in action on a cold December day in the rain. The wipers have 2 settings. Fast & Slow. This is the slow wiper setting. Looking at the day it was probably a faster setting that was needed.
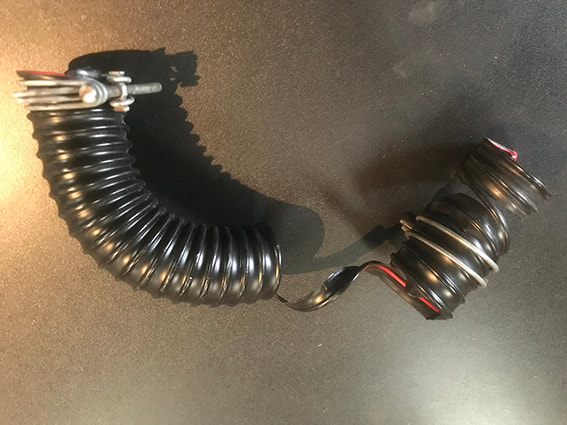
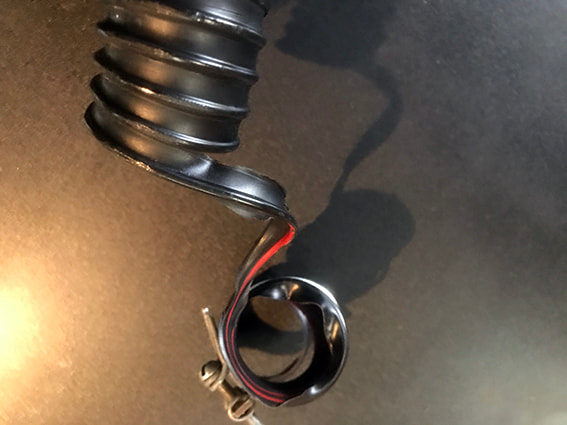
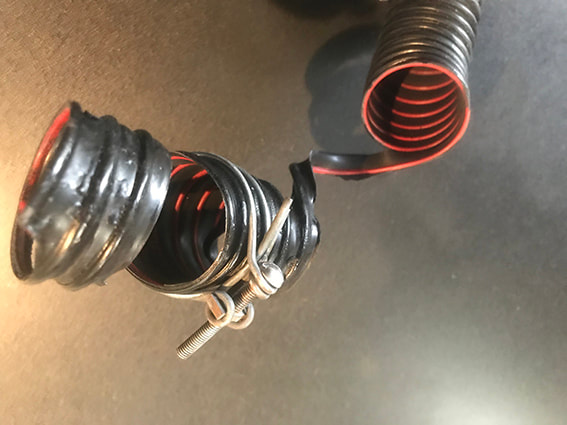
Word of warning - Heater Vent Hose
To replace the wiper wheel box you will have to remove the heater vent hose. Mine was original 1960's and it had become brittle. My vigour reduced it to 3 parts so a replacement is sort. Be very careful removing it if you want to keep the original. Pictures show the ruined hose.
November 2018 - refitting the interior after replacing the clutch release bearing
This is getting tedious. This must be the 4th time this year I have had the interior out. This time it was for the clutch release bearing. I have sorted the wiper wheel box at the same time so 2 big jobs out of the way. I have also done a few electrical niggle jobs at the same time. Having the interior out means you can give the gearbox a good clean and check the operation of the angle drive, the overdrive solenoid and the general wiring.
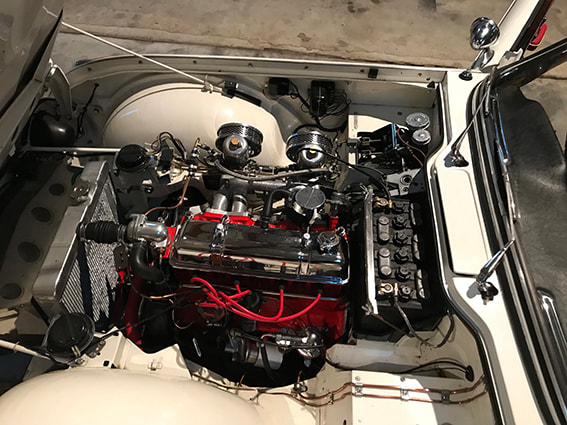
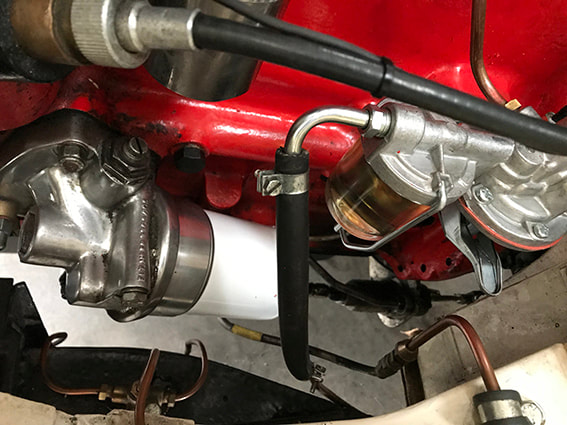
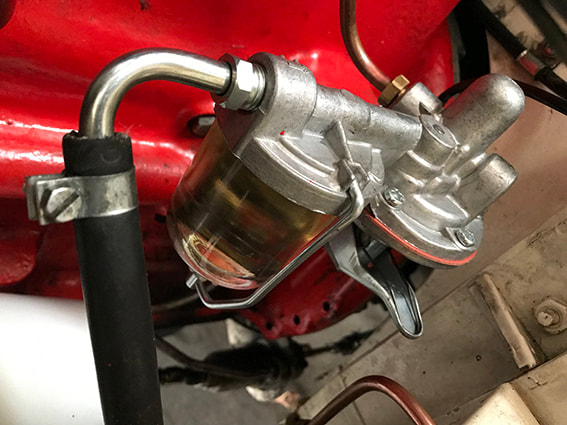
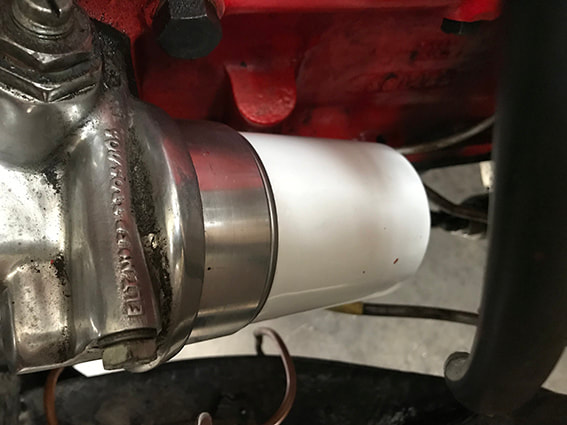
Fitting a spin on oil filter and a mechanical fuel pump. December 2018
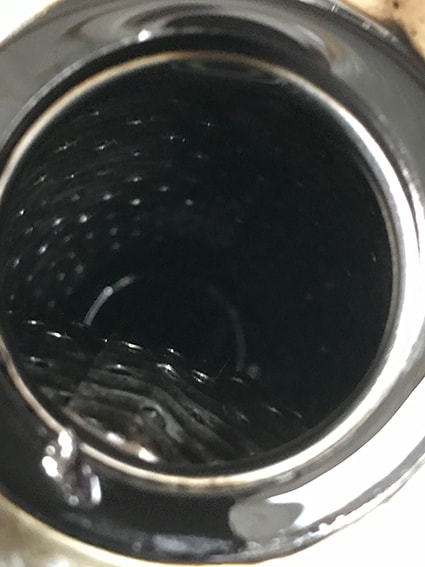
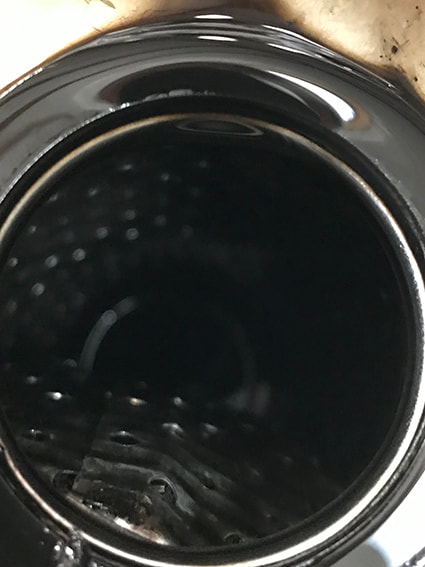
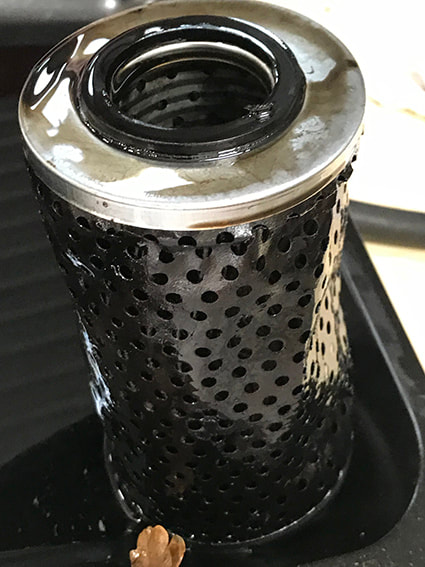
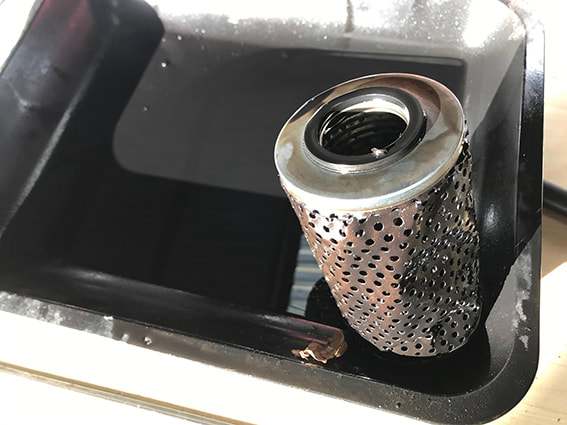
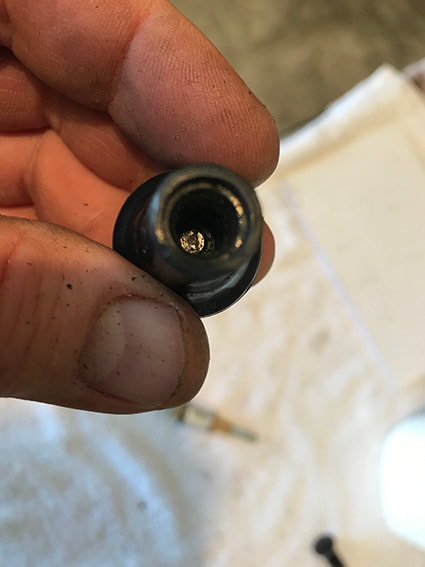
The old Purolator always leaked as did the mechanical fuel pump. So, the Purolator has been replaced with a spin on cartridge type oil filter. The fuel pump was replaced like for like. The new ones are NOT leaking so it looks like all the grunge that built up on the lower engine will be no more. I will deep clean the engine block and surrounding areas and see how much oil and fuel leaks if any. You can see that the old Purolator filter got crushed. i thought it may have been heat but the issue was mechanical. I put too much pressure on the filter and the Purolator spring may have been too strong?
In any event, this is no problem now as the Purolator has been retired and the spin oil filter is a lot more robust.
In any event, this is no problem now as the Purolator has been retired and the spin oil filter is a lot more robust.
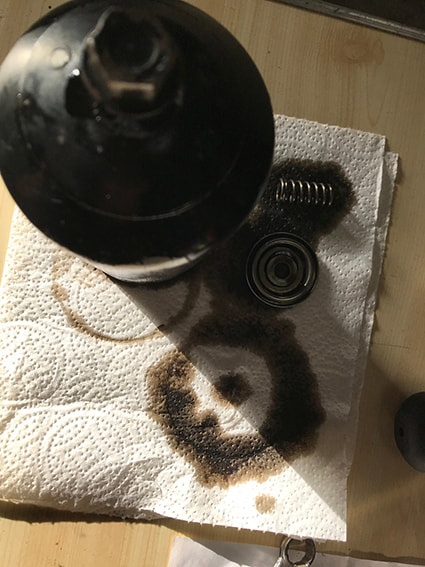
John on the TR4A Register Forum had this to say about the Purolator issue. Poor/wrong assembly or an over rated spring could result in the type of collapse you can see.The element should be tested to 3x the design collapse rating. If the spring is correctly rated, is the element blocked? Did it do excess running hours? These elements are usually rated at about 60 microns This, generally, allows the carbon to circulate, as is is not considered to be detrimental to the engine in the usual concentrations. A blocked filter will capture much more carbon. This will blind the media and create a high delta P. High delta P could, could, result in the damage shown.
December 9th 2018 - Is this the last trip out of 2018?
After fitting a new clutch release bearing, spin on oil filter conversion, new fuel pump and new wiper boxers a test drive we really needed. So in the rain the car was given a good blast and there is nothing to report. Everything is working as it should do. Pictures are from Kent UK.

|

|
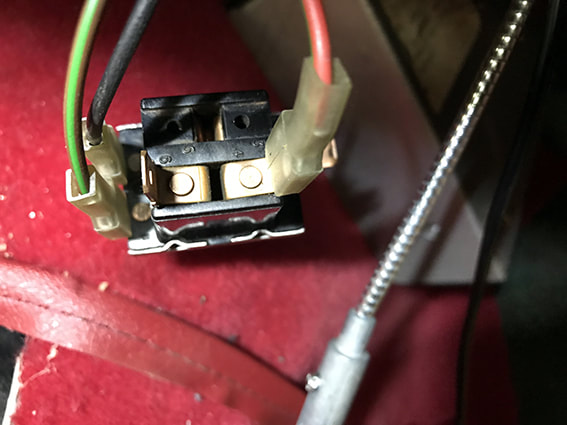
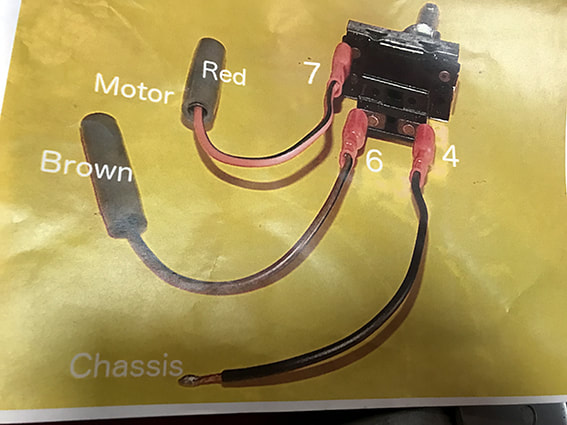
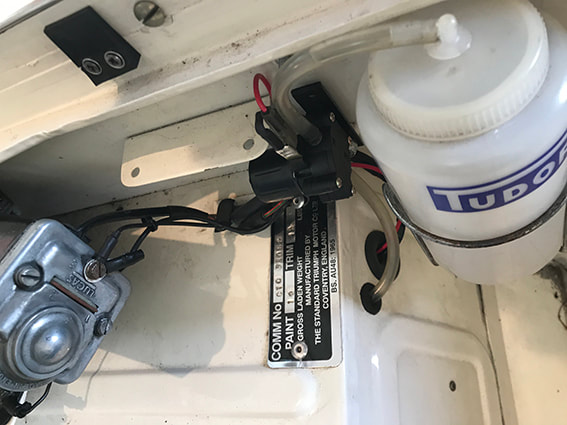
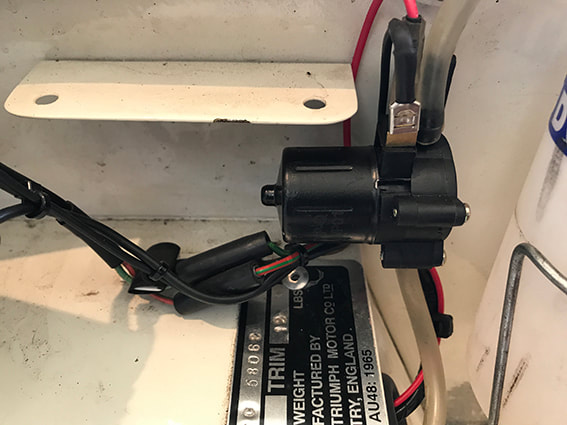
December 15 2018 - Fitting an electric washer pump and switch.
Using the TR4A in this wet weather has highlighted how useless the hand pump washer control is. So I bought a small electric pump off eBay sand wired it in. The hole the washer pump0 leaves in the dashboard is quite large. So I managed to find an old switch bezel and cobble together a system that holds the much thinner switch in place. The pictures below show how it went together. ~I also drilled out the original washer knobs that is a screw type trio take the push on Lucas switch. this enabled me to keep the original look of the dashboard. The plumbing was kept intact and joined where the old hand pump was and cut where the new electric pump is. All of the changes are easy to reverse if the original pump was ever required to be refitted.


December 2019 - New washer pump
|
|