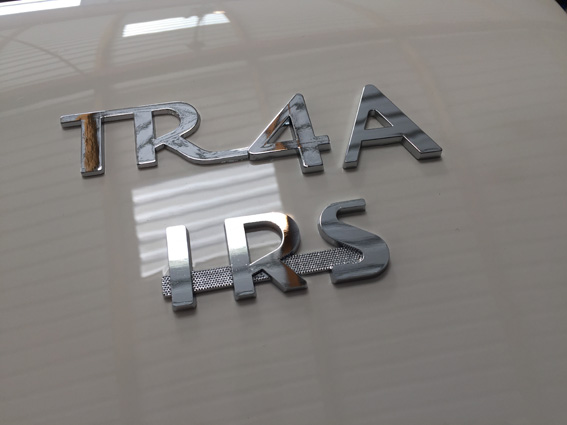
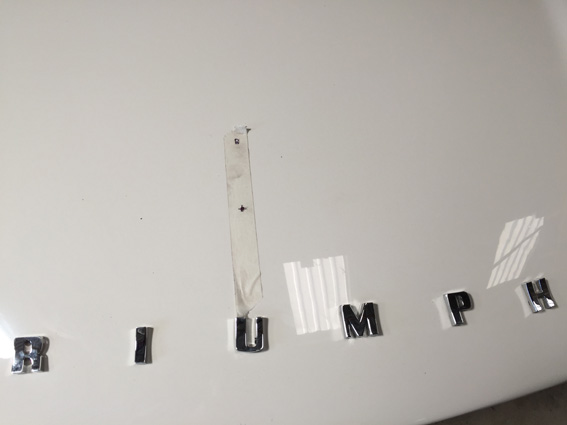
Triumph TR4A Body Restoration
|
Fitting the body to chassis will be available HERE.
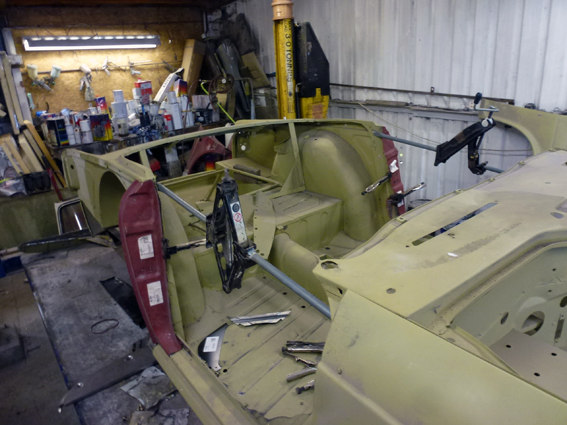
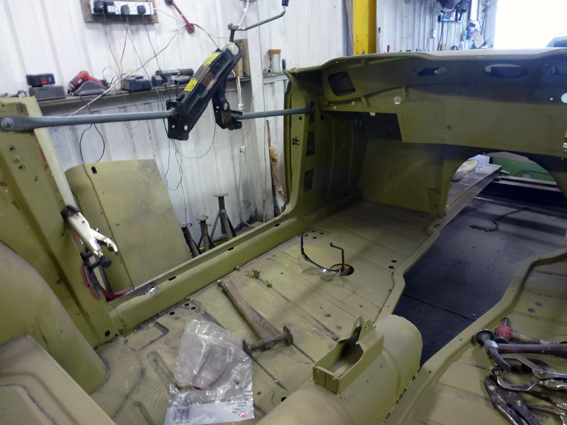
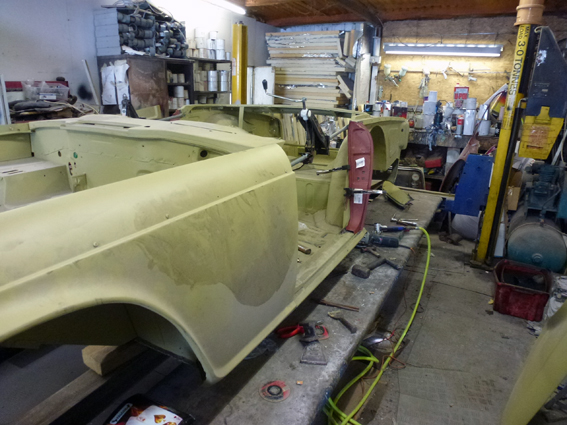
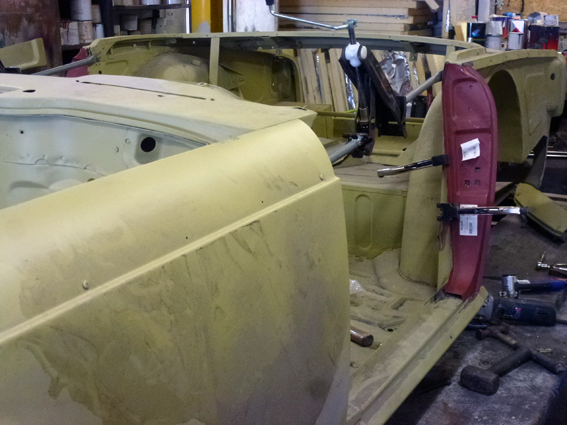
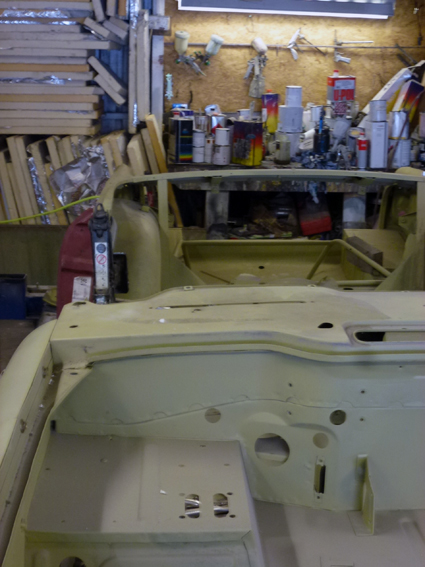
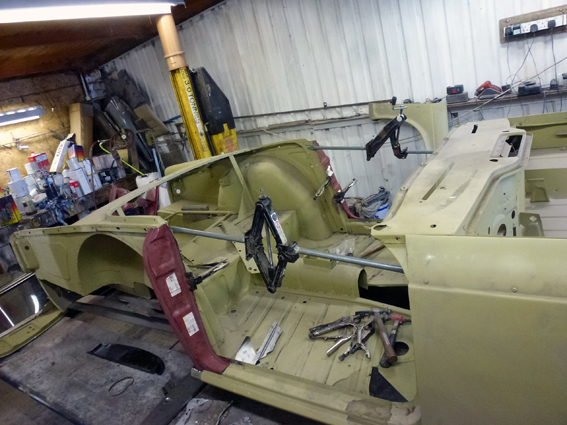
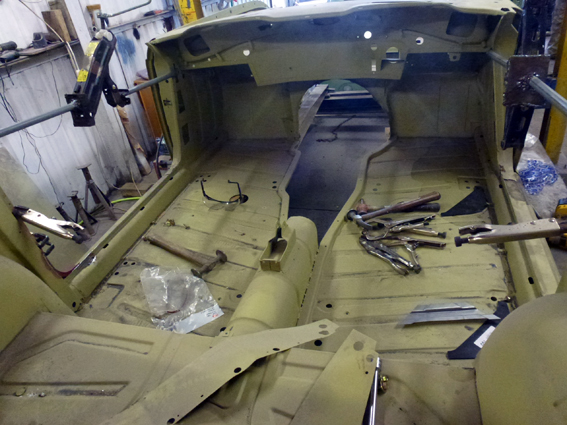
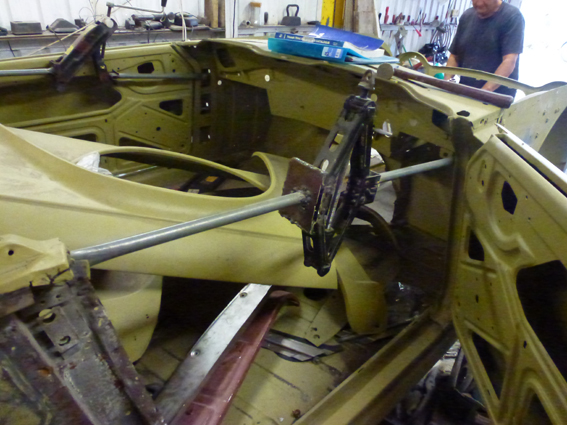
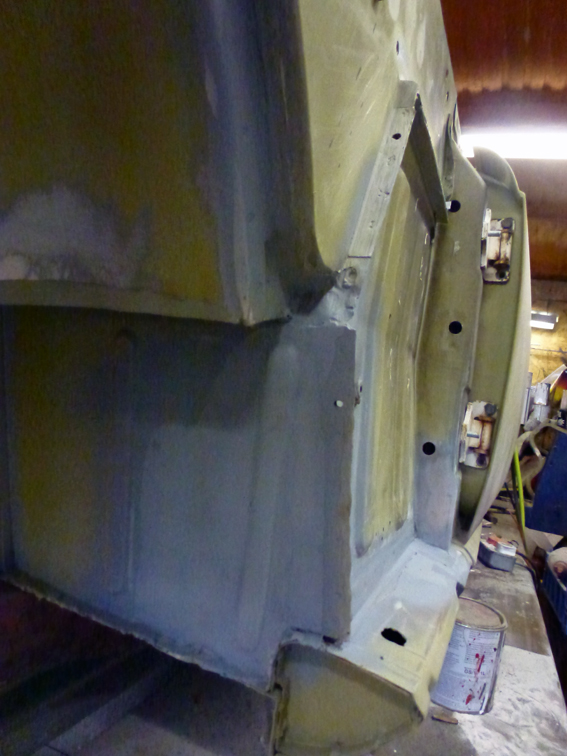
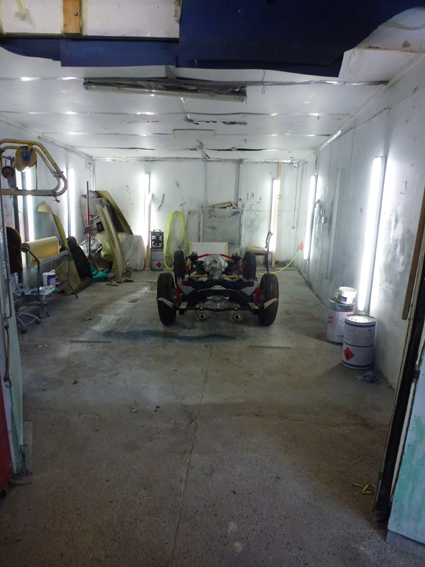
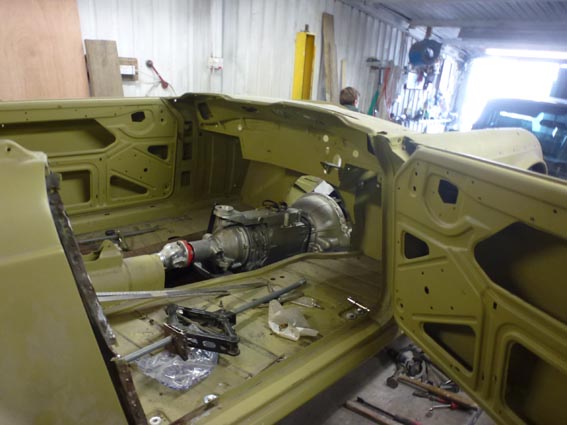
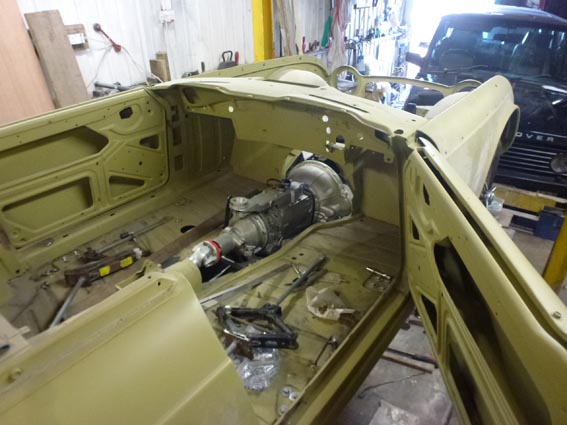
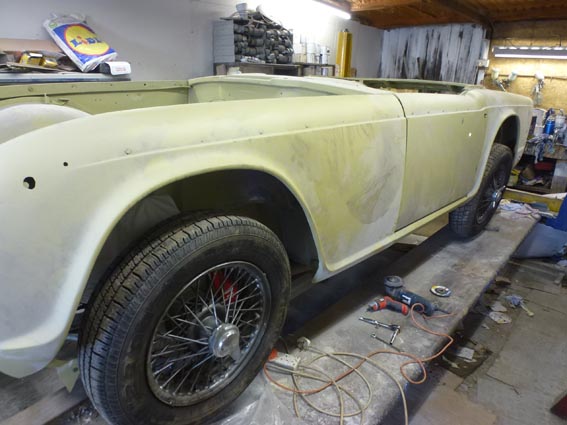
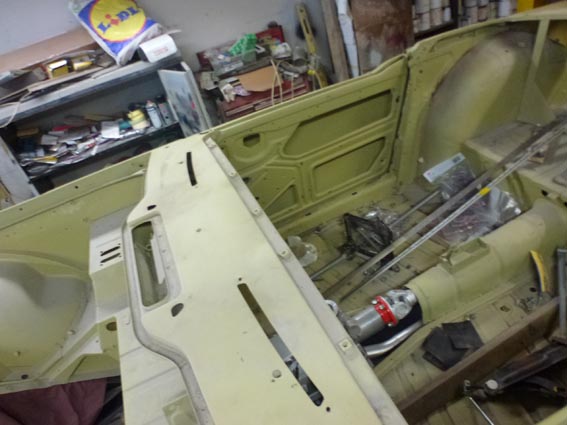
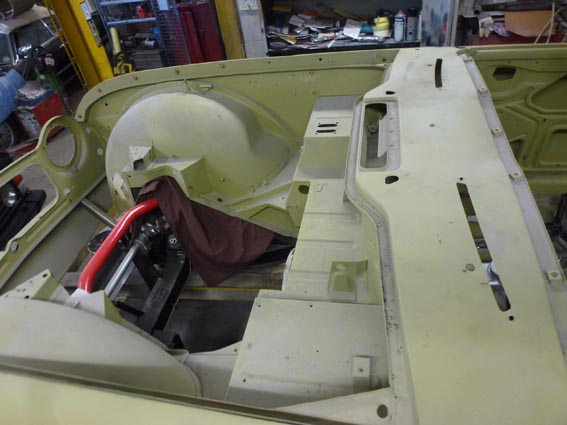
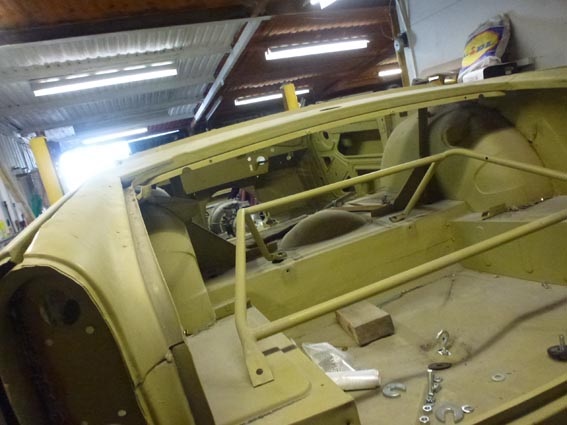
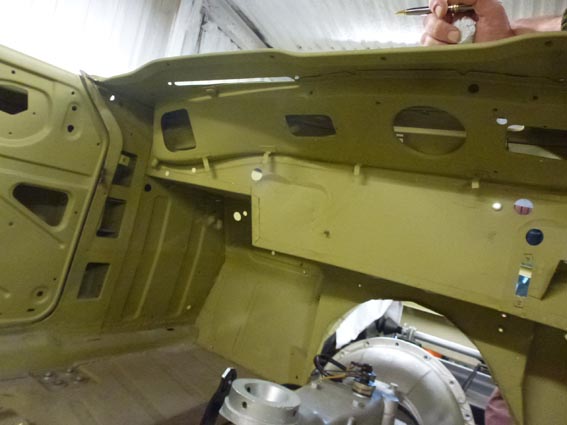
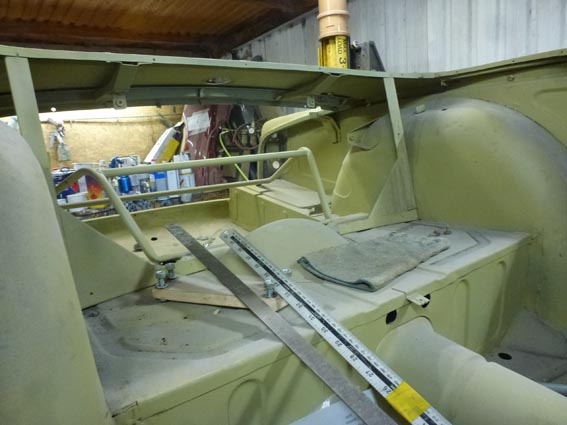
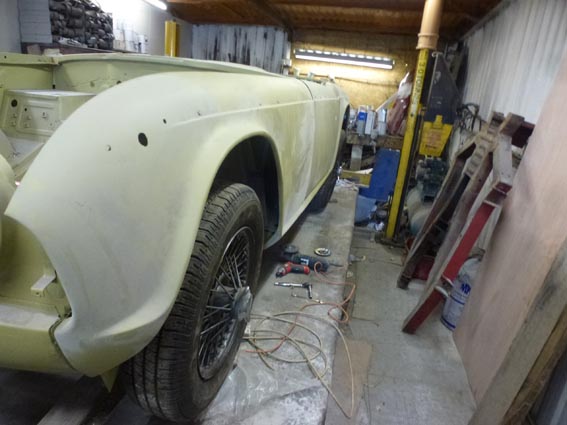
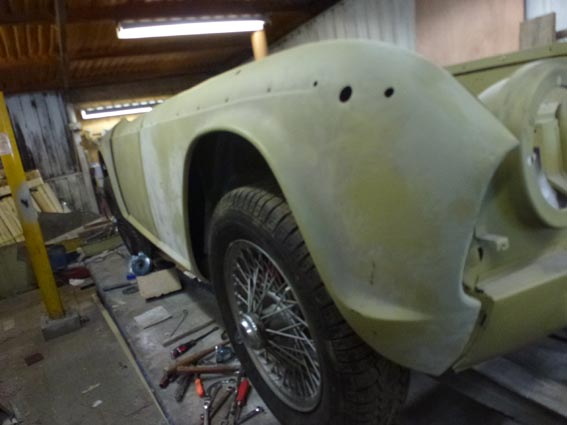
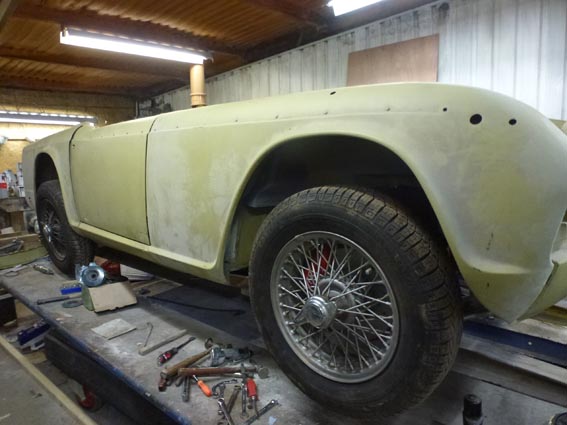
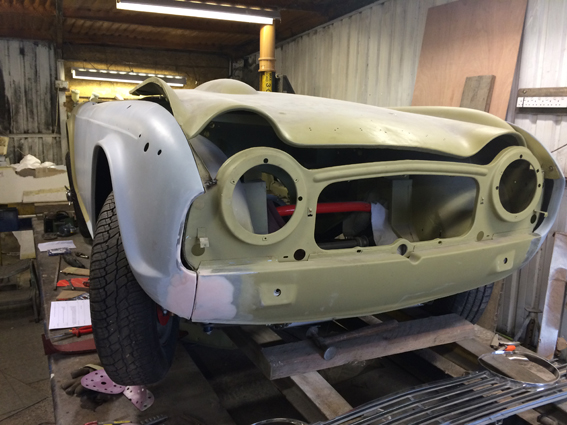
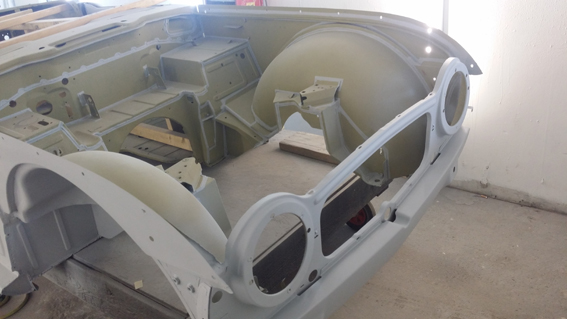
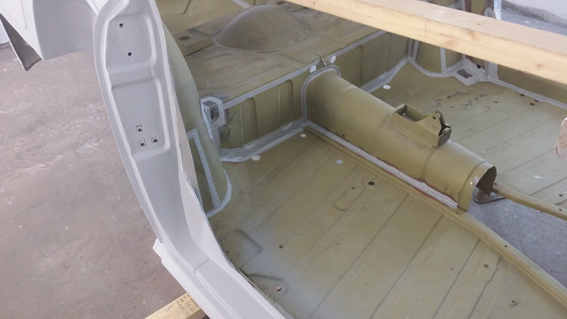
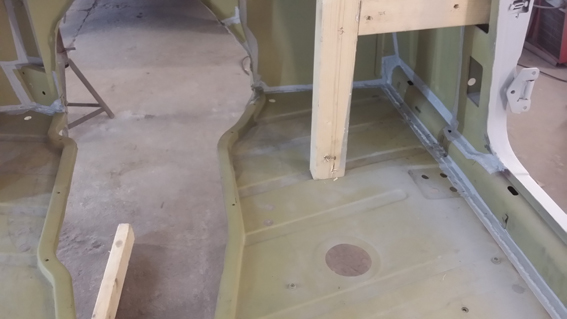
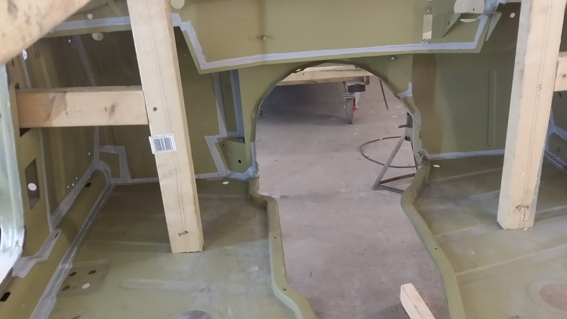
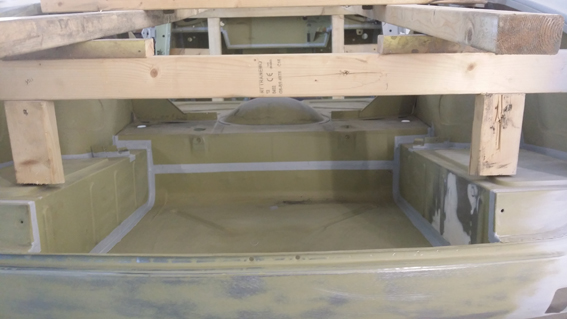
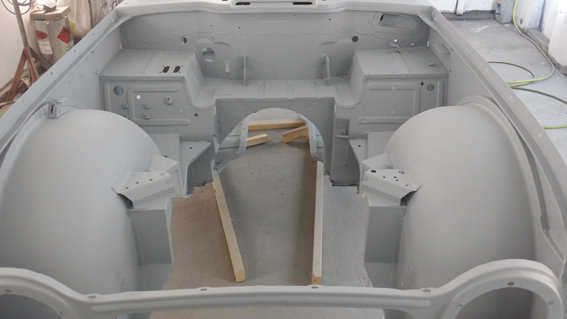
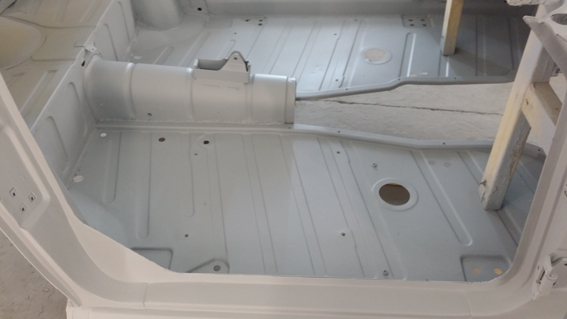
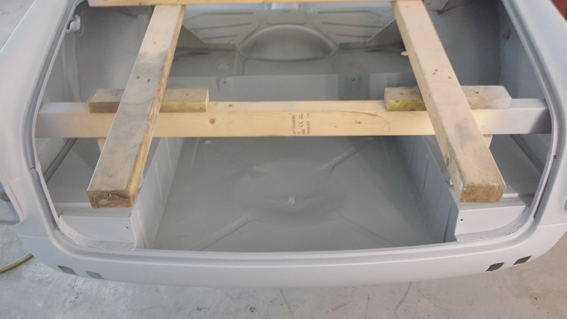
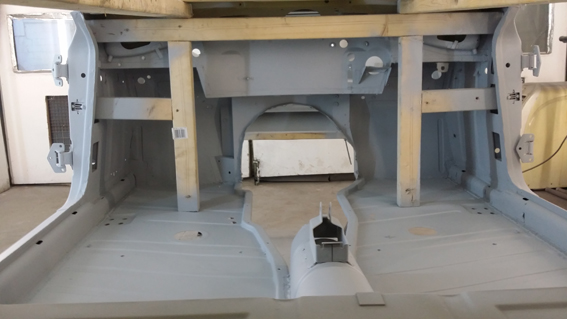
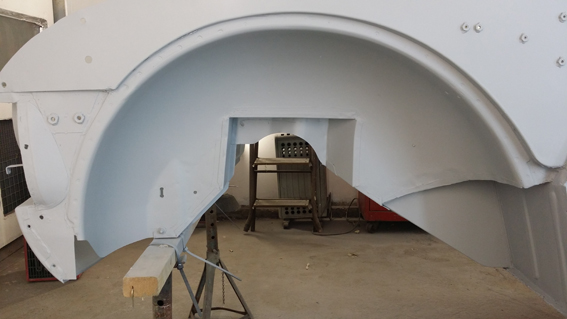
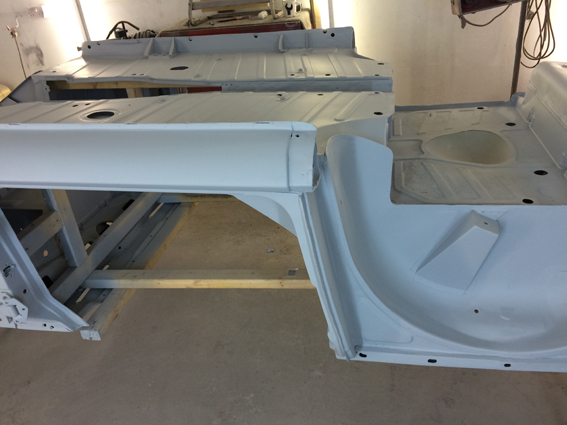
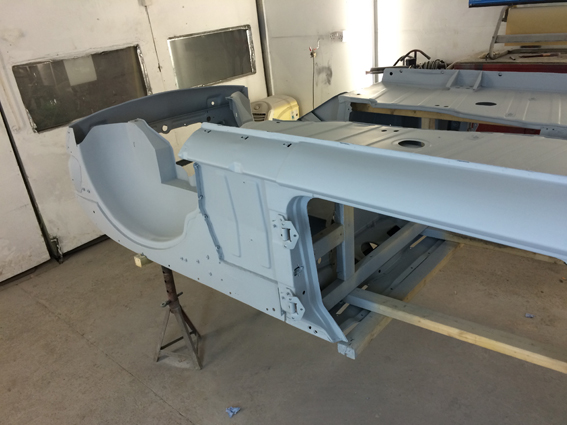
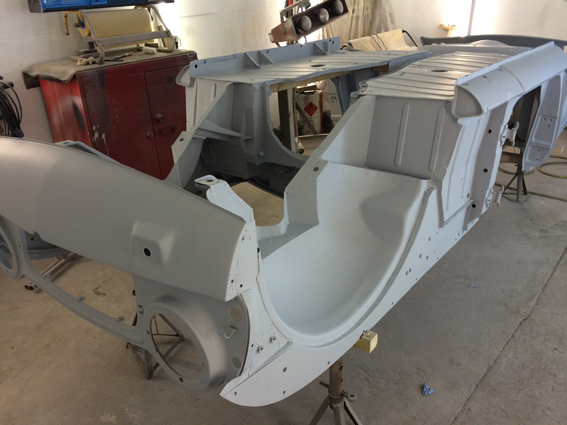
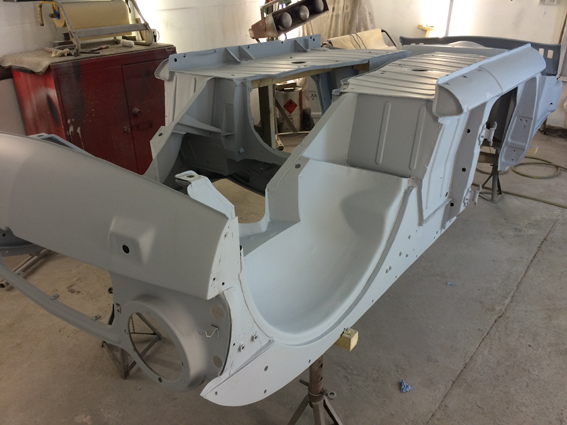
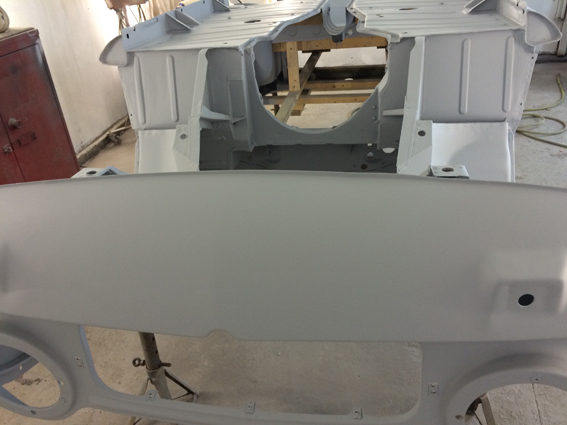
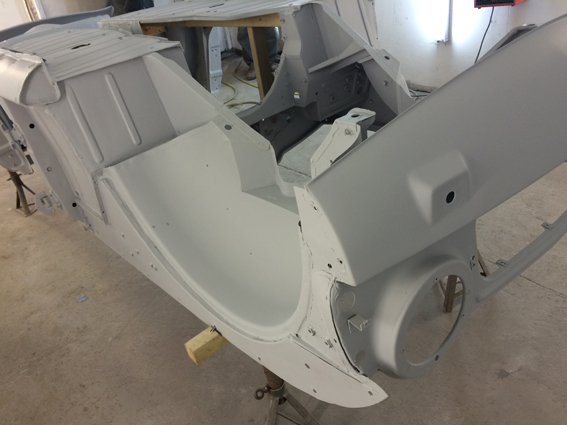
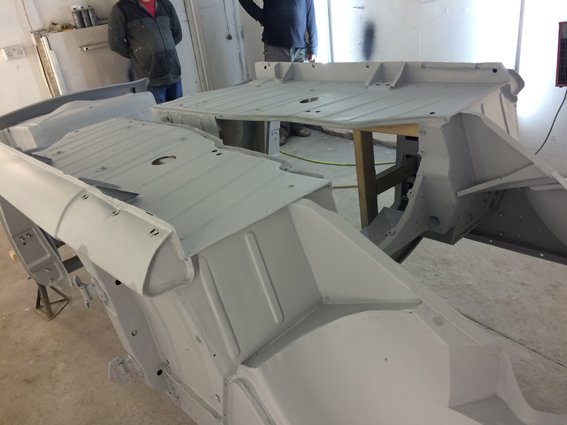
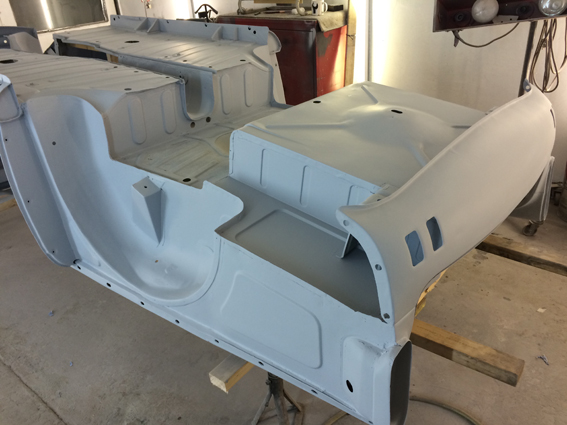
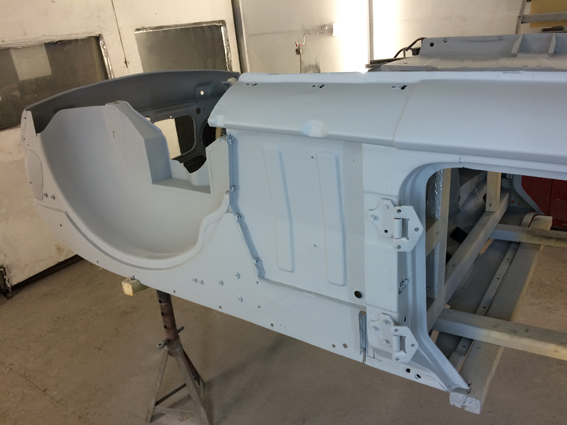
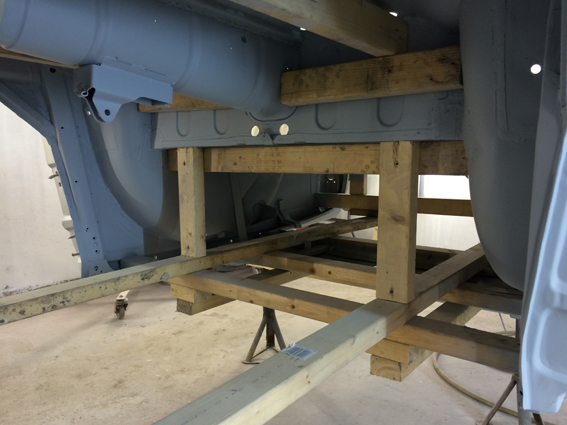
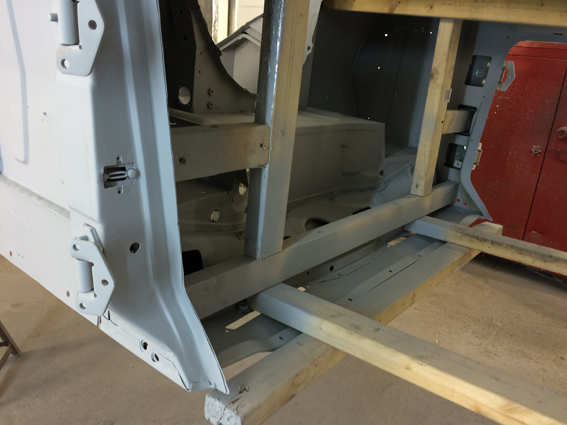
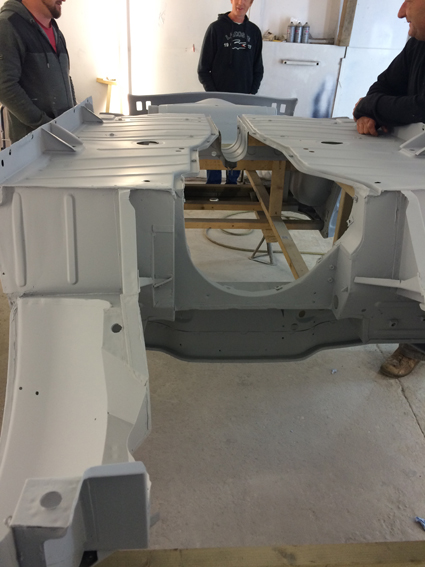
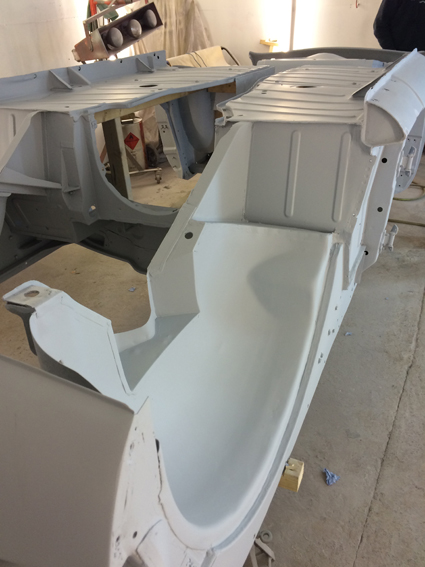
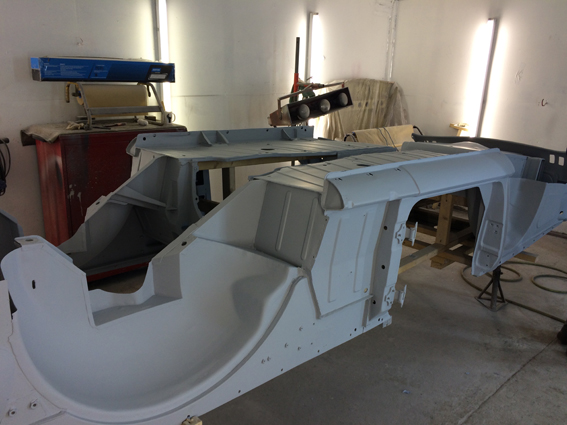
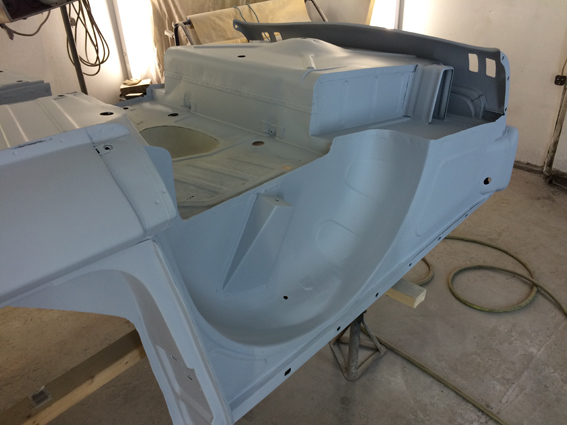
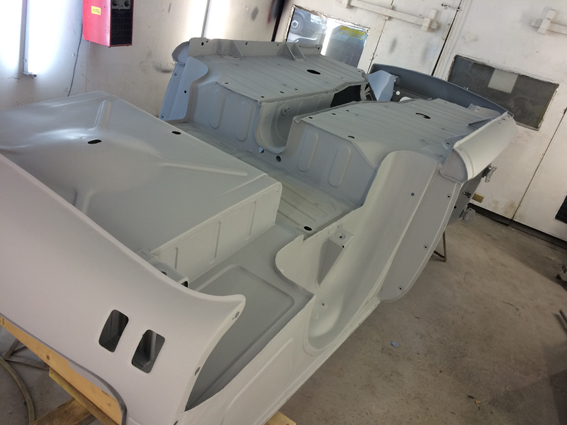
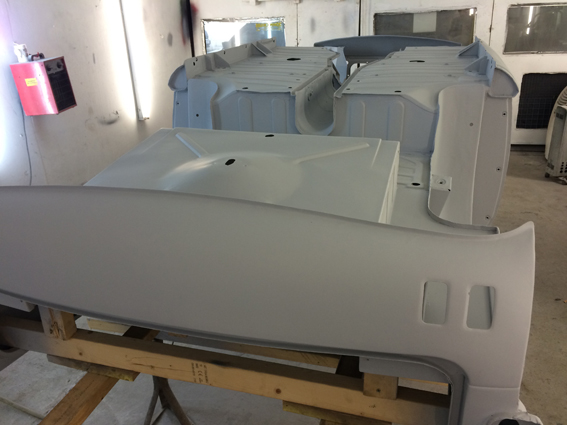
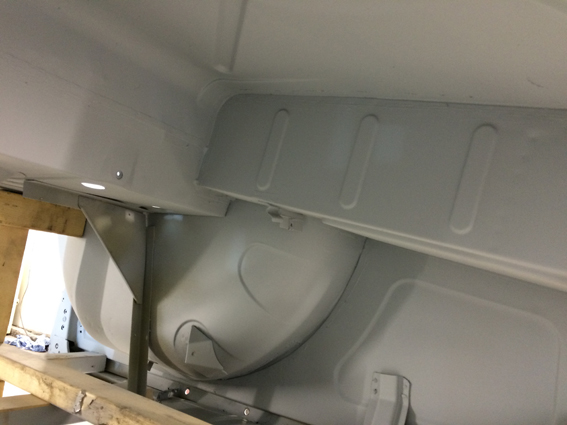
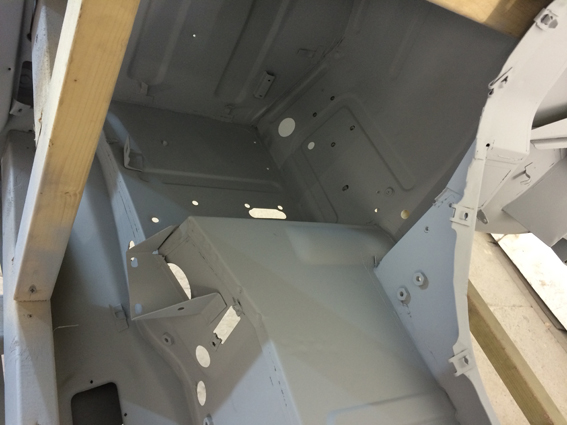
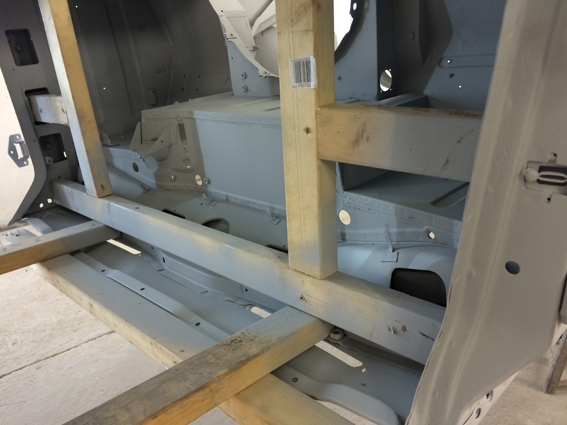
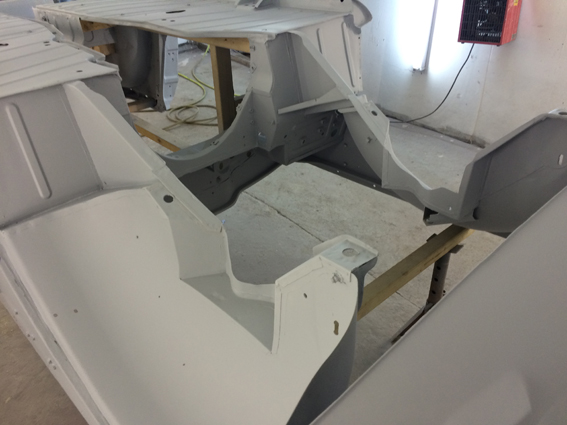
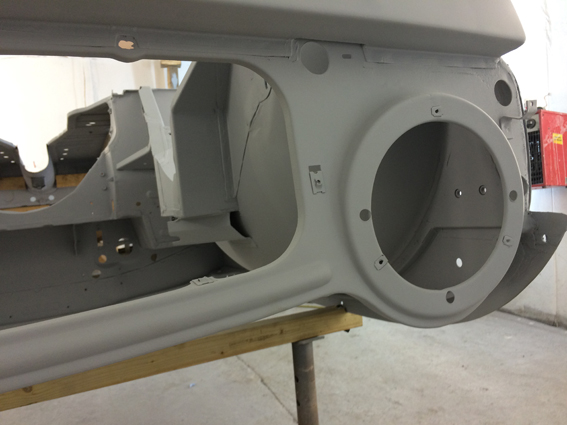
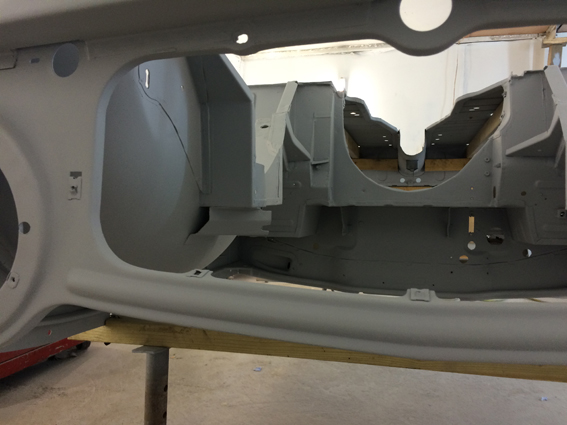
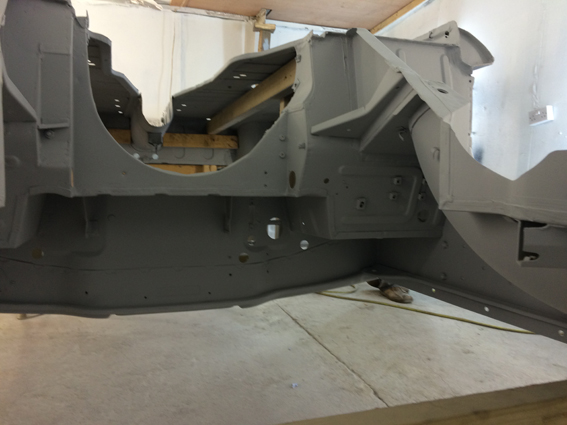
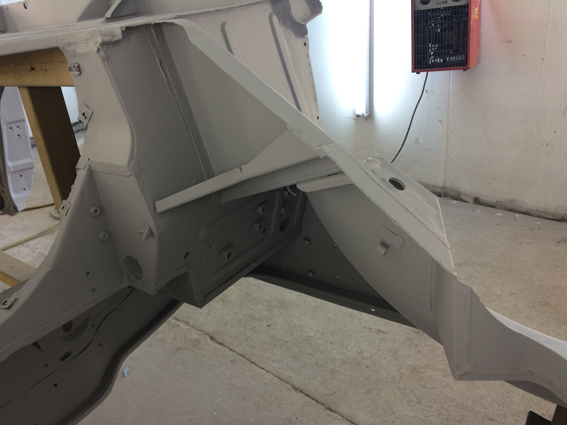
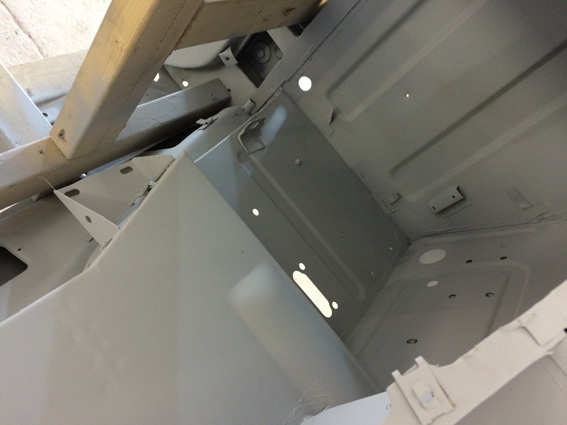
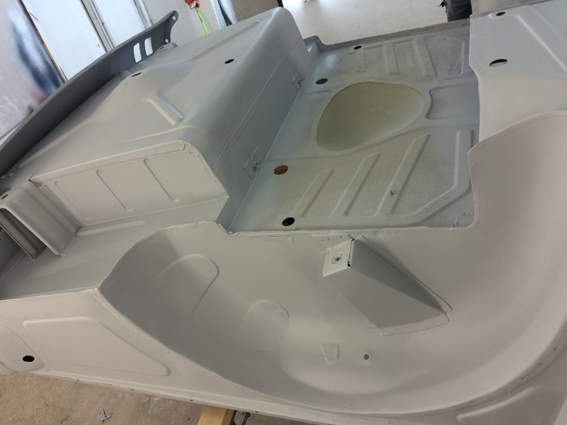
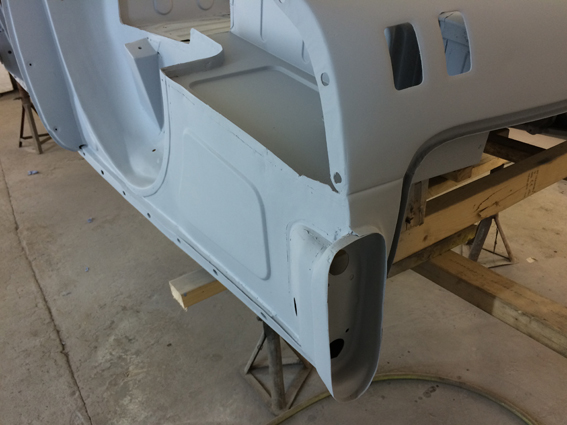
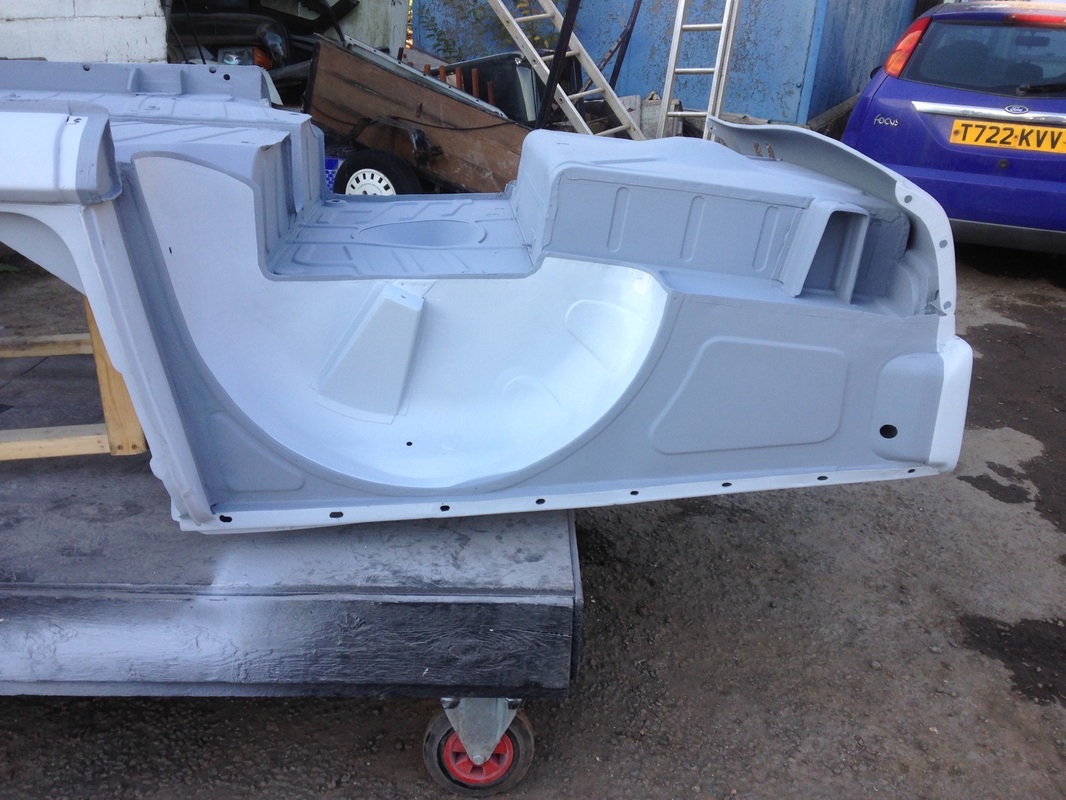
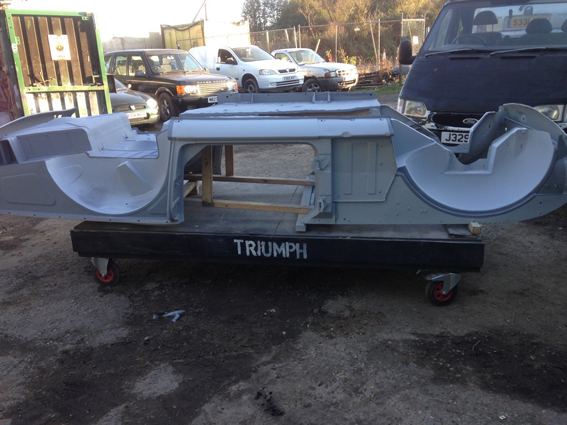
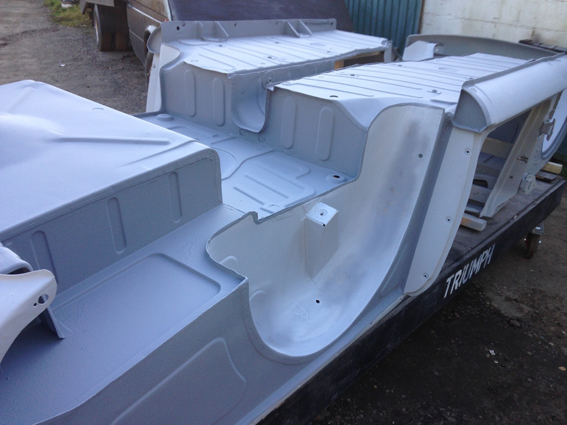
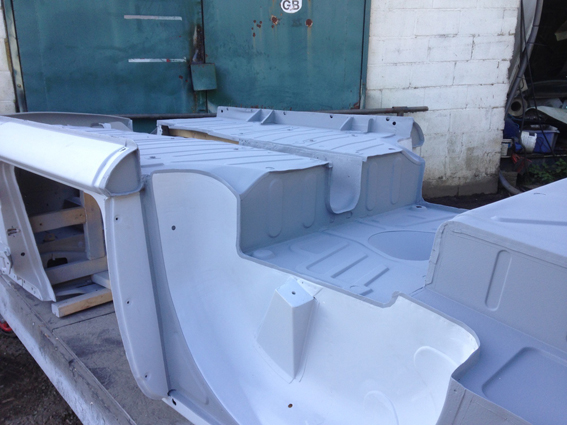
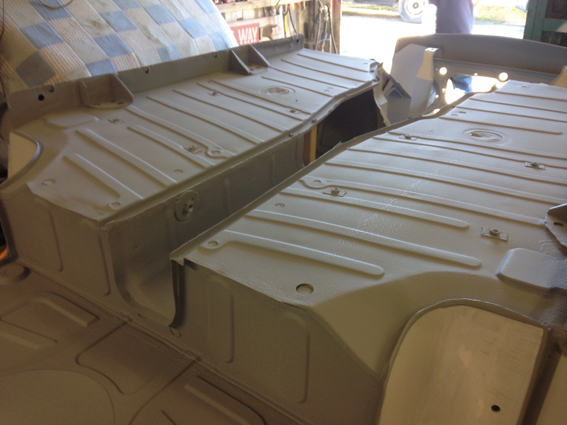
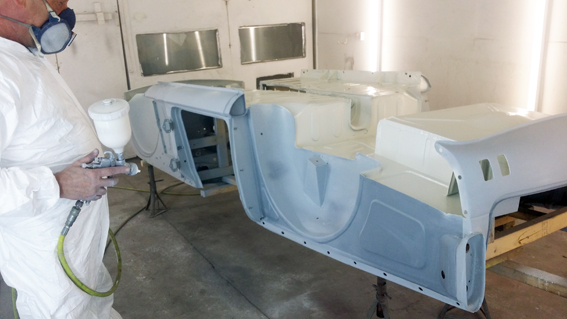
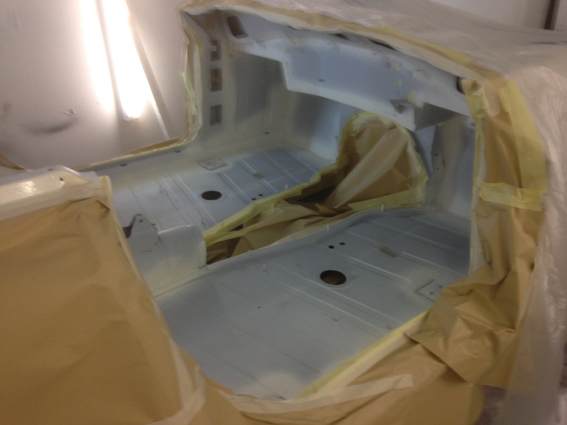
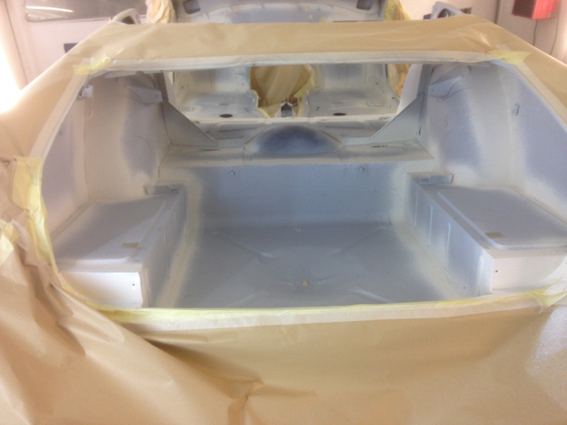
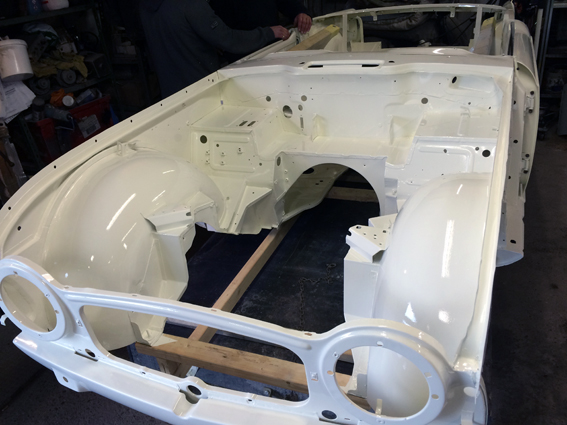
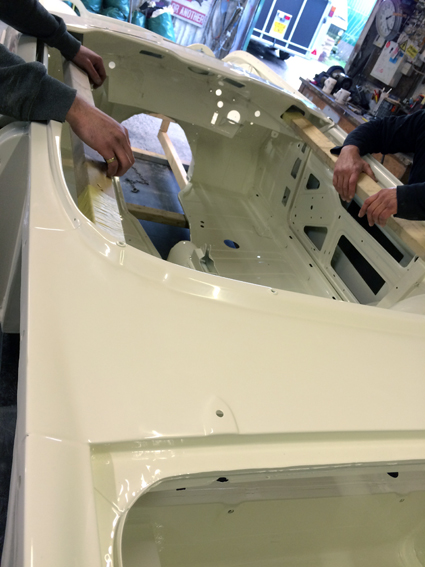
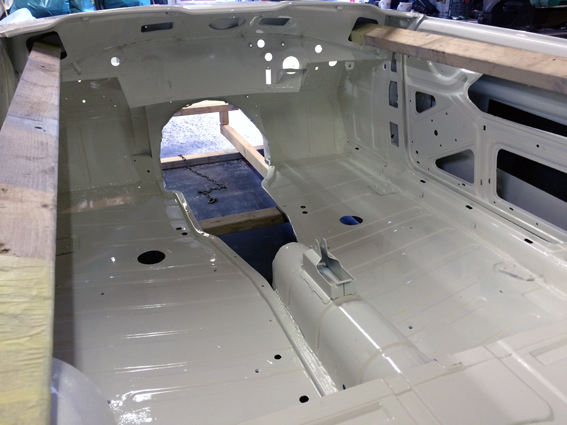
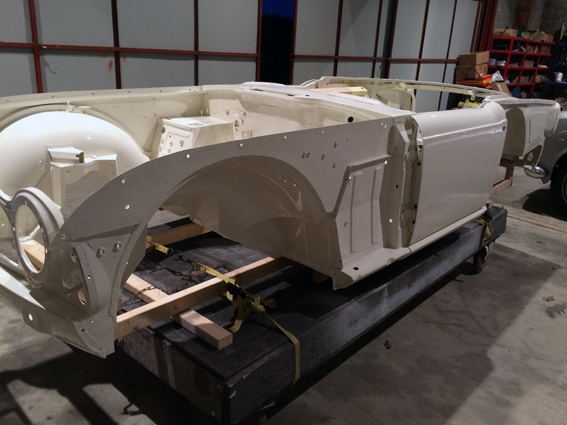
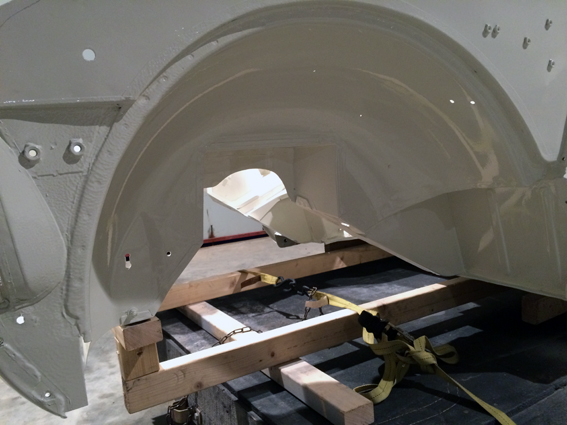
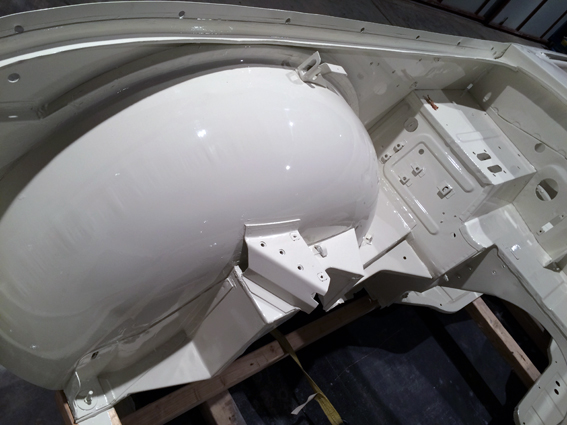
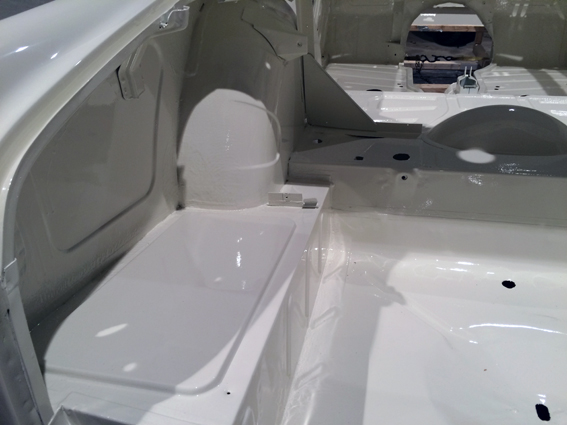
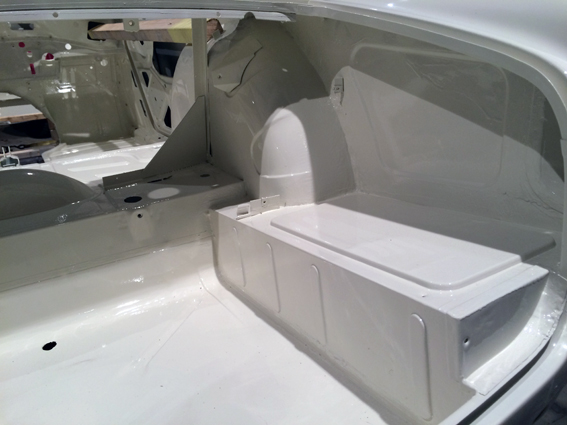
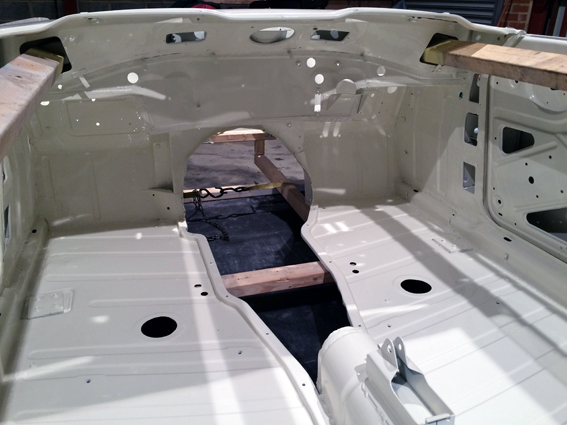
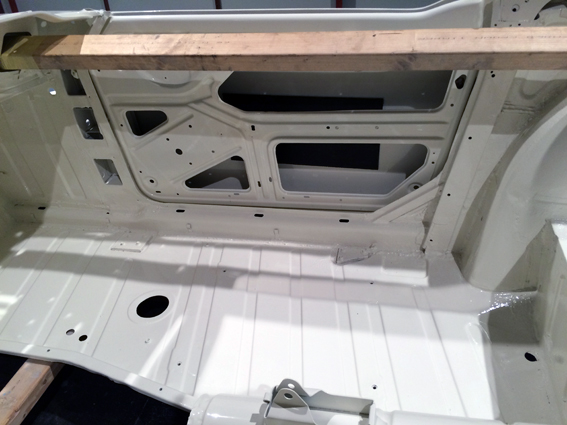
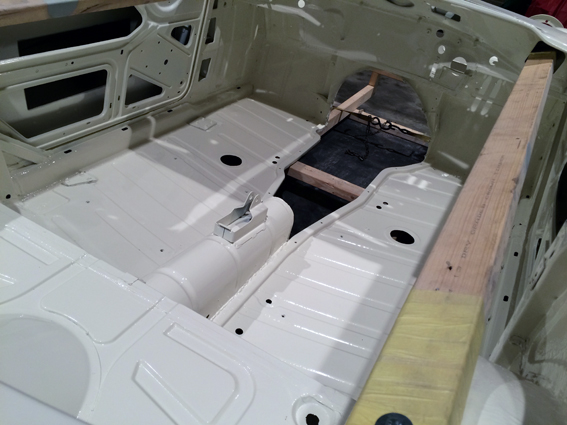
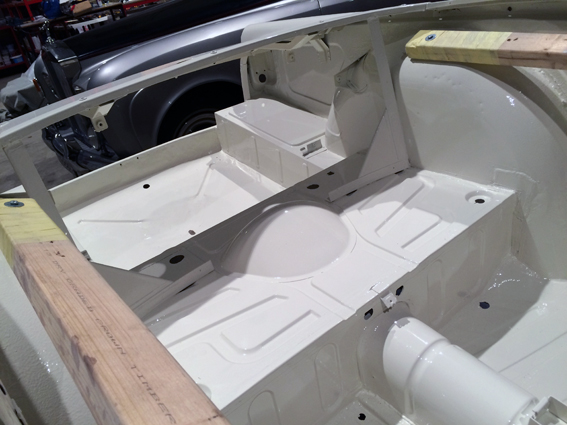
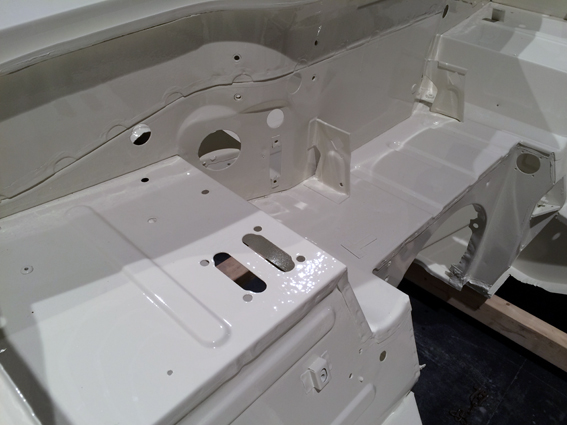
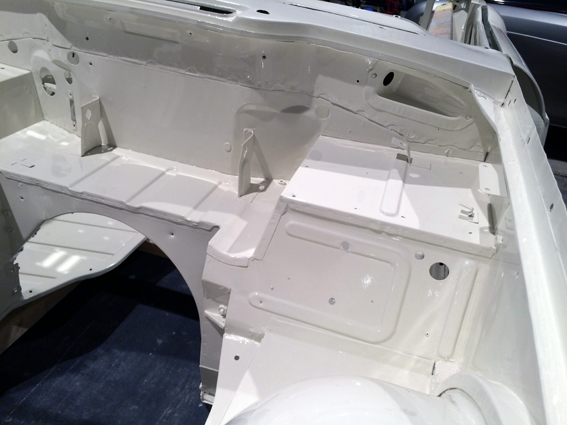
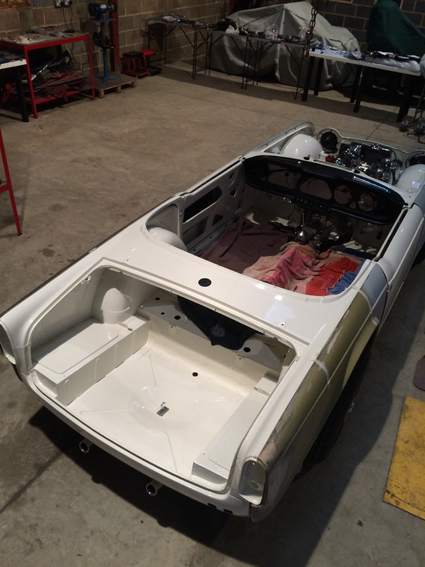
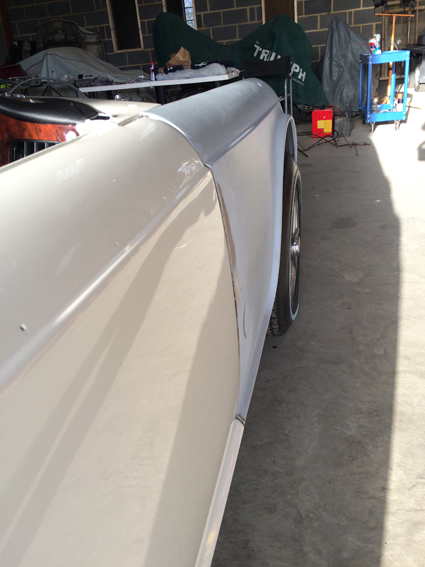
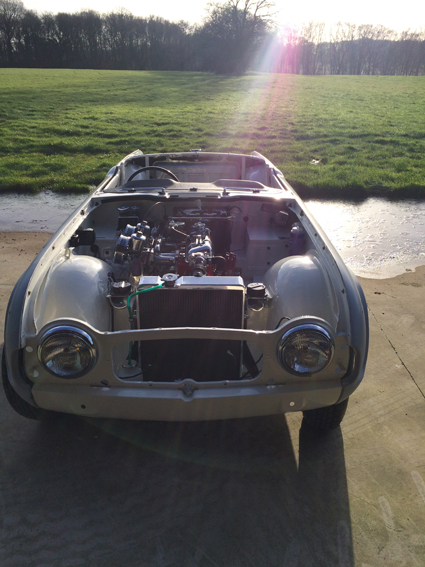
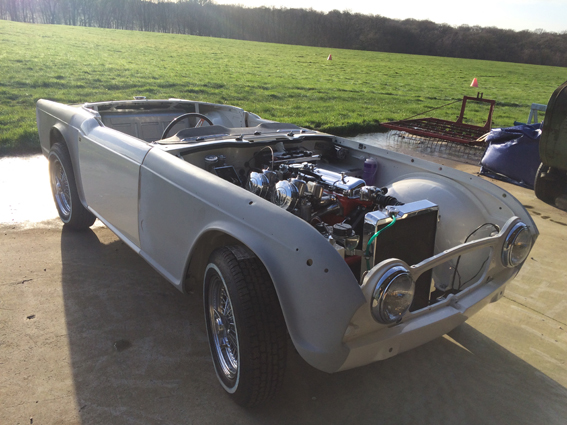
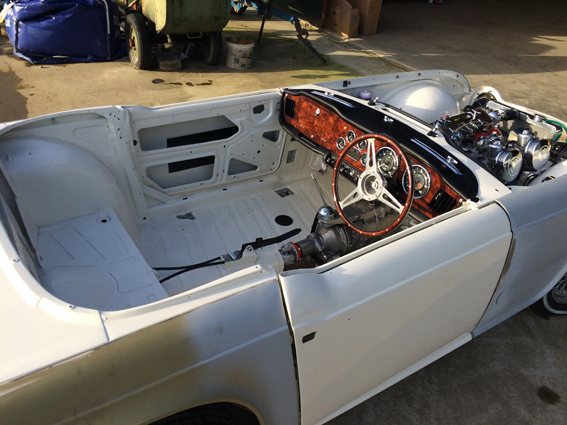
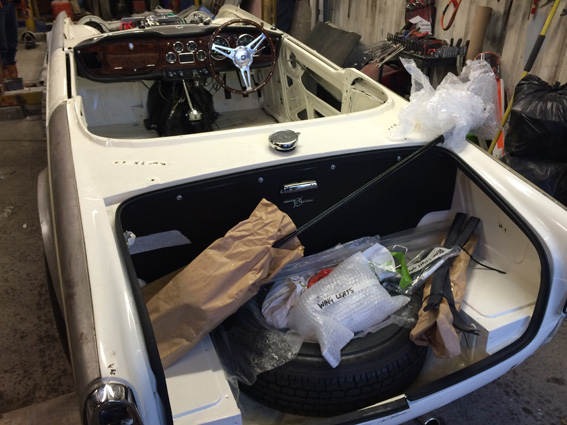
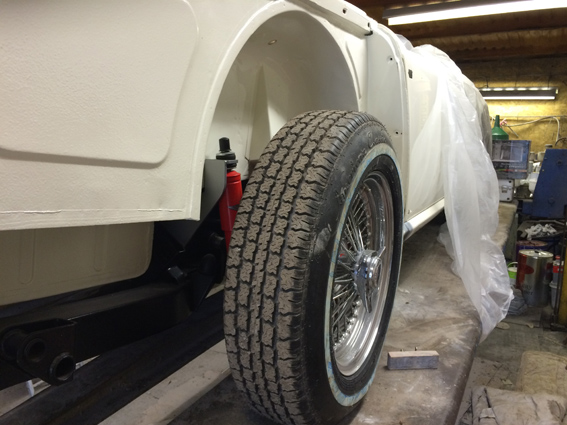
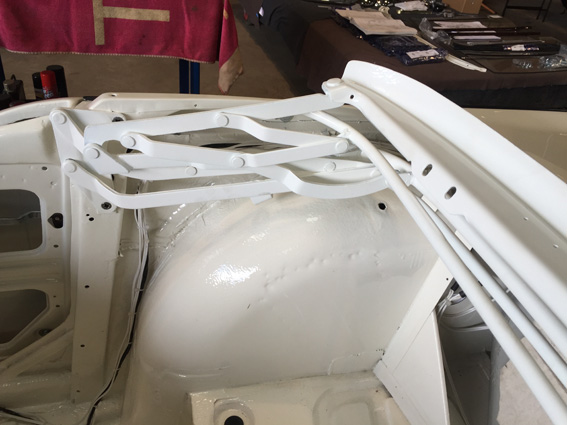
BODYWORK The plan is to retain as much as we can but some of the panels are in a poor state. The seams all need sealing and there is plenty of 'Fixing' to be done. Pete and Bryan the bodywork guys built these ingenious braces below out of old scissor jacks so micro adjustments can be made. They also made a wood frame to keep the body straight whilst it was being moved around and panels were being repaired. The picture on the left shows the body tub being painted. Scroll down the page to see how the body too shape in pictures and video. |
|
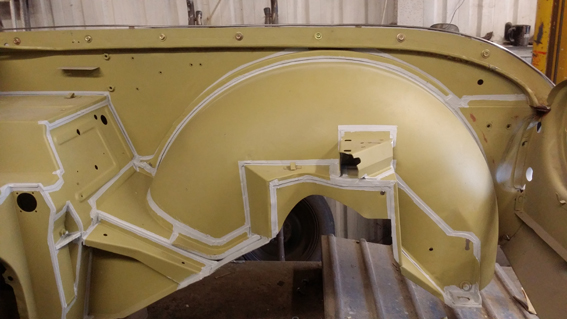
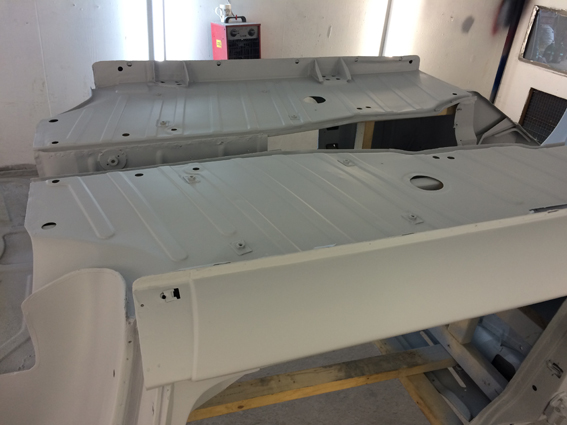
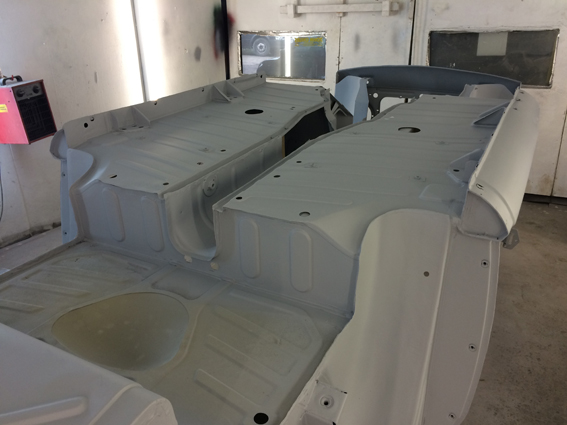
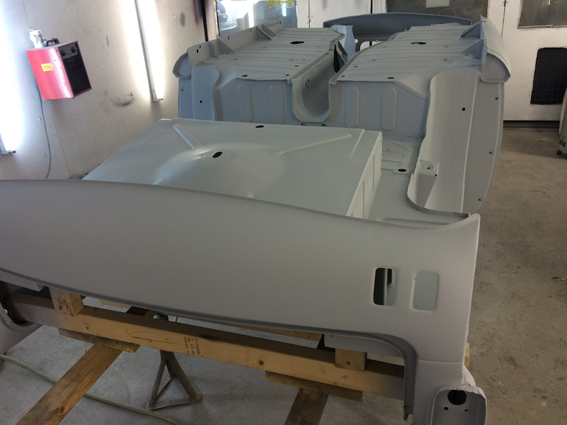
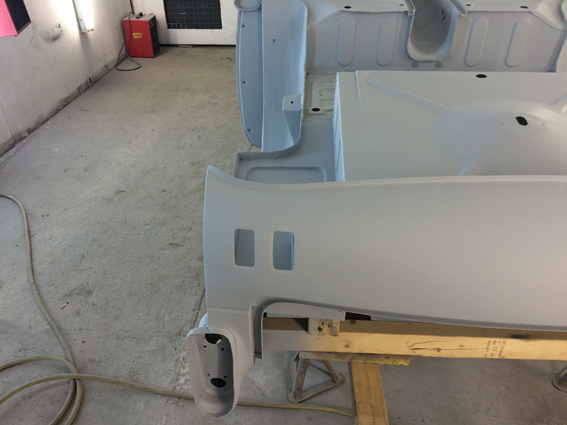
Pictures October 2014


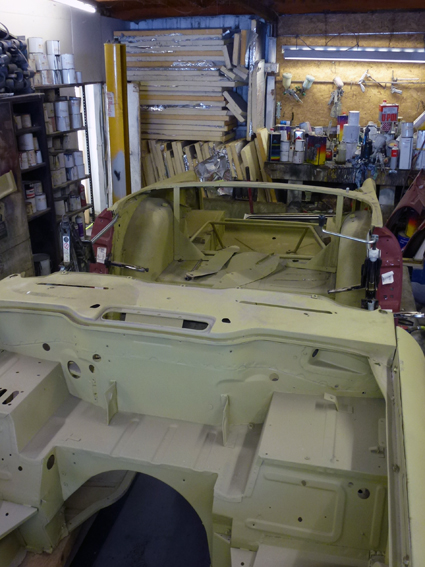

Pictures November 2014


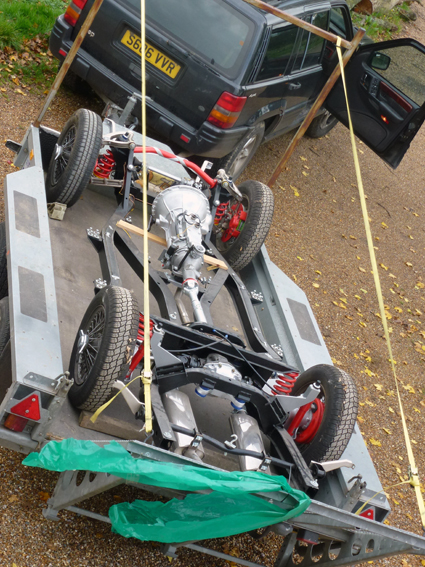
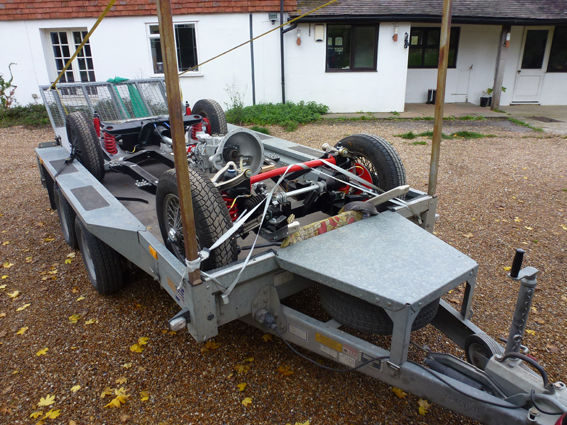
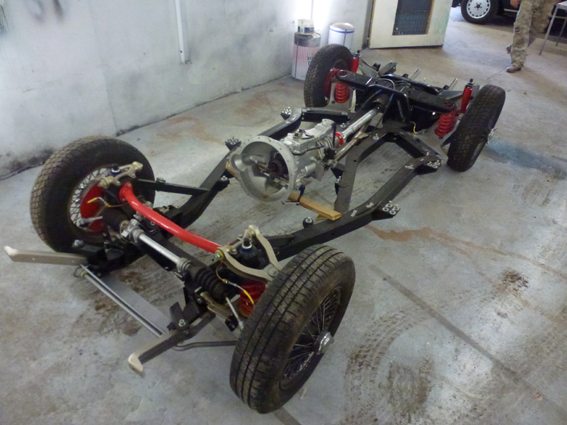
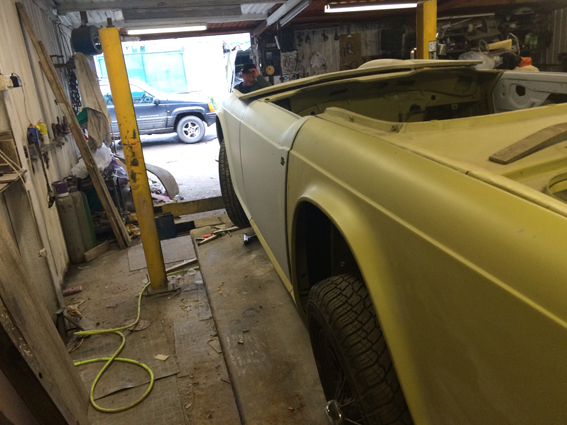
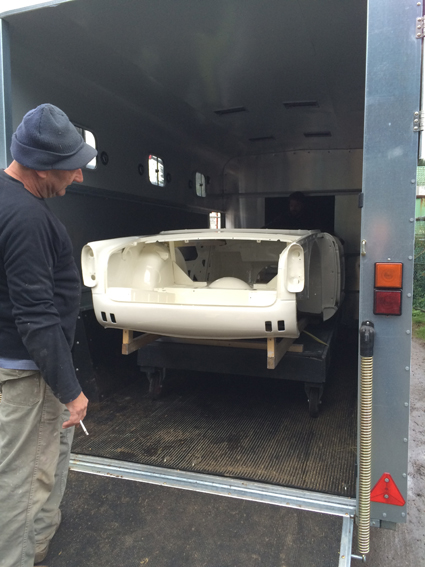
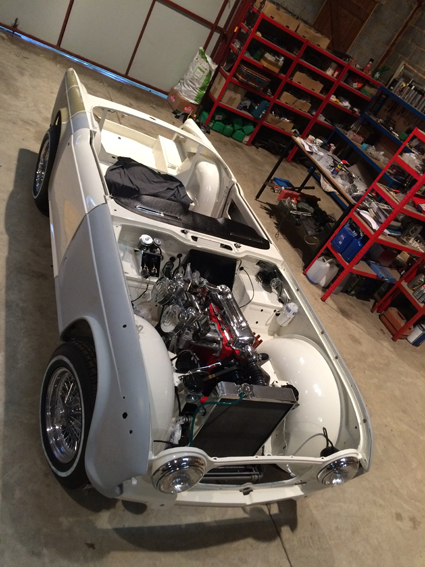
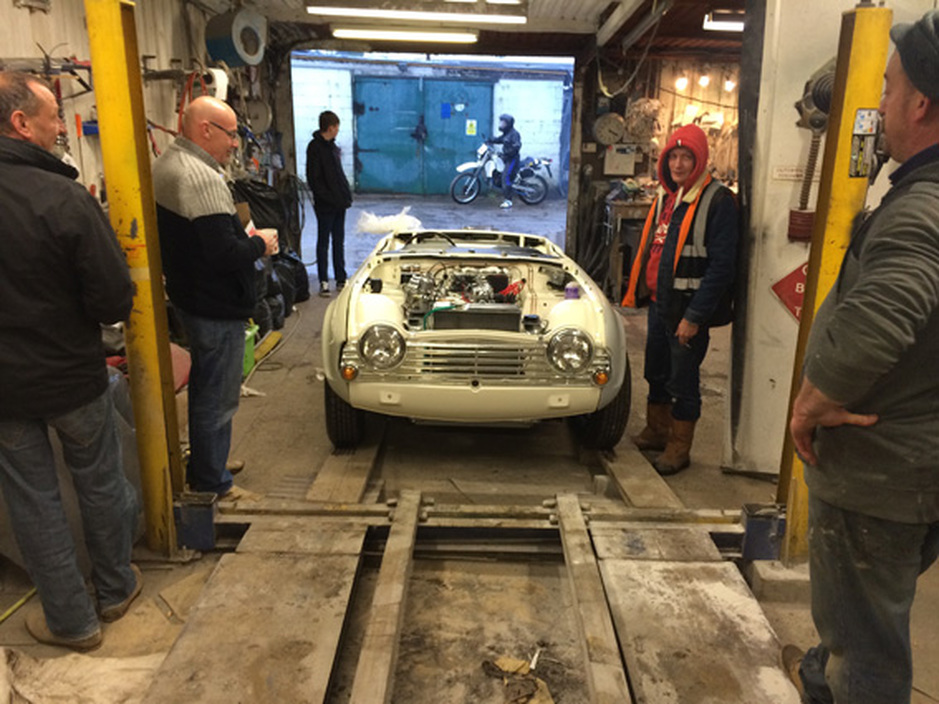
Chassis loaded up and off to the body shop - November 2014


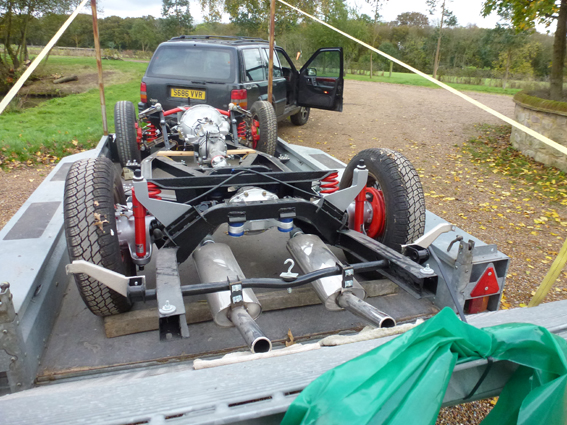
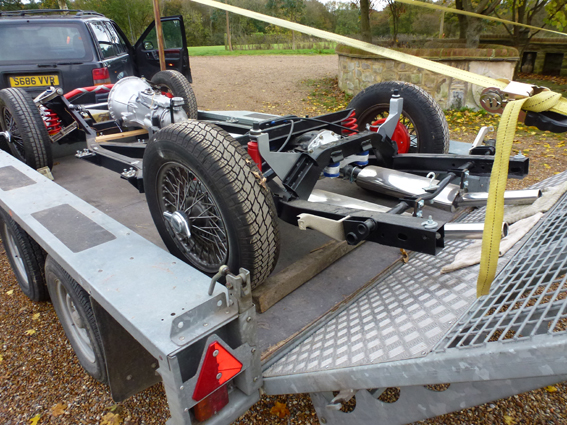

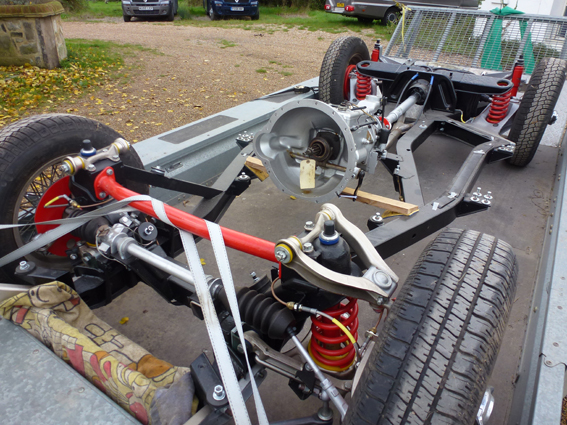
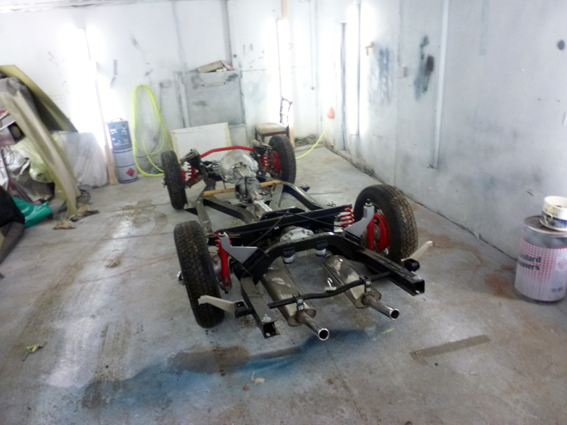
Chassis in the shop

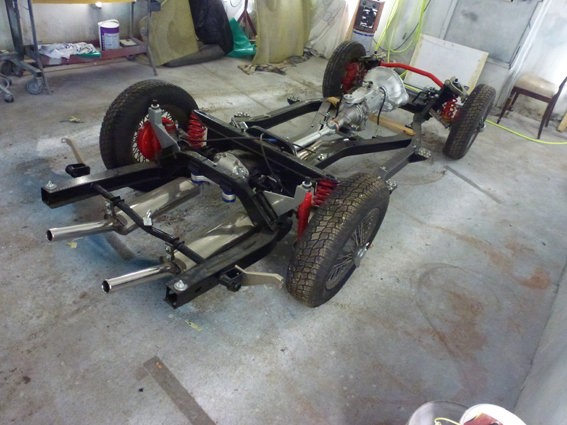

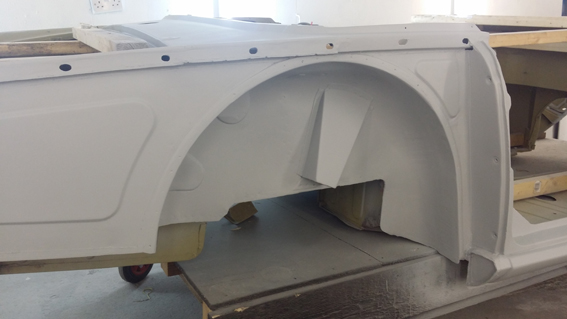
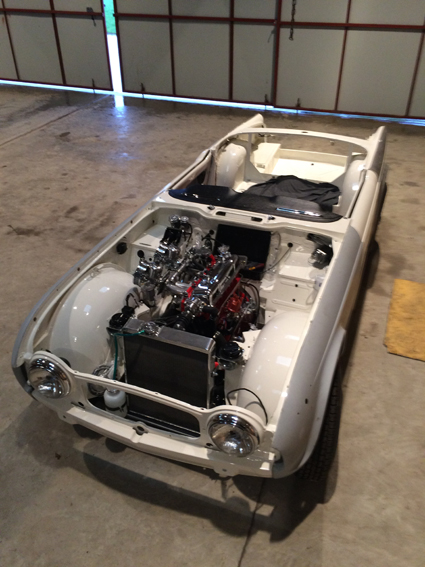
December 2014


January 2015


August 2015


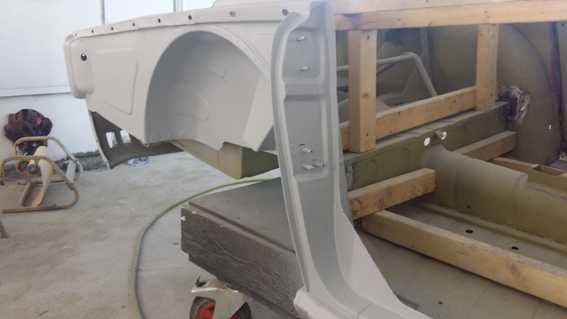

October 2015
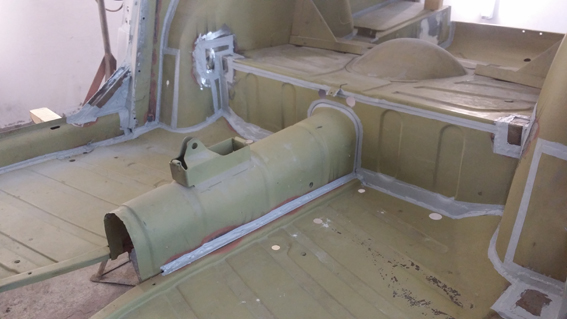


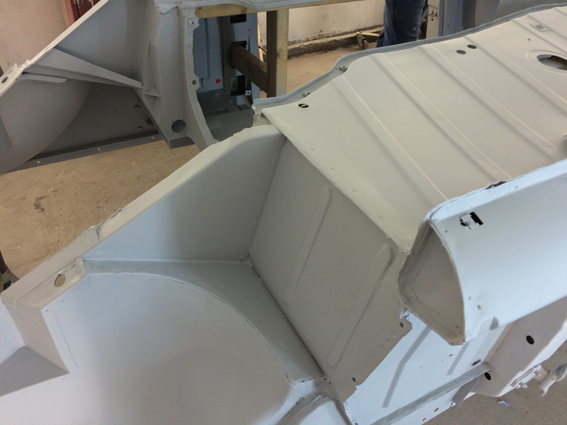


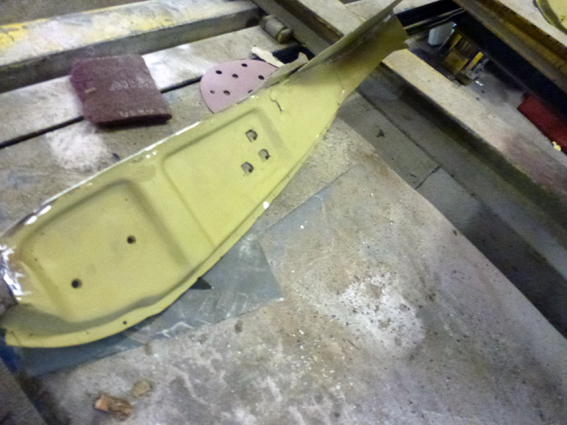
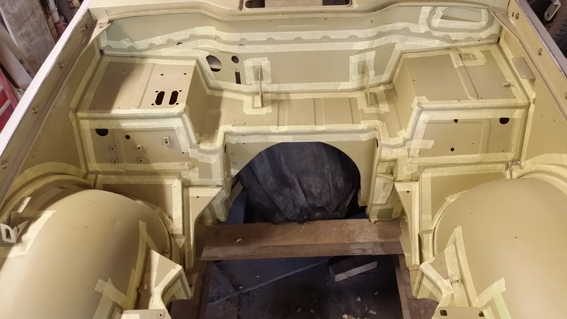
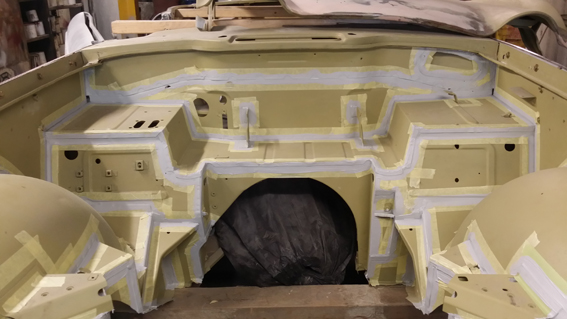
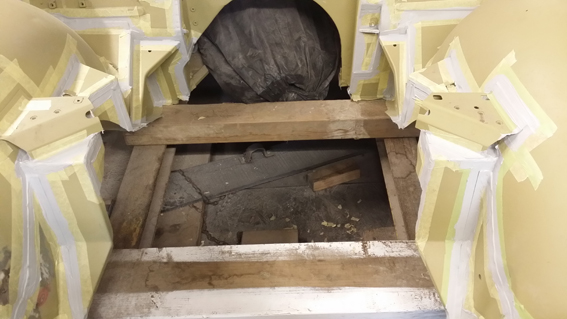
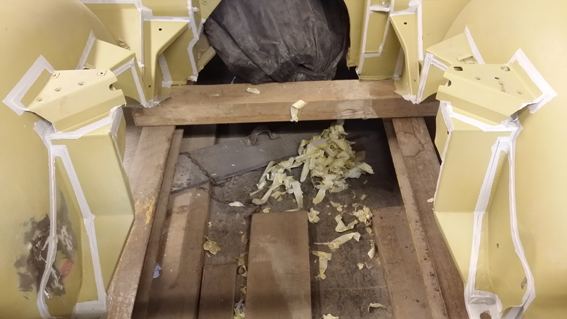
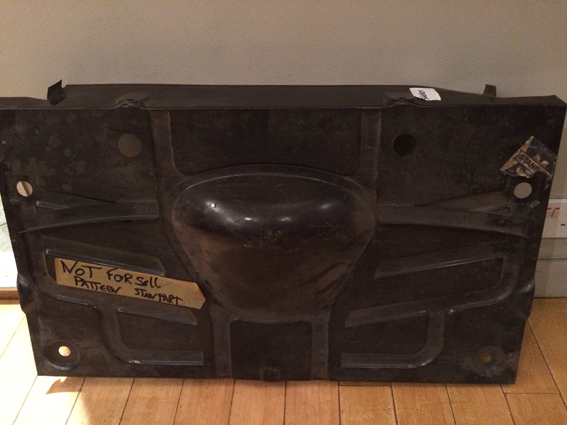
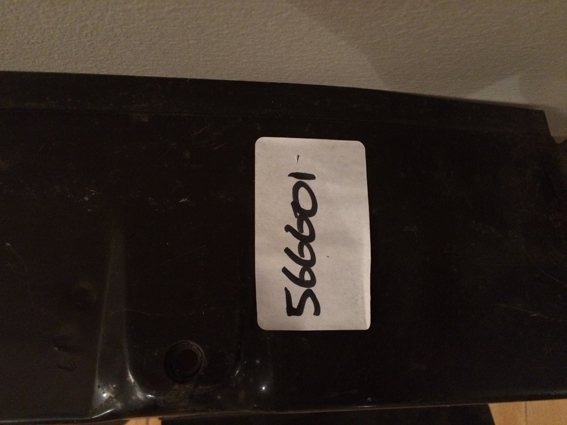
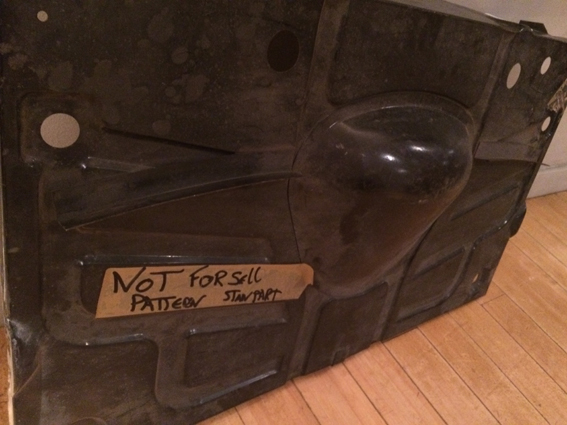
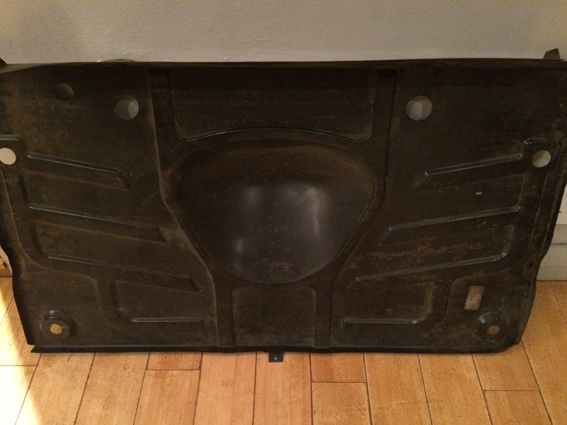
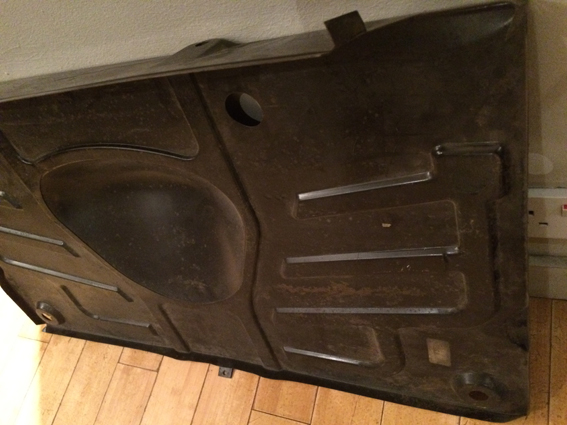
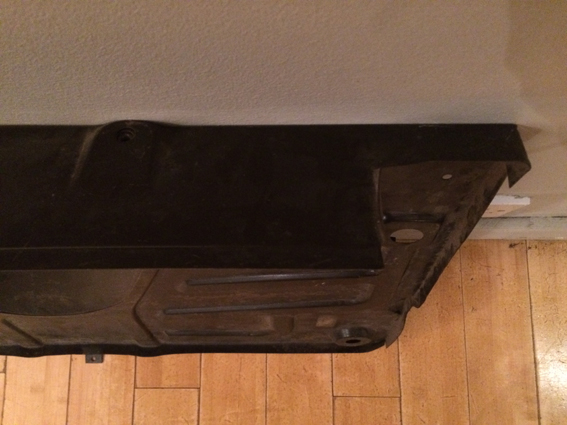
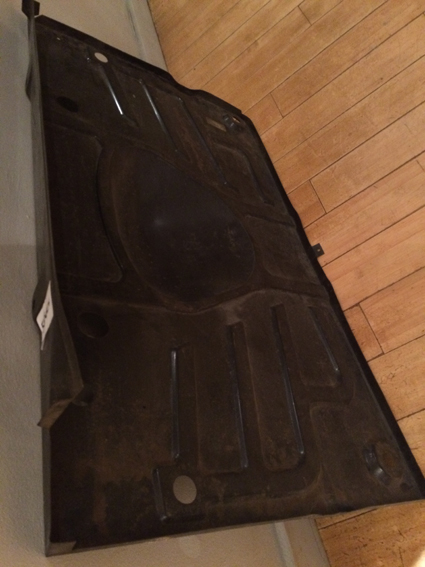
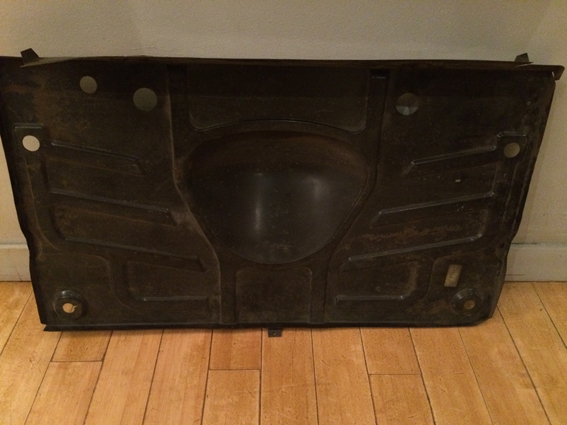
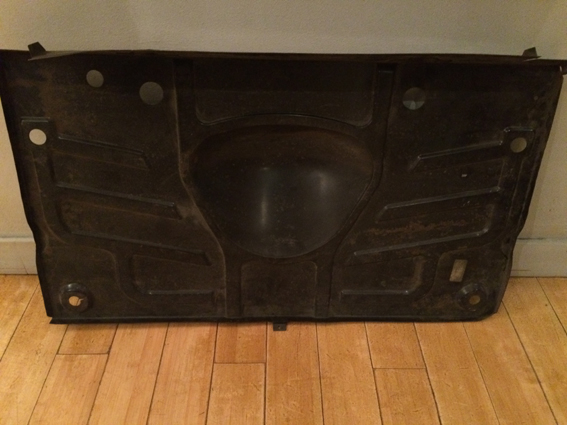
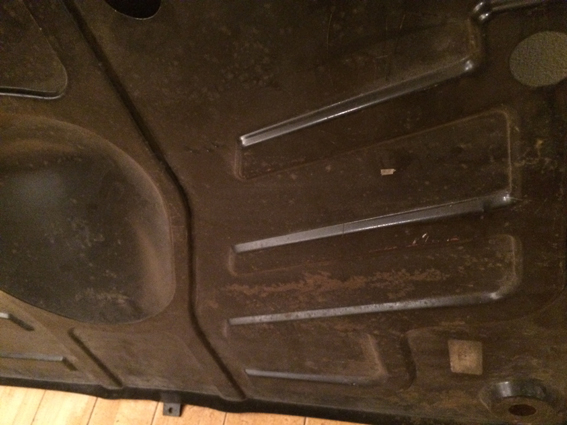
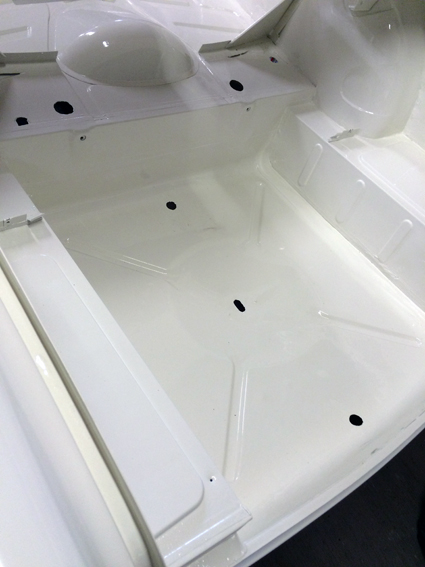
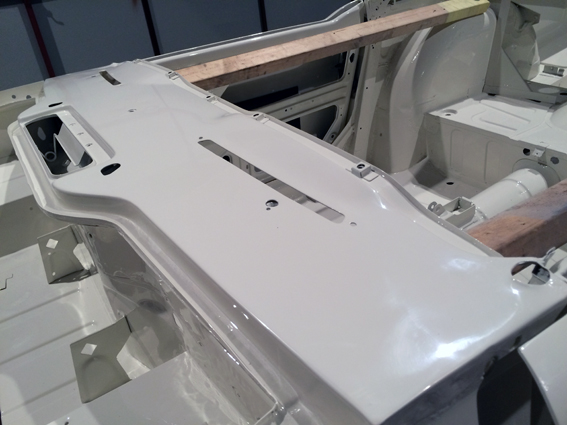
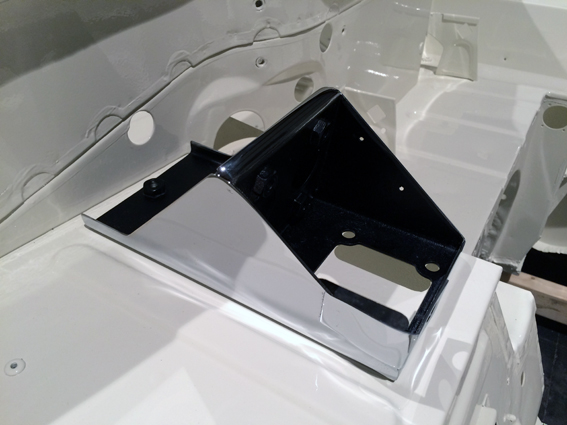
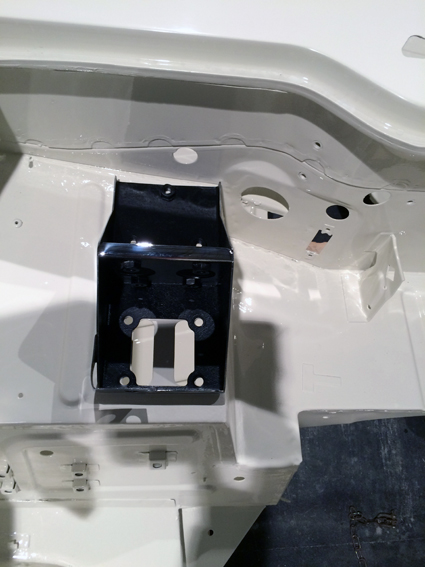
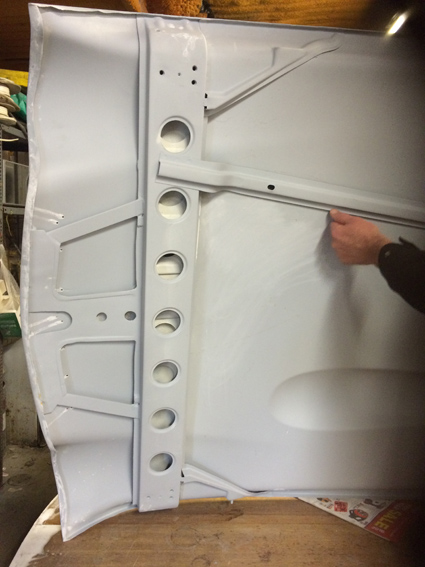
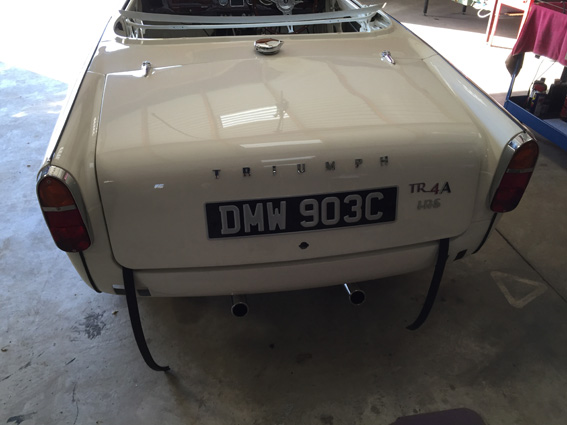
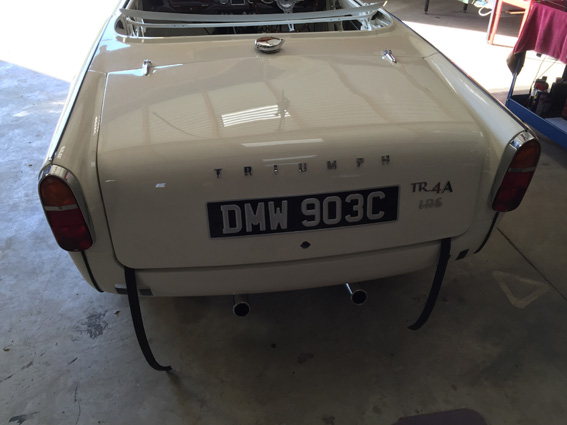
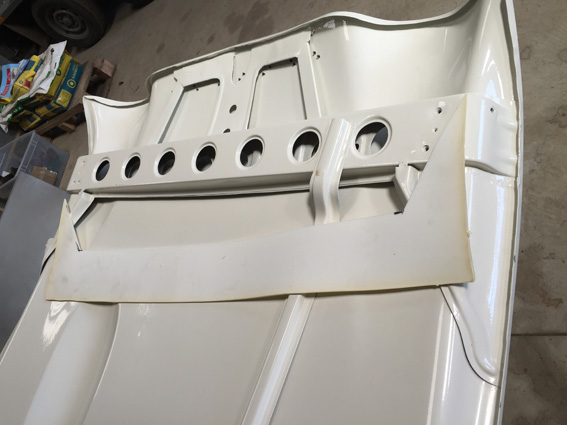
Replacement Rear Floor Panel
Right now, these are hens teeth but apparently about to be re-manufactured by the end of 2015. This is an original Stanpart panel kindly supplied by Revington TR. They were not so keen on letting it go but in the end they did. Lucky me. This panel is actually for a TR6. Stuart who runs the Watermill Garage in Cornwall where the focus on TR restoration pointed it out. There are 2 additional mount holes for the TR6 over the TR4A. Purists might like to grind these off to keep it as original as possible. We took the view that our car has a lot of aftermarket improvements already so a TR6 mounting would not really make any difference to us or the car. The original part number for a TR4A rear floor is 566601. This then supersedes to 910065 which is the TR6 floor. Tis is the panel we have. It fitted like a dream.


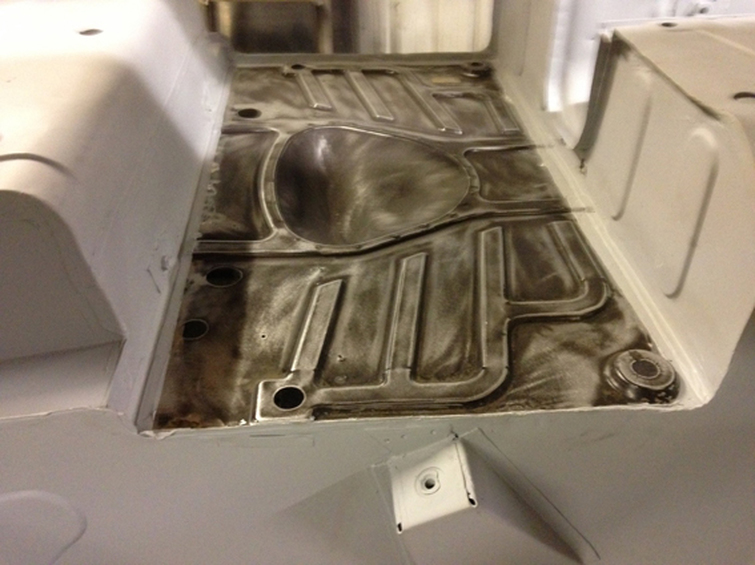
Rear Floor Panel Fitted
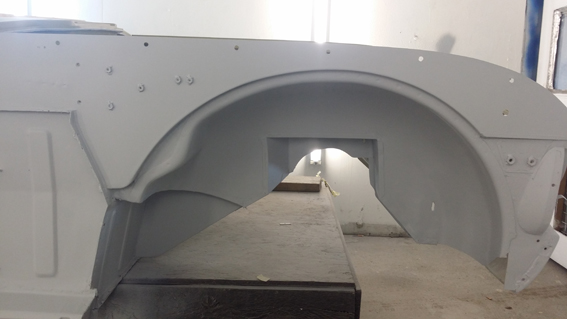
November 2015


Mid- November 2015


Late November 2015
December 8th 2015 |
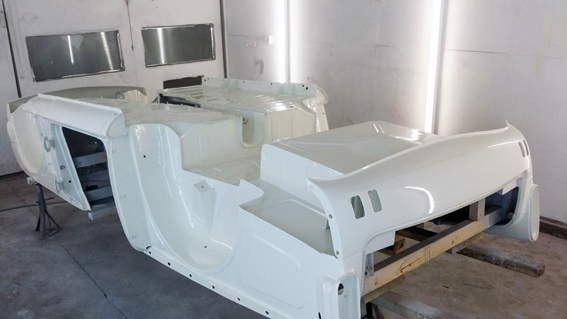
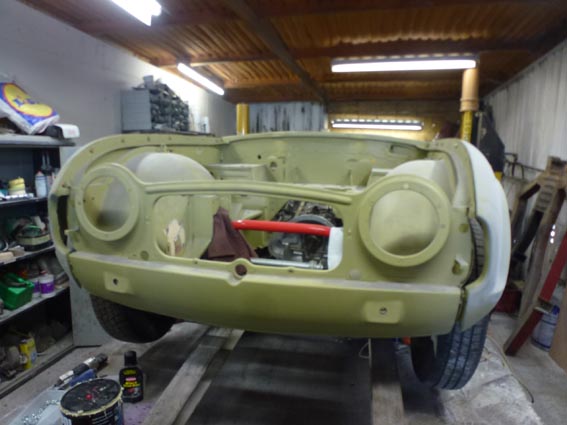
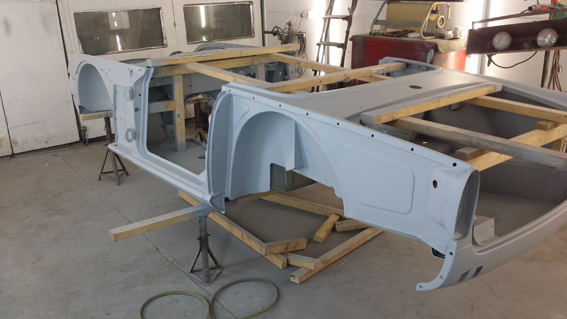
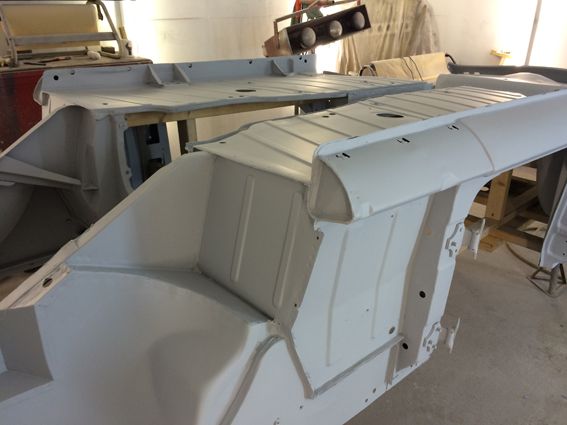
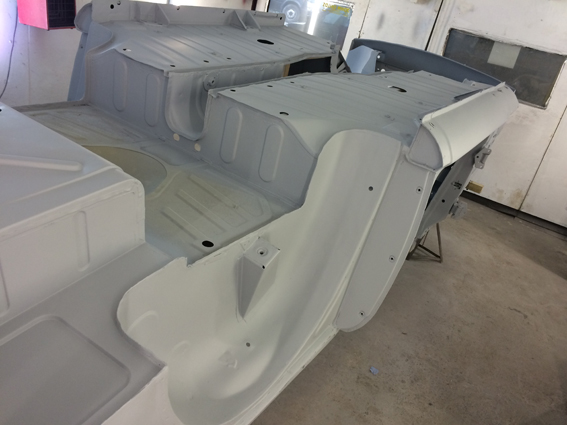
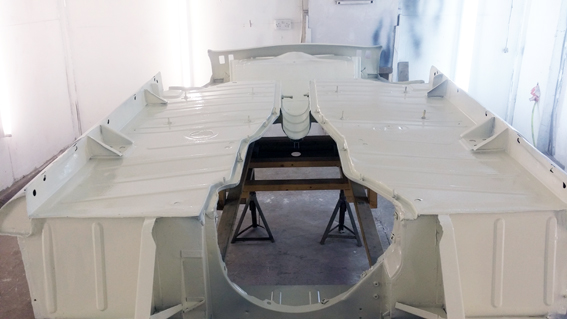
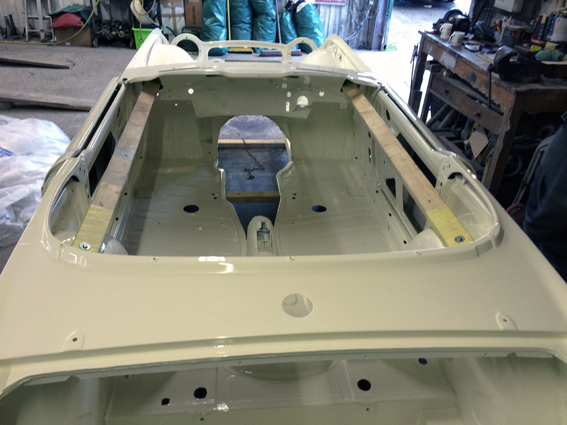
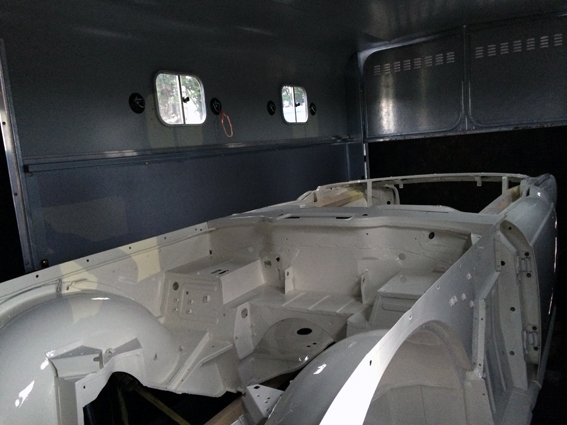
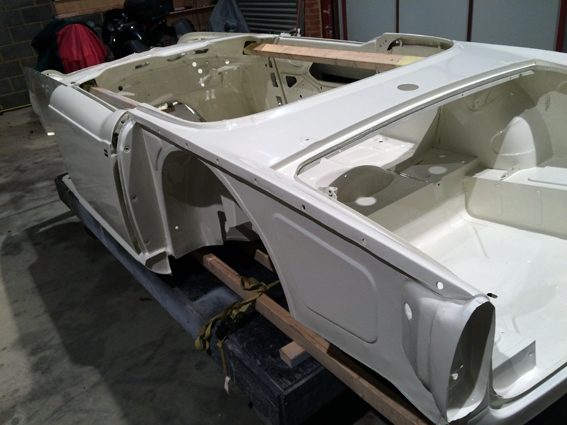
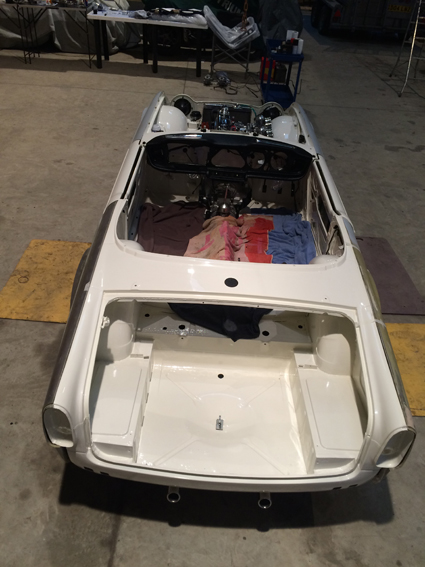
First look at the completed body shell/tub - ready to be refitted to chassis.
|
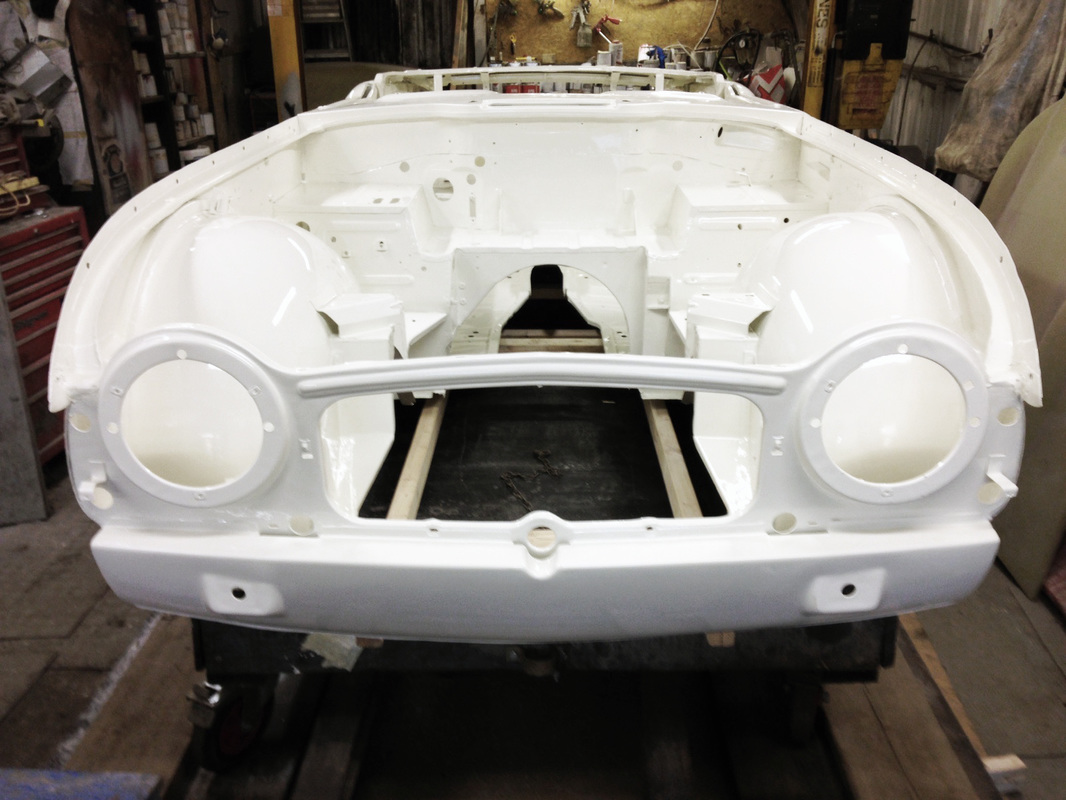
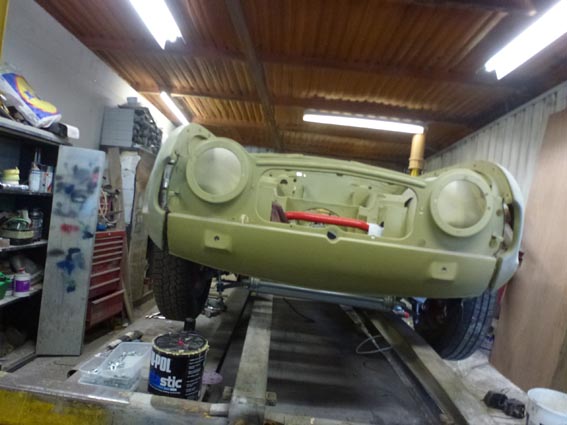
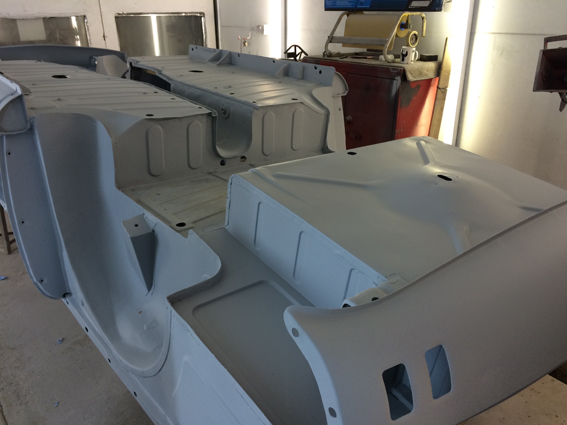
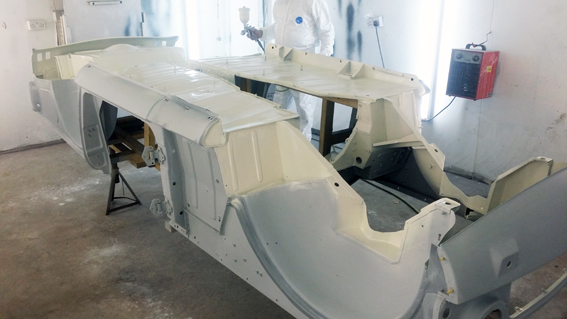
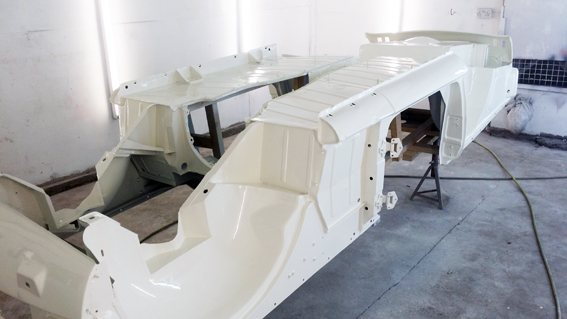
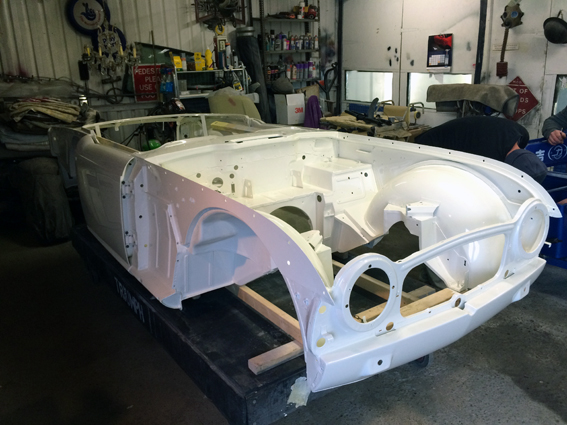
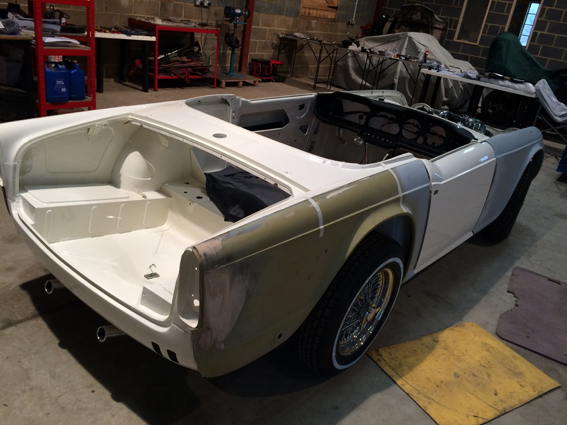
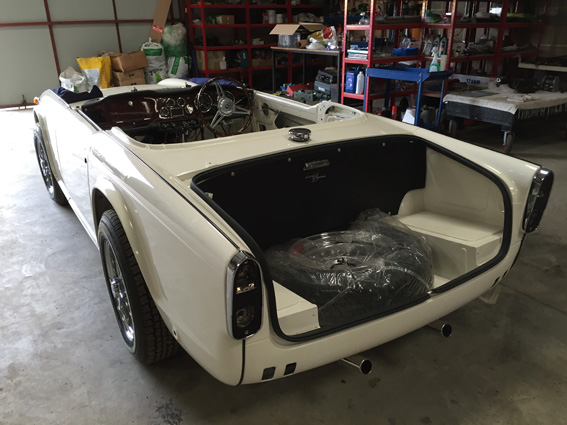
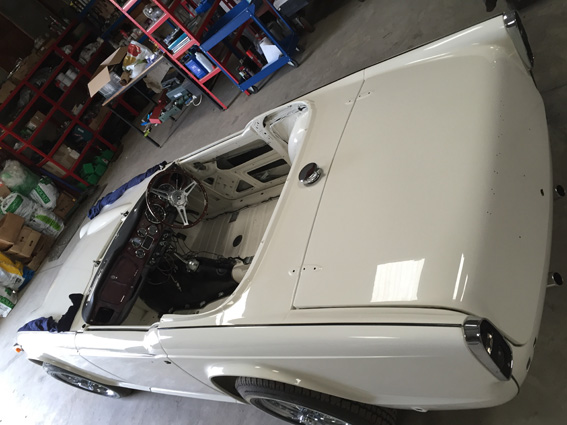
The finished Body Tub - December 12th 2015
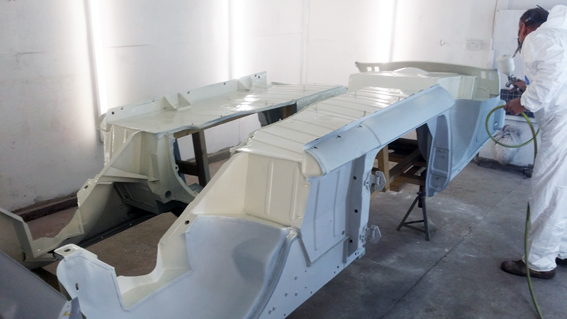
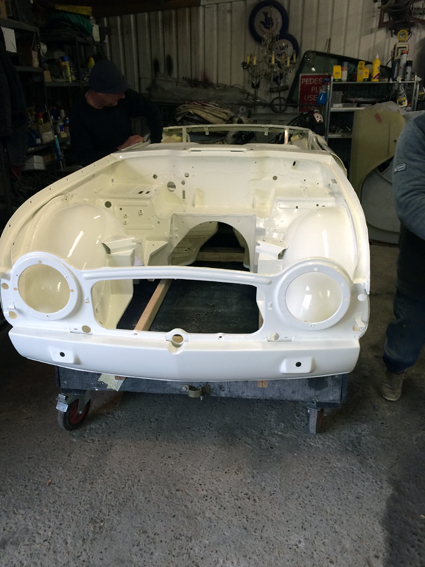
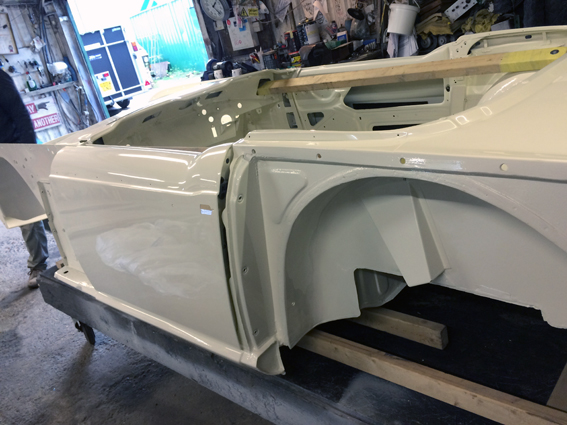
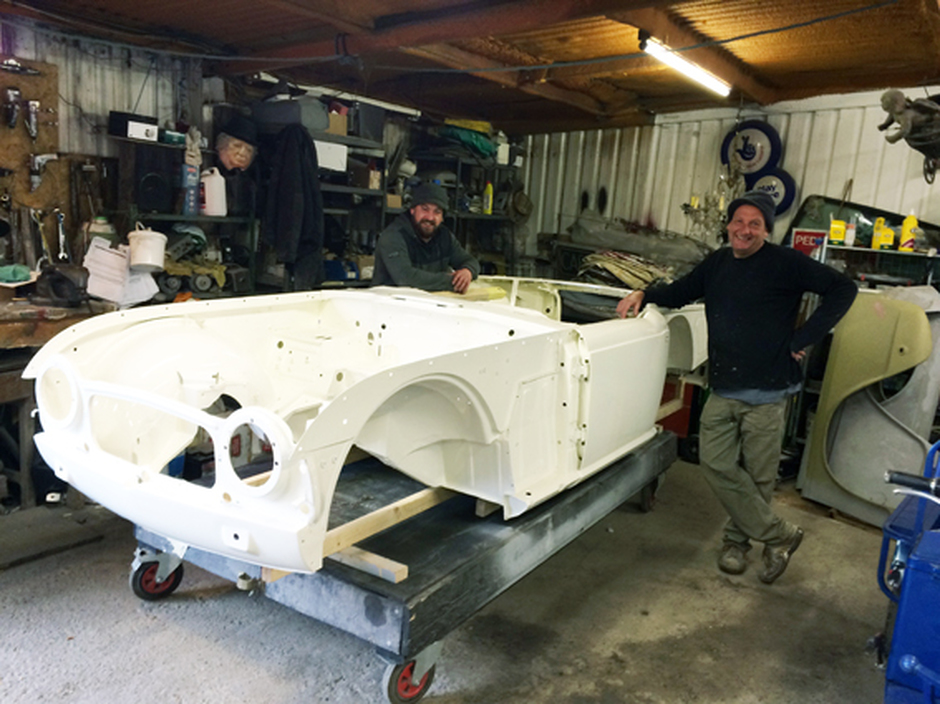
The finished tub in Peter's workshop
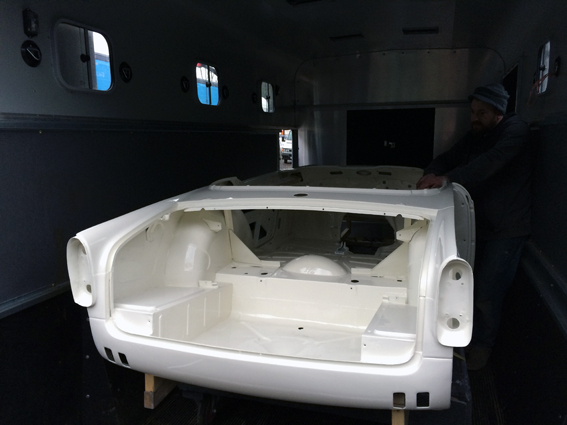
Loading the Body Tub in to the trailer


Peter & Brian in the workshop - the guys responsible for the bodywork
If you would like Peter Allard to look at your car drop me a line via the contact form and I'll pass on the details.
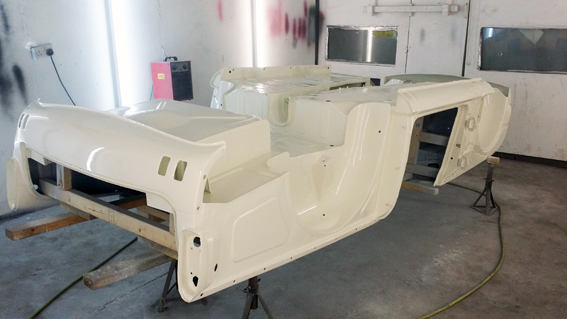
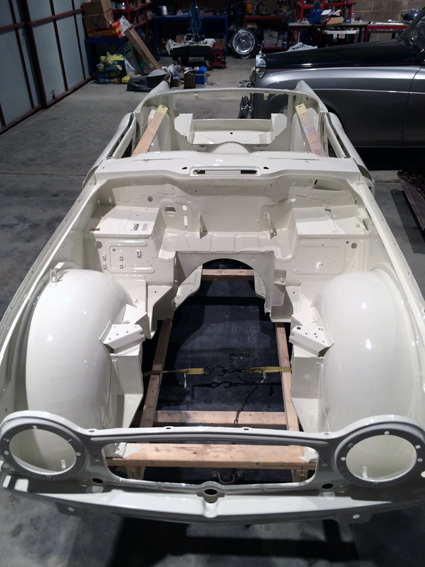
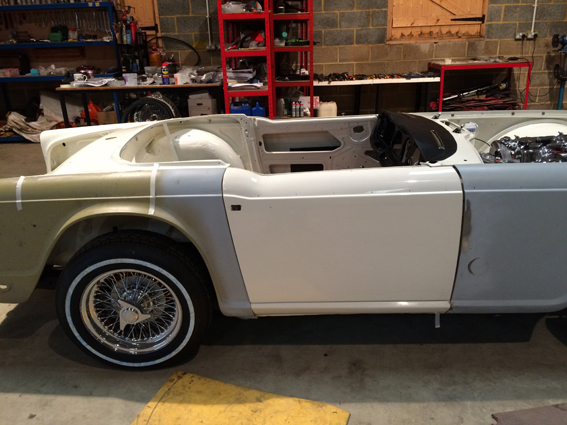
The finished tub back at home and in my workshop


December 19th 2015
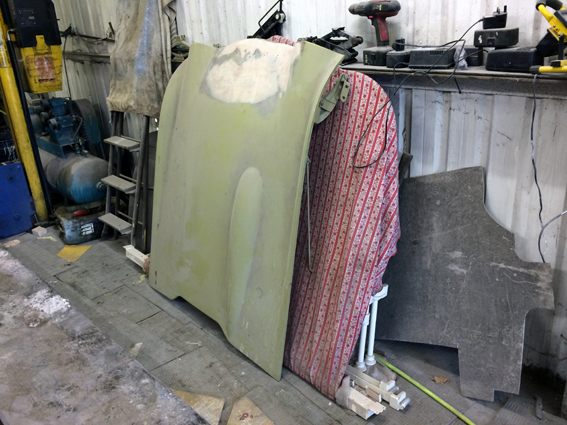
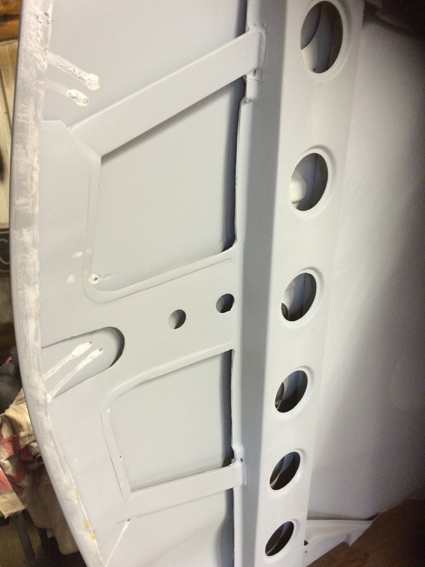
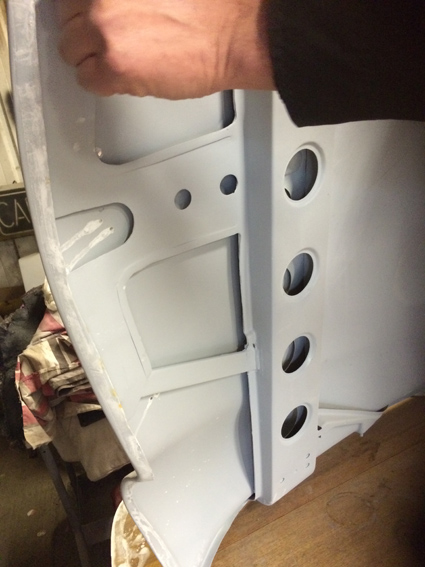
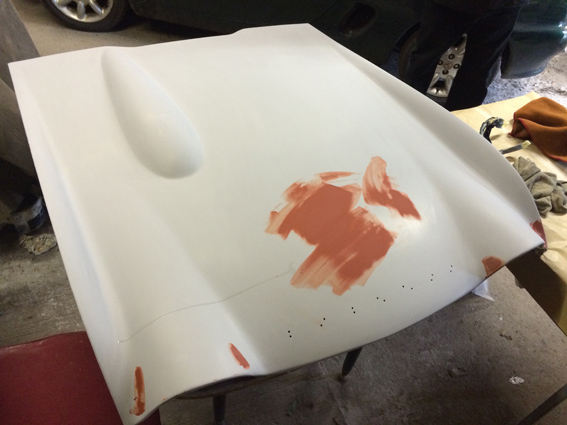
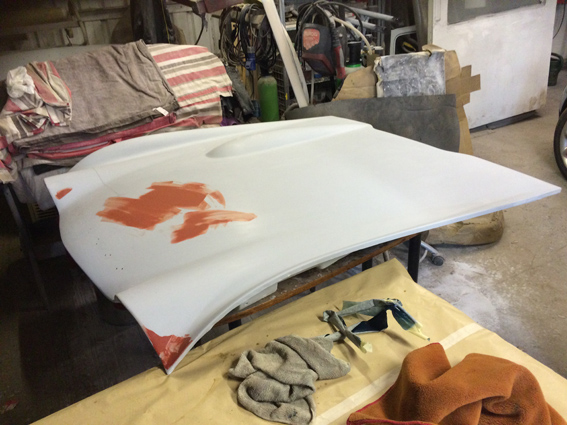
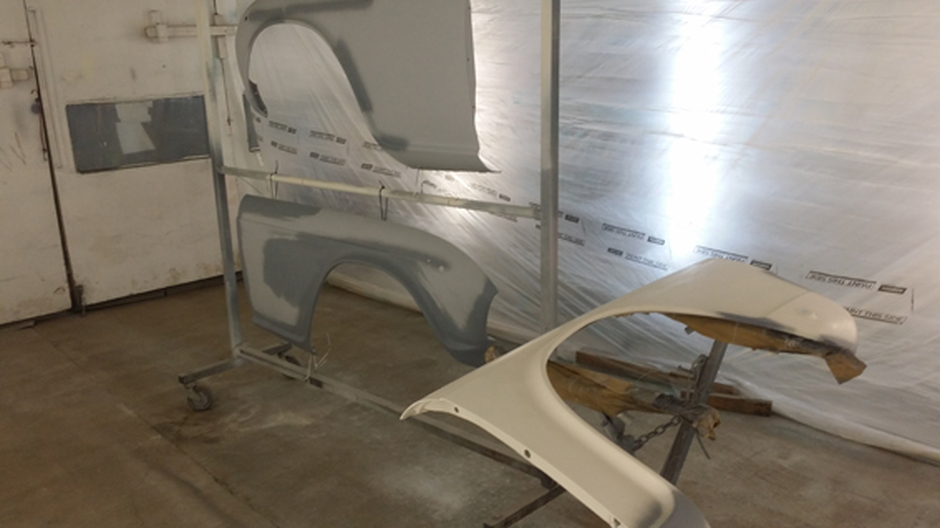
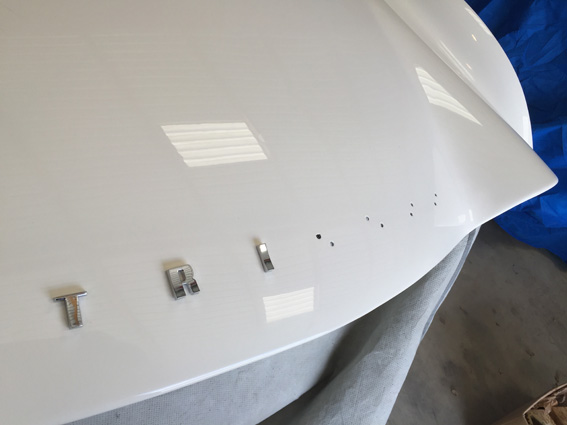
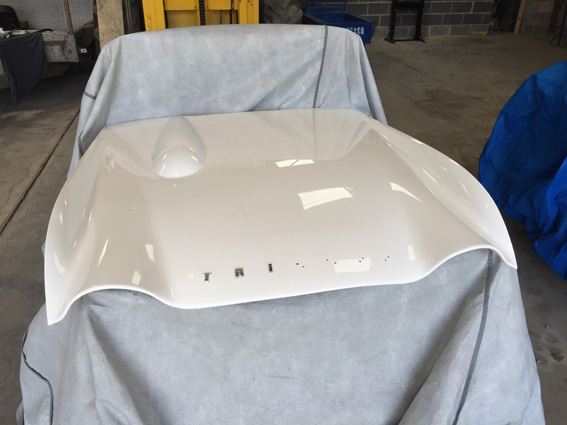
Work has started on the external panels, bonnet and boot lid.
The plan is to get the 2 rear wings (fenders) completed first so they can be fitted before the wiring loom goes in which is fitted infant of the bolts for the rear wings.
We think it will make it a little easier to fit the wings without the loom conflicting and making things tricky. The picture on the left shows the bonnet ready for work to start.
We have noticed there is a repair panel on the bonnet which must have ben due to a front-ender at some point.
So our starting point is not perfect nut we'll do our best to get a perfect finished result.
This will be the last body work post before January 2016 as not much will happen on the body between now and then. All the work is getting the body back on the chassis
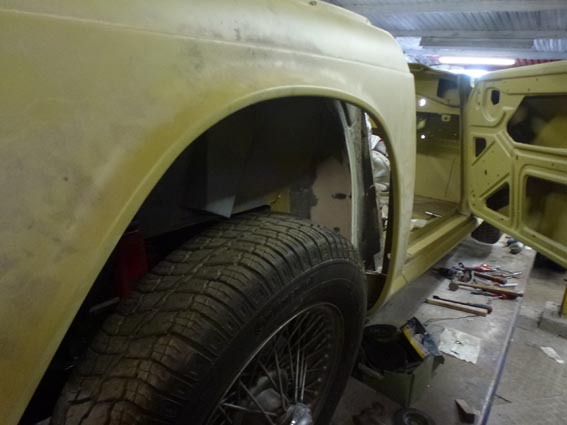
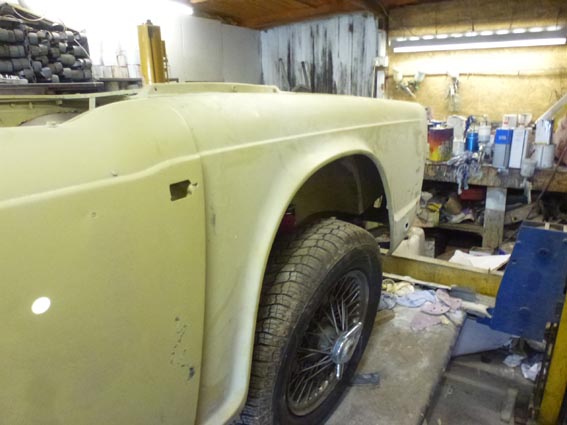
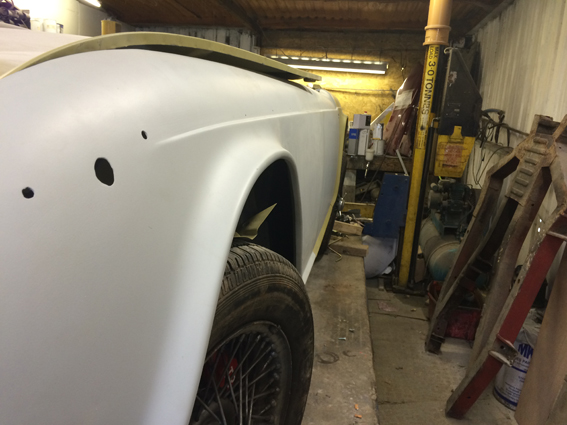
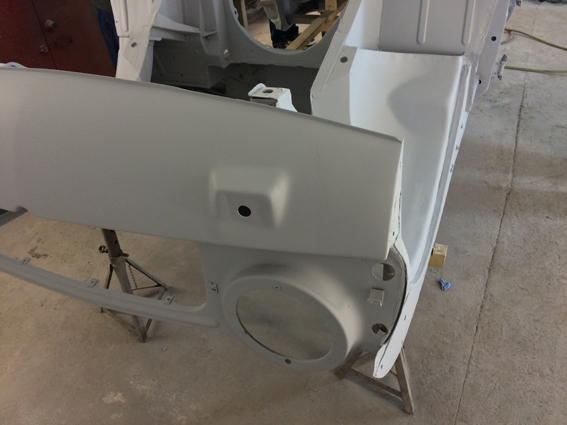
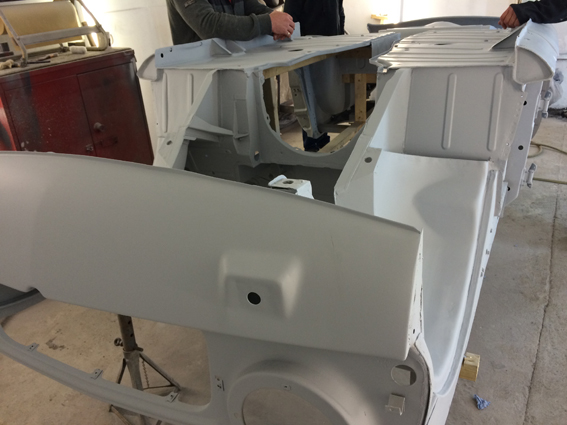
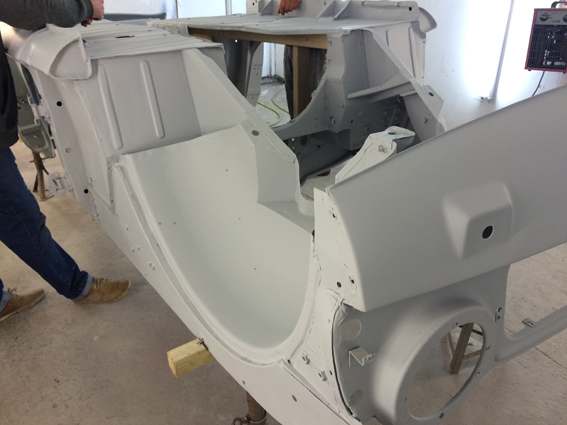
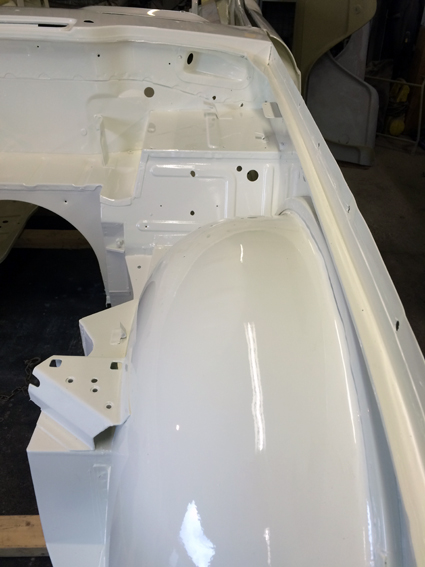
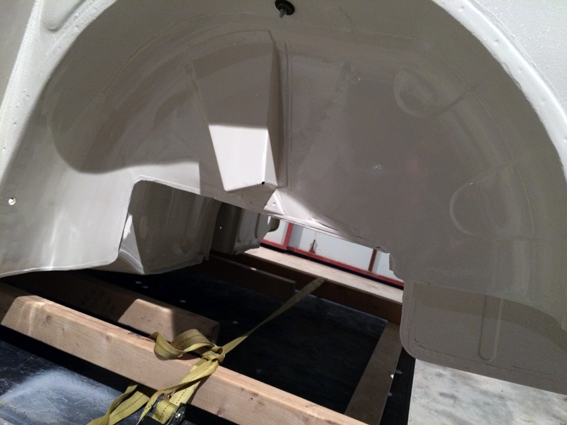
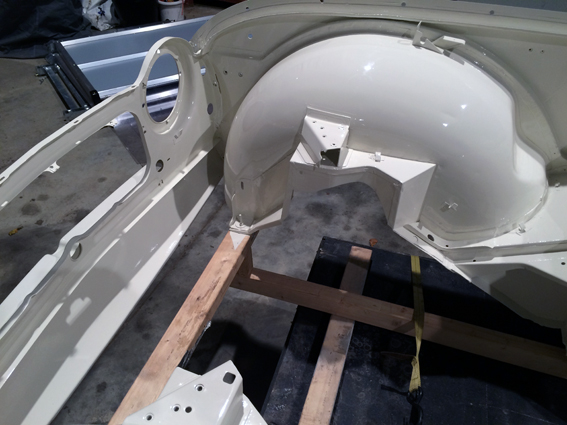
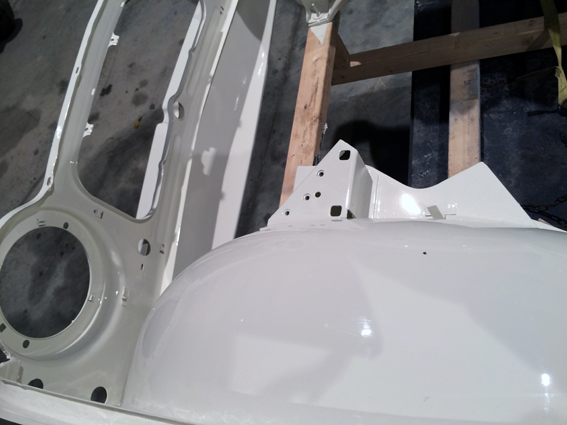
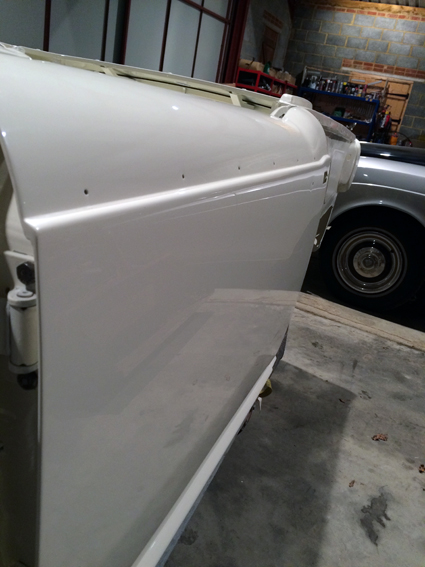
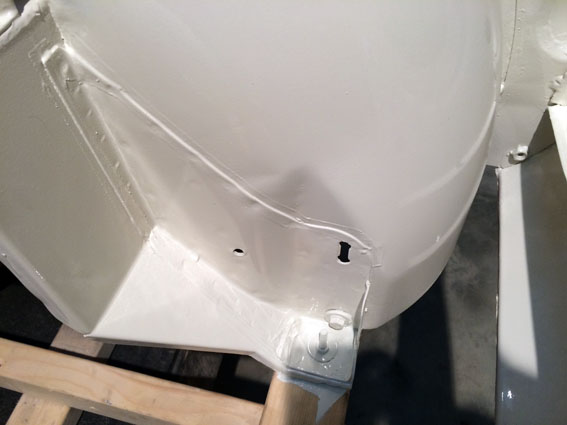
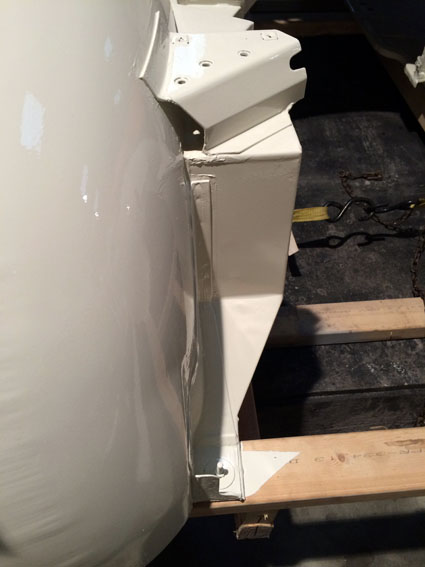
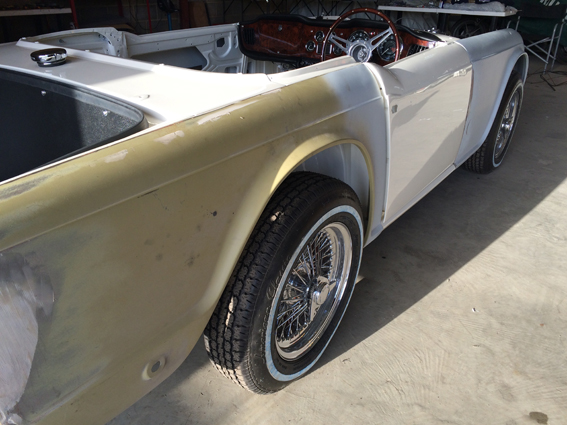
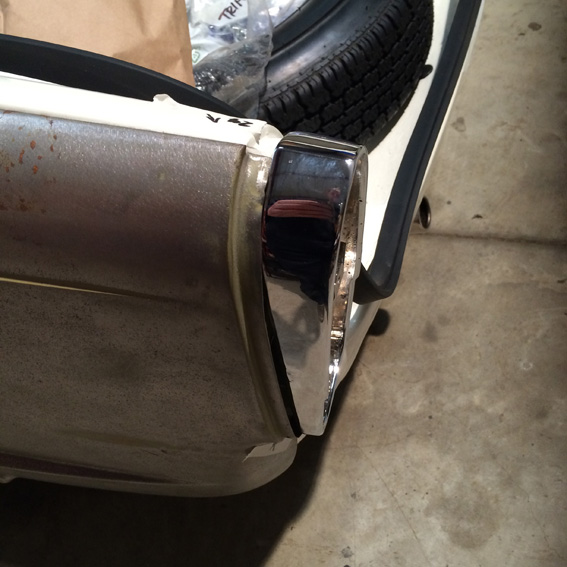
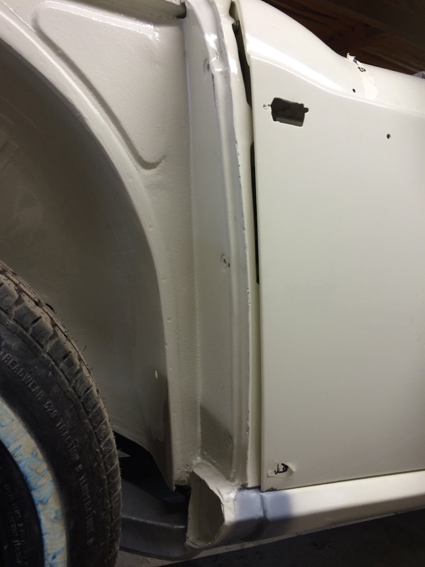
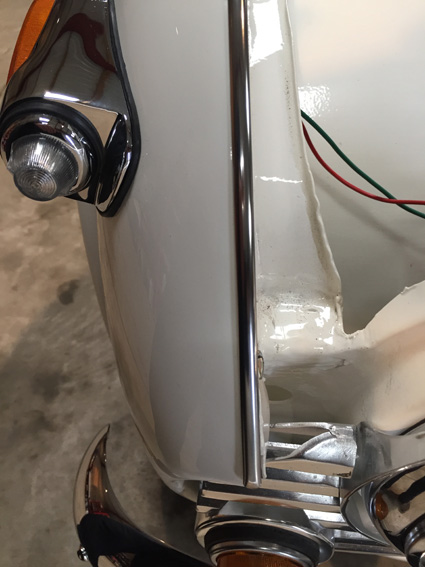
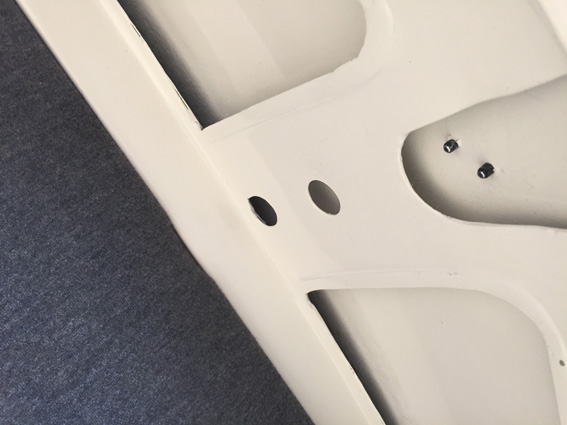
The inner wing/fender indents
The wings came out of the factory like this. The indent is to take the wider radiator of the TR4A over the TR4.

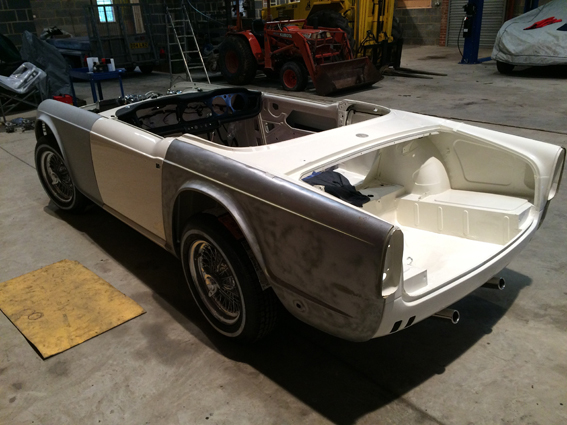
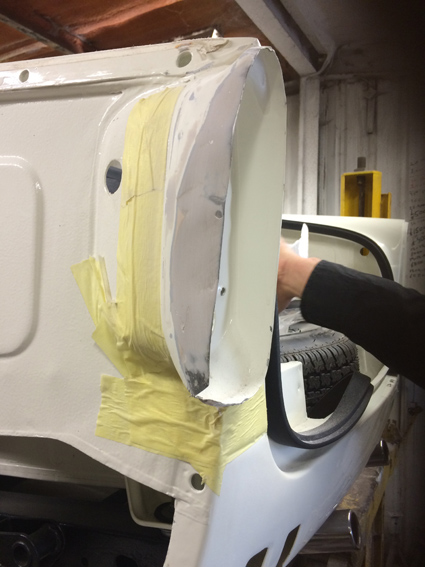
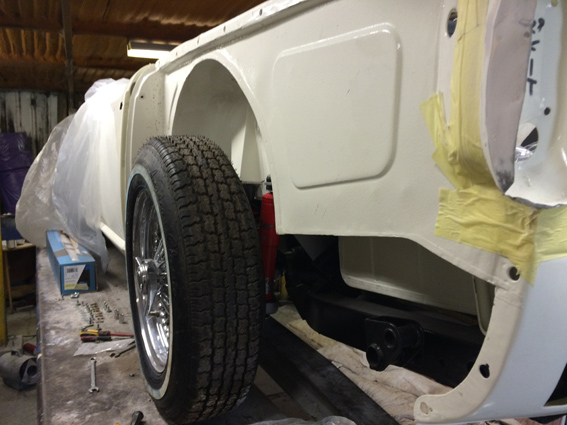
Panel Fit
|
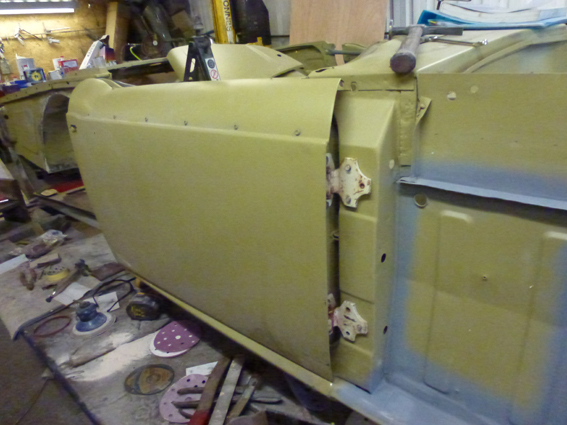
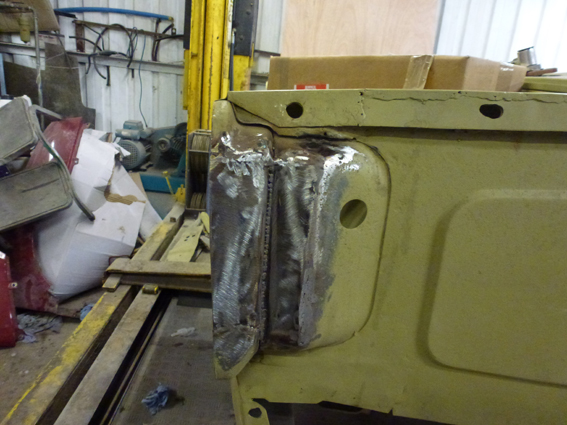
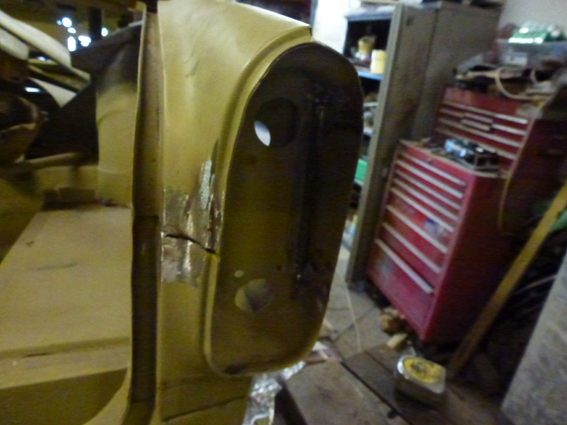
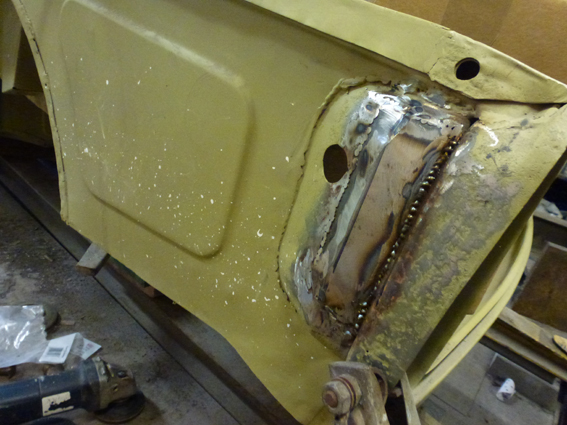
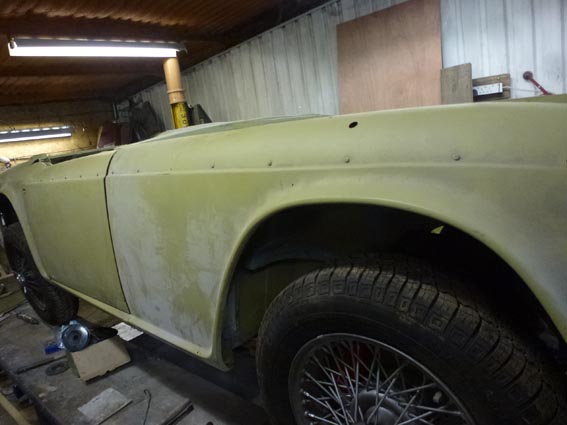
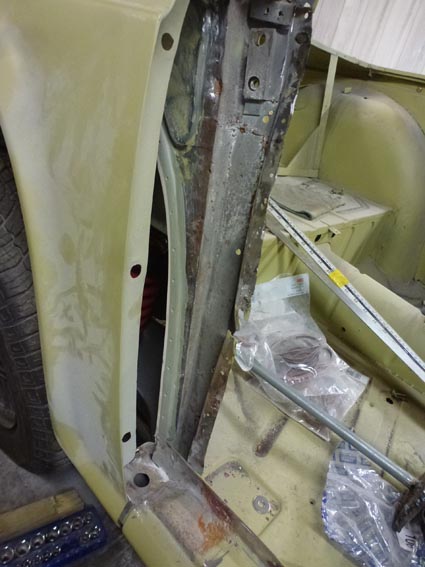
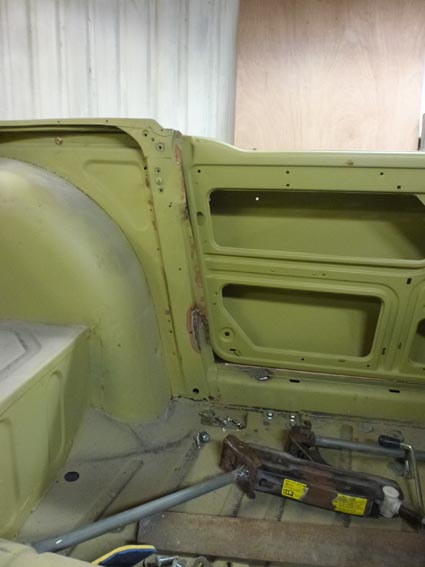
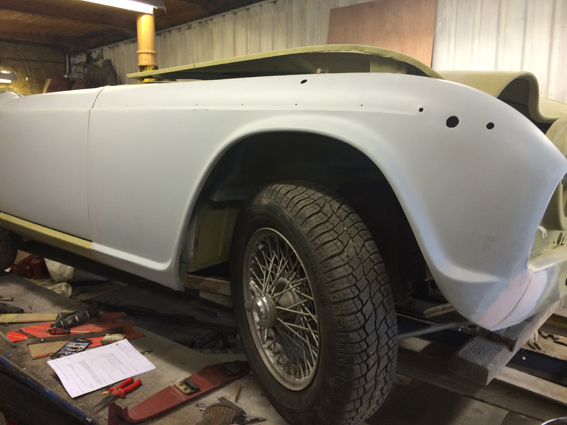
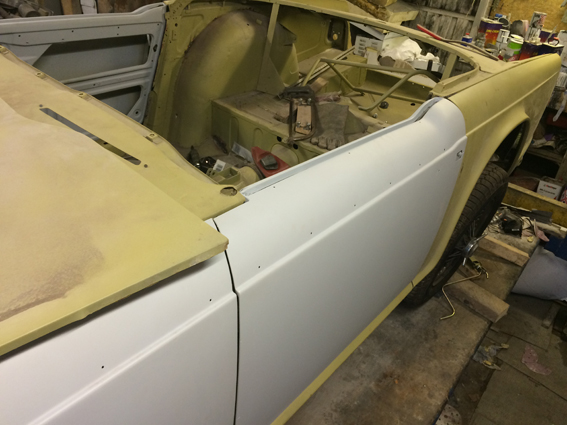
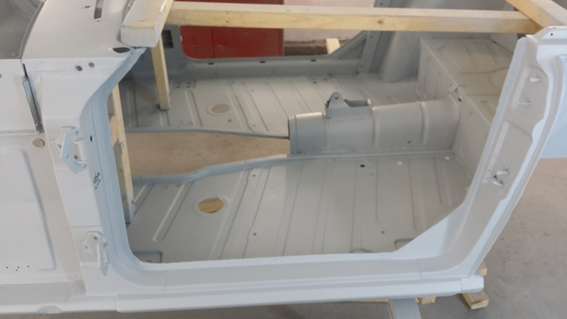
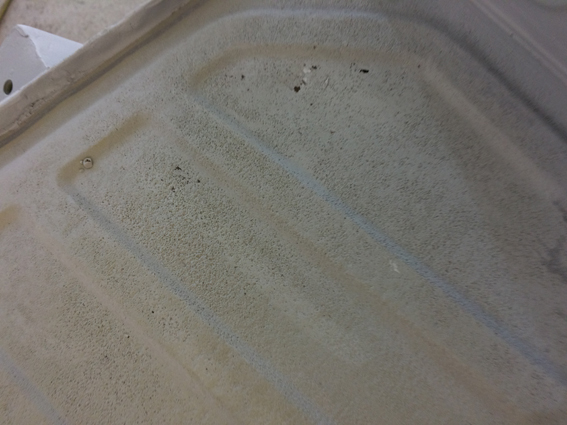
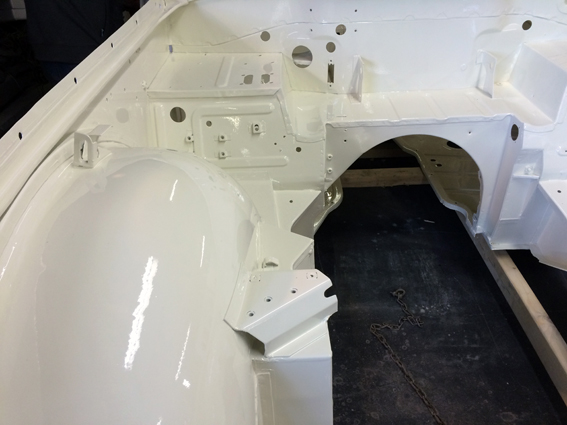
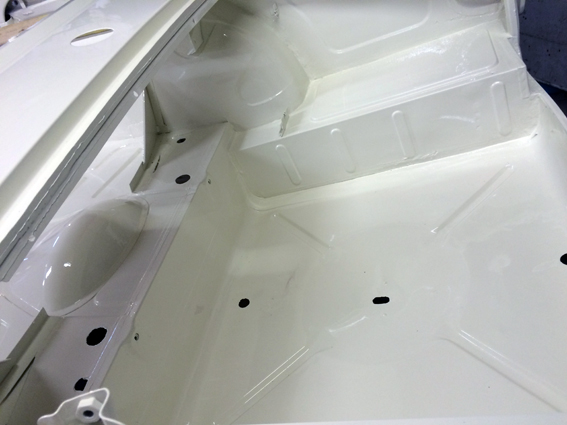
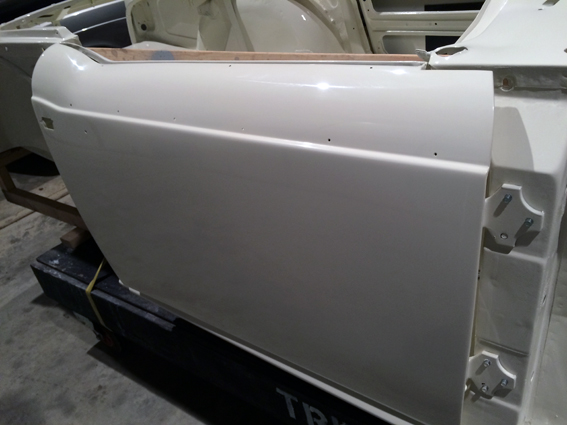
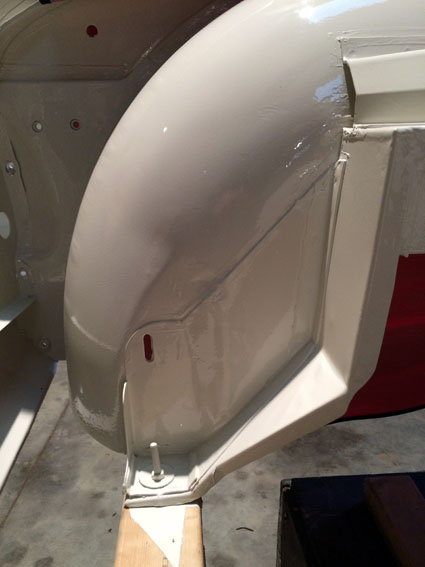
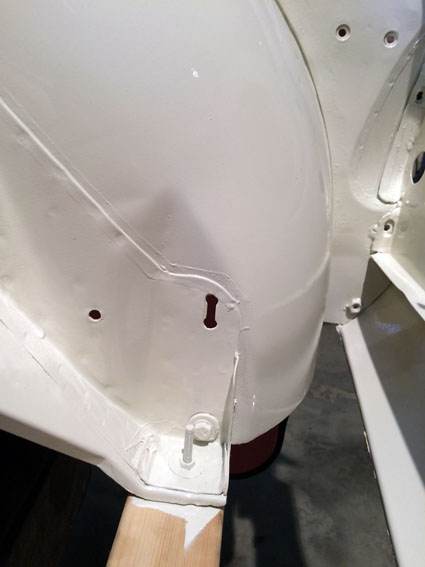
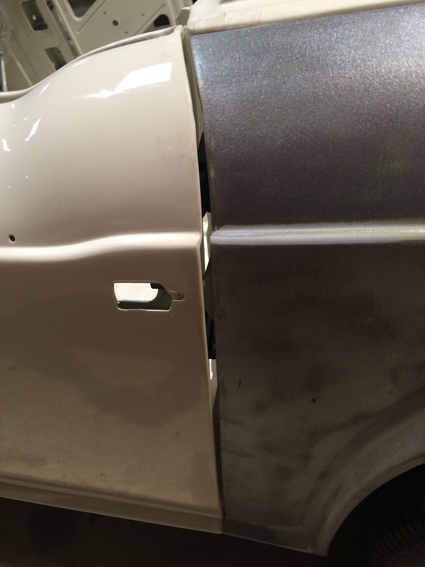
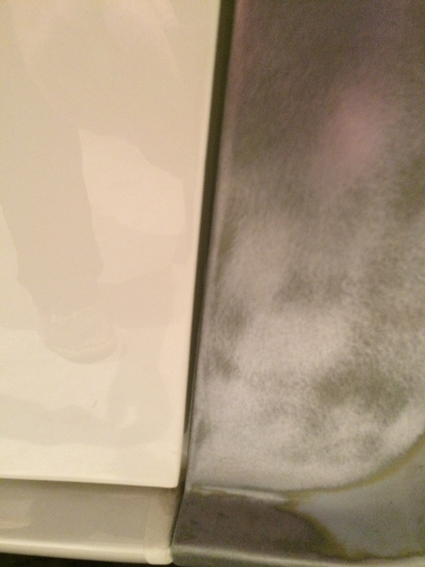
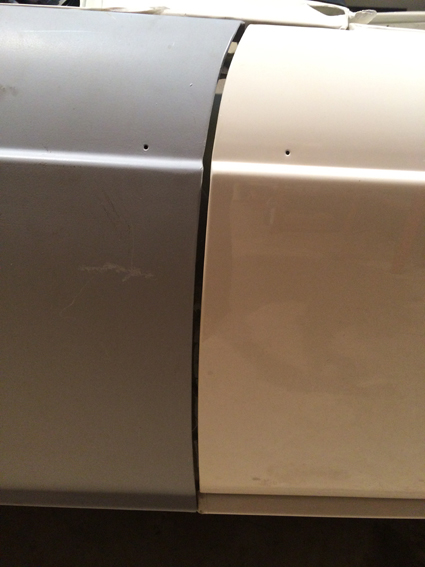
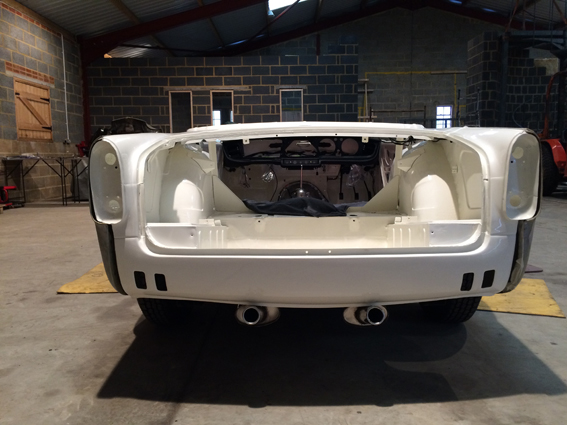
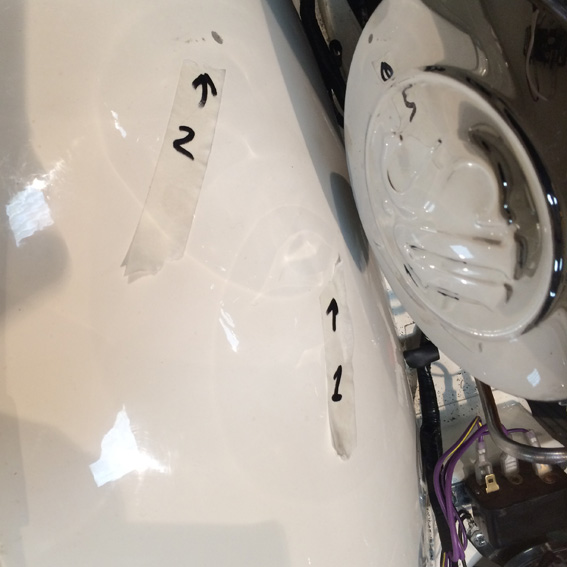
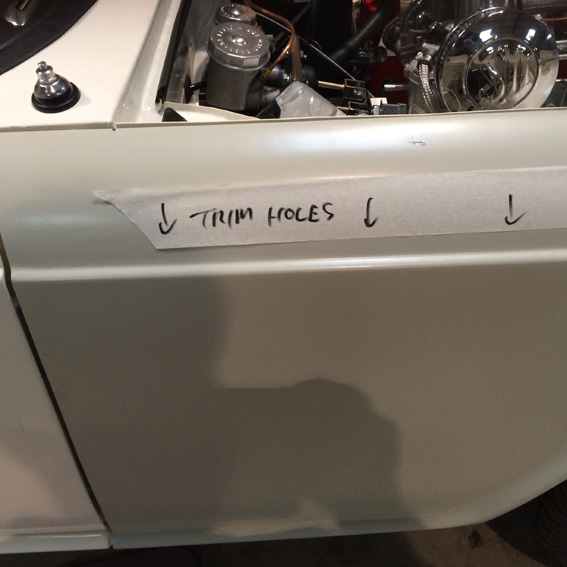
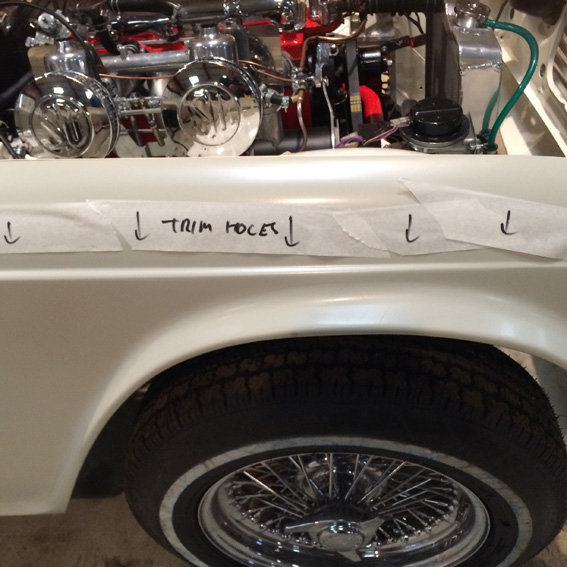
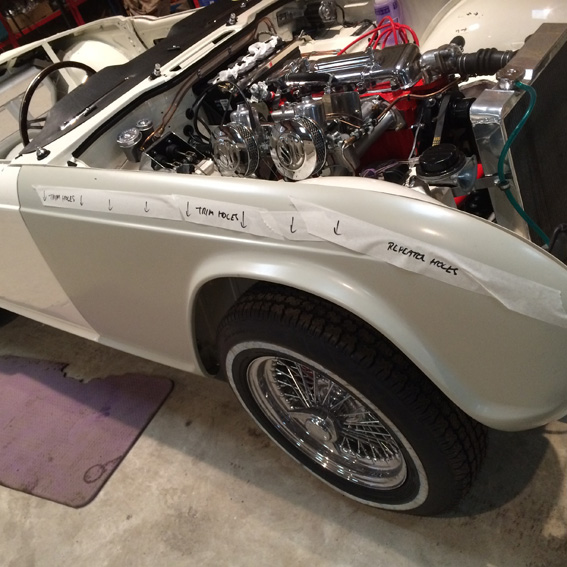
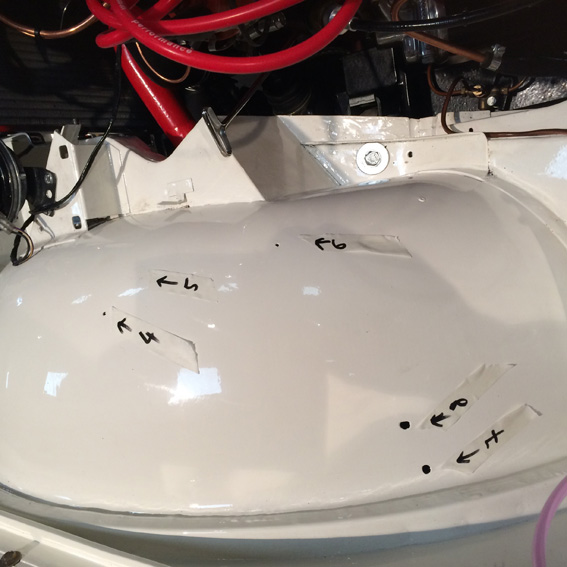
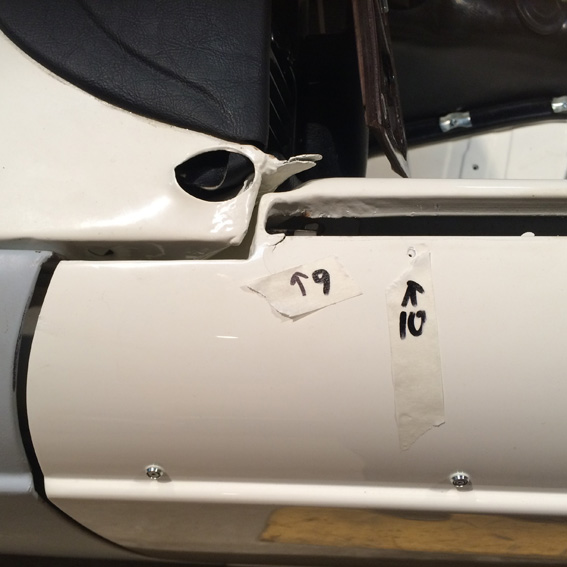
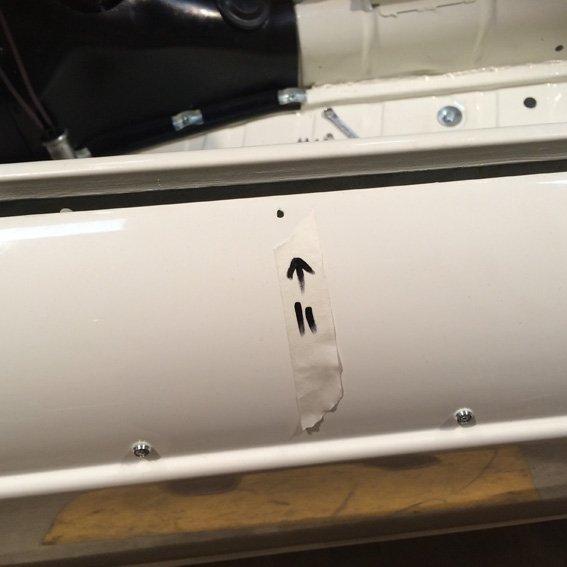
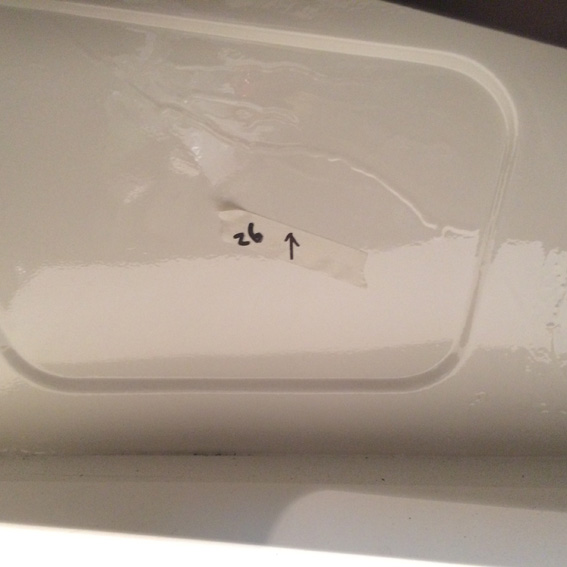
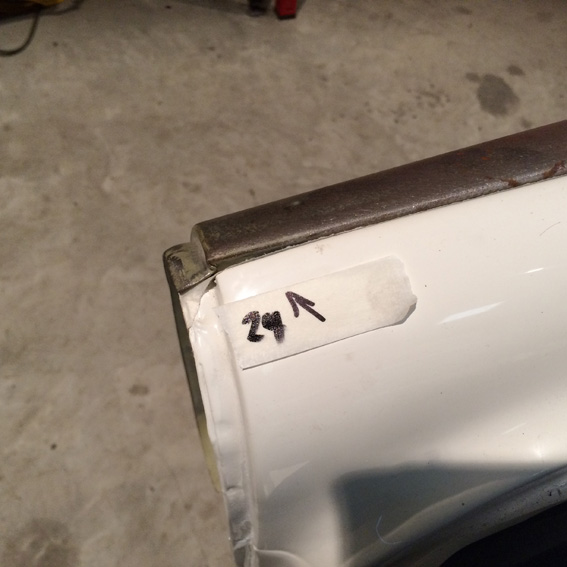
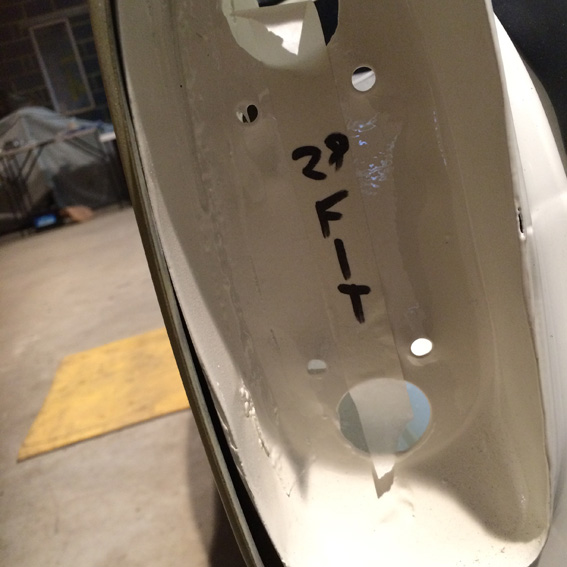
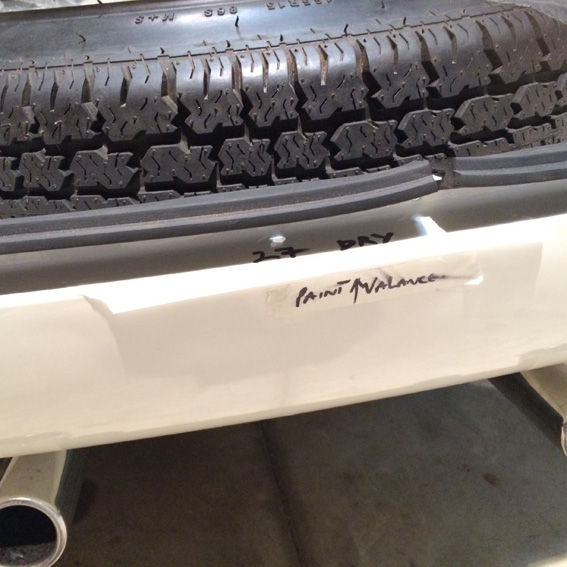
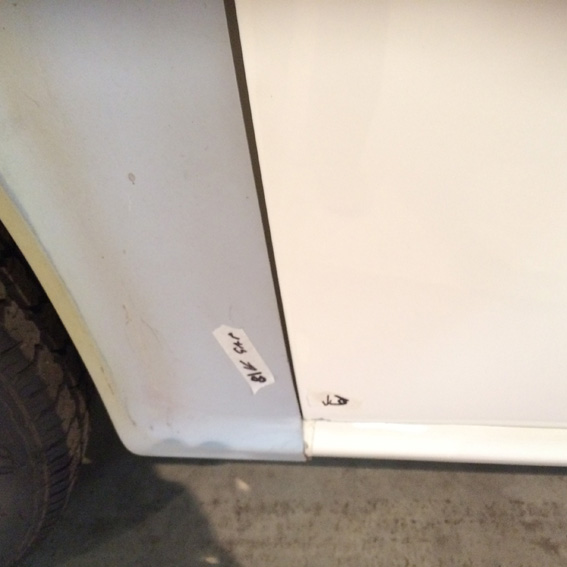
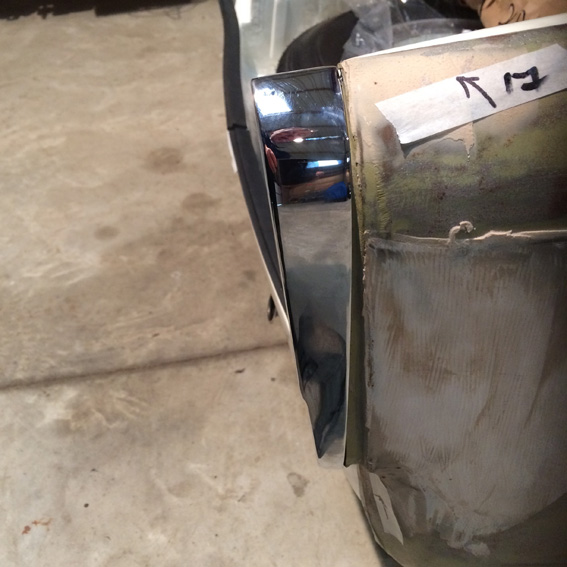
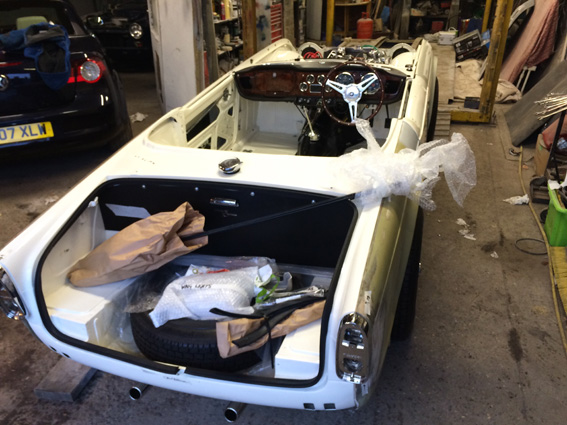
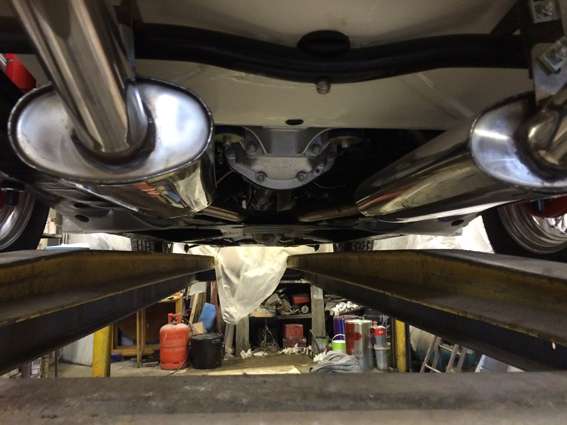
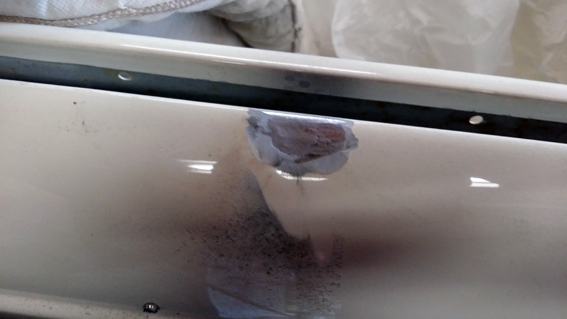
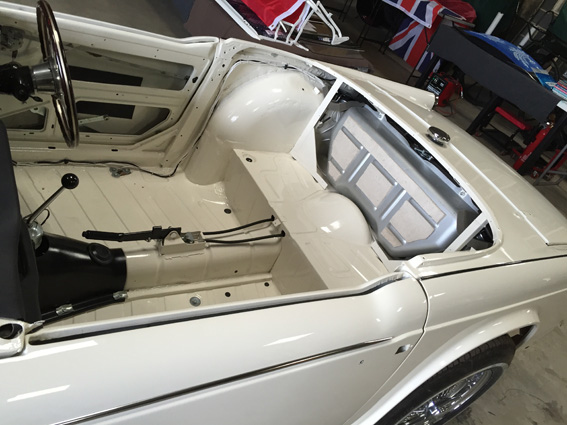
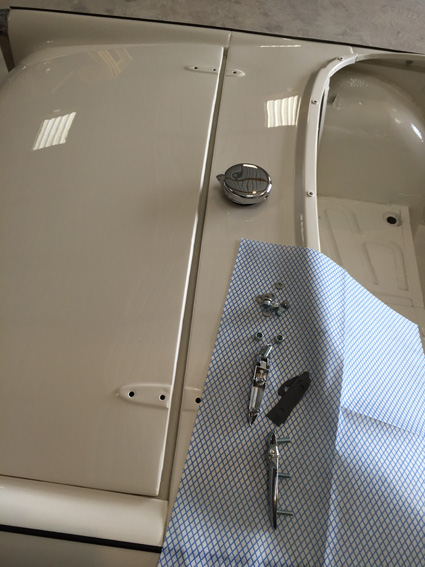
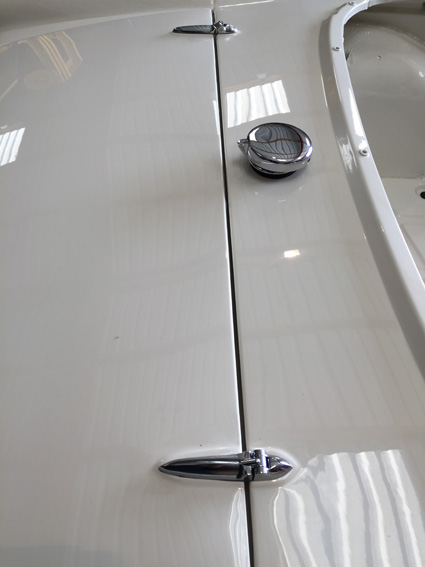
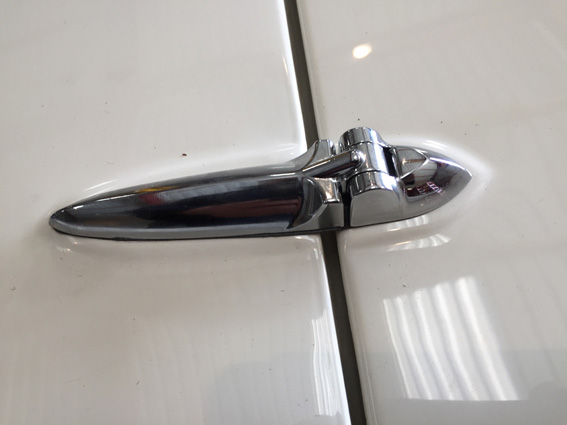
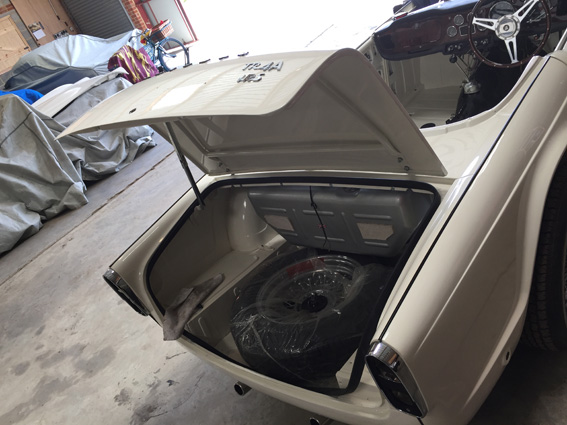
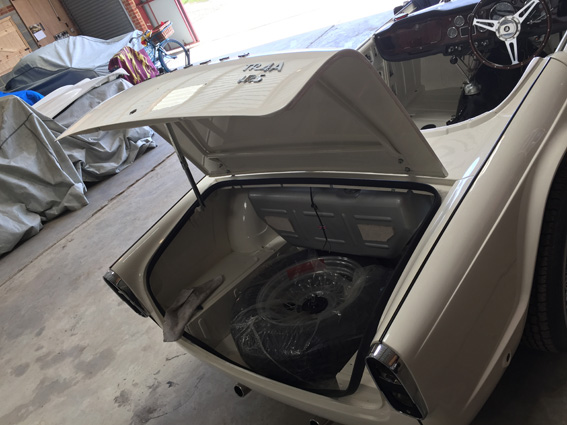
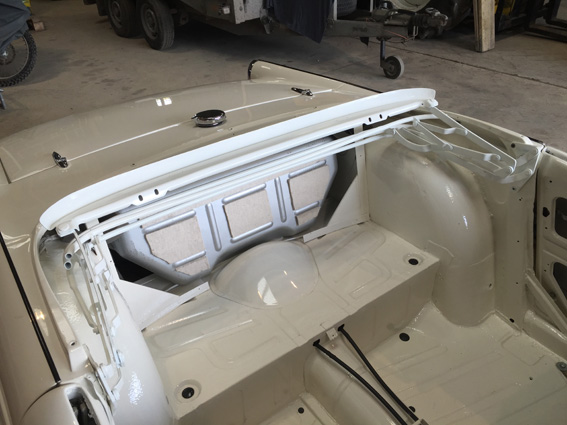
We have got the unpainted panels back on to check the door gaps and make sure everything is fitting OK. We have hit a few snags. The exhausts were touching the rear valance. This has been fixed by fitting an extra spacing shim washer at the rear chassis mounting points. On the bodywork we have some snags and things to sort. 1: Rear panels kicking out at the sills. 2: Door gap consistency. 3: 4 spanner dings in the paint 4: Inner wheel arch dings that missed the first pass. 5: A few of the joins need attention 6: Rear light housings need sorting 7: Chassis floor mounting areas need paint 8: Small crack near drivers side suspension. 9: Sealant needed in one of the rear internal seams. 10: Dimpling in the rear deck paint 11: Some filler lines not perfect The pictures below show the work in progress - so much to do!!! |

|

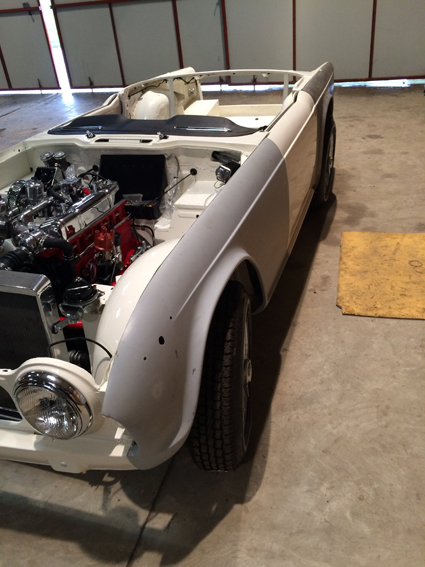
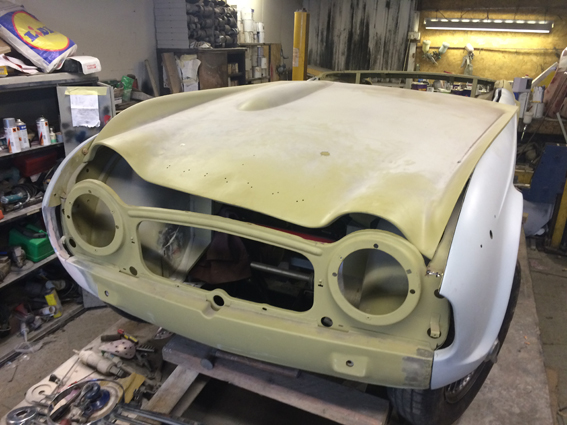
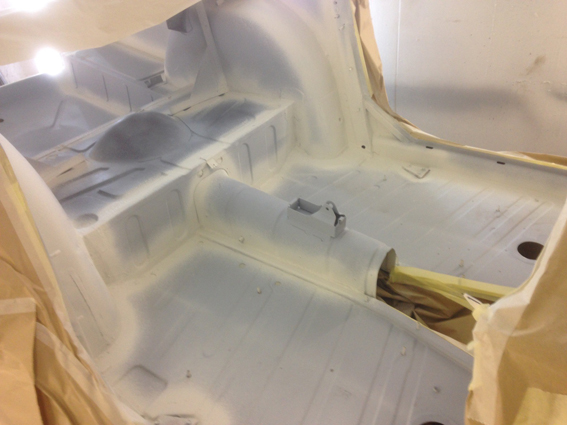
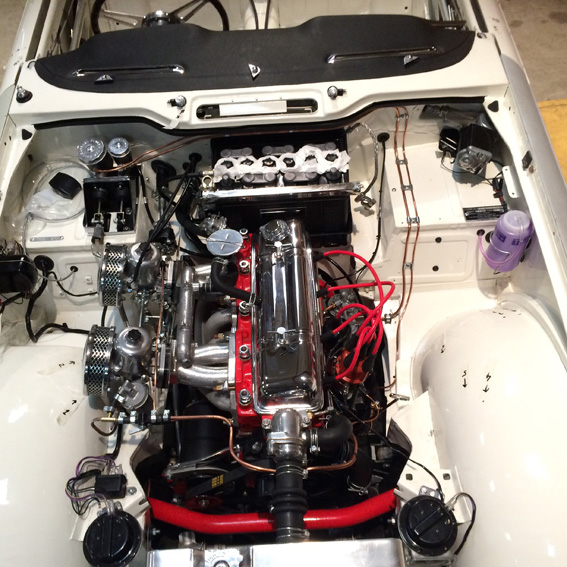
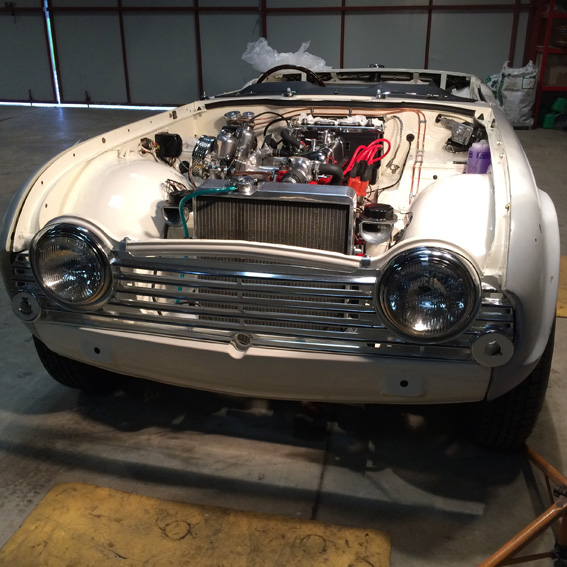
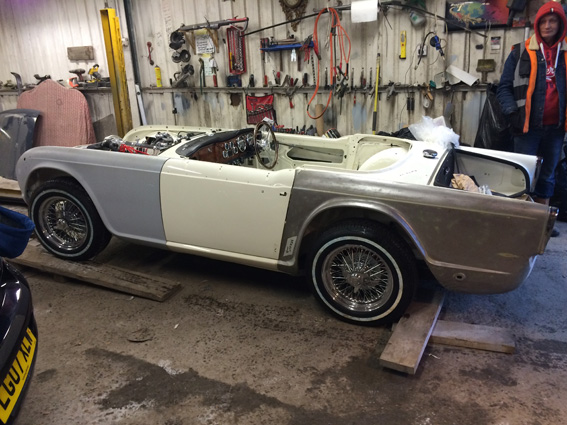
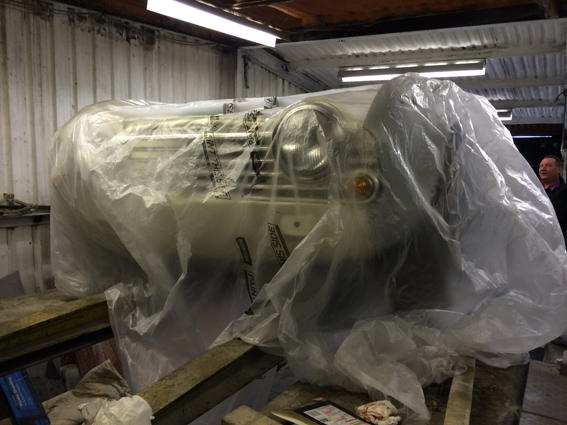
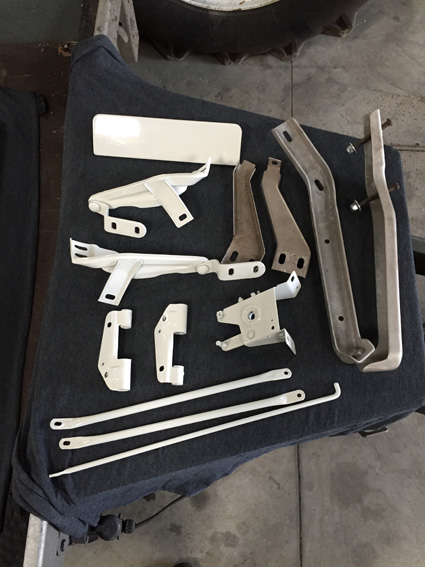
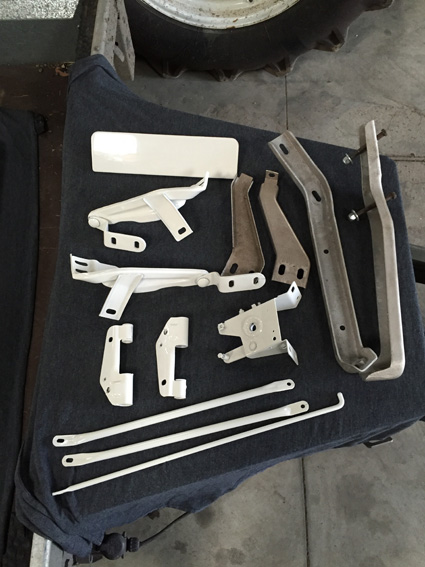
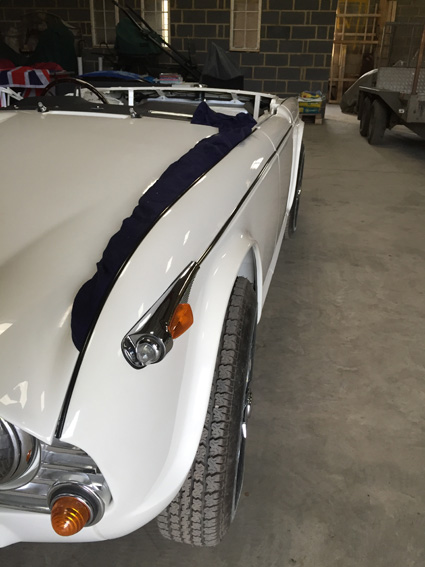
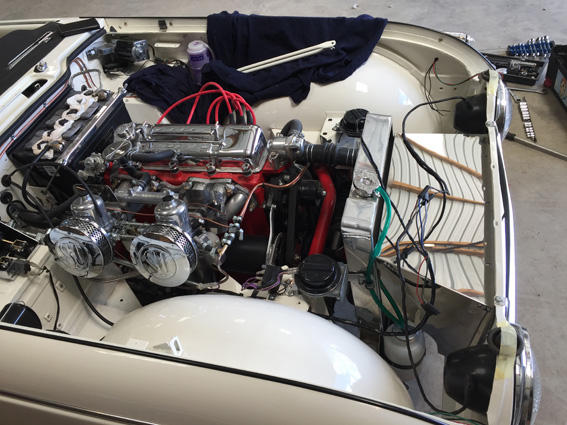
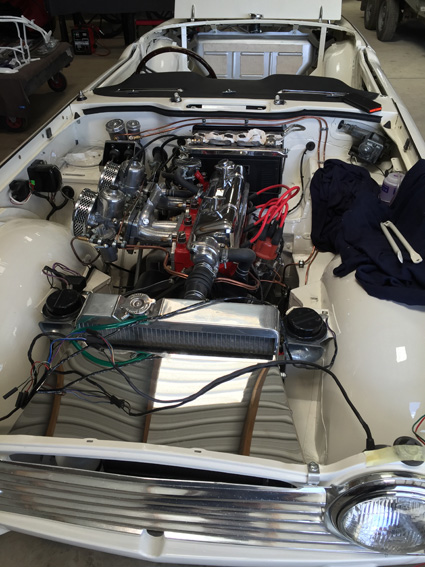
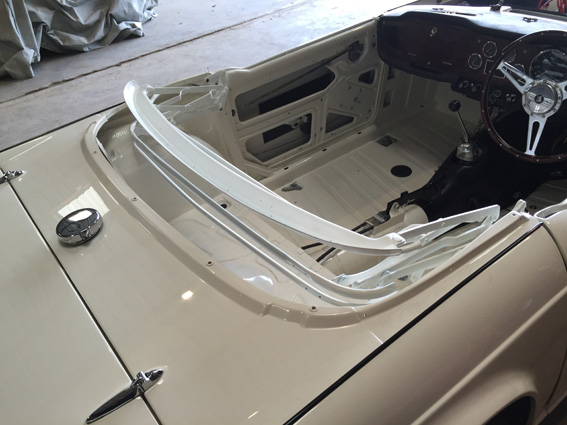
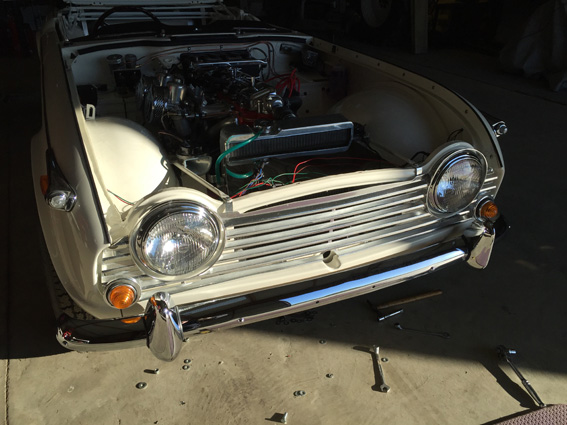
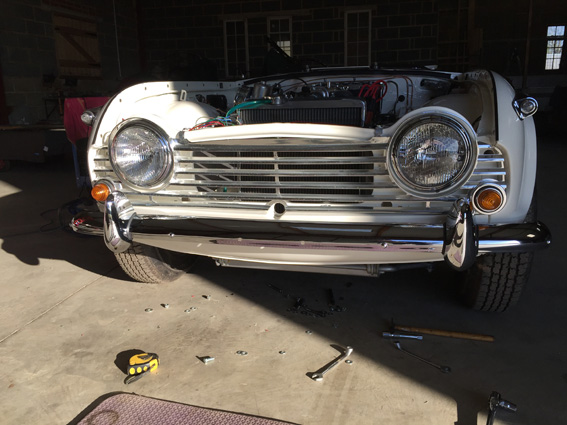
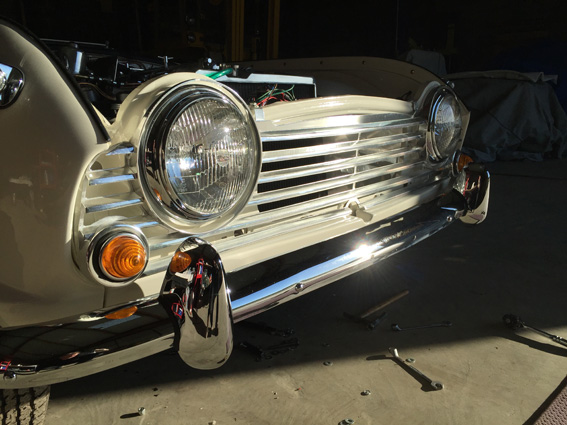
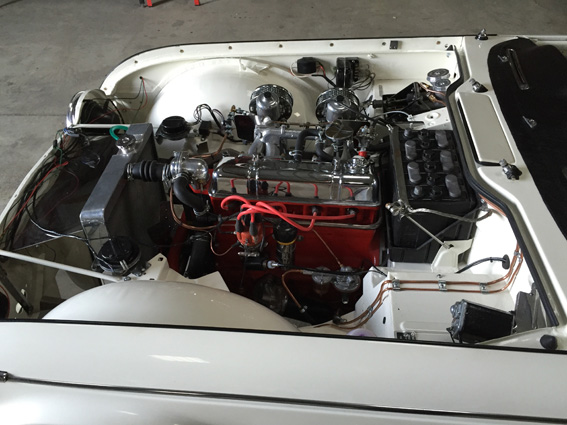
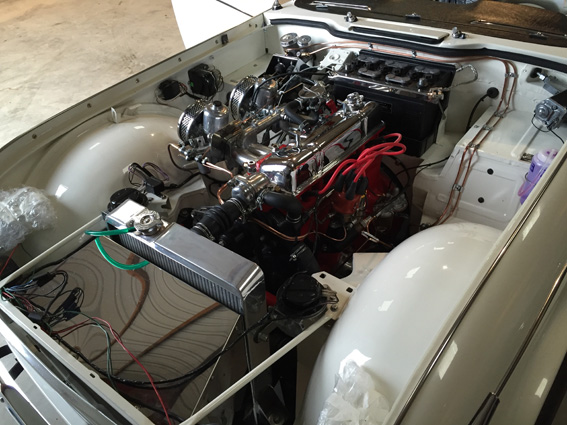
Bonnet, wings, windscreen, vent flap, bonnet hinges and stay rodsWe are sorting these and painting them now whilst we work to get the engine up and running. Below are a few pics of the car as it moves in and out of the workshop whilst being worked on. Looks very different in the daylight:-)
|
|

February 13th 2016
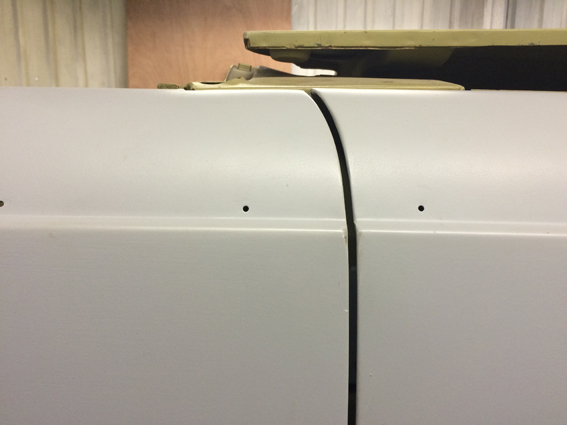
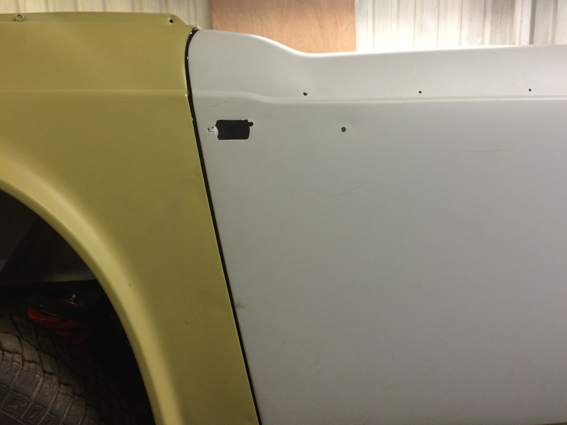
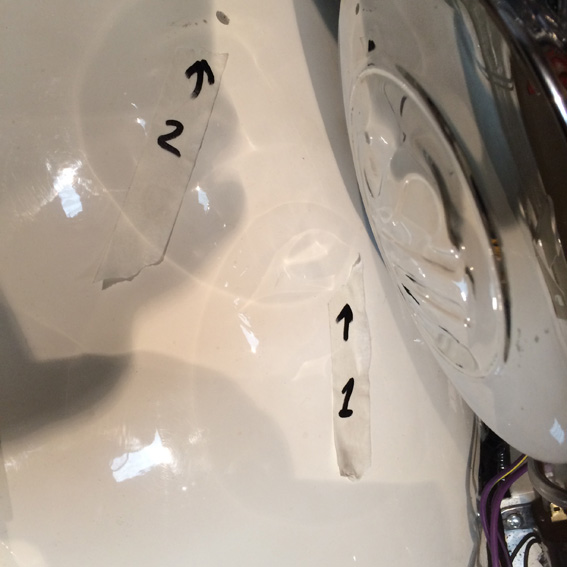
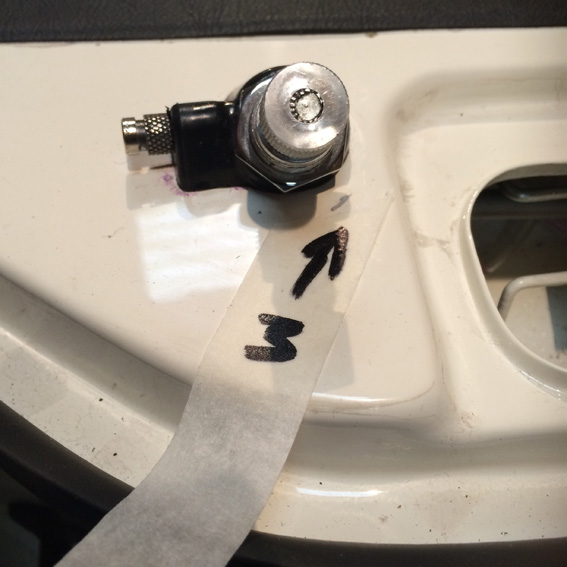
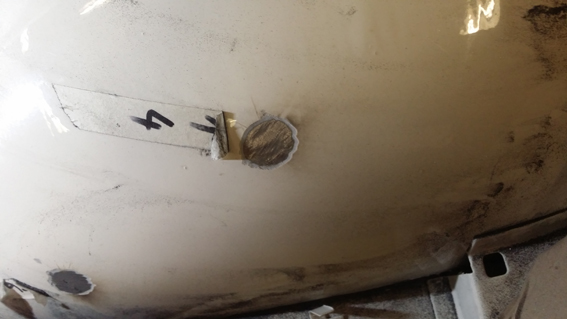
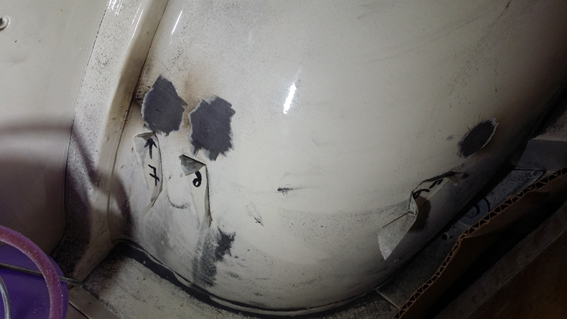
Below, you can see pictures of the bodywork markers we have placed to highlight the areas that need work. Peter and Brian reckon it is all possible so we look forward to the result. All the trim finishers are ready to go to make sure everything lines up OK and we get the right gaps.

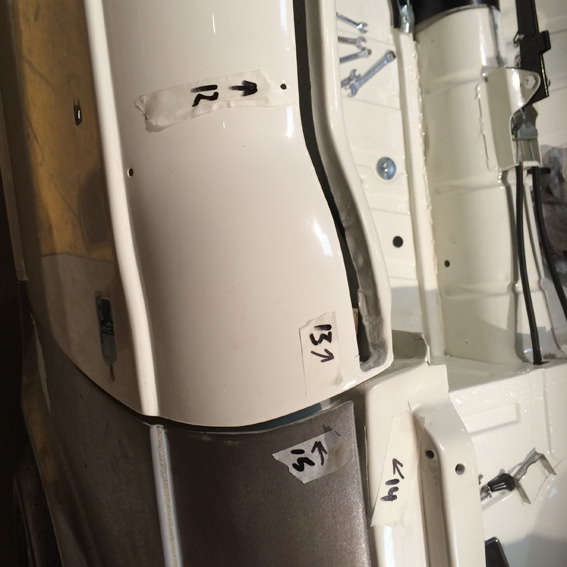
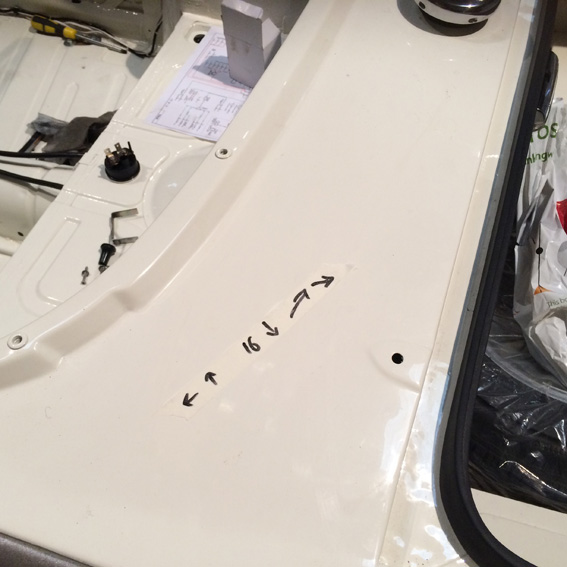
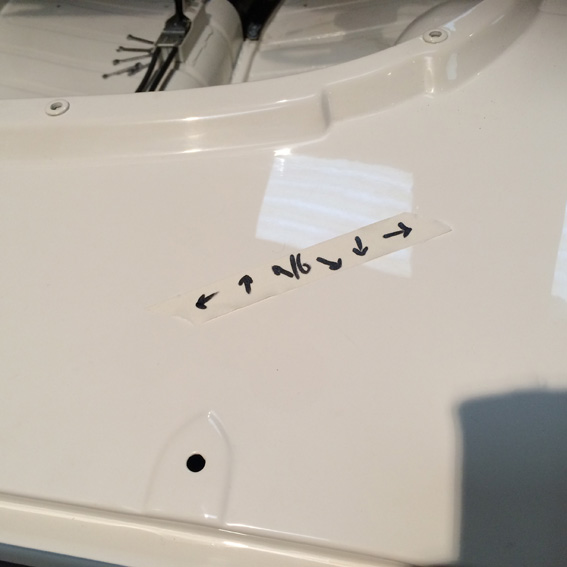
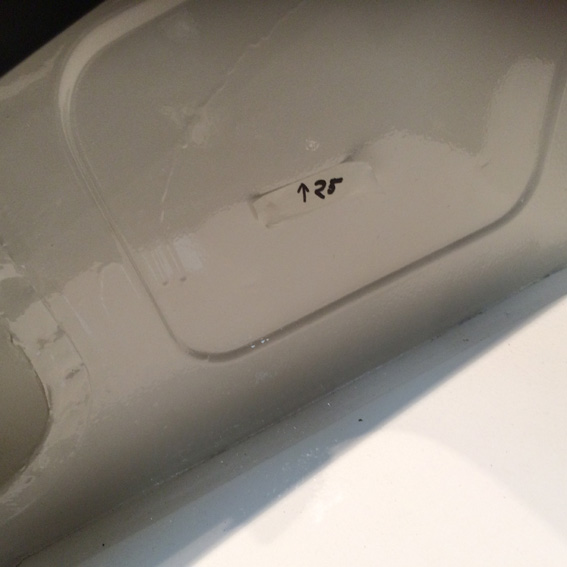


Down at the bodyshop

February 21st 2016
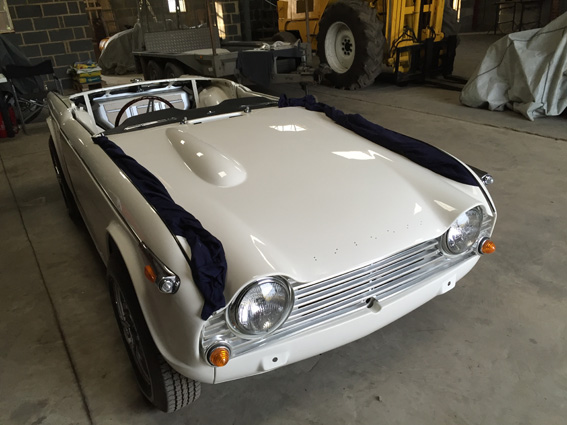
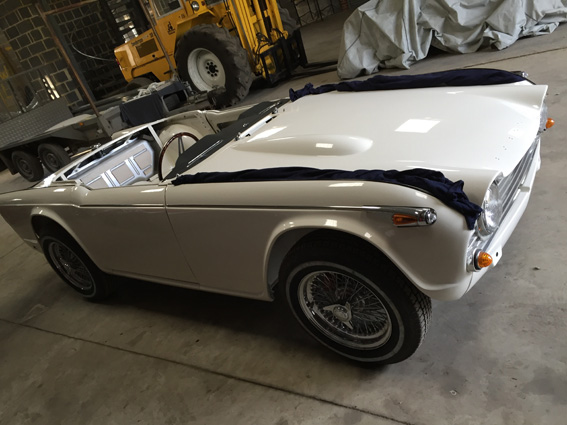
Work has ben progressing and the bonnet has been prepped for paint. Just a little bit to do on that. The rear wings and tub have been fettled so the lights fit nice and tight as they should. The remainder of this week is on the front inner wheel arch to get rid of the random holes that were drilled their for some reason in the past.


1st April 2016
Work progresses with the panels in paint and the laborious job of sorting all the glitches! Hopefully a couple of weeks away fro getting it in to trim. The trim should be with us next week. (13th April 2016). Then it is 2 weeks to finish trimming. Immediately after that the car will be gone over so it is ready ready for the UK MOT (Ministry of Transport) test. Once passed, we apply for UK road licensing - a simple online affair and the TR is free as it is classed as a Historic Vehicle in the UK. Then, the final piece is to drive the TR to CCK historic for final carb, ignition and suspension set up.
CCK have a rolling road facility that is really handy when you're setting things up. CCK are experts in setting up classic racing cars so our TR could not be placed in better hands. You can see the constant stream of classic race cars they have in their shop here.
CCK have a rolling road facility that is really handy when you're setting things up. CCK are experts in setting up classic racing cars so our TR could not be placed in better hands. You can see the constant stream of classic race cars they have in their shop here.

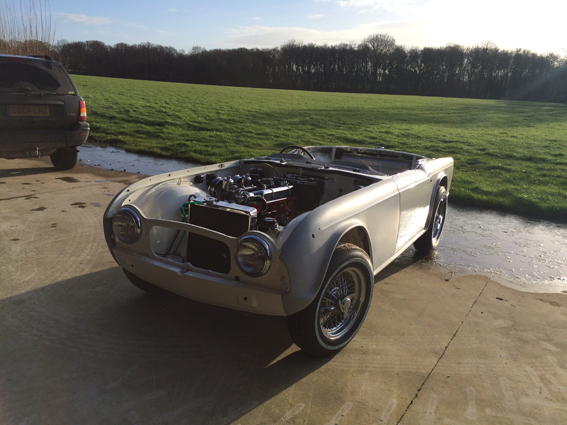
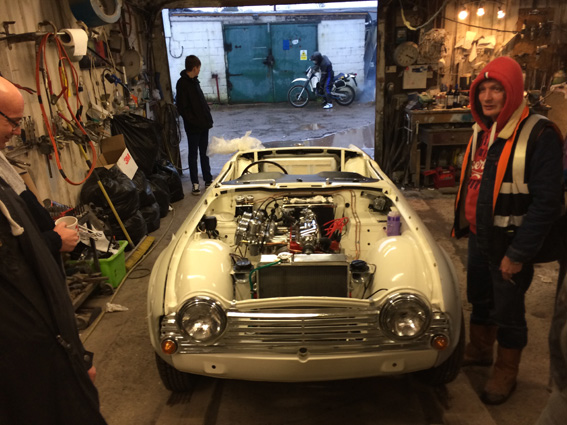
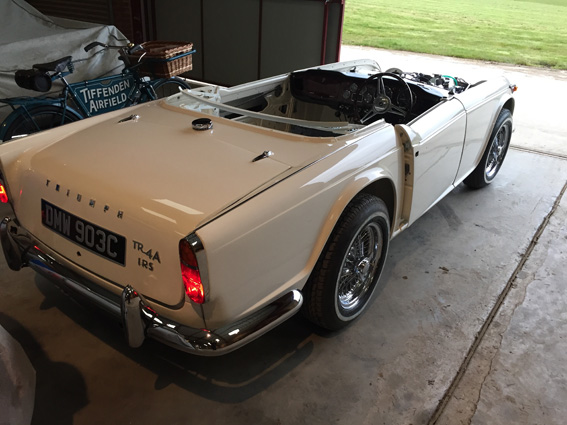
29th April 2016
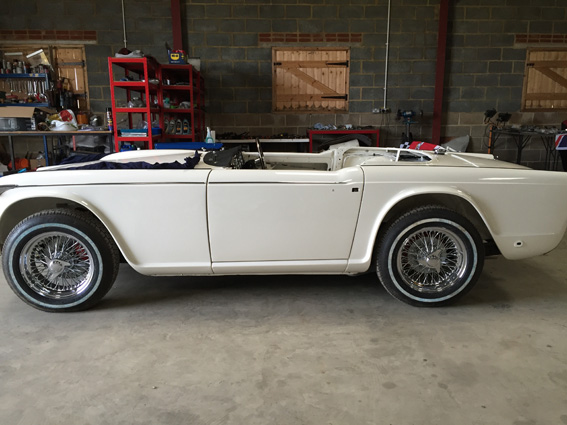
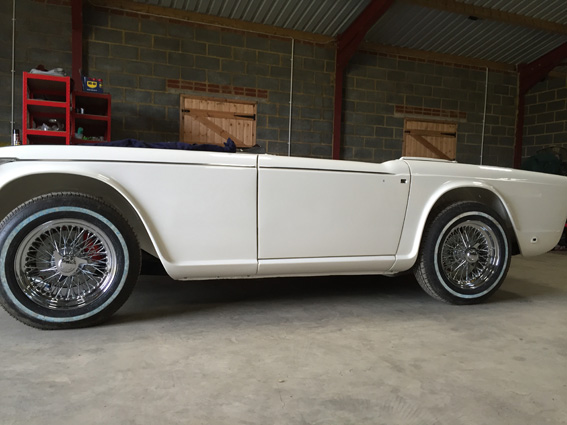
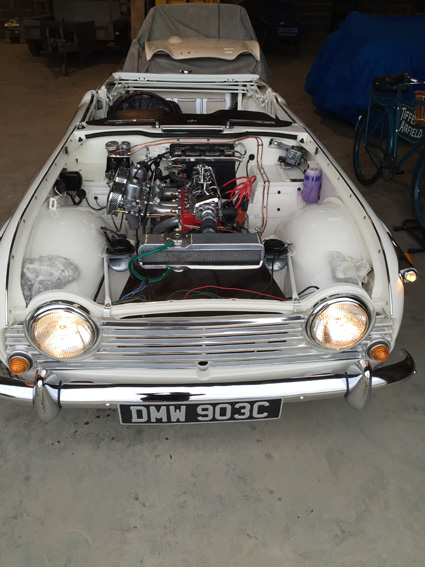
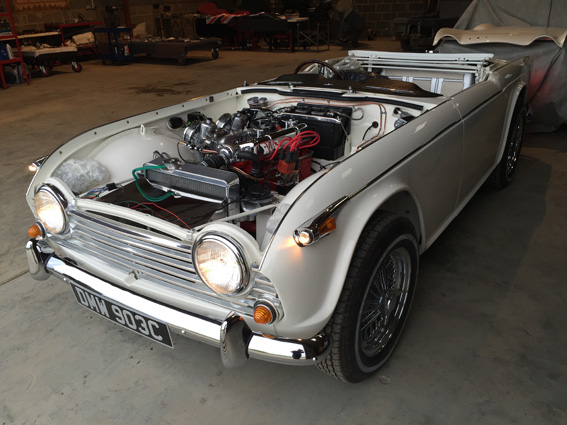
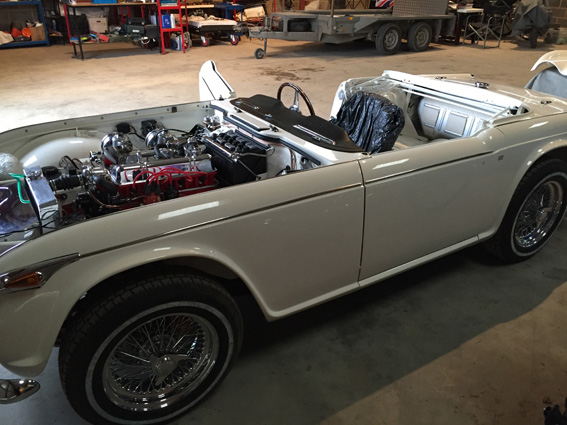
Rock and roll. The TR is back in the workshop looking very cool after Peter and Bryan did their stuff!


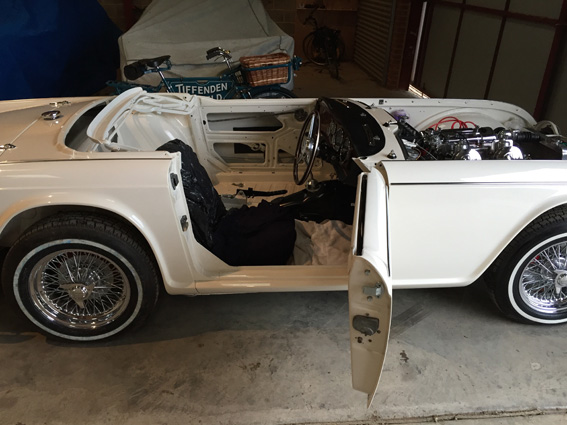
Sunday 1st May 2016


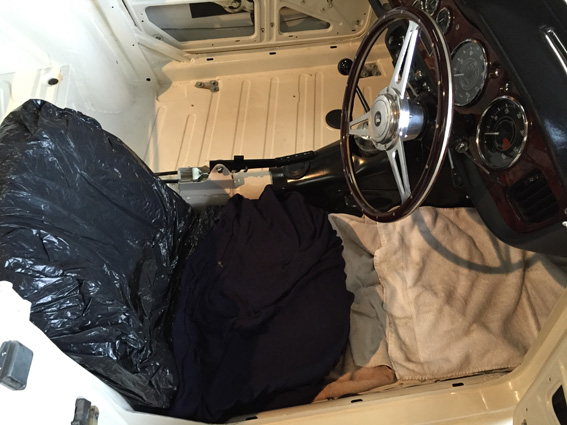
Tuesday 3Rd May 2016


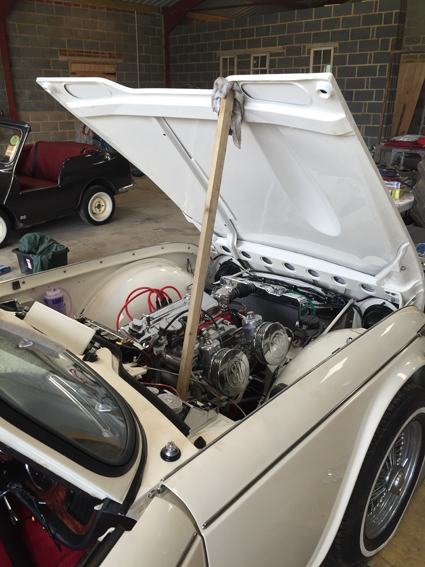
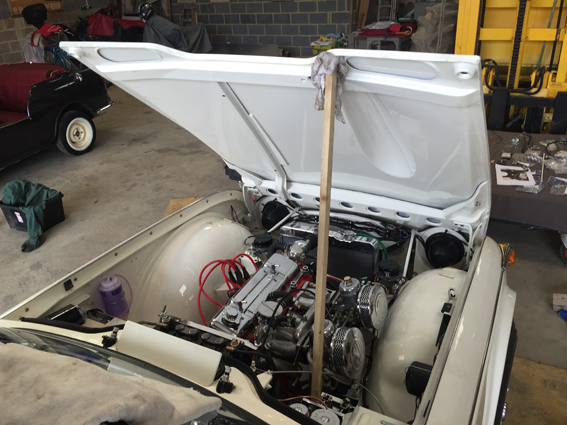
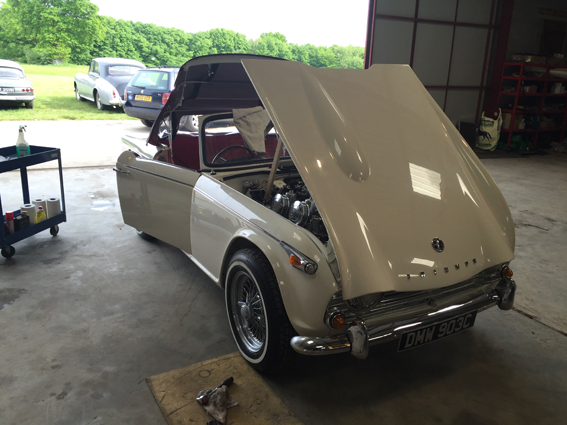
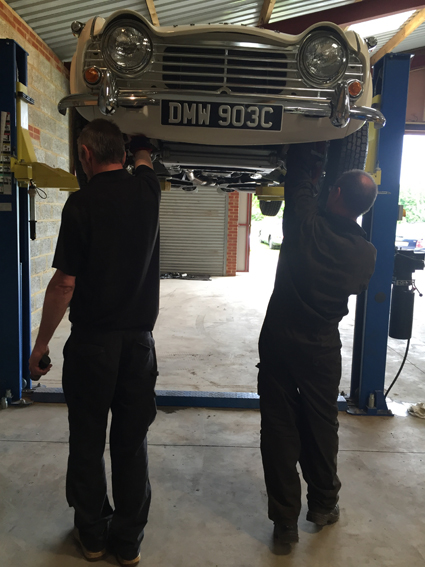
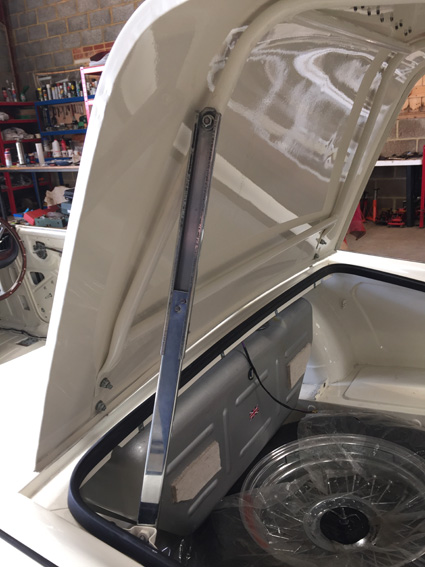
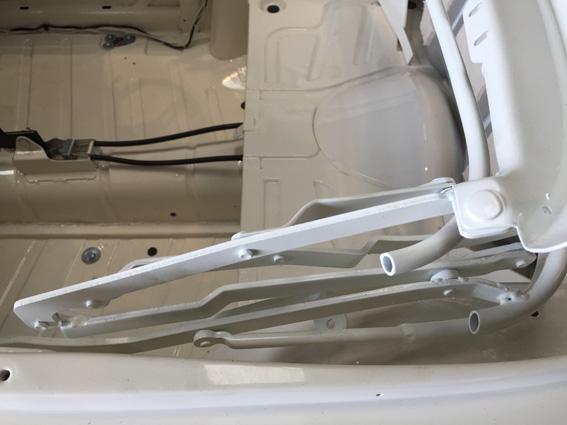
Triumph TR4A Bonnet / Hood Fitting
This job is a bitch!!!! There is quite a bit of adjustment on the hinges and trying to get it to all line up is a 3 man job. So while fitting we noticed that the gaps down each wing are not straight so we are going to employ a hydraulic ram to sort it - hopefully. Also, we a little fettling around the headlamp bulges.
Triumph TR4A Bonnet / Hood Catch - when they stick!!!
Whilst fitting the bonnet / hood it got itself stuck and w could not release it!!!!! It had a good cable on it and an 'Emergency Bonnet Release' should the cable ever brake. This was not our problem. The spring in the release catch was not returning. So, when the catch went in to the latch it sailed passed the catch mechanism and lodged itself under the catch and hole in the latch??? Make sense?? THOUGHT NOT!!! So, if your latch has an old spring through it away and buy a new one as no amount of cables and emergency release equipment will fix this problem.
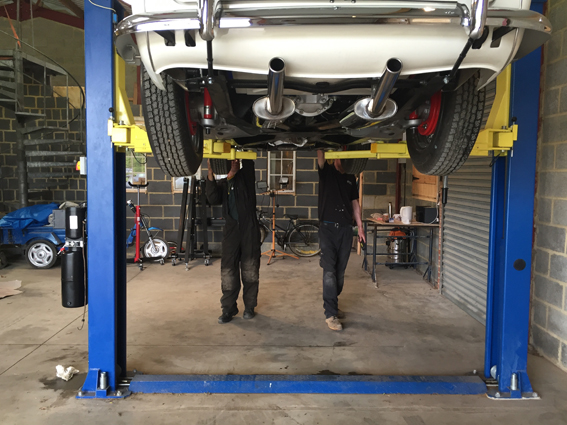
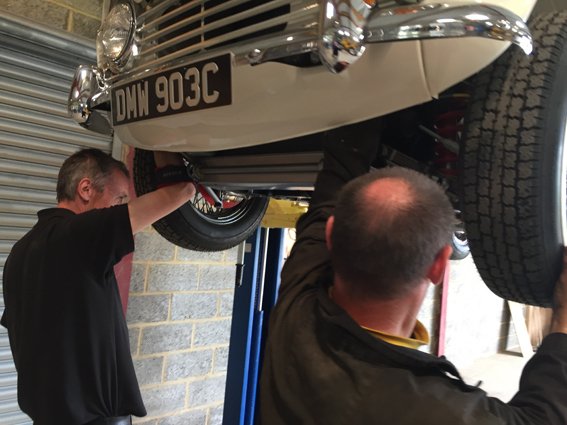
How to release a stuck TR4A Bonnet / Hood.
This will take time and it will need a couple of you and a ramp. Put the TR4A on a ramp and access the bonnet hinges from below and undo all of the bolts that hold the hinges to the body and the bonnet / hood. Once you have done this there will be enough movement in the bonnet to access the side bolts that keep the bonnet in place. Once they have all been removed you can gently jig the bonnet around and it should free up. If it is you catch that has locked then you can make a release out of very stiff dancing with with a hook on the end and pull the latch. You will need someone to hold the bonnet up for you and you'll also need a torch. It took 3 of us an hour to get the bonnet off. Needless to say we have ordered a new bonnet latch for the bulkhead. This is not a nice job to do and you do need help and a ramp.