Chassis Strip Down
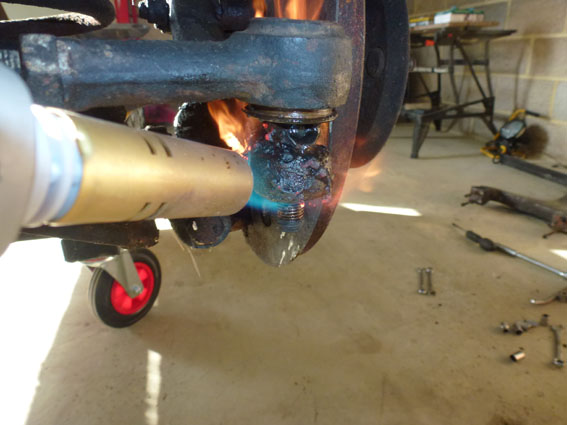
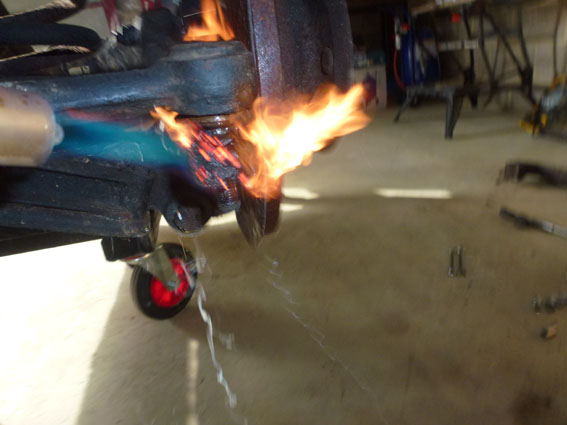
To strip down the donor chassis took about 8 hours in total. It could have been quicker but there were some rusted nuts and the track rod ends were going nowhere. I don't have any welding kit so I used a small burner that is more suited to getting a cracking crispy top on a creme brûlée. I also used a ball splitter - ideal for this job.
The only other tough task was removing the rear rubber stops as it was almost impossible to get a grip on them. In the end I cut off most of the remaining rubber and used an angle grinder to get the large washer off. This was a mission then trying to get it turning. The washer cracked off leaving a stud top that I managed to get a 10mm spanner on but it was so rusted getting any torque was also impossible. So, I went for the creme brûlée trick again and managed to get them both out. Rule to this job is be very patient indeed.
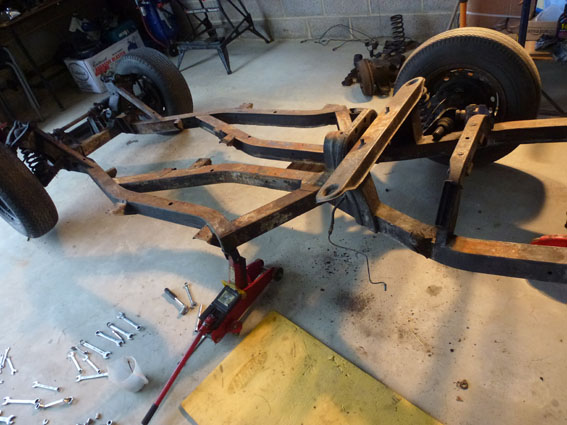
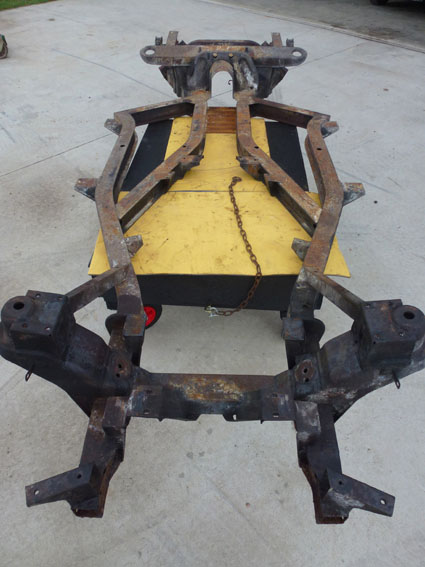
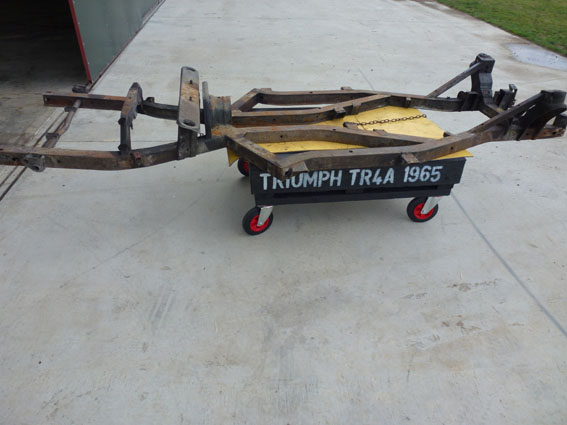
The chassis dolly has really proved it's worth. I got the chassis on it using a combination of the engine lift and 2 jacks. It made it so much easier to get the components off. Click on the pictures to see bigger ones with descriptions.
The only other tough task was removing the rear rubber stops as it was almost impossible to get a grip on them. In the end I cut off most of the remaining rubber and used an angle grinder to get the large washer off. This was a mission then trying to get it turning. The washer cracked off leaving a stud top that I managed to get a 10mm spanner on but it was so rusted getting any torque was also impossible. So, I went for the creme brûlée trick again and managed to get them both out. Rule to this job is be very patient indeed.
The chassis dolly has really proved it's worth. I got the chassis on it using a combination of the engine lift and 2 jacks. It made it so much easier to get the components off. Click on the pictures to see bigger ones with descriptions.


Removal sequence
1: Removed most of the brake lines and junctions.
2: Jacked up chassis at rear and removed nearside rear suspension and trailing arm assembly
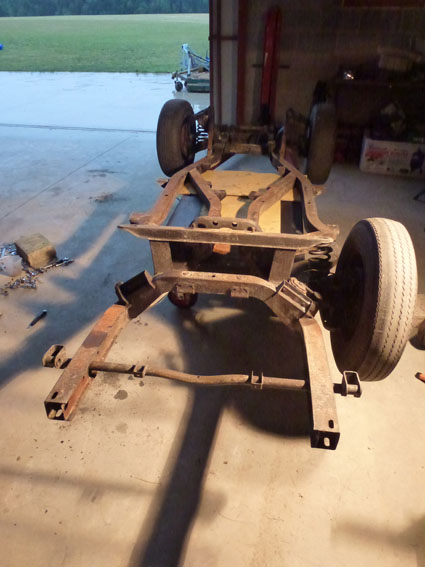
3: Lifted chassis and placed on chassis dolly
4: Removed all remaining wheels
5: Removed remaining rear suspension and trailing arm
6: Removed radiator guard
7: Unbolted steering rack
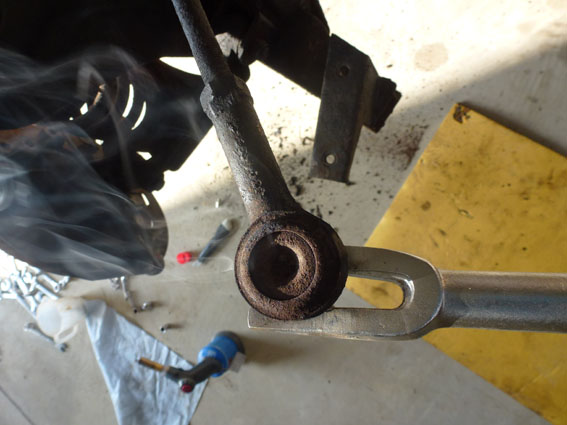
8: Heated and split off track-rod ends both sides
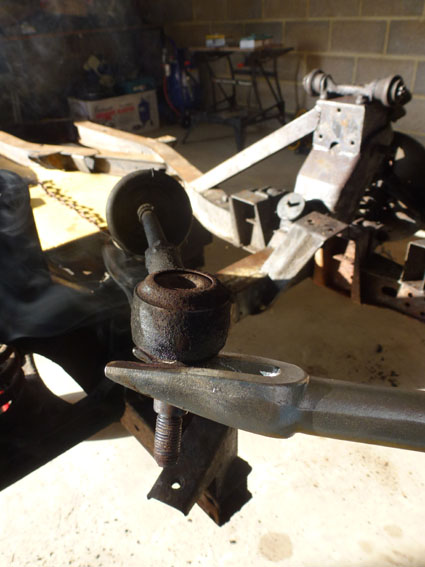
9: Removed front suspension, wishbones and shocks both sides
10: Removed the 2 engine mounts
11: Removed a single stud at front that must have got missed
12: Removed rear rubber stops - Used heat gun.
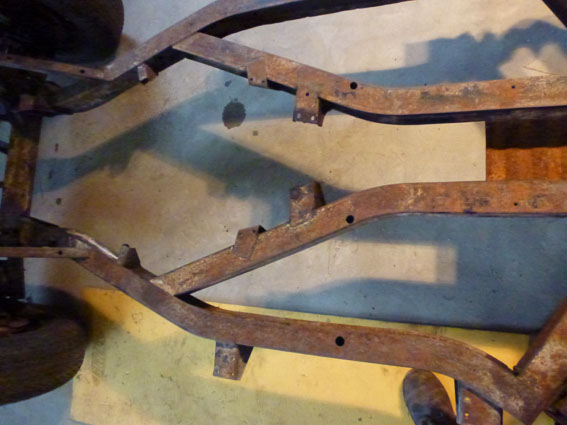
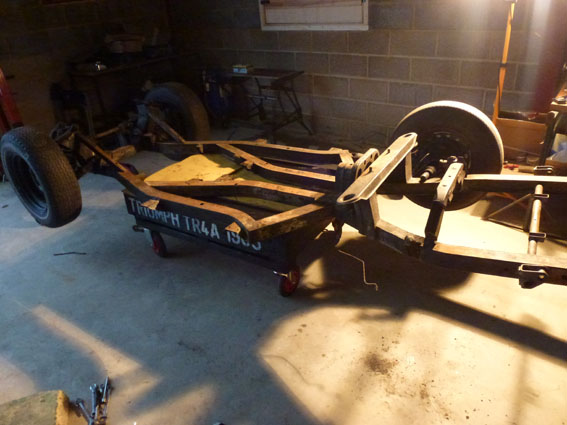
13: Brushed Chassis down
14: Cleaned up workshop
2: Jacked up chassis at rear and removed nearside rear suspension and trailing arm assembly
3: Lifted chassis and placed on chassis dolly
4: Removed all remaining wheels
5: Removed remaining rear suspension and trailing arm
6: Removed radiator guard
7: Unbolted steering rack
8: Heated and split off track-rod ends both sides
9: Removed front suspension, wishbones and shocks both sides
10: Removed the 2 engine mounts
11: Removed a single stud at front that must have got missed
12: Removed rear rubber stops - Used heat gun.
13: Brushed Chassis down
14: Cleaned up workshop
