Painting the Chassis
|
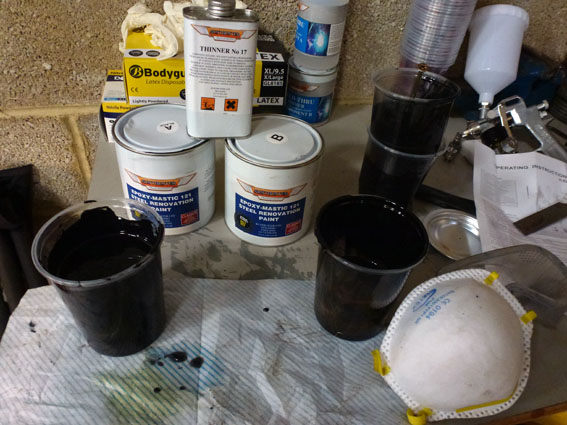
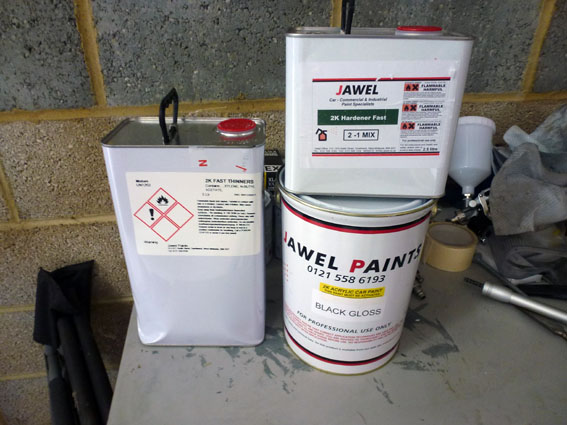
The plan is to rustproof then use 2 pack paint. You can check out the page 'Chassis Paint Treatment' for the products I will be using in detail. There was a race against time to get the rustproof treatment on after blasting before the chassis started rusting up again. It only takes hours for a ginger layer to start appearing. Wearing latex gloves helps to stop the moisture from your hands marking the bare steel.
On the right you can see the 121 rustproof treatment. It is applied in a mix of one to one (Hence the name) with about 5% No.17 thinners. It goes on well if not a little on the gloopy side. The chassis was suspended in the air and tilted to paint the underside. It's quite hard to see if you have missed a bit but thankfully using a torch for a close inspection highlighted any areas that needed attention. The paint process will be three stage. 1: Rustproof. 2: 2 pack paint treatment.3: Dinitrol the internal box sections. |
|
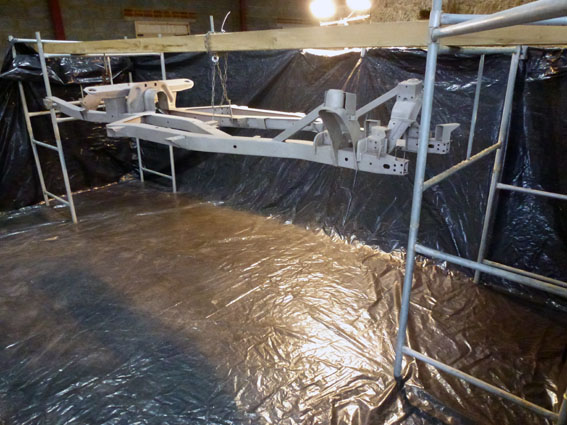
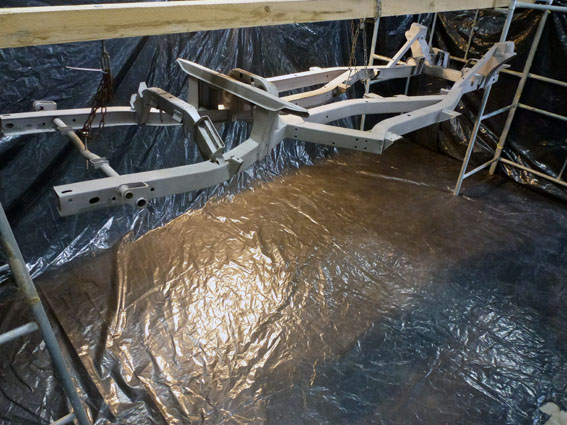
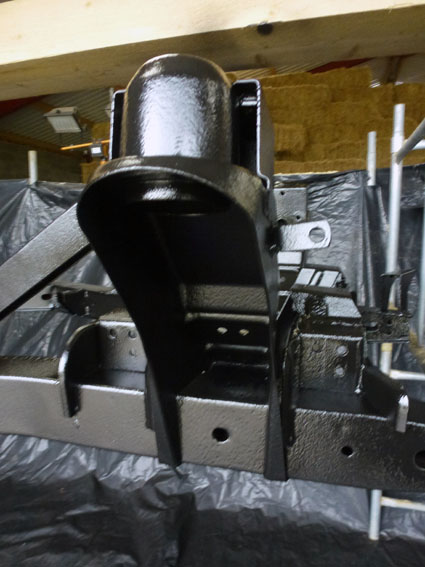
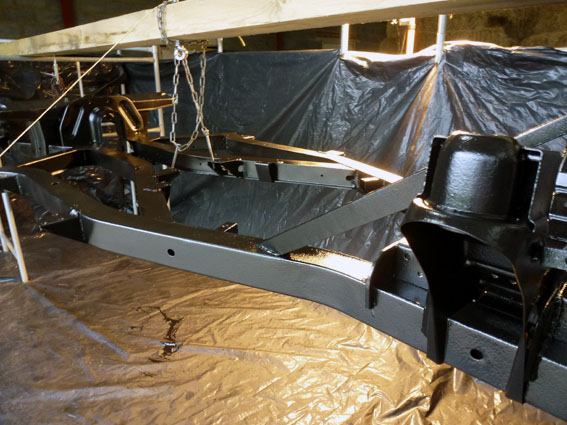
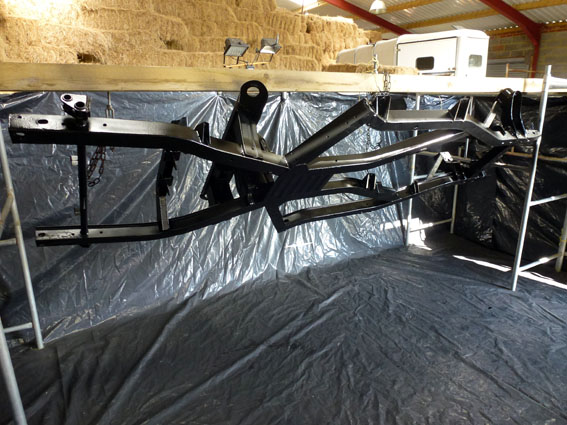
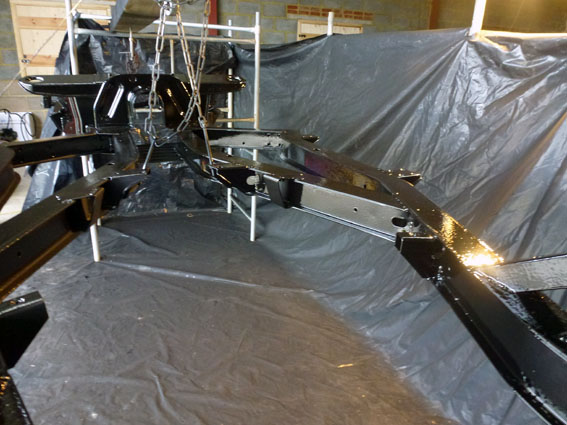
The Chassis Ready To Be Painted
|
|
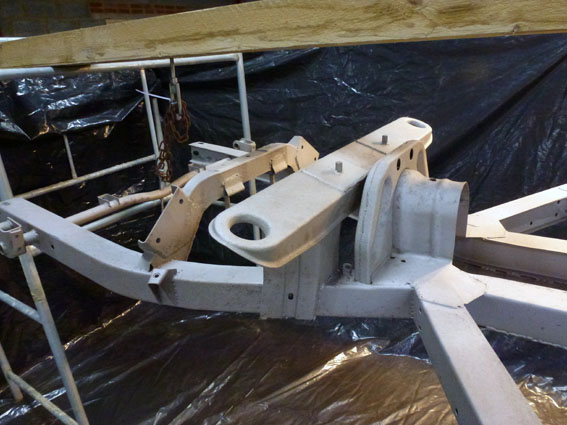
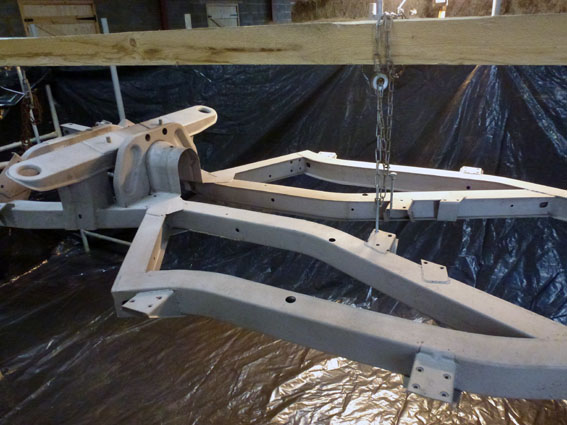
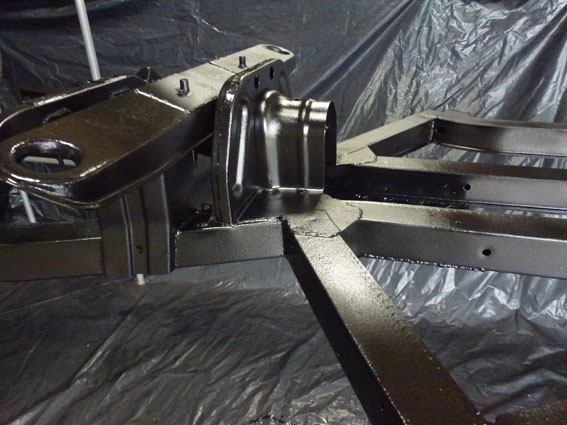
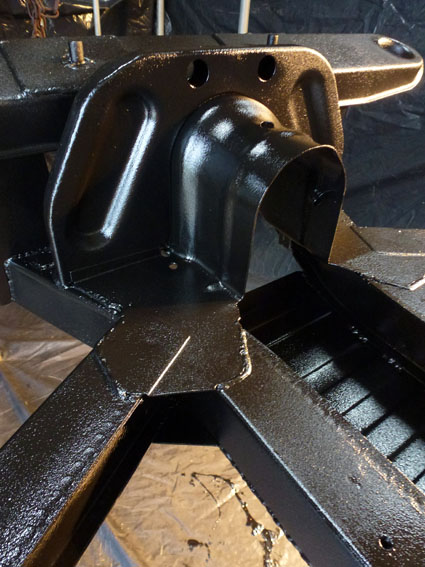
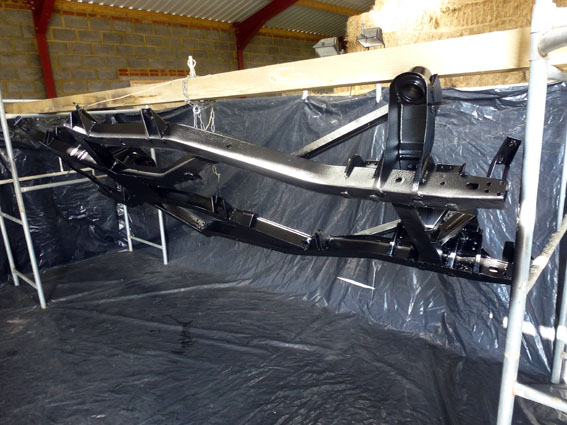
STAGE 1: The Chassis Painted with 121

|

Next stages are 2 pack then Dinitrol the boxed in sections to rustproof the internal parts of the chassis. The cunning plan is to you a mastic tape over some of the holes so the Dinitrol does not shoot out over the fresh paintwork coating it in wax. Bit of an experiment but we'll see how we go.
Below, I have included the Video Diary clip that relates to the Chassis prior to painting. In the pictures above the paint was still wet. It should dry to a satin finish. The manufacturers say it is an ideal base coat for 2 pack - we'll see!
|
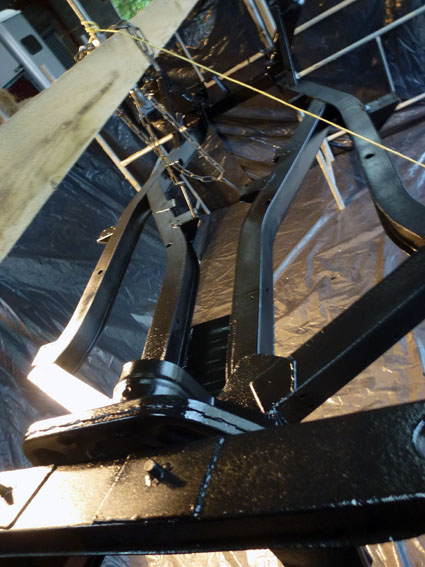
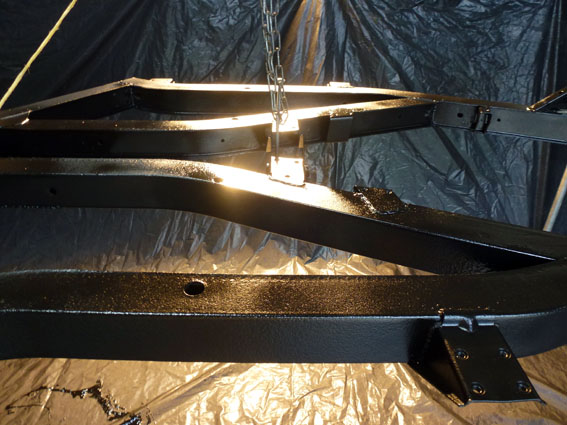
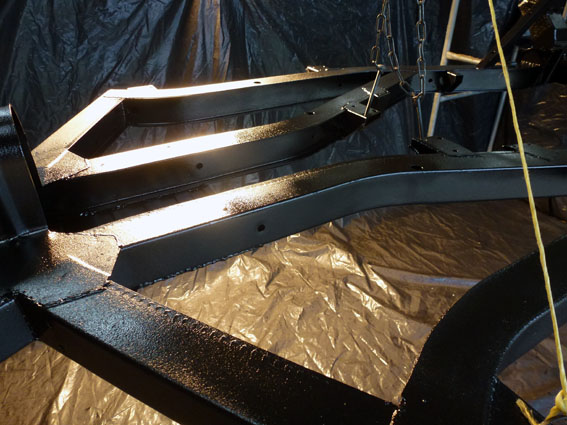
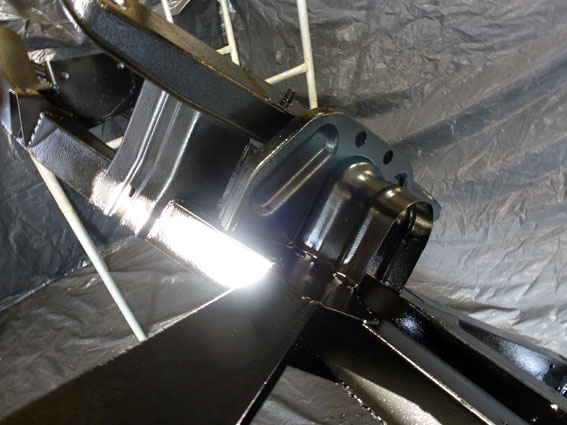
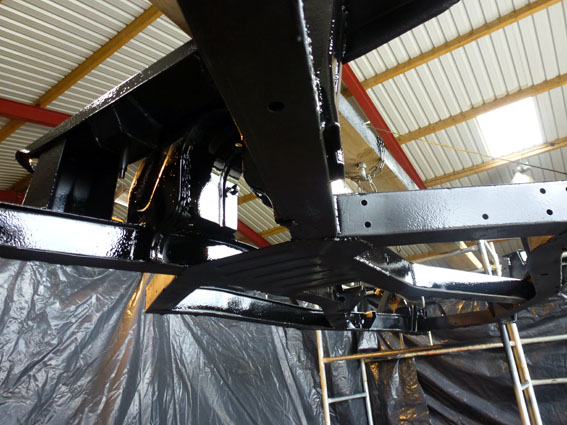
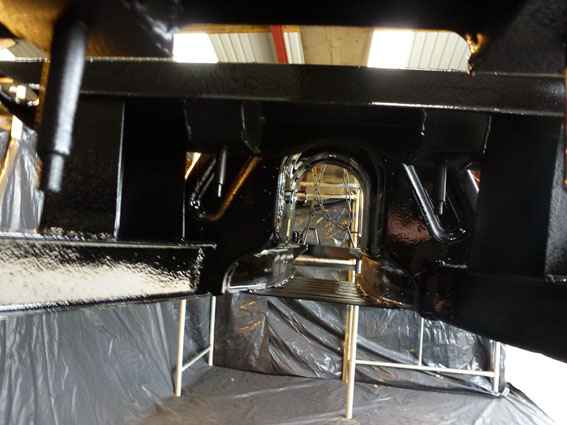
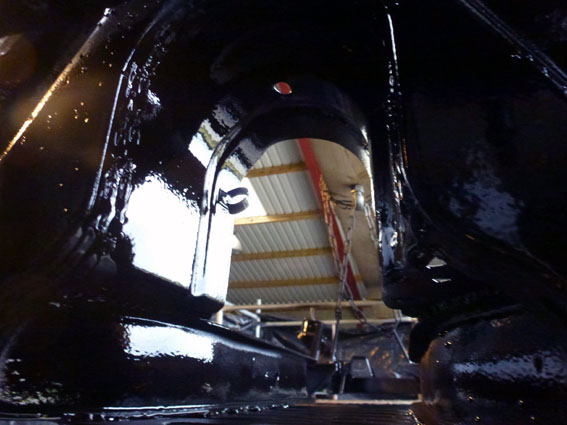
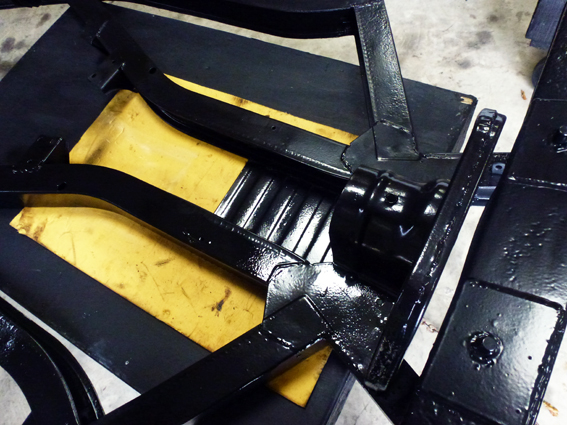
Stage 2: 1st coat of black gloss 2 pack
The gloss 2 pack was mixed 2 parts paint to 1 part hardener with 10% thinners for flow. It goes on a lot easier than the 121 epoxy. The plan is to let the first coat go off and dry, touch up the difficult areas to reach with the spray using a brush then apply the second coat. If it needs it a third coat will be applied but this may be confined just to the areas that face the road surface directly. Pictures below are when the paint was still wet so it has a satin appearance.
|
|
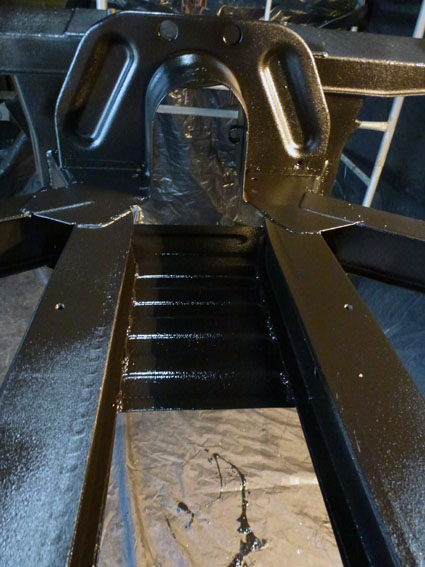
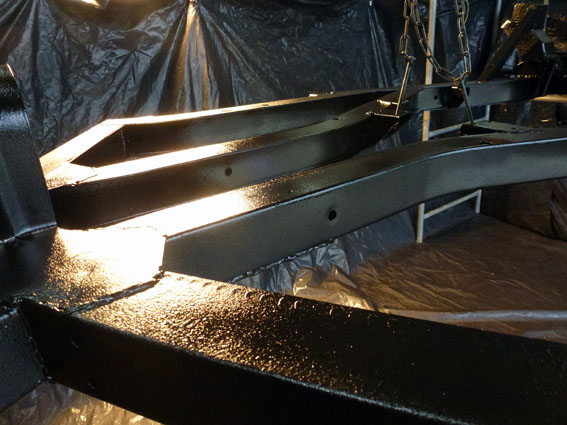
Stage 2a: Additional coats of 2 pack paint
|
|
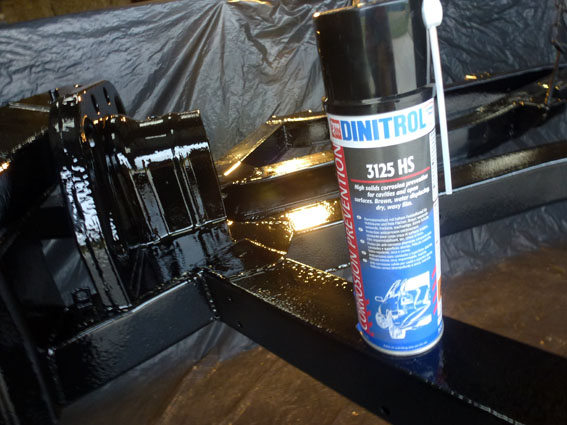
Stage 3: Dinitrol - Applying a layer of wax in the internal box sections of the chassis
|
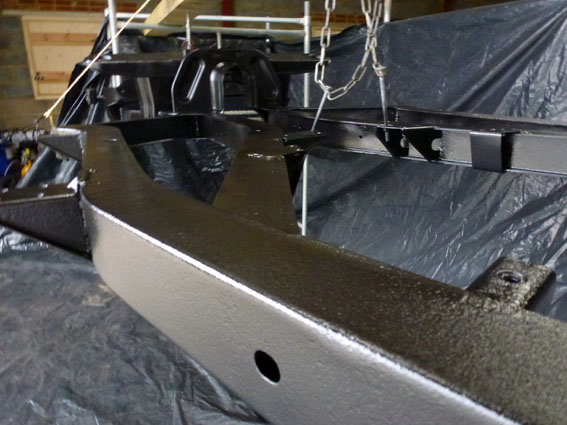
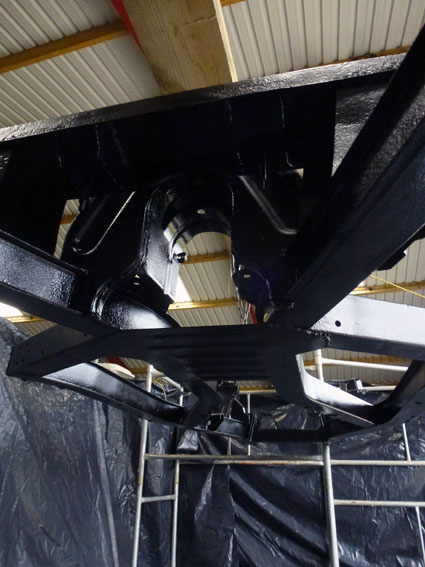
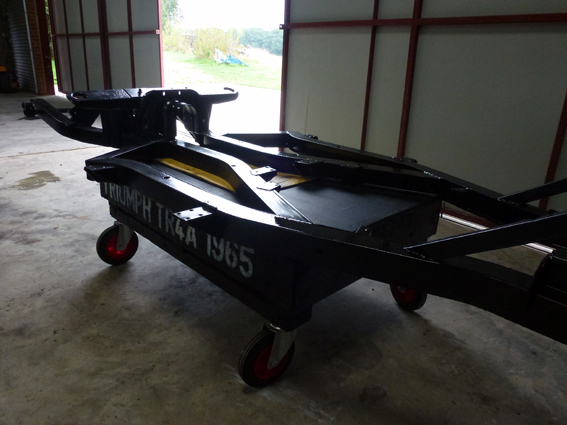
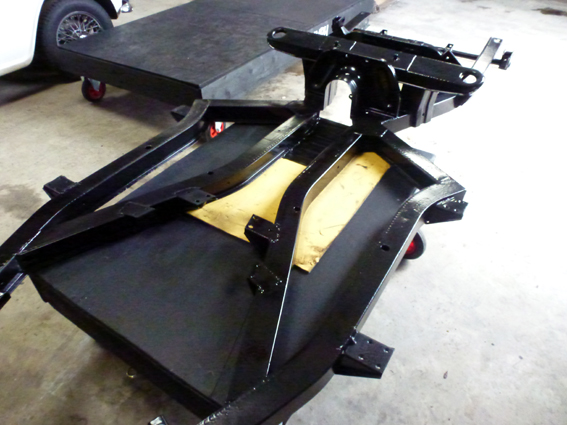
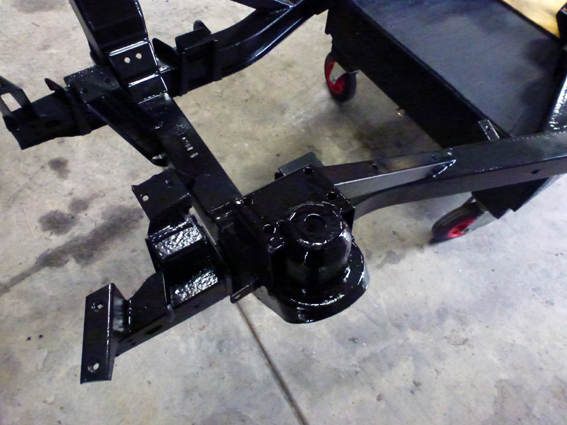
The finished chassis. It will be polished and cleaned before the body is fitted.
Chassis FlexShot this small video to show the extent of the flex in the chassis and why we needed to replace/fix the chassis. The door gap is the starting point of the flex. With a jack on the chassis you can see with every pump of the jack how much flex there is as the door gap gets much wider. When the jack is released you can see it go pack to the original resting point. Over half an inch of flex and then you have to add on the gap caused by the flex/distortion at resting point. In total nearly an inch and a half??
|
|
