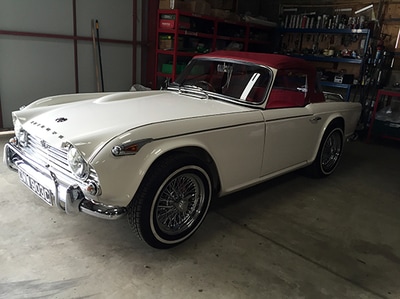
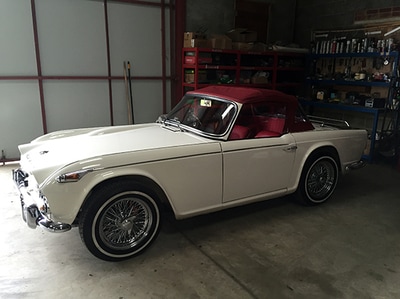
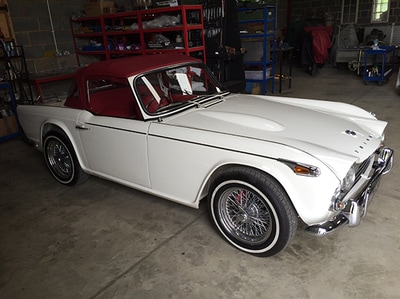
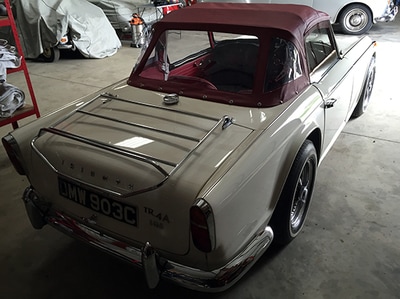
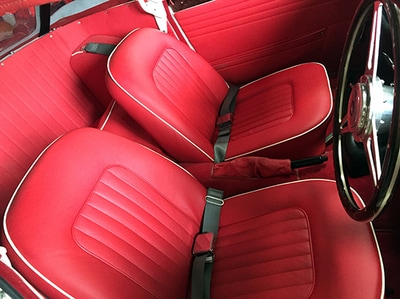
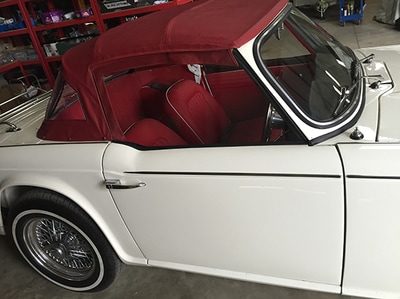
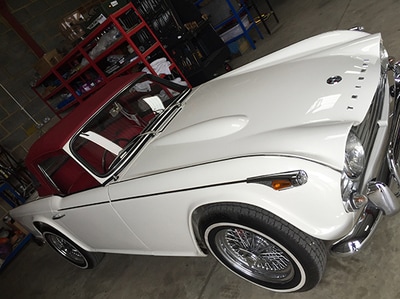
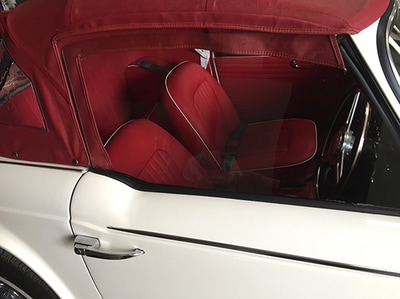
Living with a Triumph TR4A
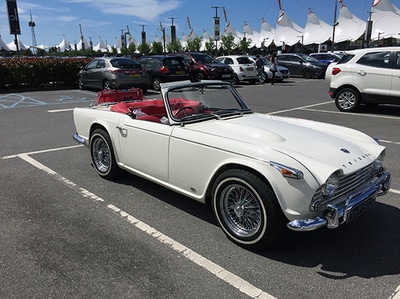
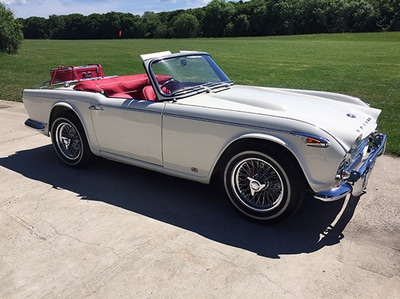
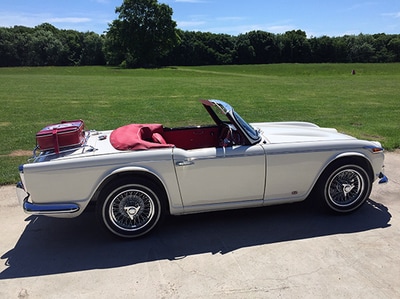
This page features our new TR and now we start living with it as a family member. The truth is that we have had ownership in some shape or form for the last 26 years (2016). Here you'll find the car shows, maintenance, daily running and anything else.
|
The wedding of John & Sian Dillon June 4th 2016
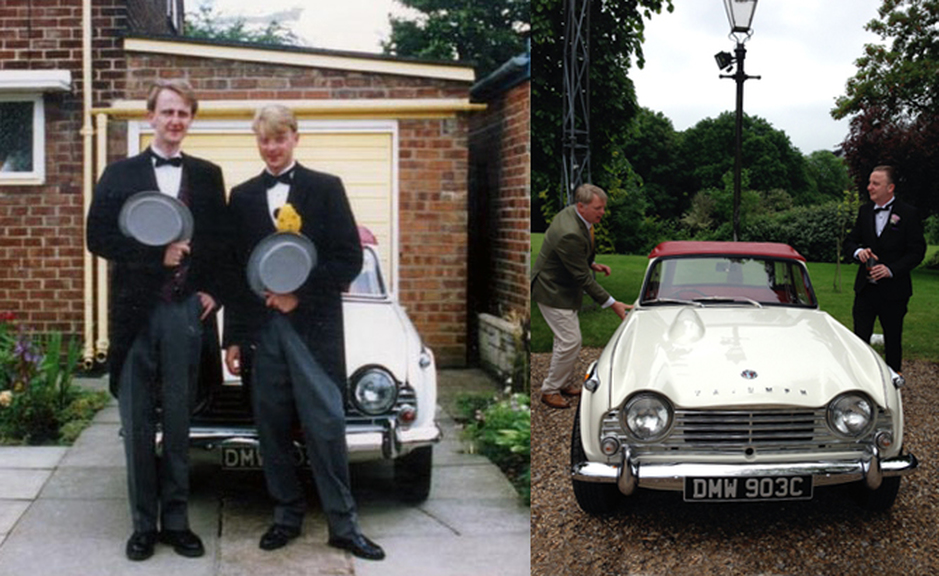
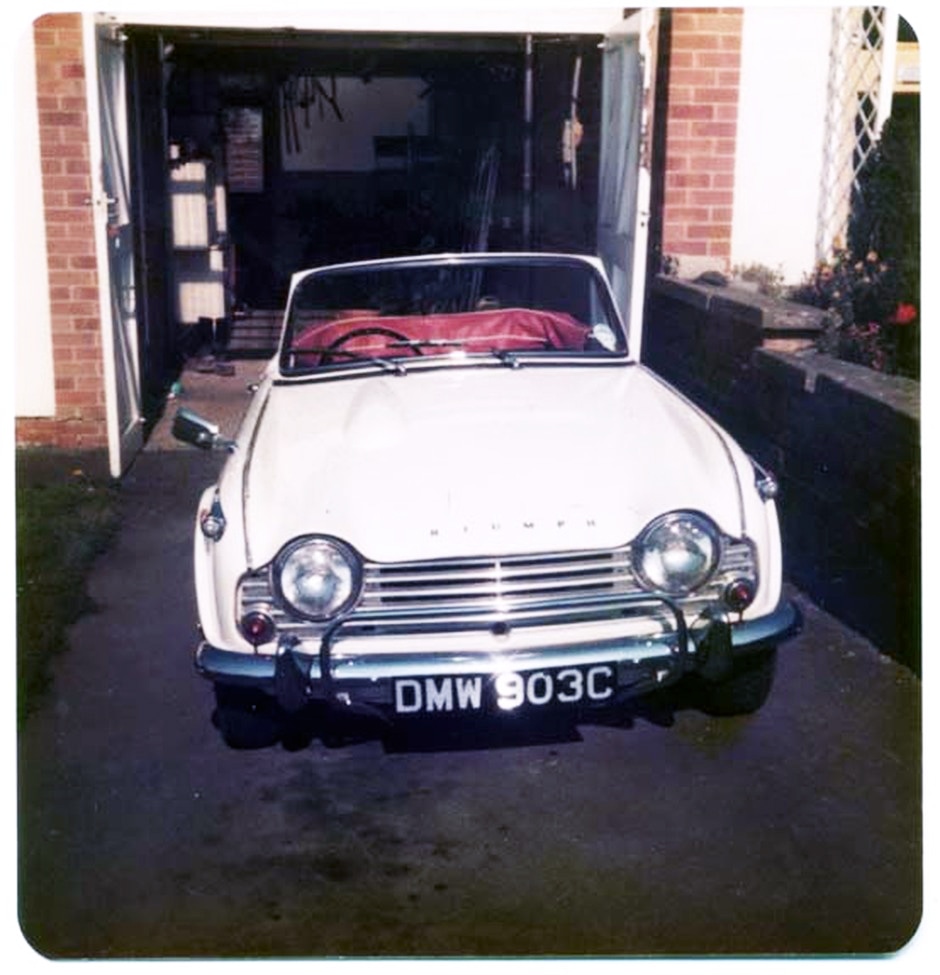
Johnny and I met when we were 16 and have been friends ever since. The deadline to complete the restoration of our TR4A was geared by his wedding on the 4th June 2016. On my wedding morning, the picture on the left was taken 23 years prior to the picture on the right. Same TR, same guys at our respective weddings.
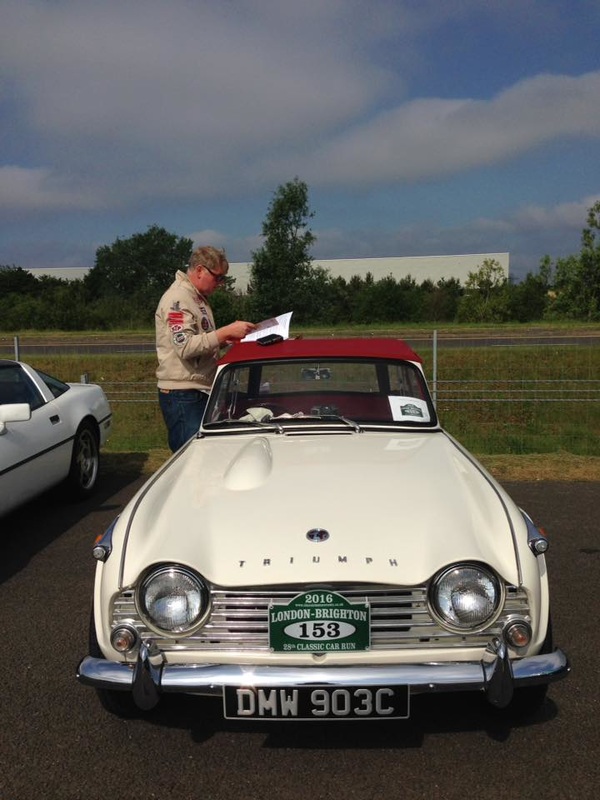
June 5th 2016 London to Brighton Classic Car RunThis is one of our favourite classic car events as all different marques are involved. The picture on the right shows me (Paul Anderson) checking out the rules and regulations and the navigation maps. The run usually takes you to a place of interest like a stately home. You stop for a while have a look around and then make your way to Brighton where all the cars park up on the sea front and the general public can take a look at the cars. This year, 600 vehicles were involved. They run it alongside the Kit Car event so plenty of replica AC Cobras on show.
|
The video on the above left was taken from a bicycle by my sister-in-law. This is our TR4A on Madeira Drive in Brighton. This stretch of sea front is quite famous for speed trials and is a petrol head Mecca.
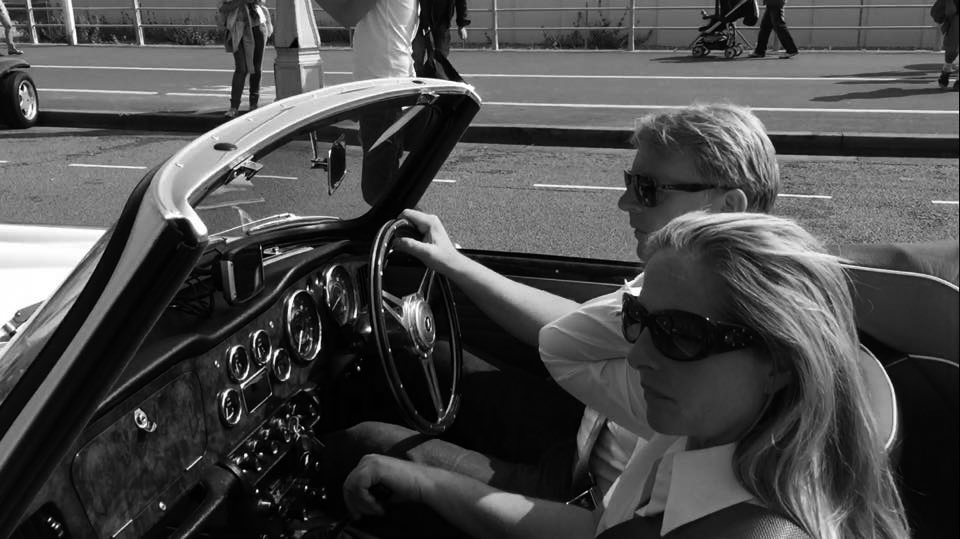
I thought the picture of Susi and myself in the TR4A below, also taken by our Sister-in-Law looked like an old French film poster, so I turned it in to one for fun. . |
Tracking and a small exhaust issue June 2016
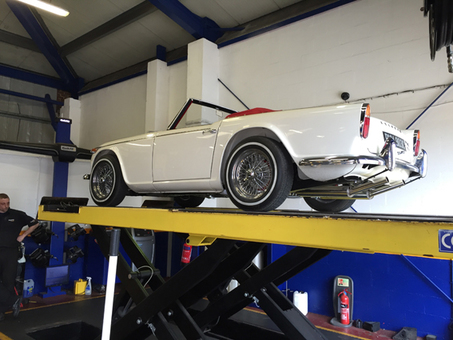
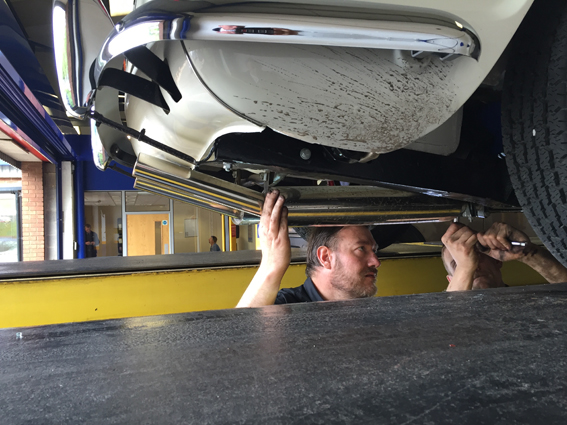
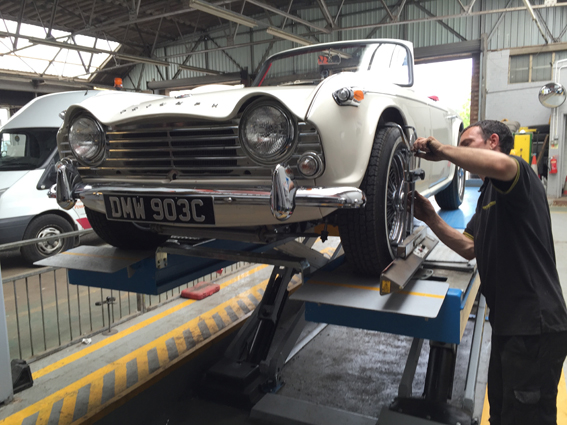
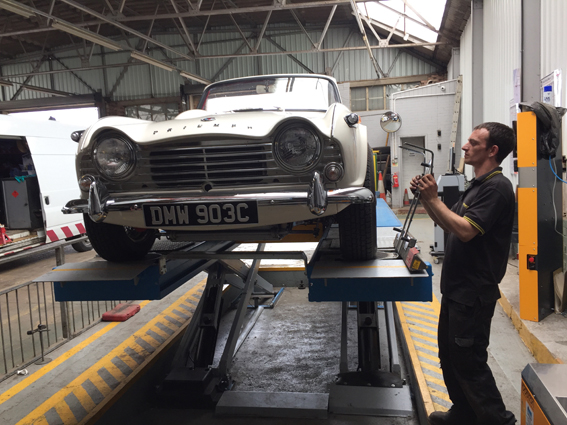
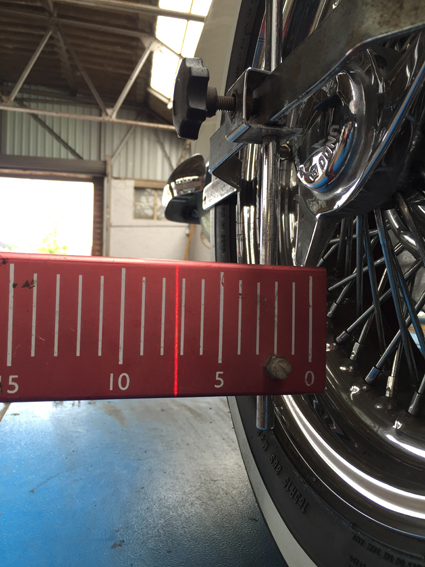
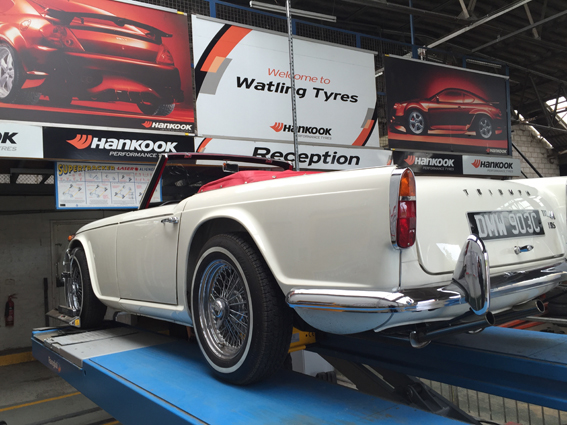
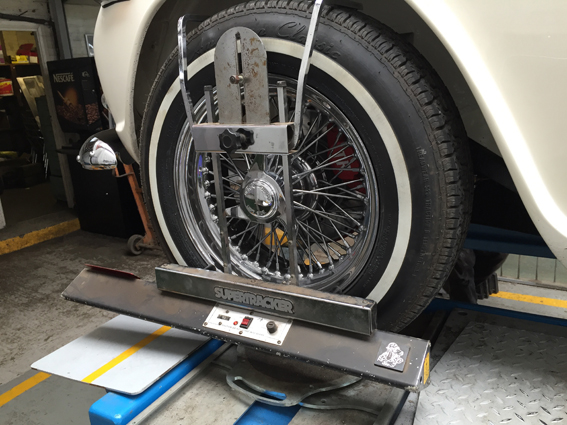
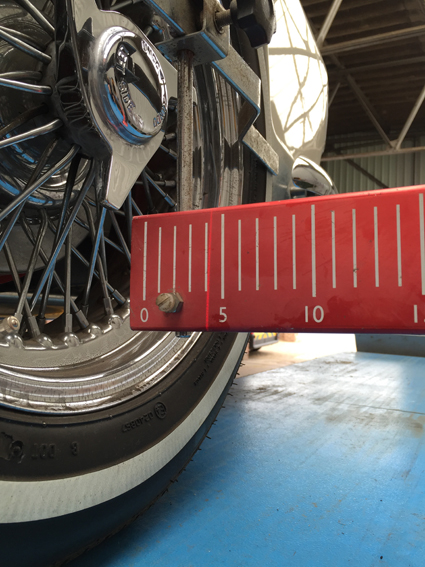
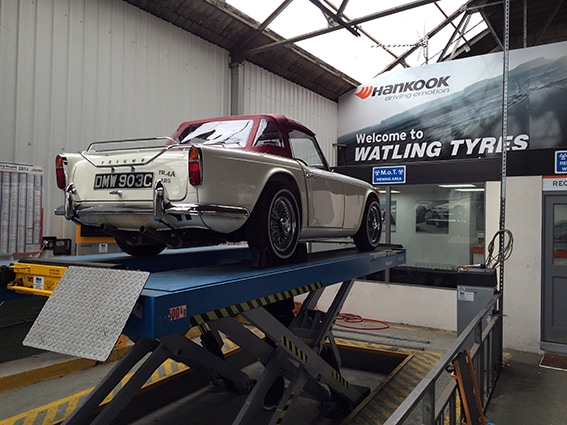
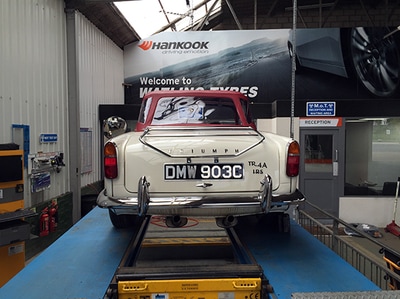
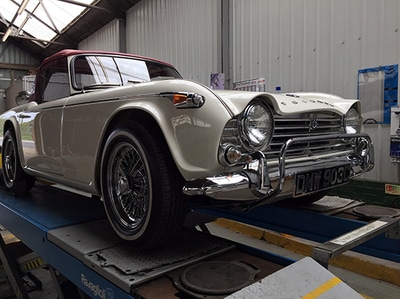
On the London to Brighton Run I took a wrong road and it turned out to be a dead end. I reversed up a kerb as it was all the room we had and I dislodged one of the silencers. Loved the noise :-) So, whilst I was picking up a wheel for my wife's car and getting a tyre on it I had the guys sort my the back box. You can tell the tracking needs doing by the tyre squeal going around corners. Makes it sound exciting like an old cop movie but not great for wear and tear on your rubber. The exhaust was sorted at KwikFit and the tracking was sorted at Watling Tyres. You need someone with the older style laser tracking for a TR as KwikFit do not have the data for their system.
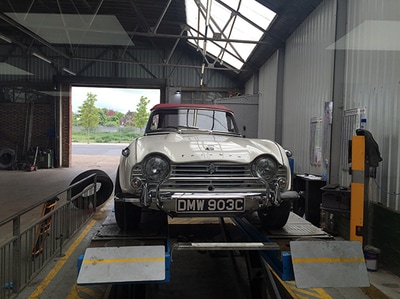
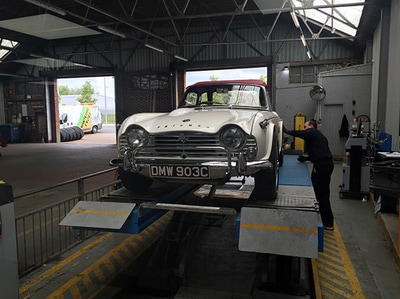
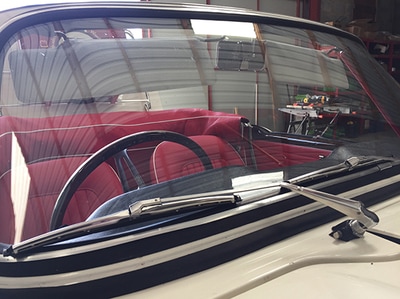
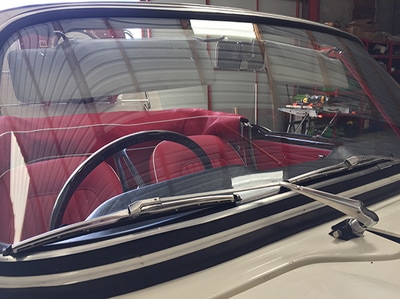
The pics above show how much the tracking was out. Now both sides read 7.5 and we have a steering wheel at dead centre.
Drawing a crowd |
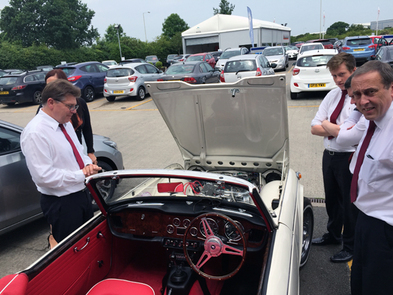
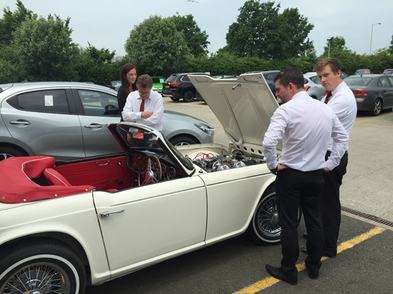
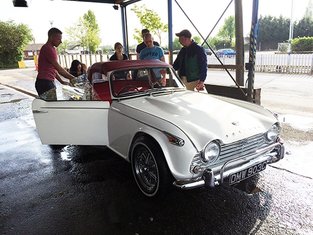
The TR is a crowd puller. one of these chaps offers me his wife in exchange for the TR????
|
So, the oil leaks start to show |
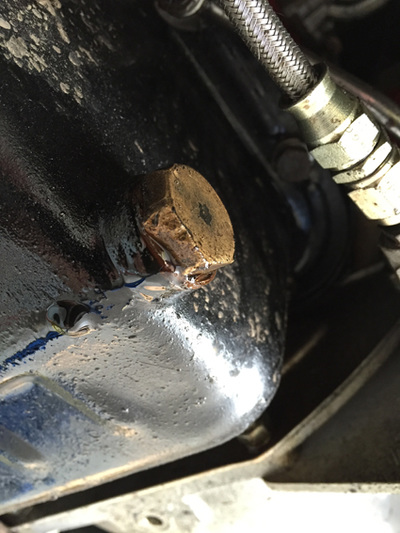
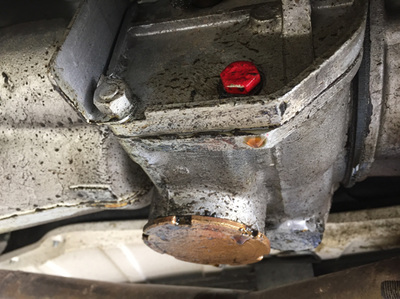
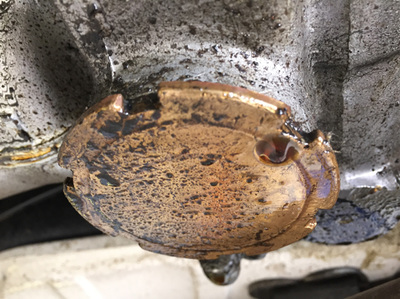
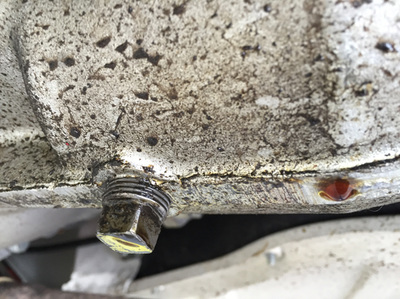
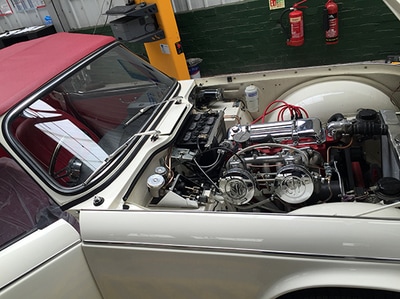
The oil purlator seal, the sump drain, the gearbox drain have all developed a little weep! Pleased to report this was resolved by a sump drain seal washer and a tightening up of the odd bolt.
|
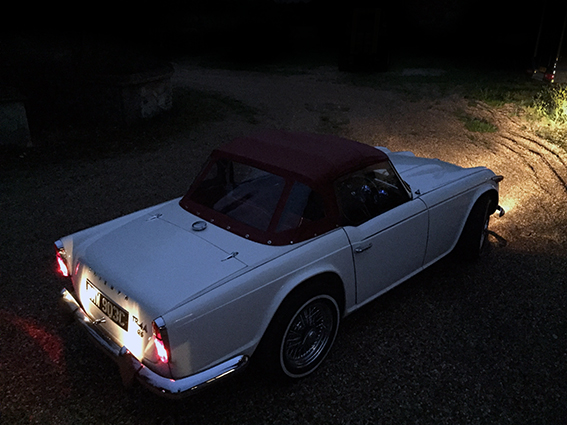
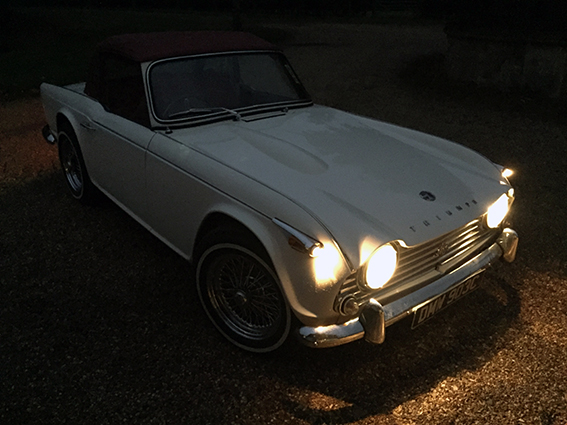
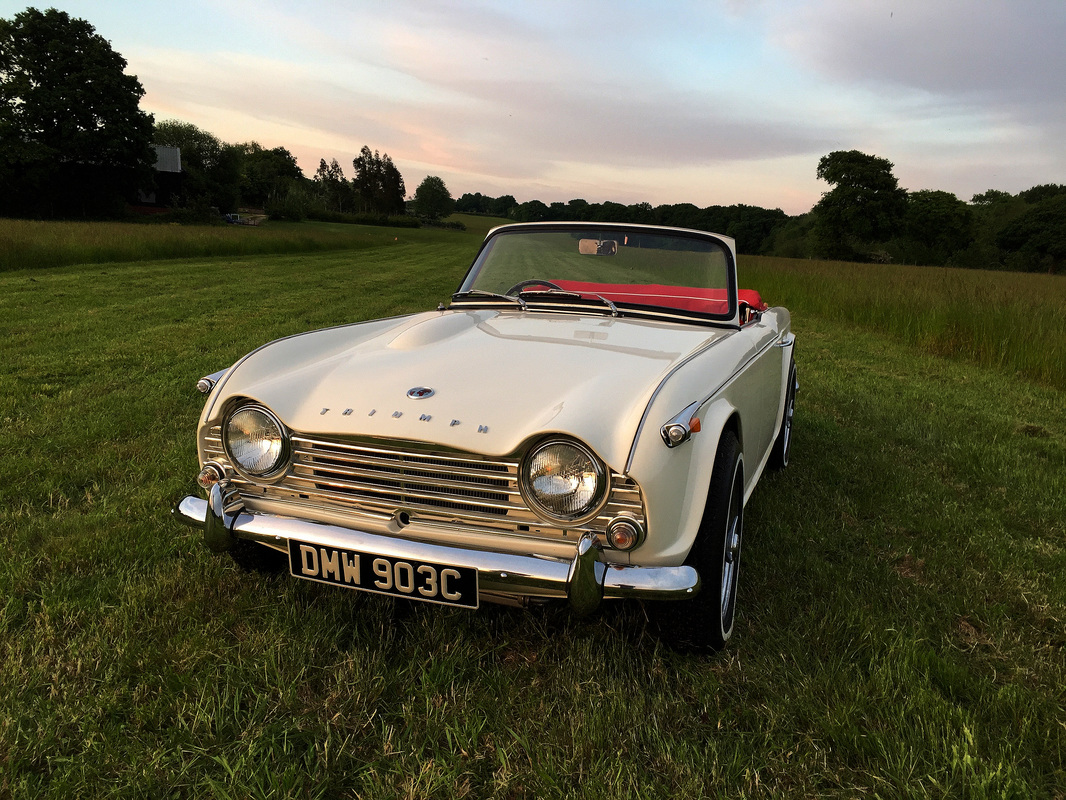
A couple of evening pictures September 2016
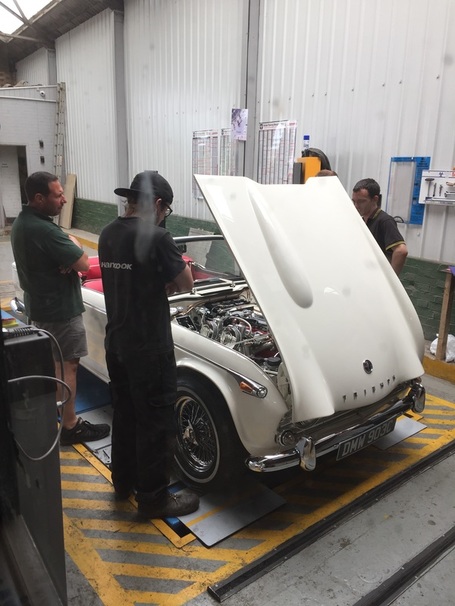
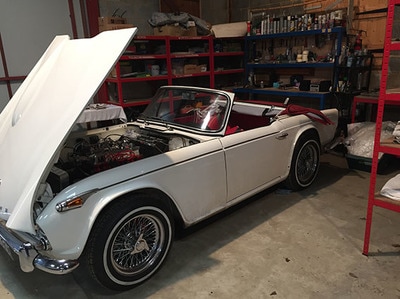
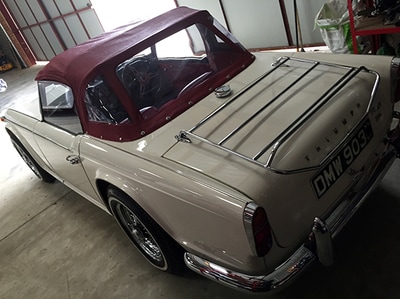
The engine is running in nicely. At the time of writing we only have 2500miles to go before we can get the car on the rolling road to test the BHP. Pictures show DMW 903C after a trip to London. I drove the TR back to road it lived on for many years. Felt strange being back there!
Using the car as daily transport / a summer of fun
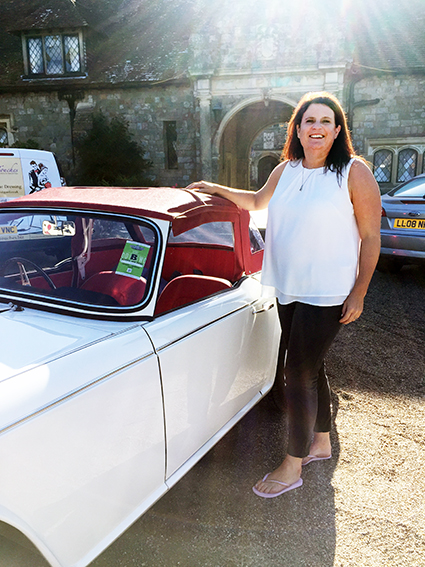
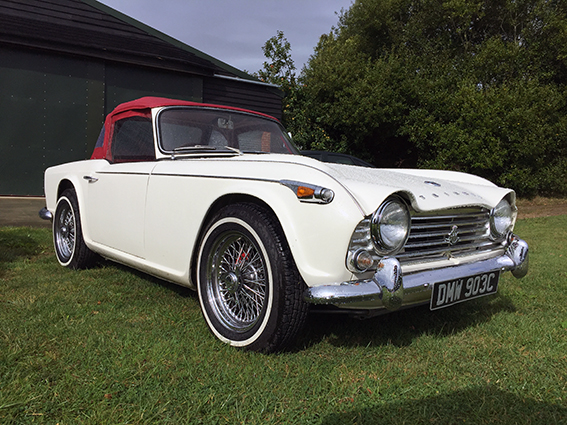
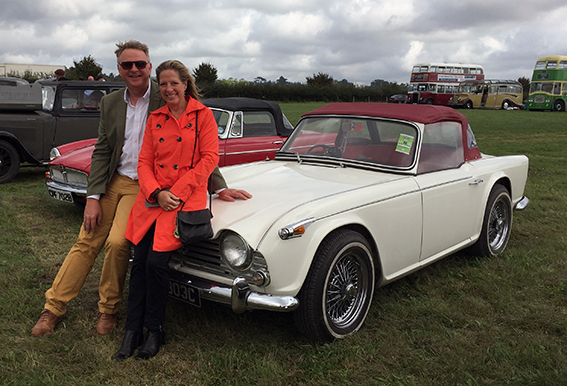
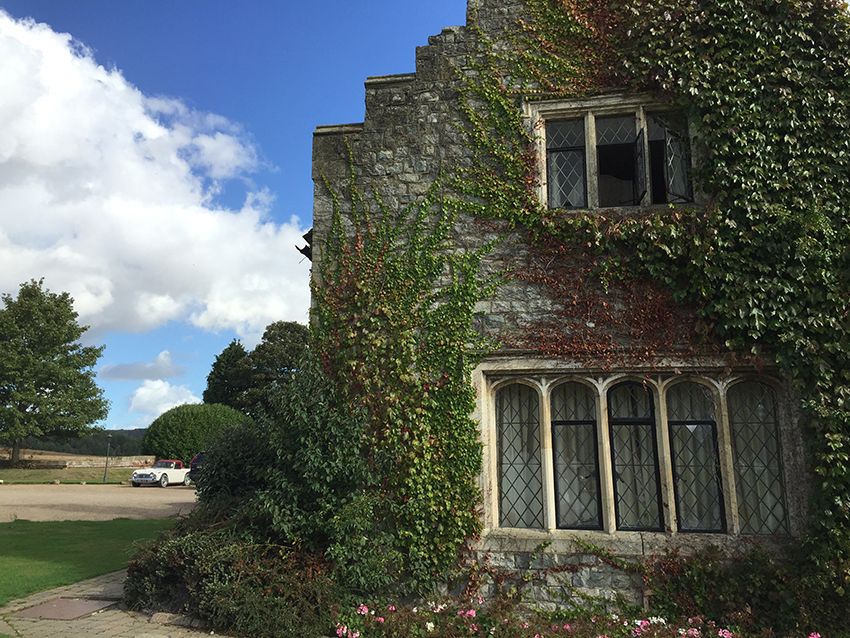
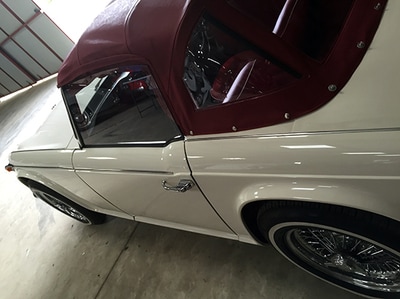
Well, it is summer / September actually and better than our summer! Using the TR4A on a daily basis to run around is great fun.You really enjoy heading off to the next place and hooking up with friends. Pictures below show the TR4A DMW 903C on a little Jaunt to Eastwell Manor in Kent. in the workshop, at the Goodwood Revival and many more. Having the TR4A back on the road has meant life has changed a little as we get to go out in it all of the time. Great fun and we are always looking for excuses to head off - a real friend of the family has returned:-)
|
Good friend Claire after a spin in the TR4A
Rainy/sunny day in September at Tiffenden Airfield, Kent
Good wood Revival 2016 in the car park - the best place to see cars!
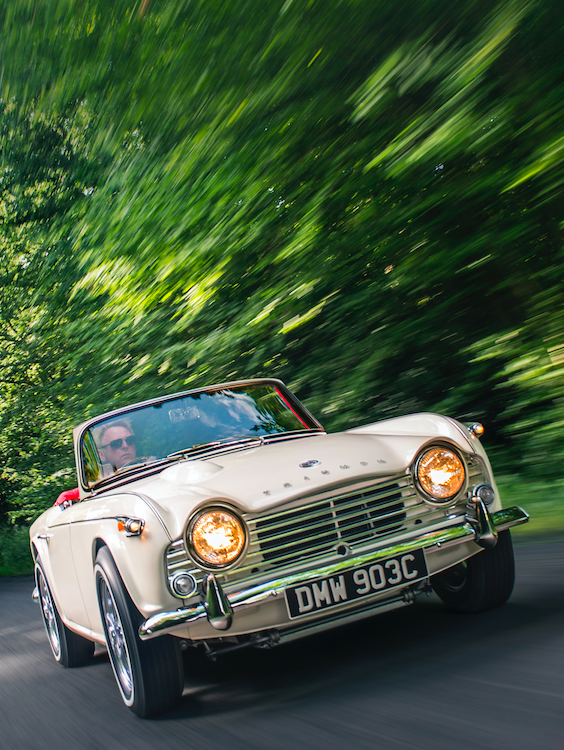
One of the pictures from the Practical Classics photo shoot.
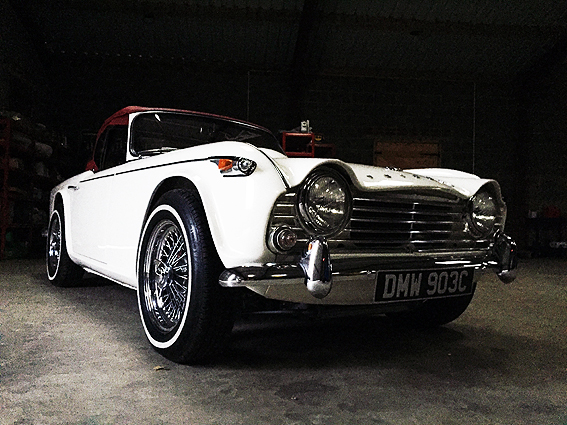
The TR4A in our workshop ready for a night out!
Early evening at our local pub!
Just after rebuild at Tiffenden Airfield, Kent. In the low sunlight.
|
Parked up at Eastwell Manor in Kent
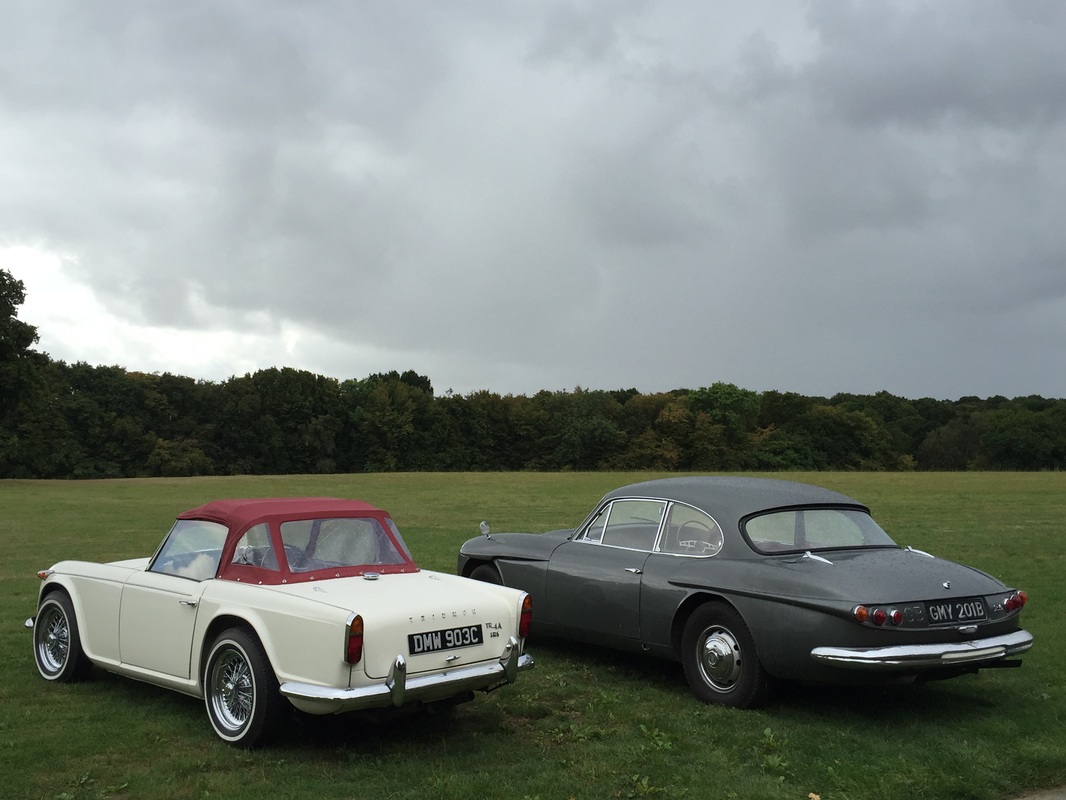
Parked up at Tiffenden Airfield, Kent alongside our Jensen C-V8
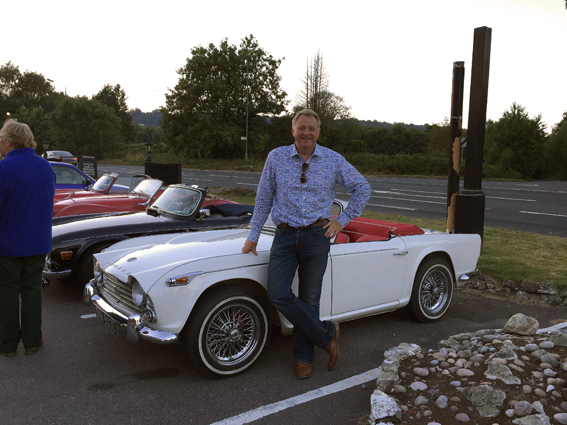
At the TR Register regional meet in Kent - new shirt!
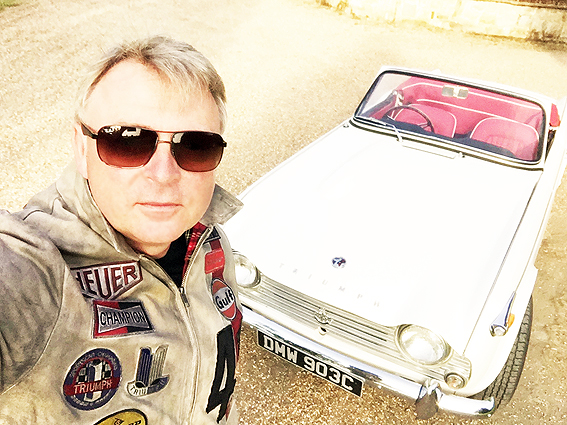
Quick selfie before heading off to a local car event
The view of our TR4A from my daughters bedroom window!
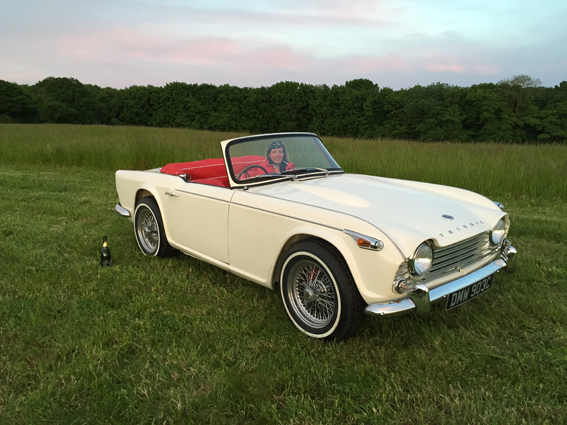
Champagne for the first day our TR4A was legally back on the road!
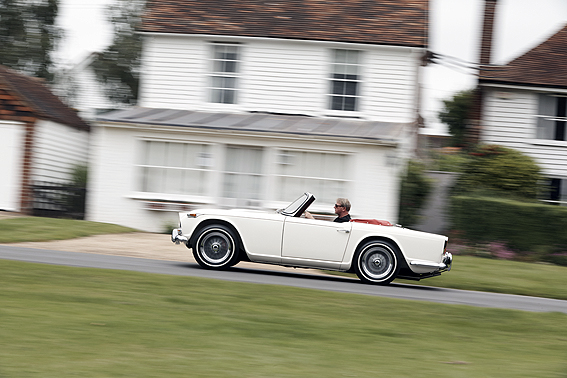
Driving through our local village!
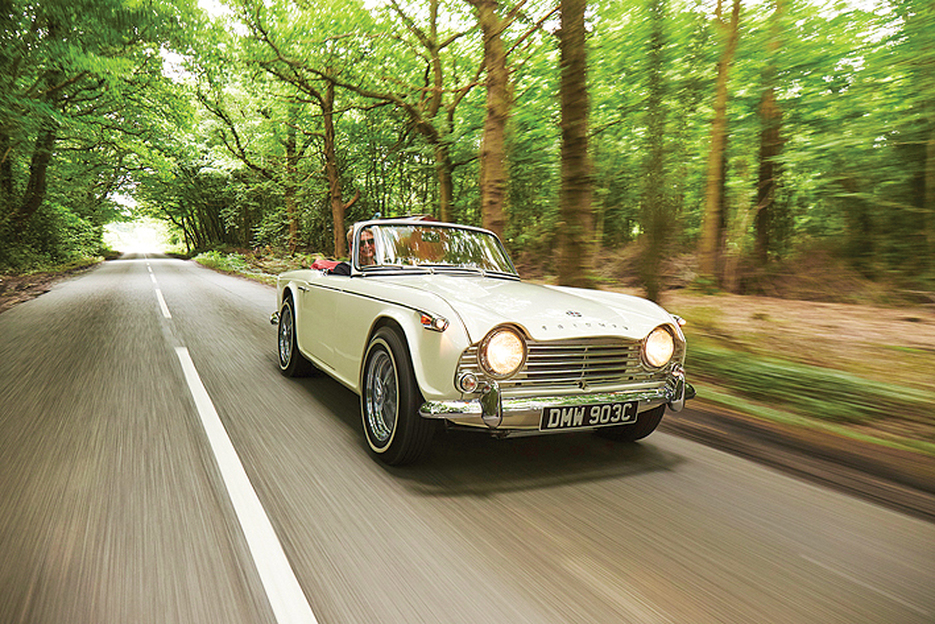
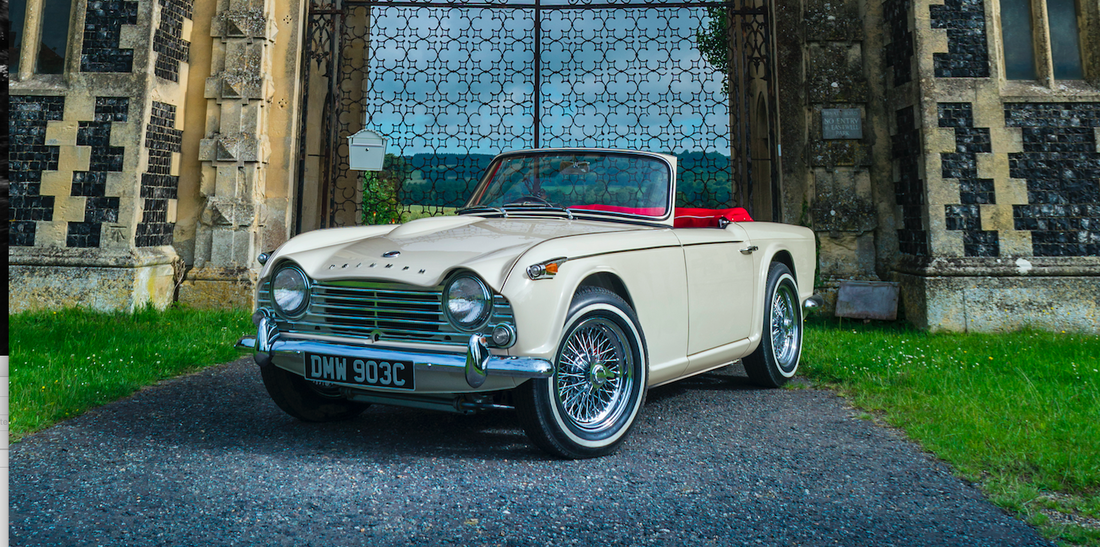
The large pictures belowThe first picture was taken by Matt Howell for Practical Classics and featured on the inside spread of the October issue 2016. It is lo-resolution here. The picture below that was taken by Rana Dias at Eastwell Manor Gates in Kent. The Rana Dias pictures were featured in TR Action magazine, number 293 celebrating a TR4A Special Edition.
|
Picture Matt Howell for Practical Classics magazine.
Picture by Rana Dias for TR Action magazine
|
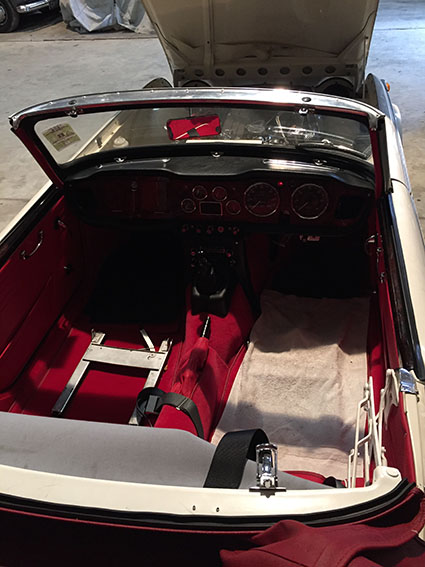
Pictures below show the ongoing repairs: February 2017.
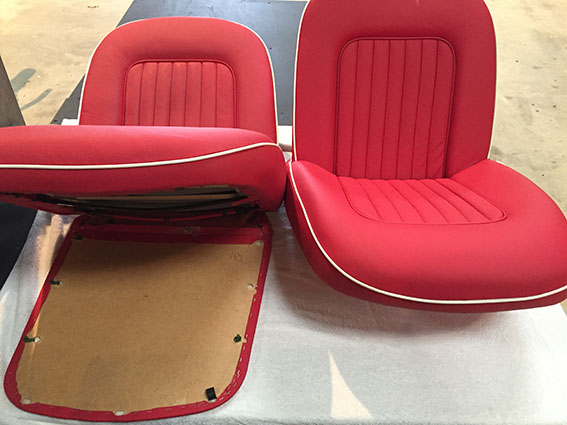
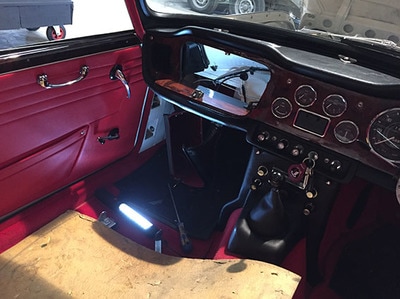
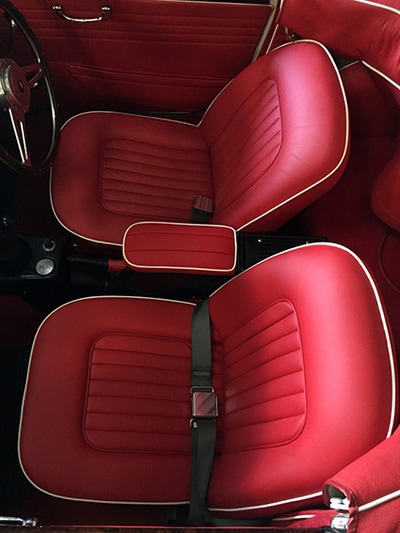
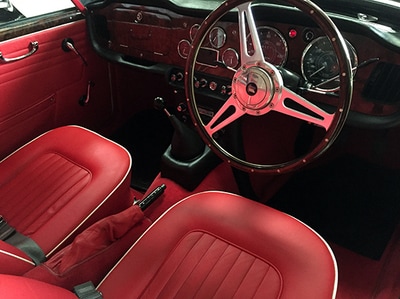
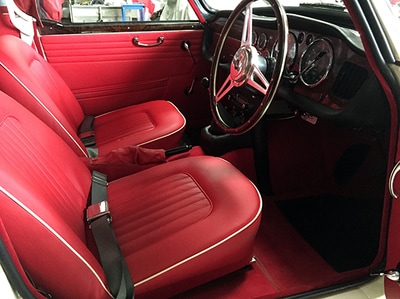
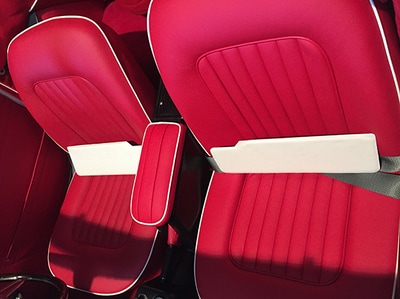
Above column and seats stripped out ready for the fix. The seat backs have failed as the hardboard back is not strong or robust enough to stay put so we will fabricate some ply versions that should do the job.
|
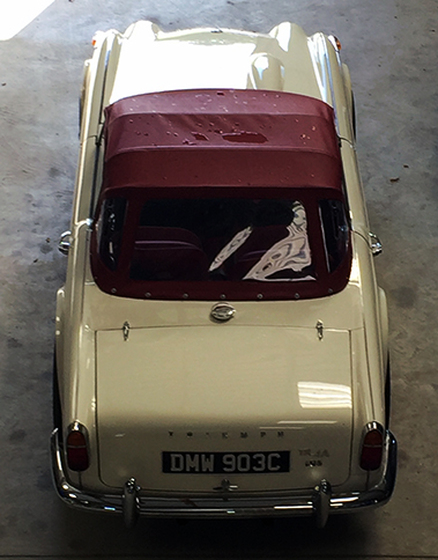
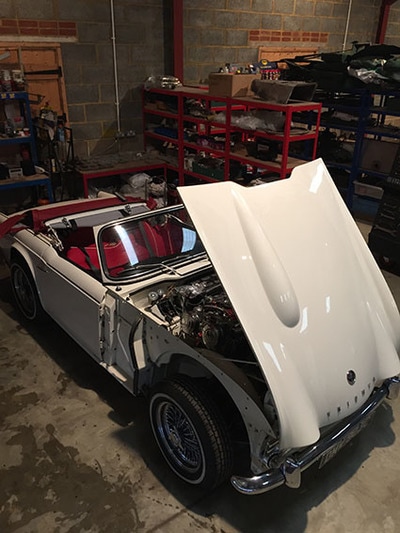
October 2016A picture of our TR4A in the workshop brought in from the rain. We can now take top down pictures thanks to the mezzanine layer in the workshop.
|
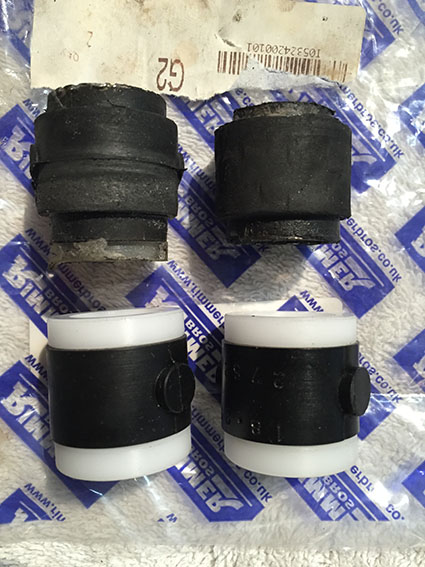
Steering bushes failed and replaced - March 2017
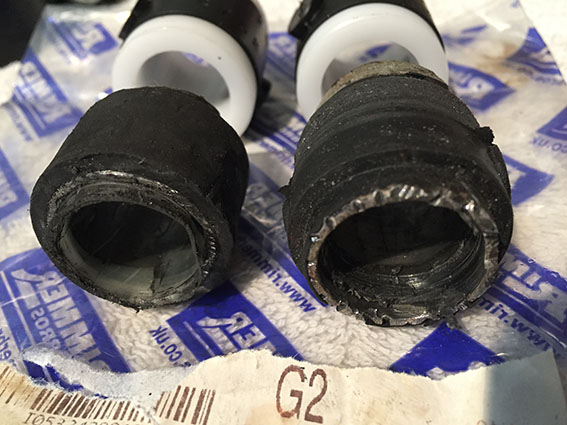
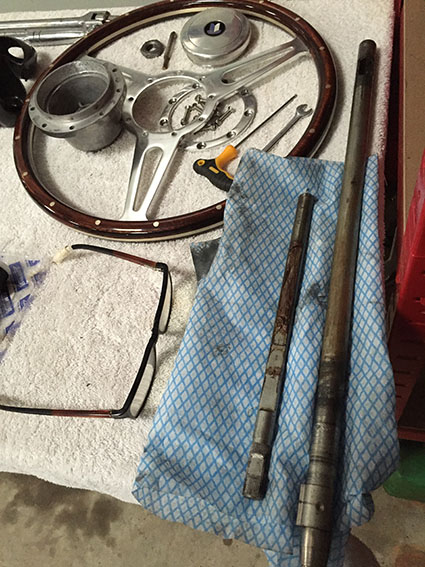
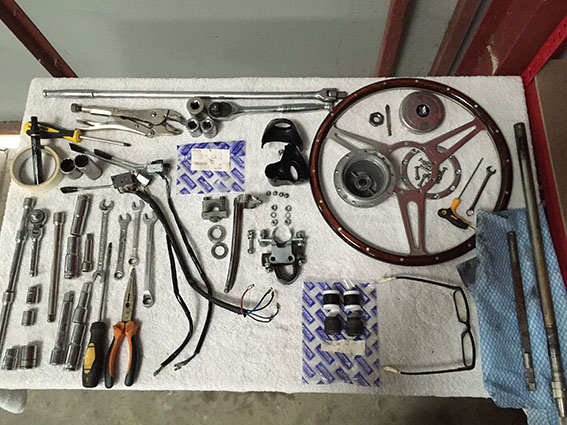
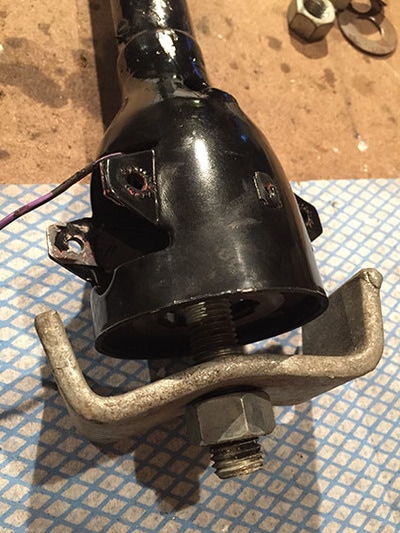
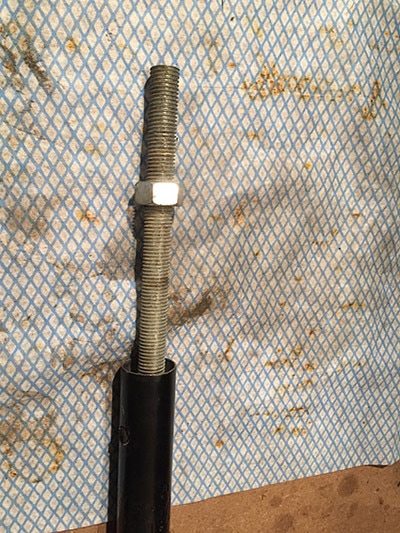
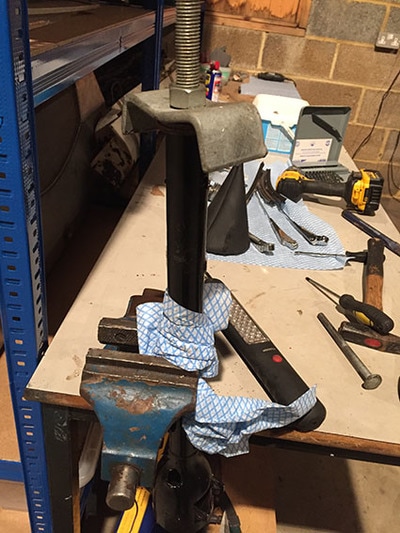
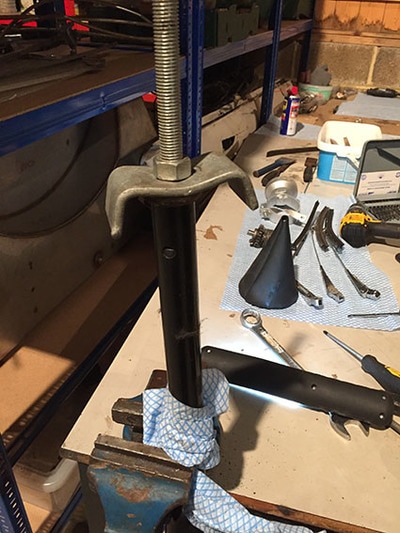
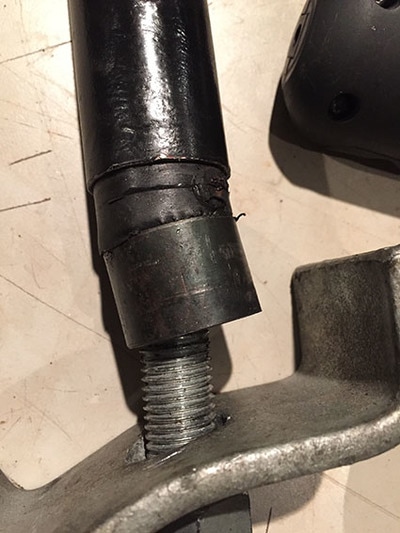
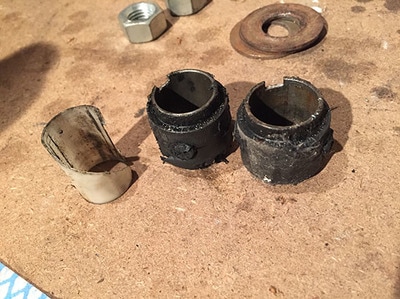
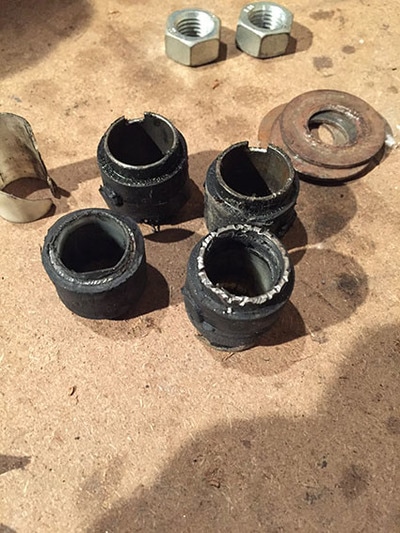
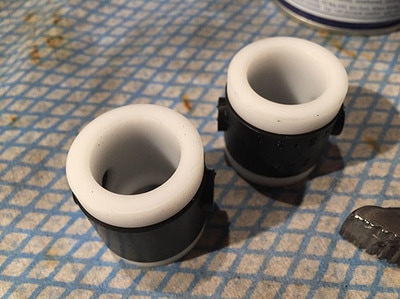
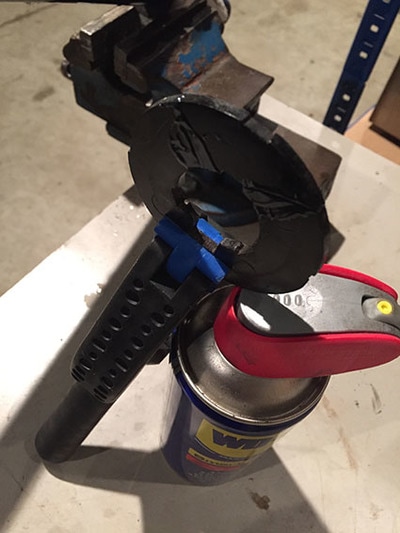
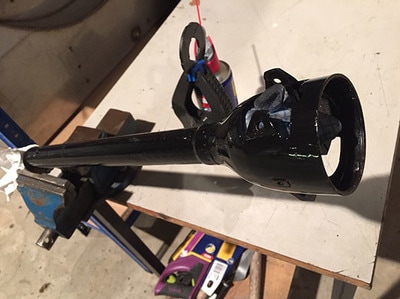
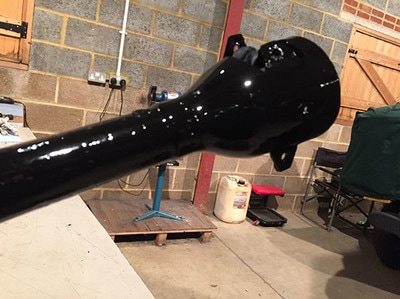
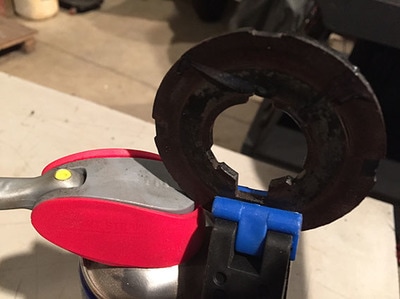
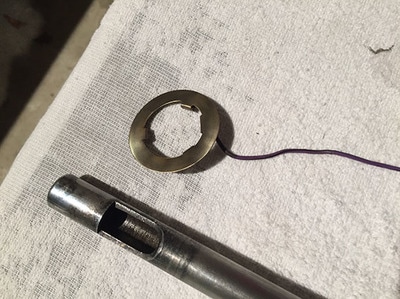
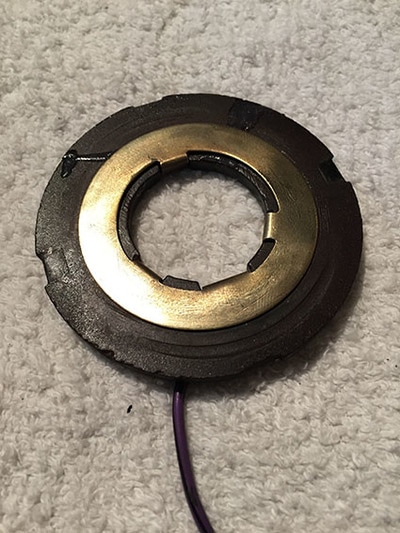
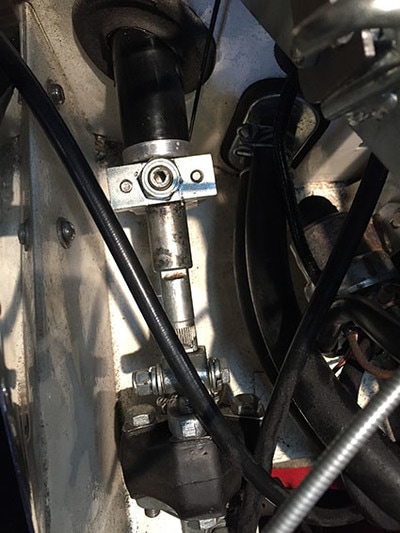
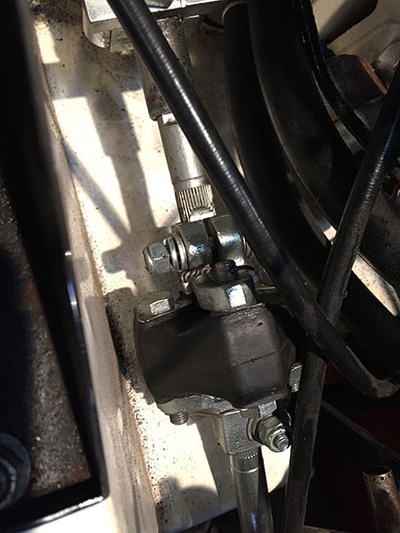
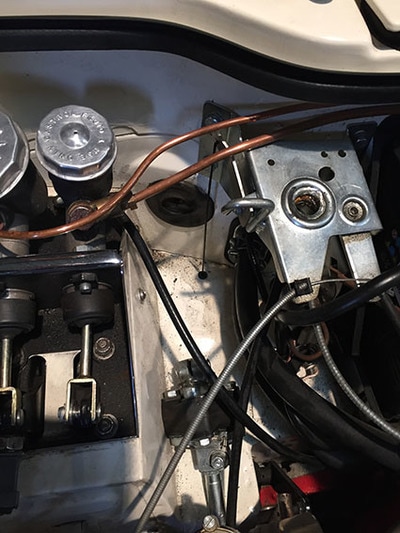
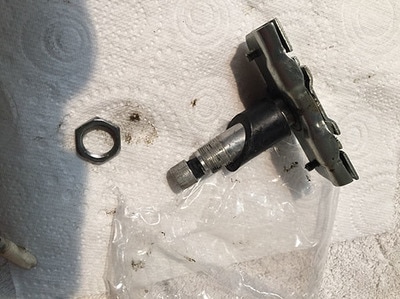
The old bushes and the new one were removed with a length of threaded bar and a nut or two two. It worked pretty well. Use a lubricant as it helps! The outer column had to be repainted after being bashed about. The inner horn ring that holds the brass ring snapped doit had to be glued together. The brass ring was cleaned and polished. The steering column rod was also polished where the bushes go. (Tip from Stuart of the TR Register Forum). The steering column was greased up before refit with copper slip. This was the inner shaft. If you have ever had to take one apart that has been stood for years you'll thank the guy that used copper slip when he installed it. Now the bushes are i the steering is a to tighter and the column feels tight. I am hopeful that it will wear in a little as it feels a little too tight for my liking.
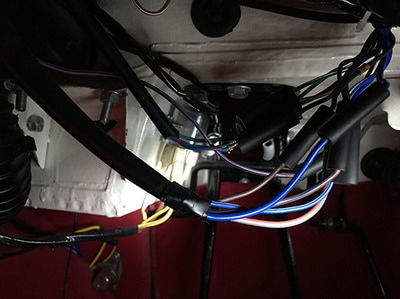
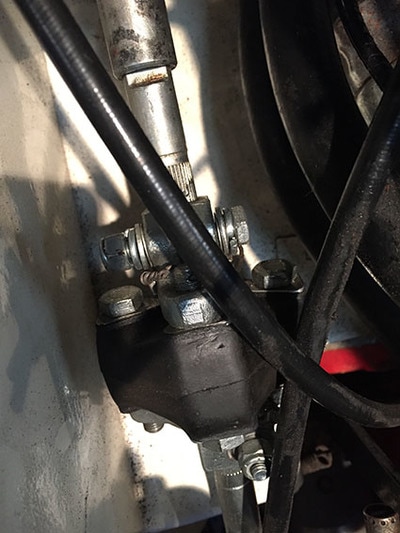
Reference Pictures of the steering column in the engine bay - March 2017
Replacement Wiper Motor Box - March 2017
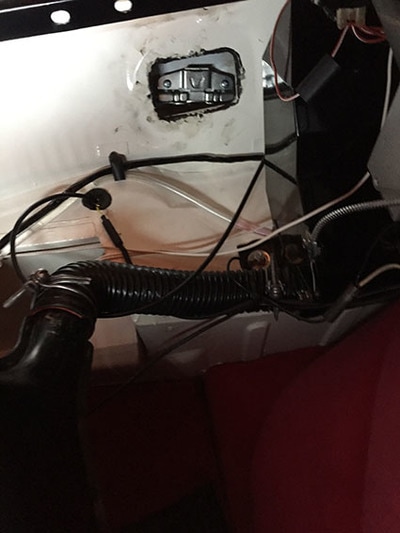
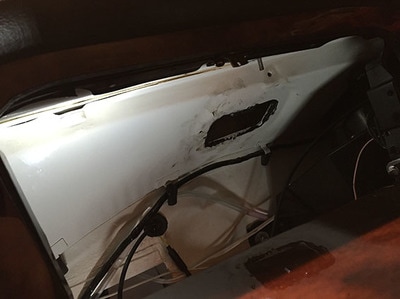
Driving in the rain and the passenger wiper motor box went mad? The wiper arm got stuck and it was all a bit of a mess. So I took the plunge and replaced the wiper motor box. Everything seems to be working OK so fingers crossed. I think the issue that caused it all was the outer sleeve not being located in the wiper box correctly. As it could not be clamped in place correctly it developed movement. It's a sod of a job!!
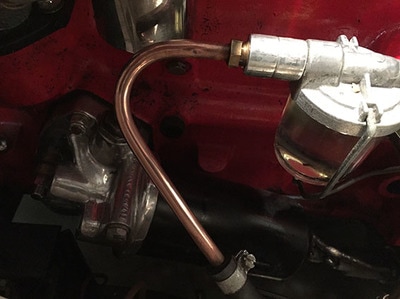
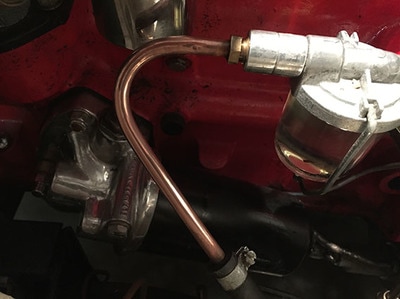
Fuel leak found - March 2017
There was quite a bit of 'dampness' on the top of the fuel pump. The issue was two fold. 1: Oil is seeping from around the fuel pump gasket albeit only a little amount.2: The fuel pipe in to the fuel pump is leaking at the pump. There is the problem...
April 2017
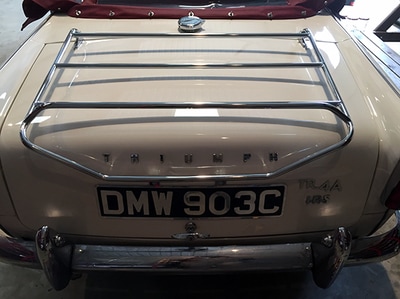
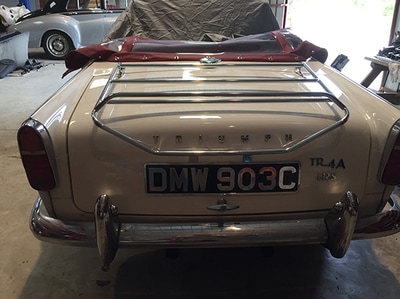
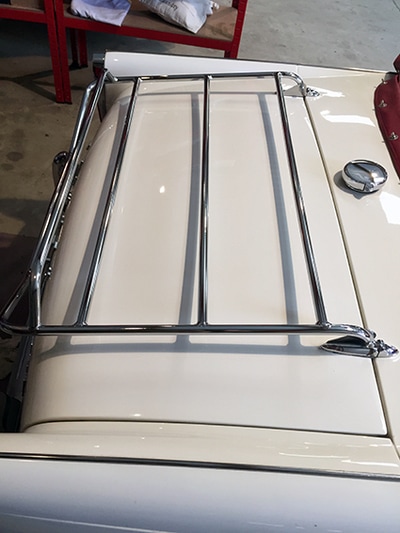
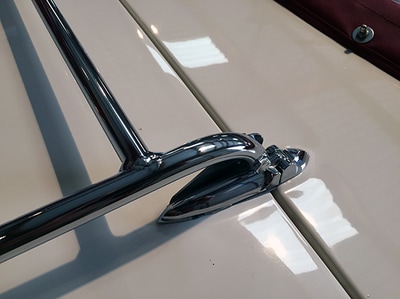
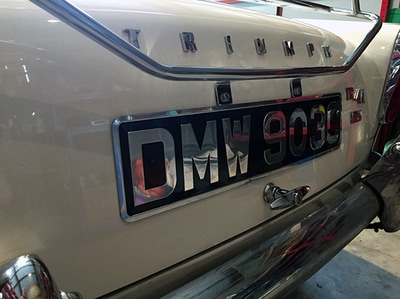
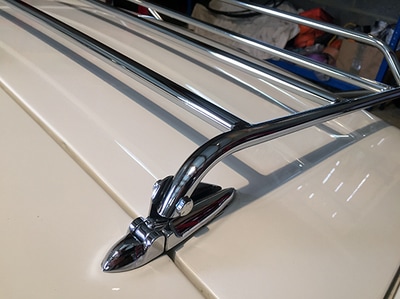
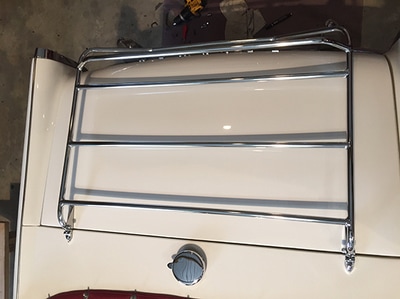
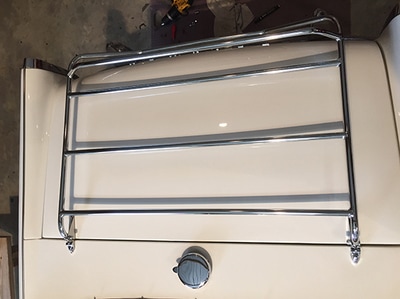
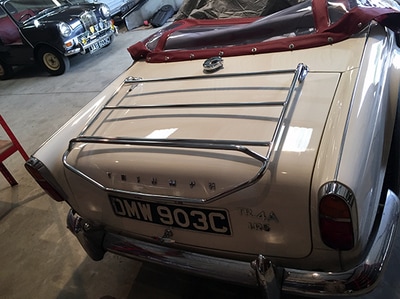
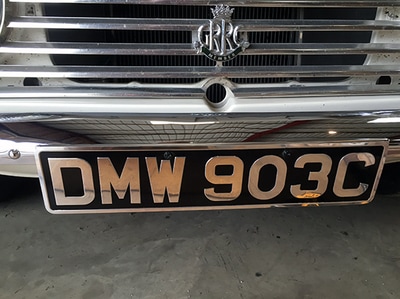
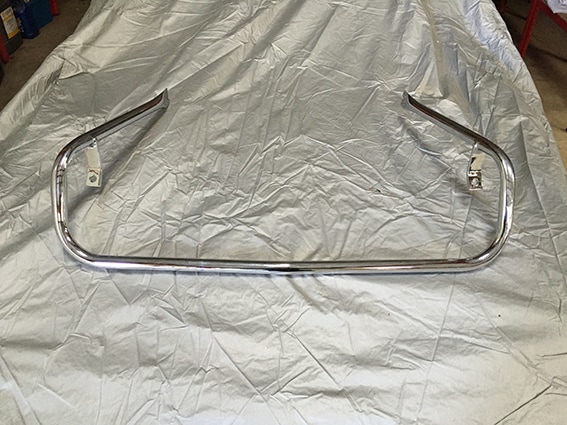
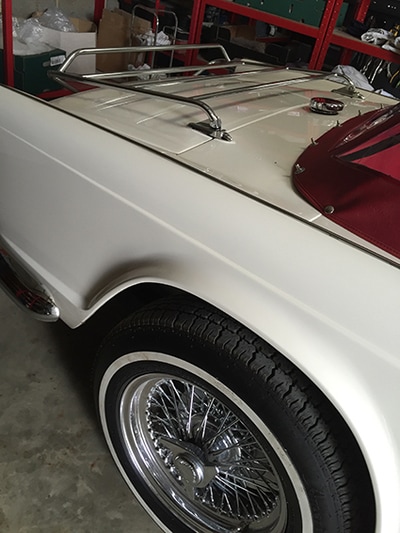
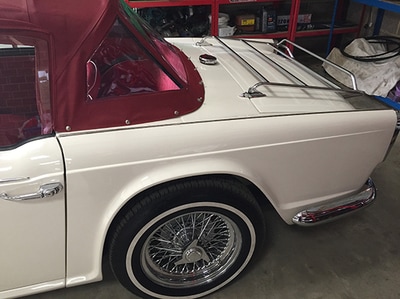
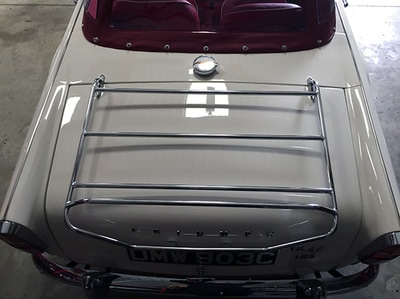
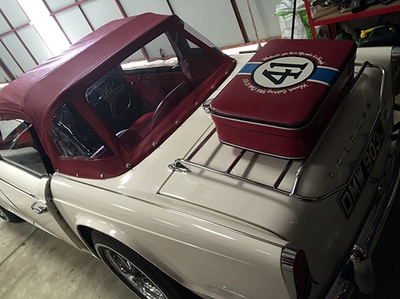
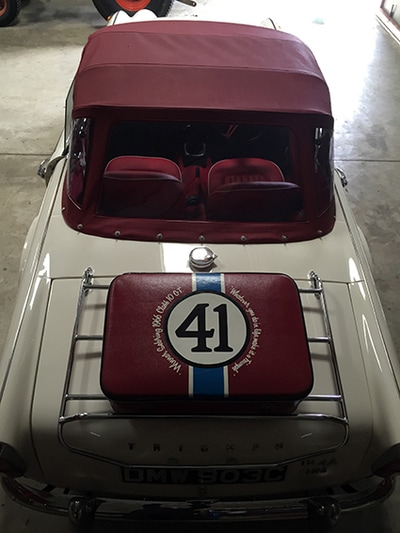
A few things have happened. We are still playing with a few body fit issues and the doors are being a pain!?!?!? The Amco boot rack has been fitted as well as the Number Plates from Tippers. Tippers make really cool polished plates.
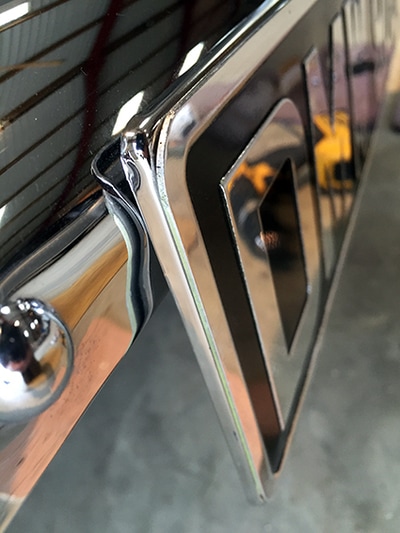
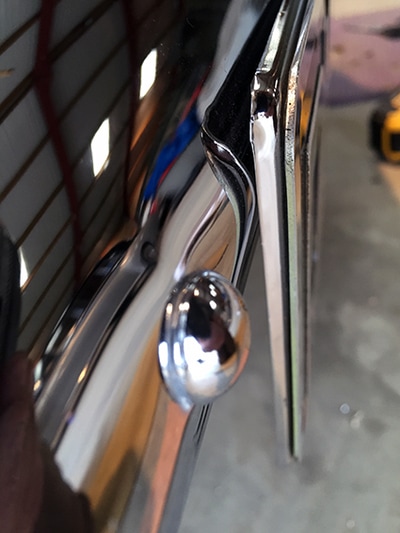
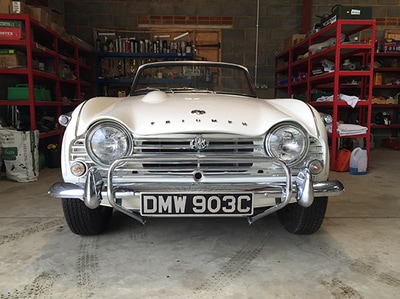
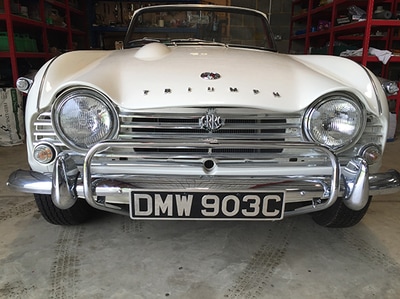
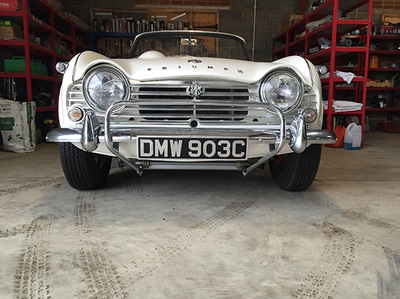
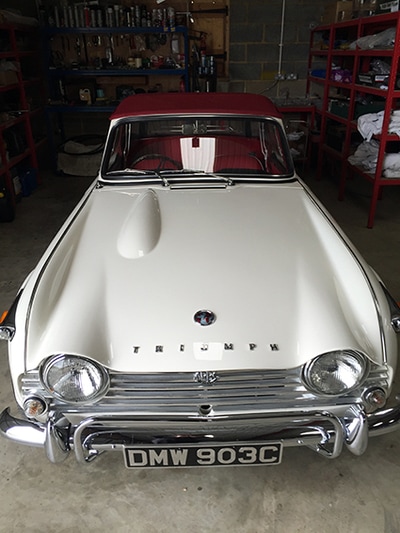
The front number plate on a TR4A beds as it is placed on the front bumper and hangs down. I bought an MGB number plate backing to give the number plate rigidity. You can see it in the pictures below.
The front number plate on a TR4A beds as it is placed on the front bumper and hangs down. I bought an MGB number plate backing to give the number plate rigidity. You can see it in the pictures below.
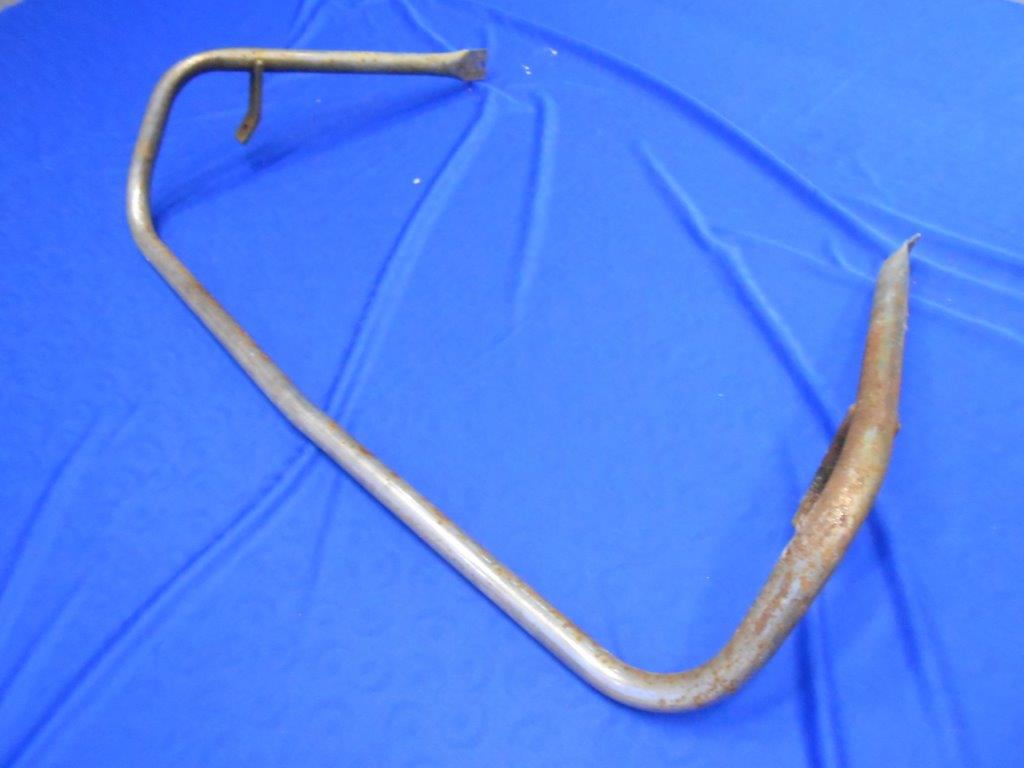
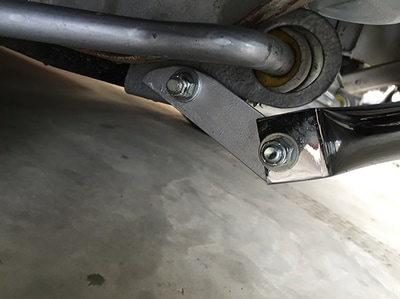
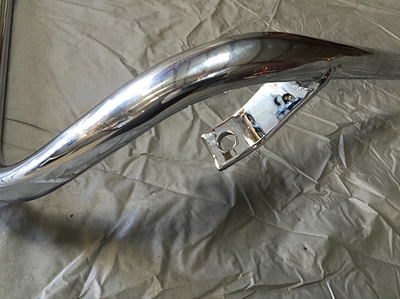
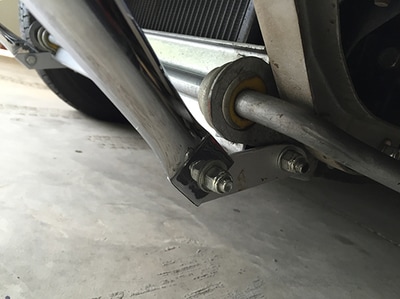
TIP: If you are fitting an AMCO bar, make sure you do a 'Dry fit' just to check the bonnet has clearance when open. Ours did not so we had to bend the brackets back in a vice and put a 20mm spacer to push the bar out - plenty of clearance now.
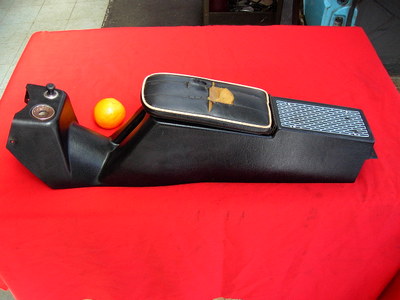
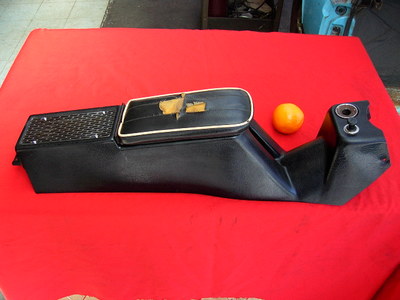
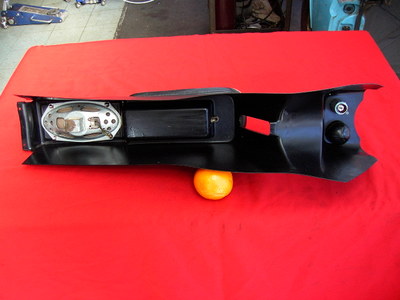
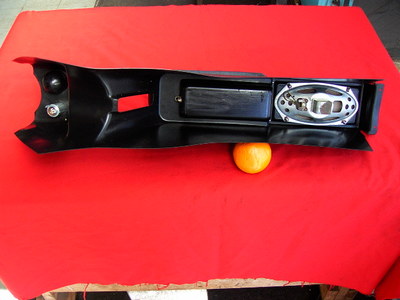
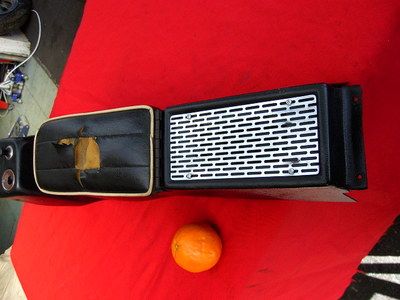
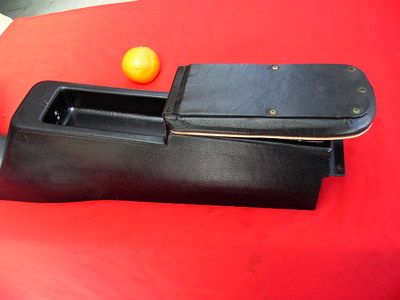
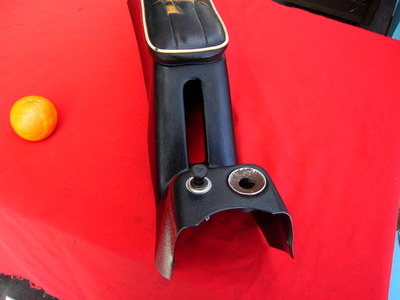
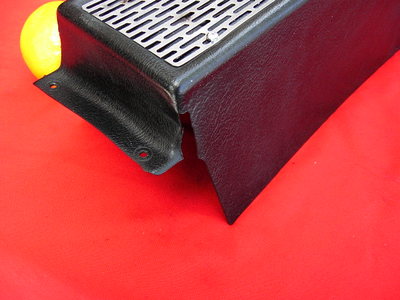
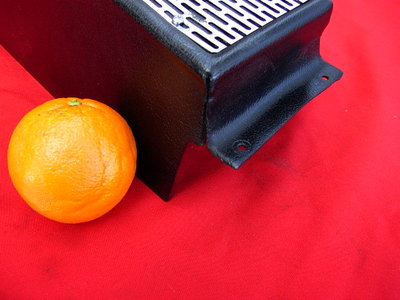
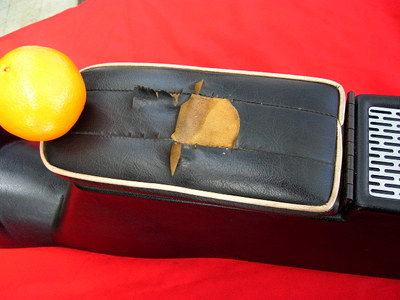
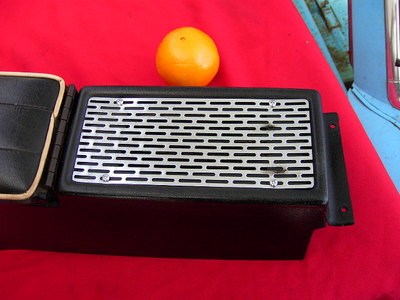
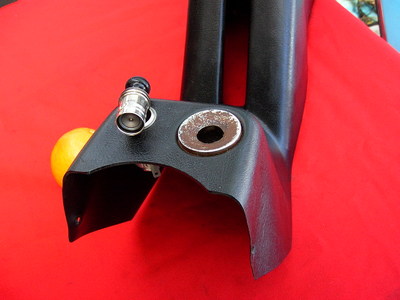
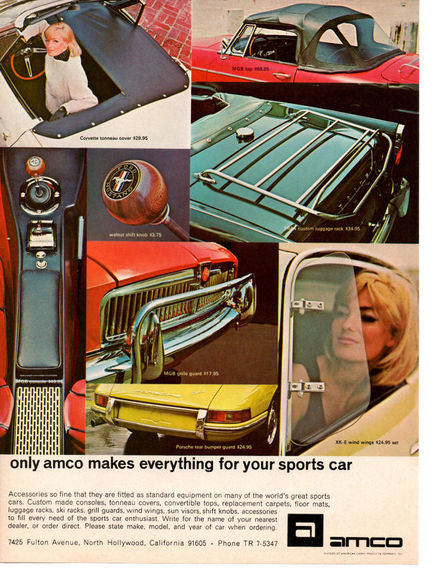
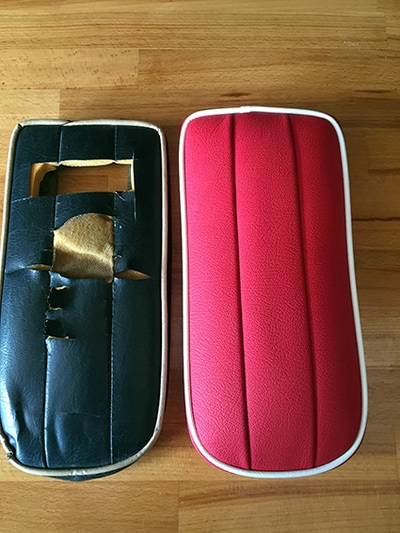
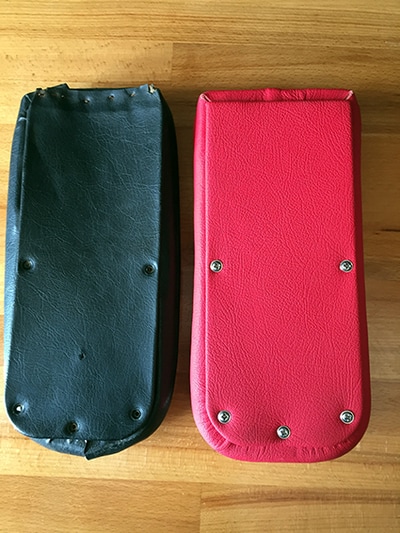
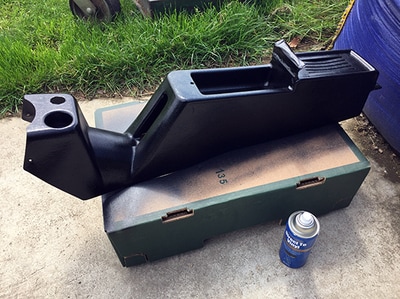
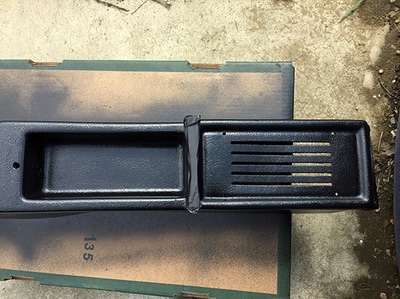
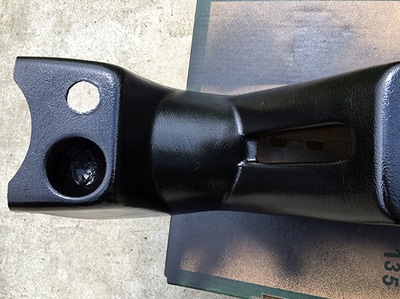
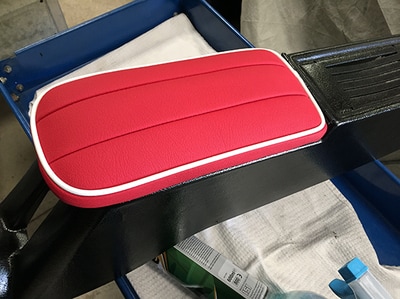
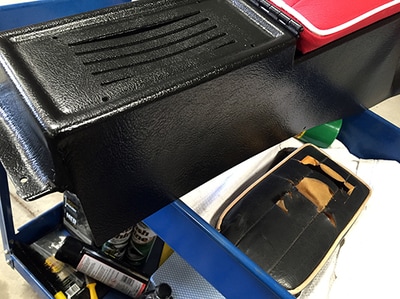
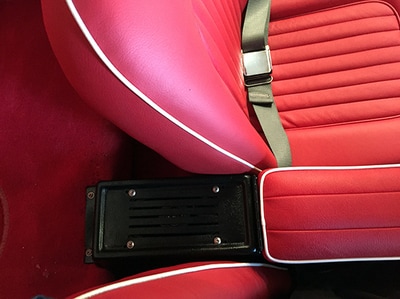
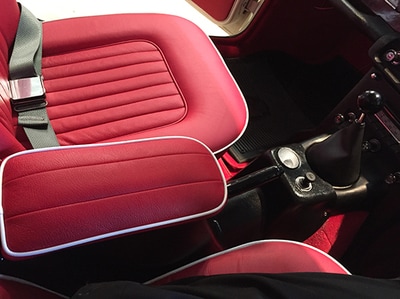
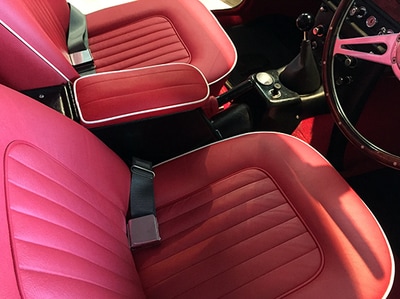
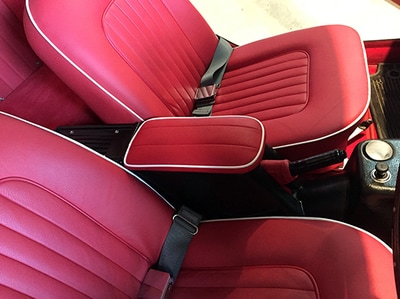
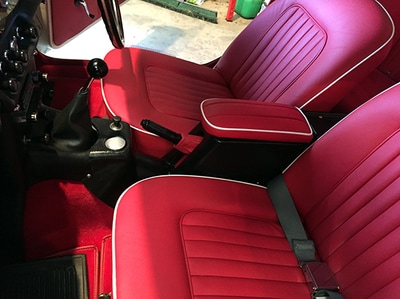
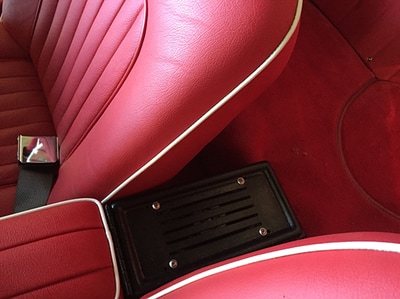
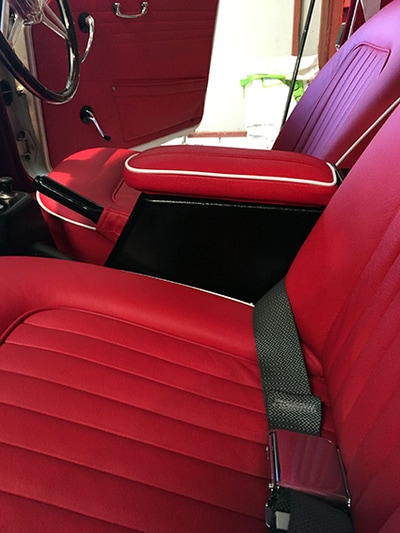
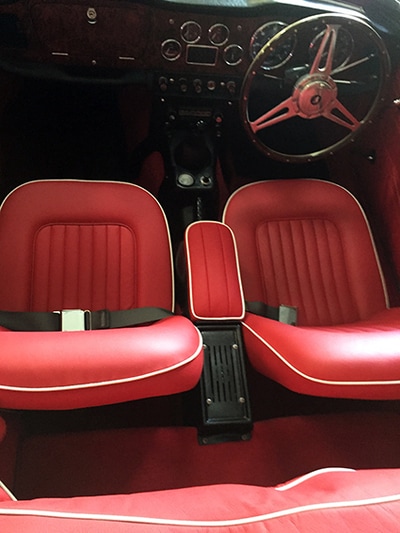
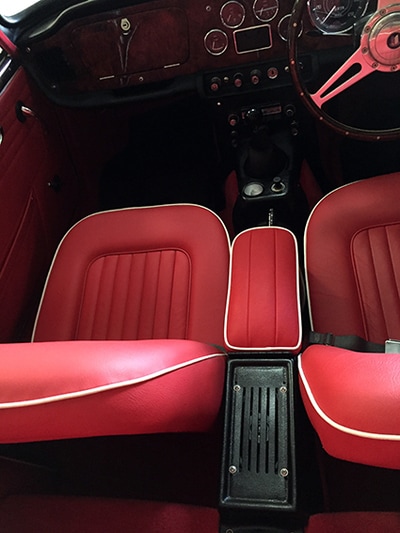
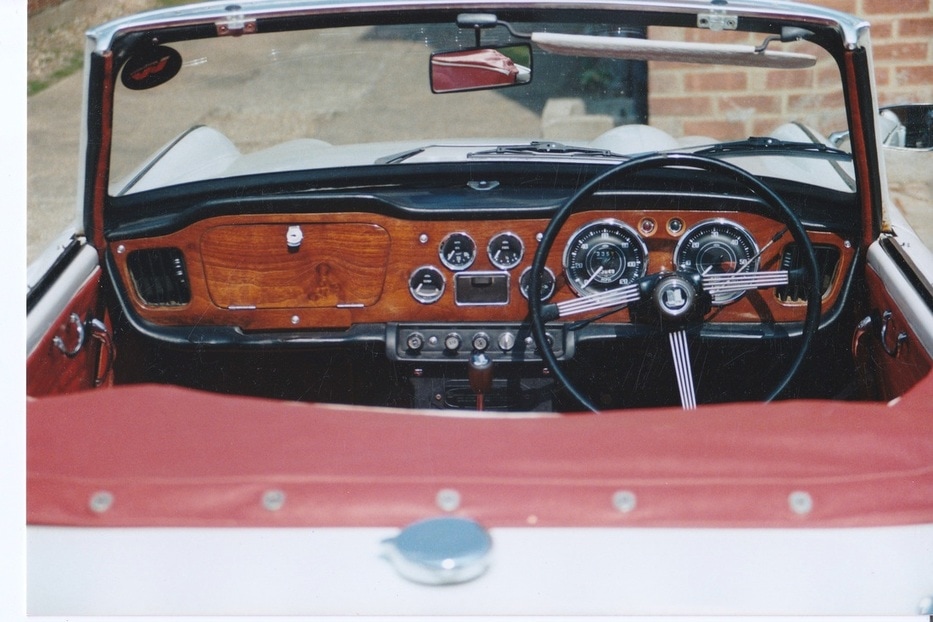
AMCO Centre Console - Another Rarity!Sold for the American market, the AMCO centre console is a very rare item. I have never seen another. I bough this off a chap in the USA. As I write this, the ash tray opening is in for rechrome, as is the speaker grille. The cushion/arm rest has had to be retrimed. I managed to get a piece of leather for the arm rest that matches our leather interior and came from the same source. The speaker is in pretty bad condition so I will get a modern one that fits. As it is hidden I don't think it matters much.
|
The AMCO ad above shows some of the varied accessories they made for sports cars back in the day. This is an ad for MG cars and I have never seen an AMCO ad featuring the Triumph TR4A console. If anyone has one please let me know. Thanks.
|
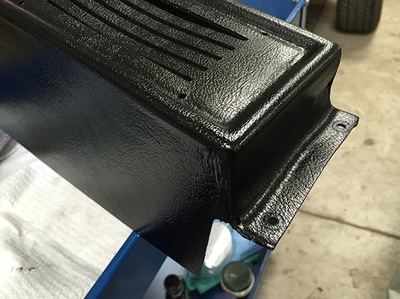
Below are the pictures of the centre console being restored and fitted. I used a plastic 90 degree angle piece to add strength to the back corners. I then used a plastic bumper filler to bed it all it. This was then sanded and painted with a vinyl paint. It worked out really well. A new speaker was fitted. When fitting the console it took a bit of manipulation to get it to all line up. It is held in place with self-tapping trim screws. The leather cushion was matched to the leather interior. All the wiring for the lighter and speaker is in place ready to be hooked up. All I need to do now is fit the speaker grill and ash tray cover when they return from chroming.
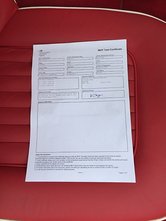
May 2017 - Getting ready for the UK MOTIn the UK, we have a vehicle test that checks the car is roadworthy and safe to operate. It is called an MOT test, (Ministry Of Transport test). It is an annual test.
So this May, our TR4A sees the current test expire so we have to have a new one. All electrics have to work and the only issue we had was with the washer for the windscreen. The pipe in the water bottles had seen the additive crystallise and block. Pictures below show the car all cleaned after we had done all of the work for the test. |
May 2017 - Second UK MOT Test since restoration- Passed.I am pleased to report that our Triumph TR4A flew through the UK MOT test with no advisories. So we are on the road for another year until the next one.
I think the steering feels notchy with the new steering bushes but it does not affect safety. I will look in to it however as I think it should feel a lot looser. It maybe that they bushes are 'bedding-in'? |
|
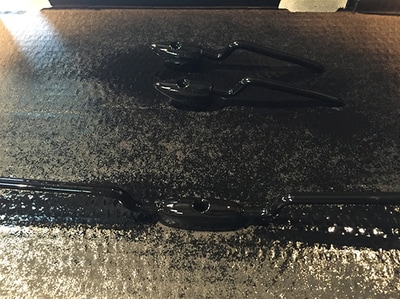
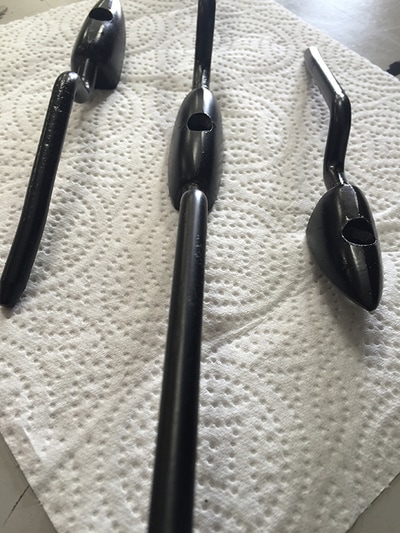
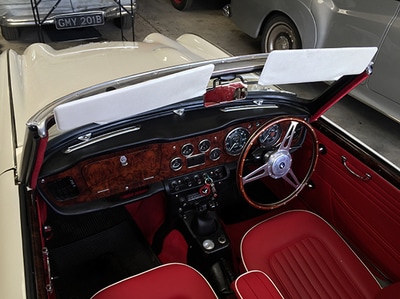
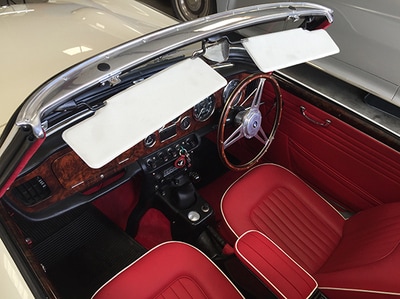
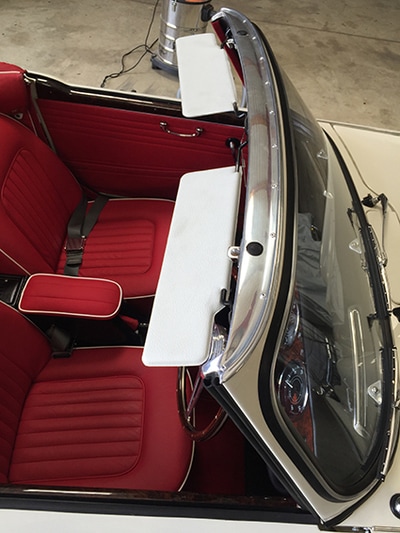
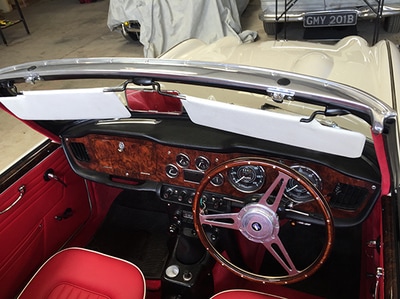
MAY 2016: At last!!!!! We have a set of Triumph TR4A / TR4 Sun Visor Brackets!!!
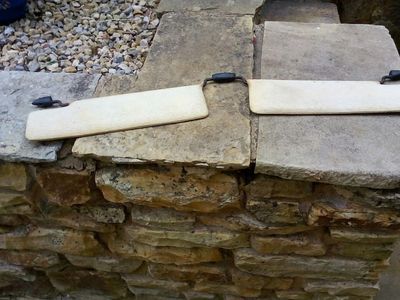
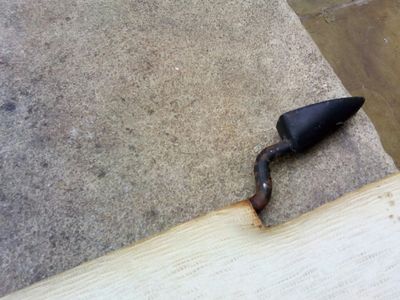
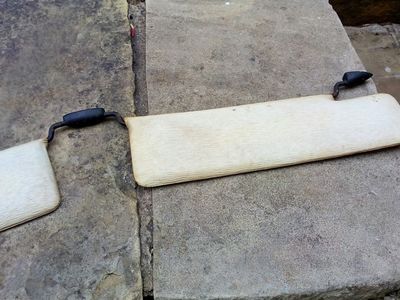
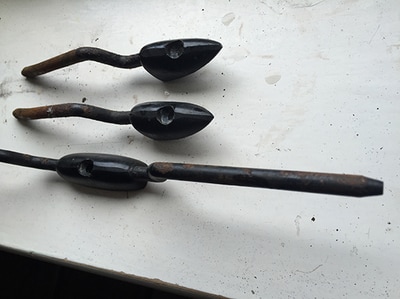
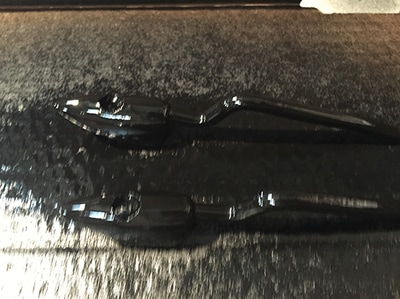
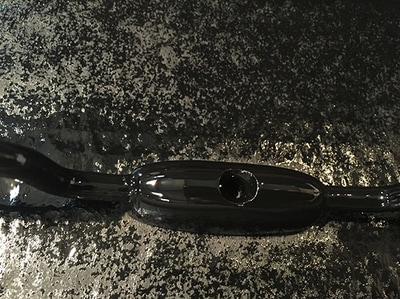
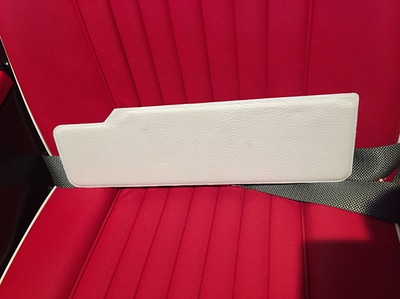
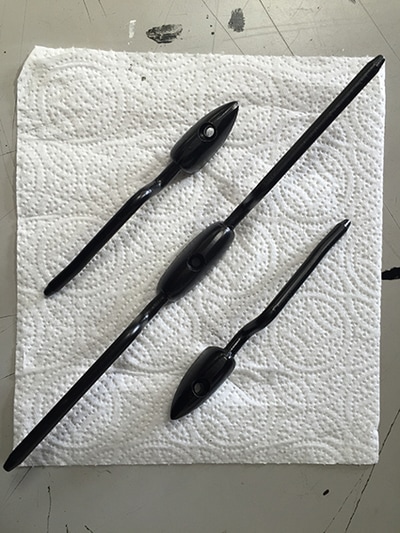
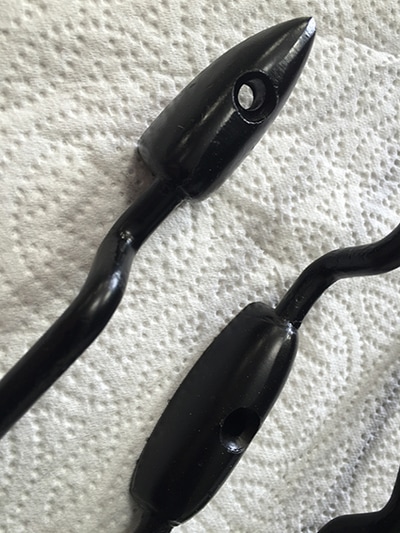
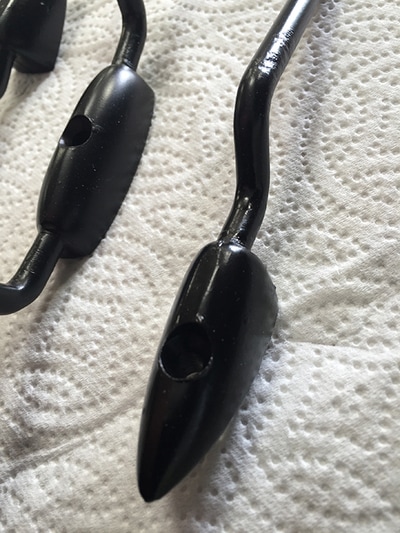
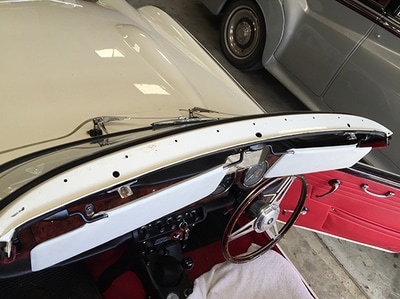
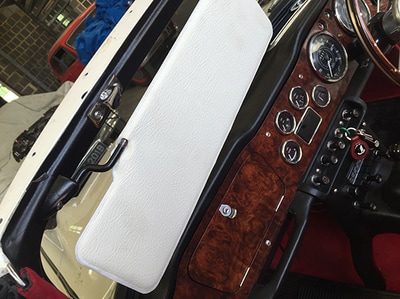
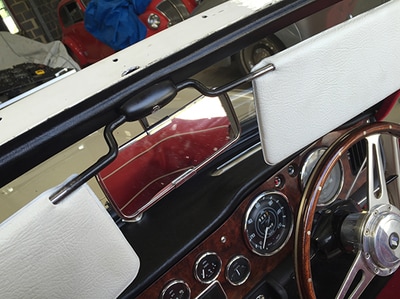
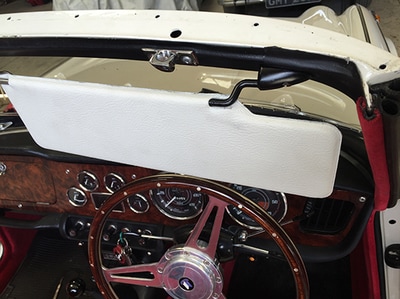
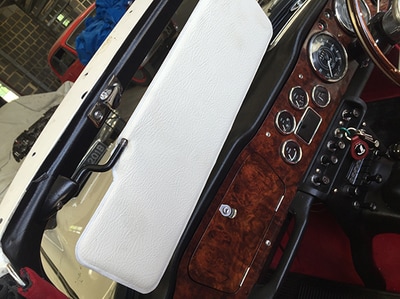
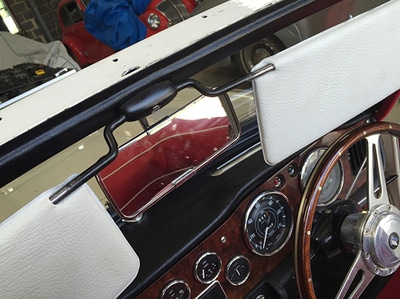
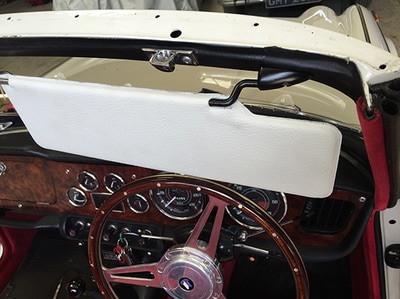
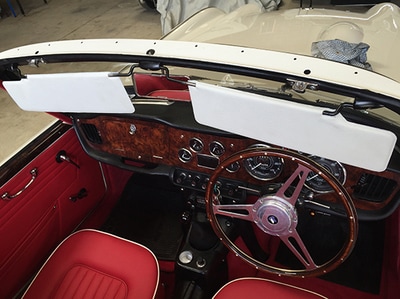
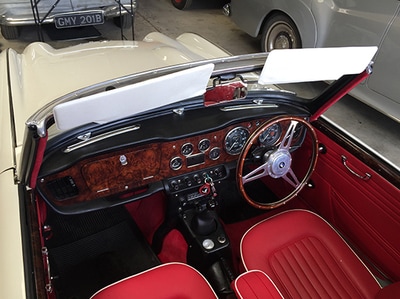
Ever since our ownership of Triumph TR4A DMW 903C, we have been looking for a set of Sun Visor Brackets. The picture on the left shows our car in around 1980 and you can see someone has cut the passenger side bracket back and the bracket on the left is missing. So our car only had one operational sun visor. I have had a search on eBay for many years and a set finally came up - £60. I hit the buy-it-now straight away. We have replacement visors from John Skinners. They don't make the original visor material anymore but the replacements are close. The pictures below show the new sun visors installed on the car and the restoration of the brackets as they look a little rusty in the pictures.
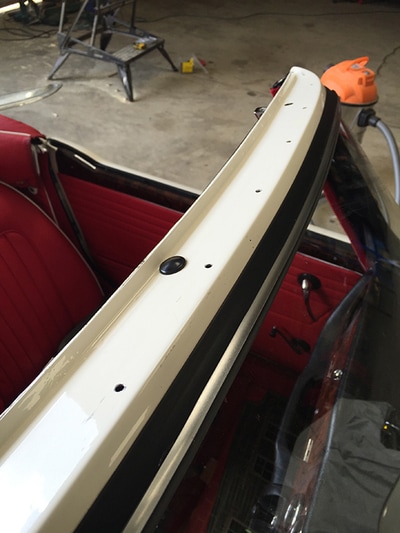
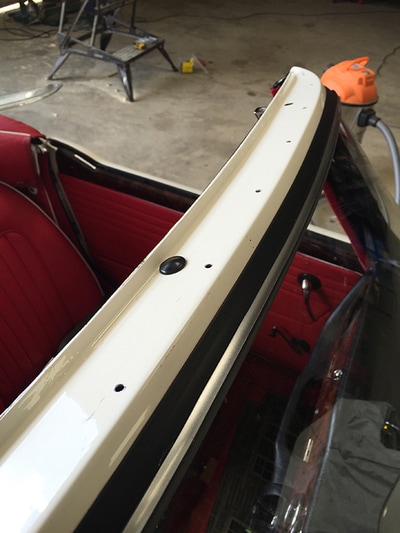
Below you can see the install of the visors. This turned out to be a lot more hassle than I thought. The visor brackets had kinks in them. Once painted they were too thick to go in the aftermarket new sun visors bought from John Skinners. So, paint was removed on the areas where the brakes goes in to the visor. This made them move freely and just stiff enough to hold up in a wind with the roof down. The centre bracket fixing was a nightmare as the captive plate for the screw was no longer there???? To fix this, I took the windscreen capping off by drilling out the rivets. This allowed me to drill a large enough hole to put a screw clamp behind the windscreen metal with tweezers. Once the bracket was on (TIP: Affix the bracket with the visors in place), I replaced the capping after covering the access hole I made made with a rubber seal cover.
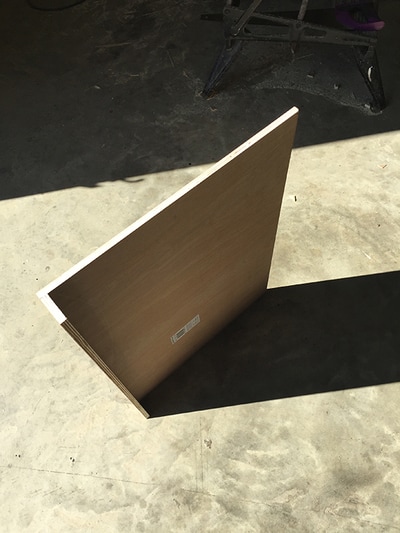
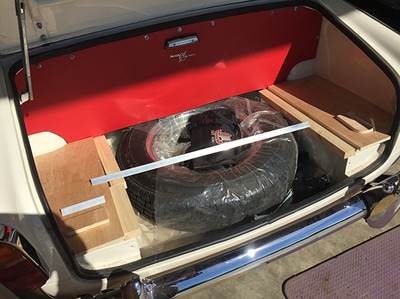
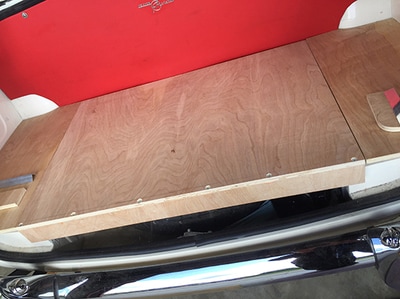
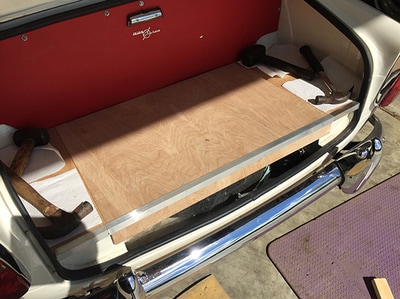
Building a boot board - May 2017
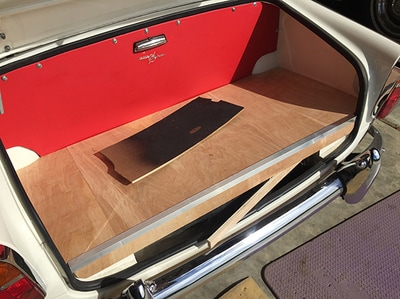
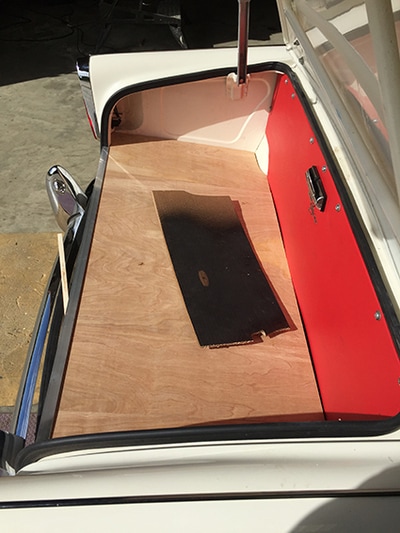
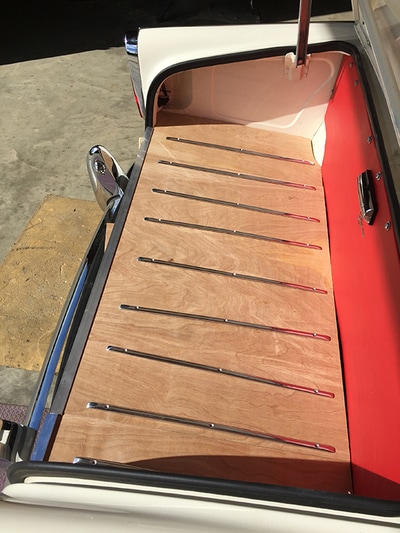
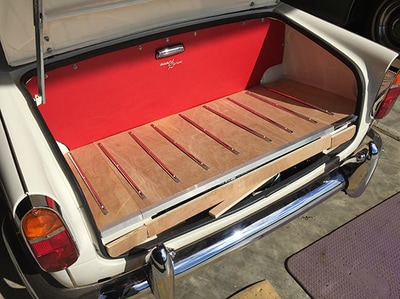
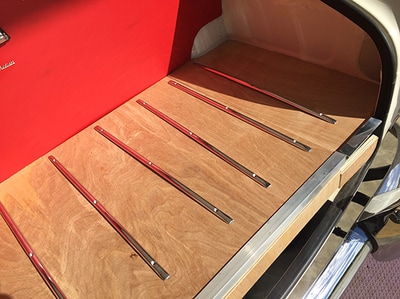
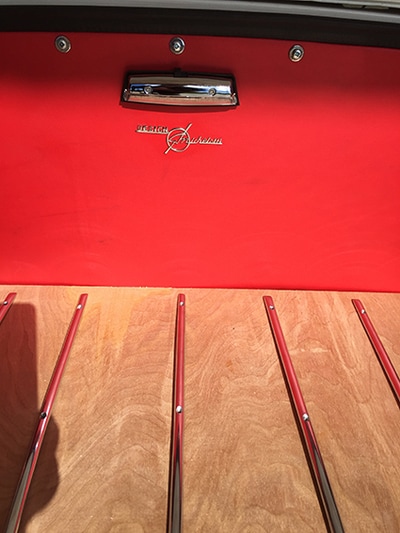
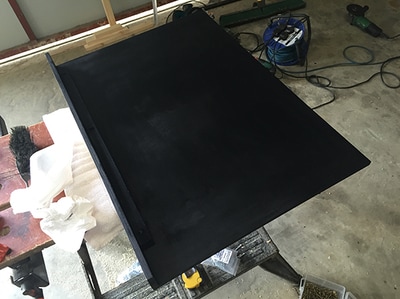
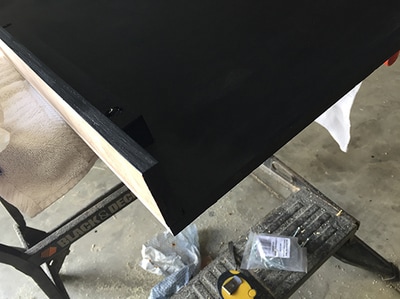
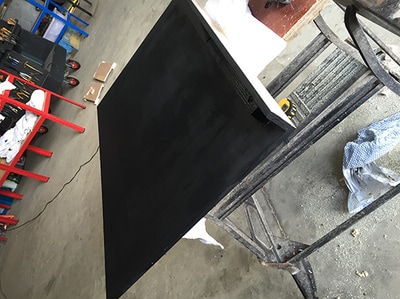
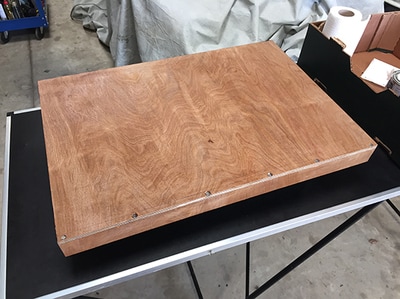
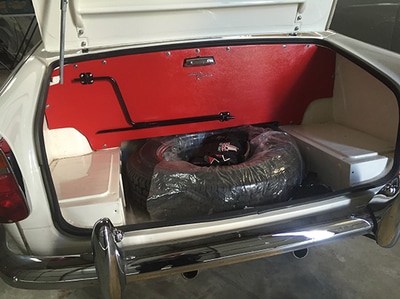
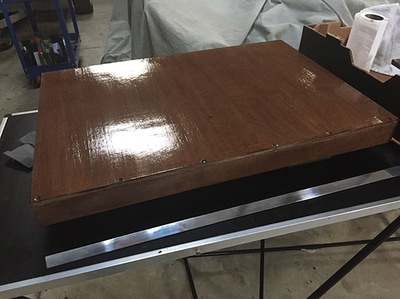
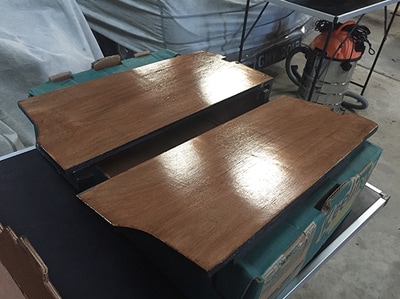
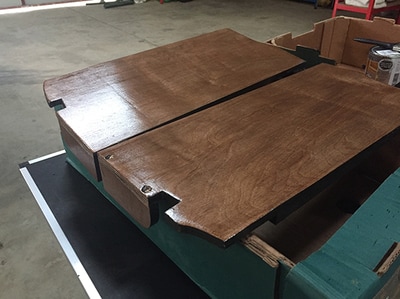
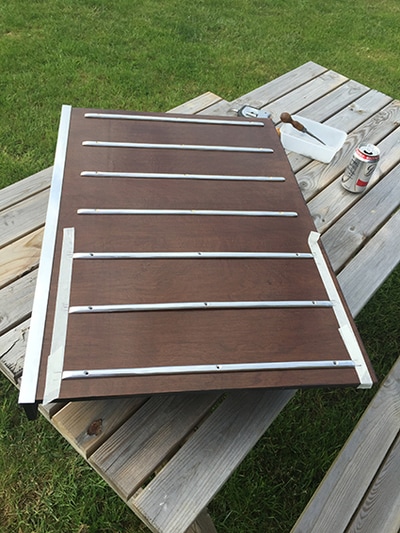
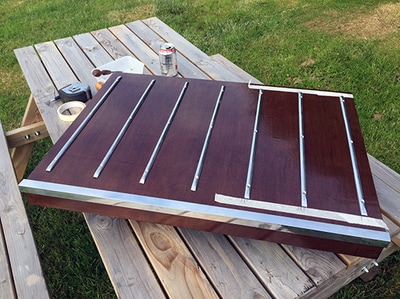
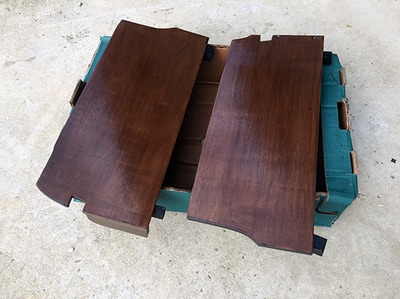
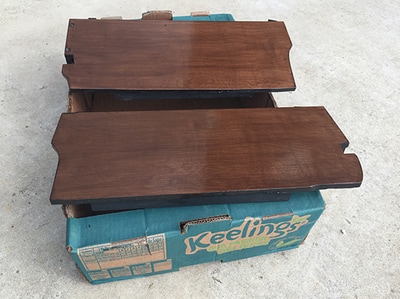
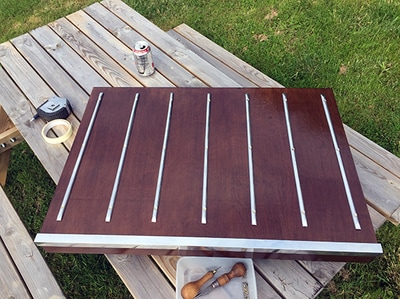
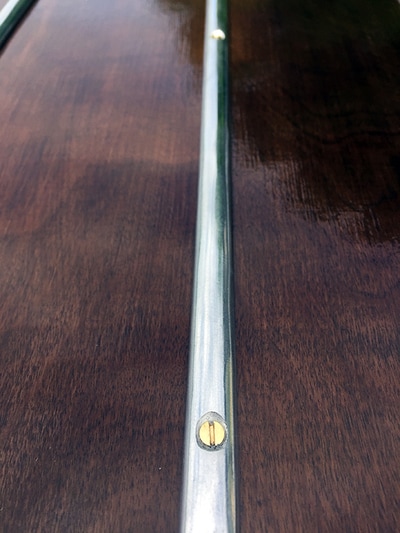
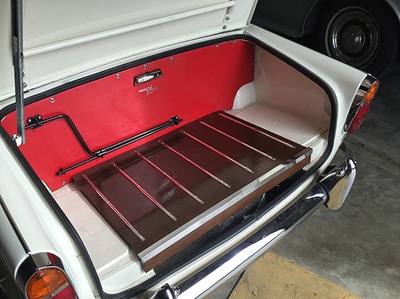
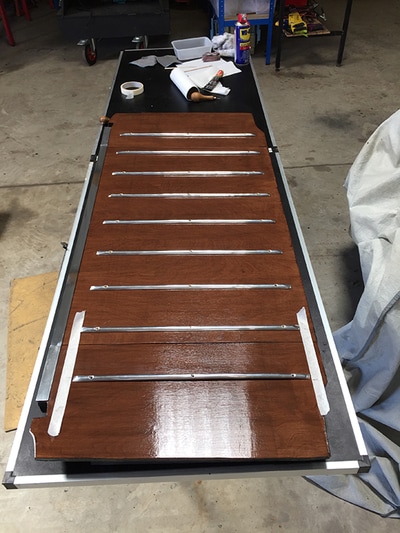
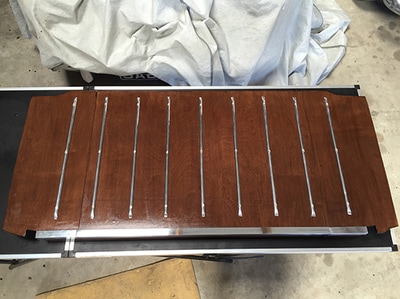
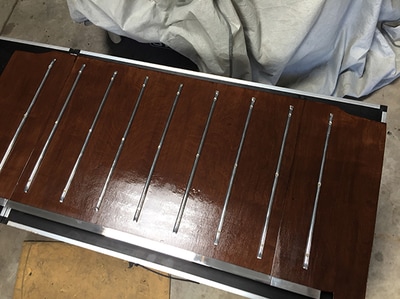
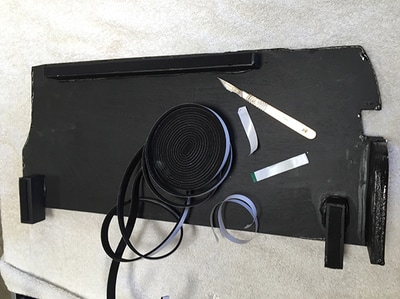
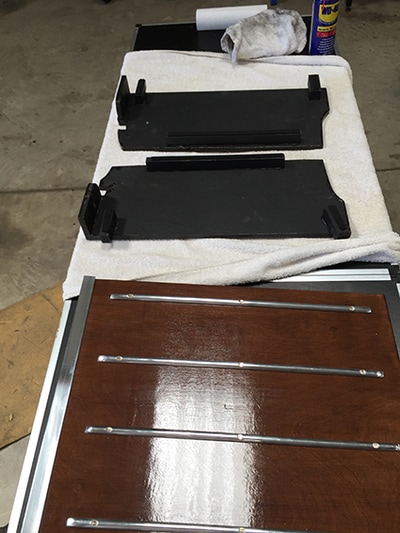
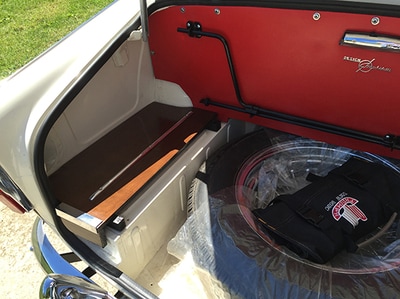
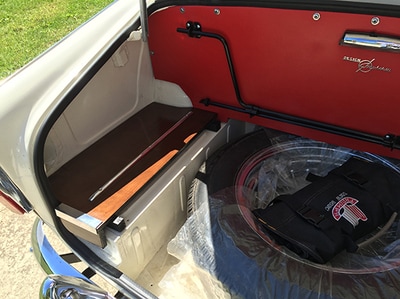
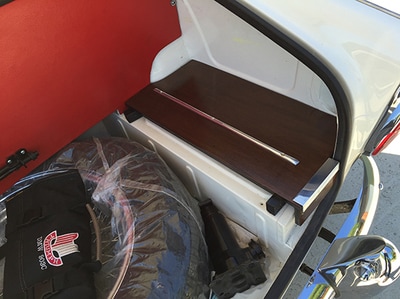
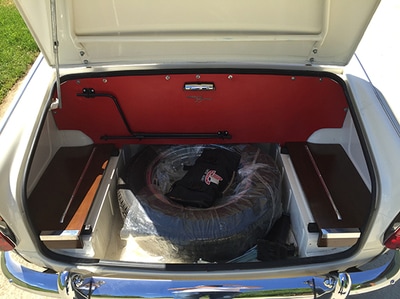
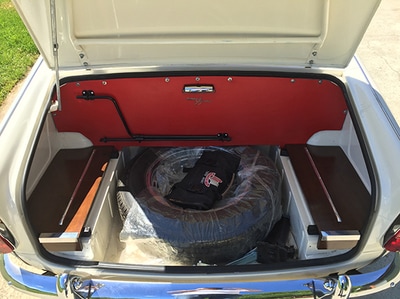
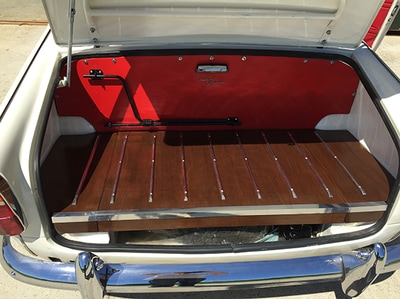
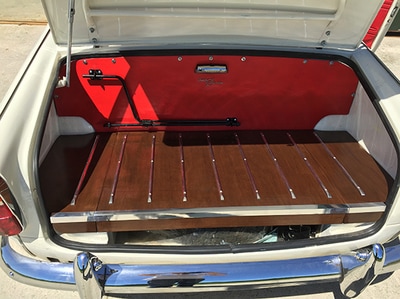
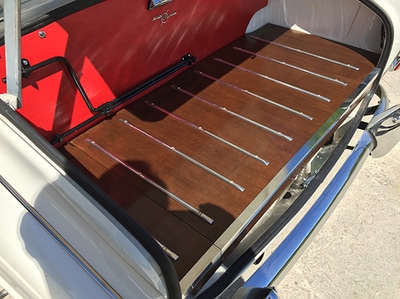
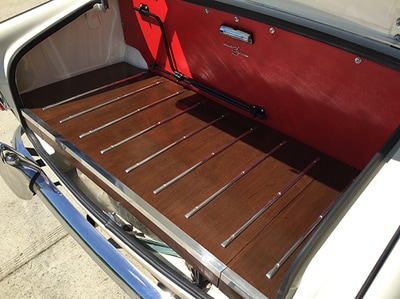
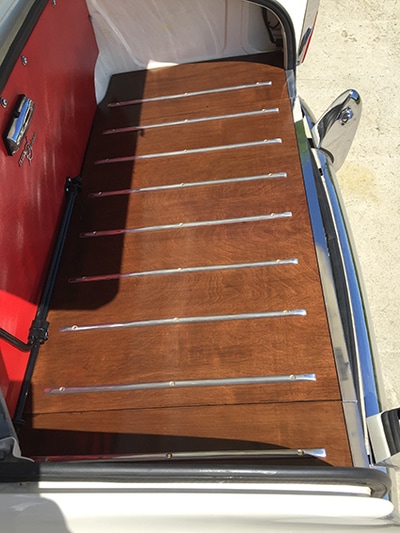
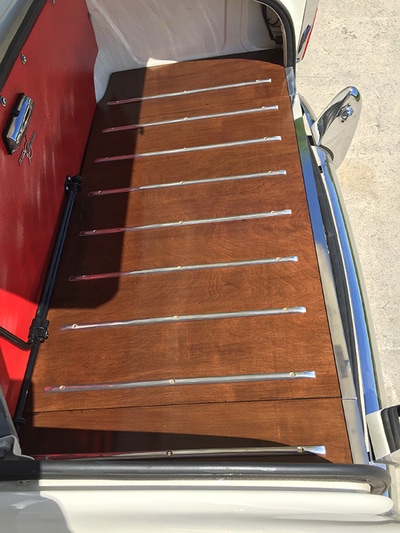
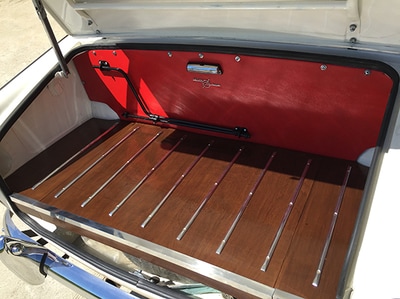
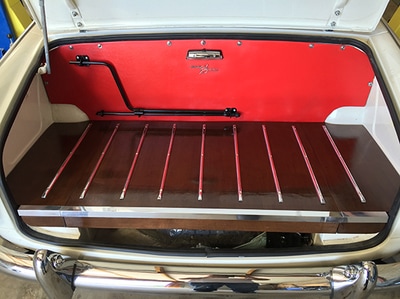
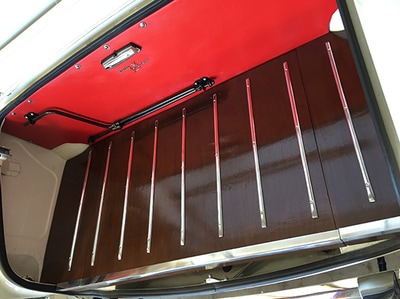
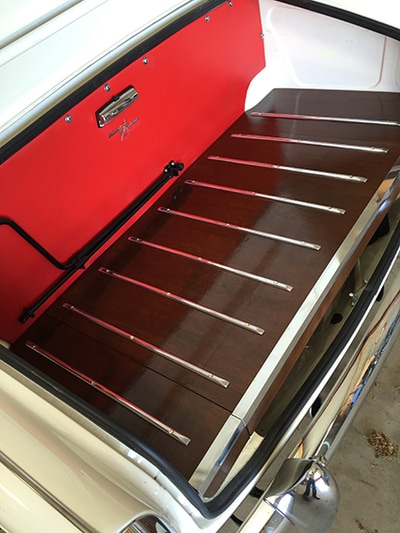
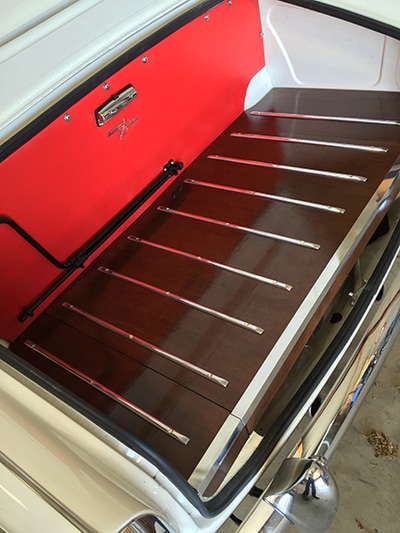
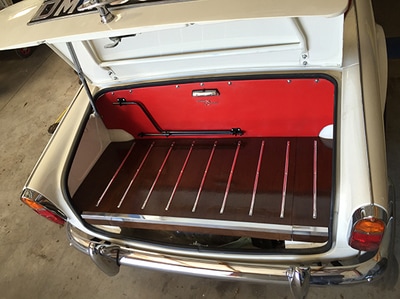
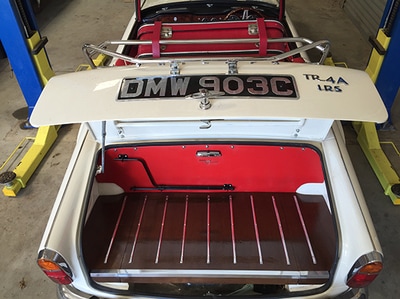
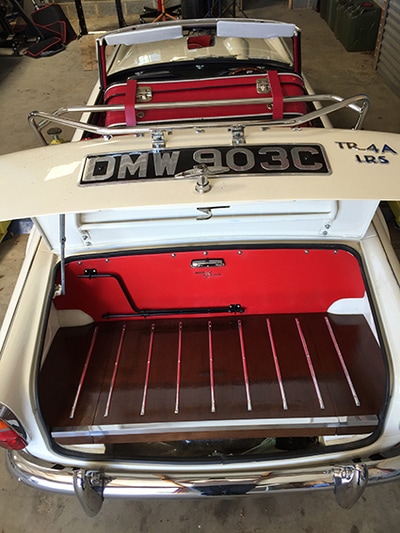
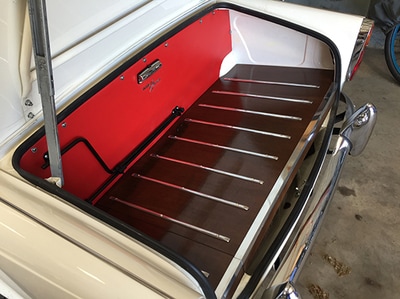
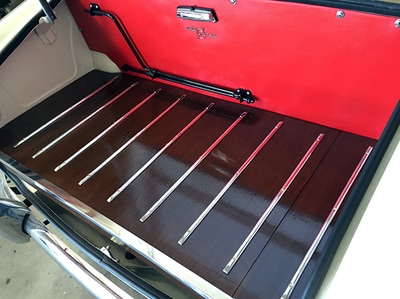
Our wheels and tyres are wider than standard. This means the boot board does not fit as the tyre is raised. It has meant the a 25mm piece had to be removed from the back board. A custom boot board has had to be made. It has taken some time but it is working out well. I used 12mm exterior plywood. Cardboard templates were cut to get the shapes right. An aluminium edging strip overlaps the 2 side boards to keep it all in place on the move. Luggage runners were purchased on Ebay. The underside was painted with Barn Paint and the varnish finish for the top was a walnut gloss.
Picture above on the left: The original boot board. Centre: A visual of what I thought I might make. Right: What I actually made.
Taking the Tr4A out for a little shopping trip. The drive reviled that I am still not happy with the steering so for the 4th time I will be stripping the steering down to see what is causing the problems.
