Living with the Triumph TR4A IRS - Part 3 - 2017 |
The pages 'Living with the Triumph TR4A IRS' are dedicated to the day-to-day issues, changes and developments in running the car. A restoration may be finished but there is always still lots to do. Some of it fun some of it tedious due to part failures and adjustments.
|
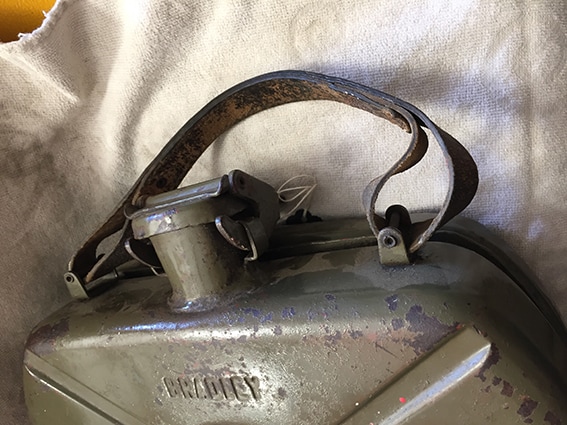
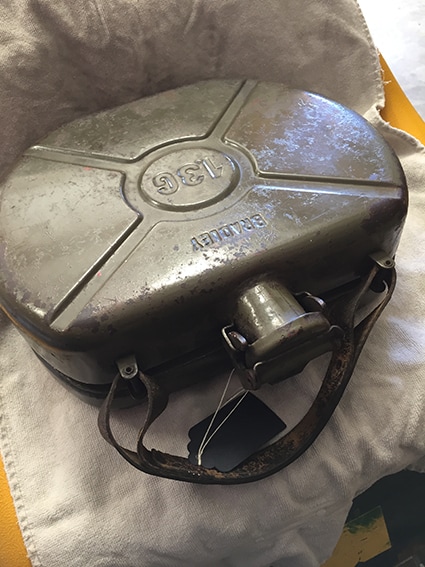
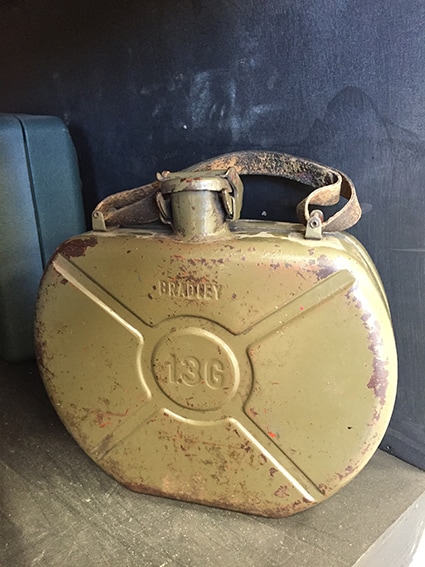
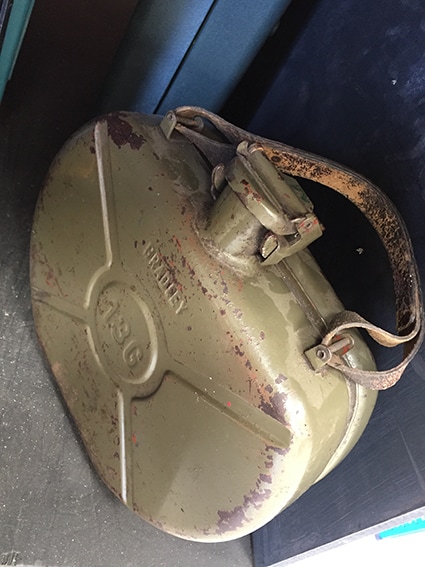
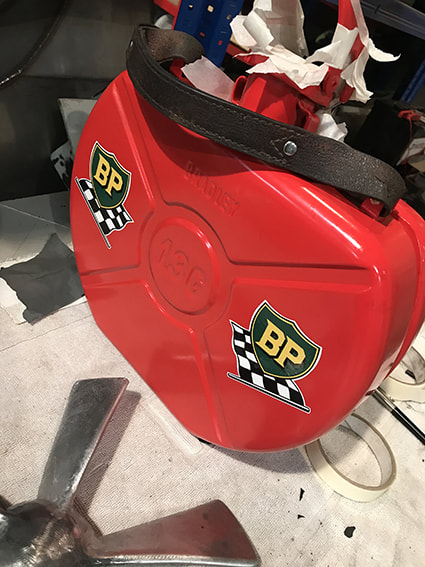
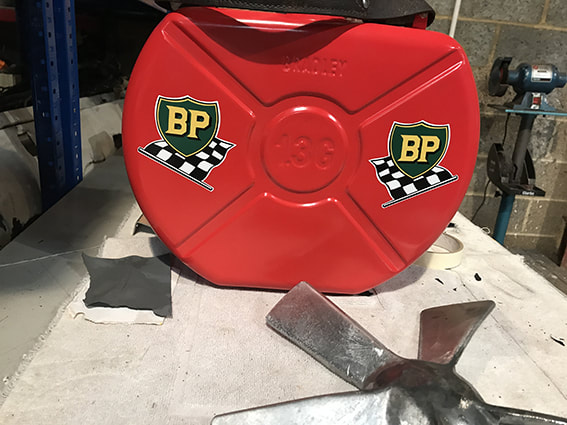
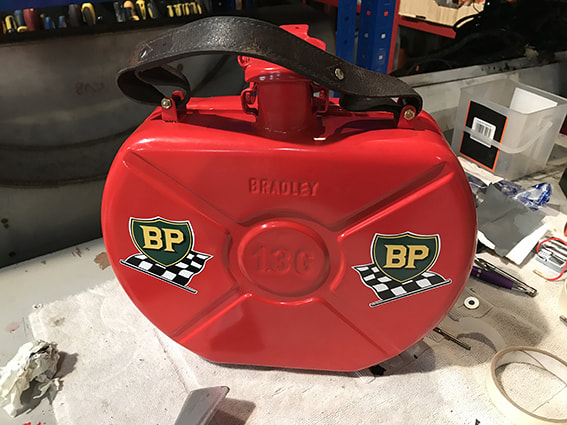
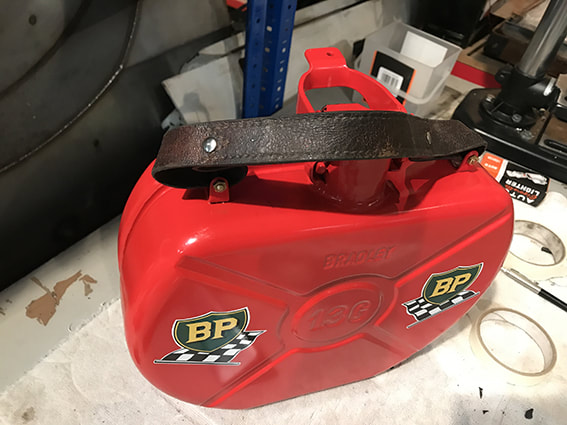
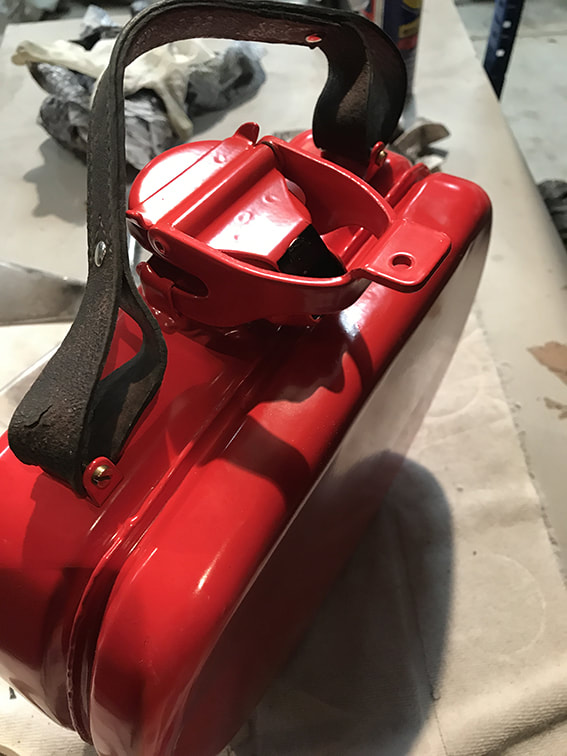
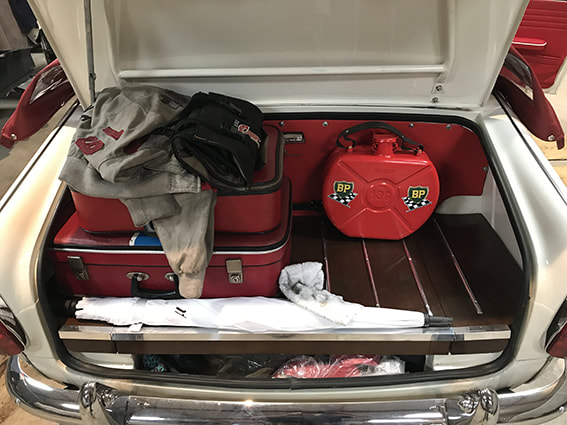
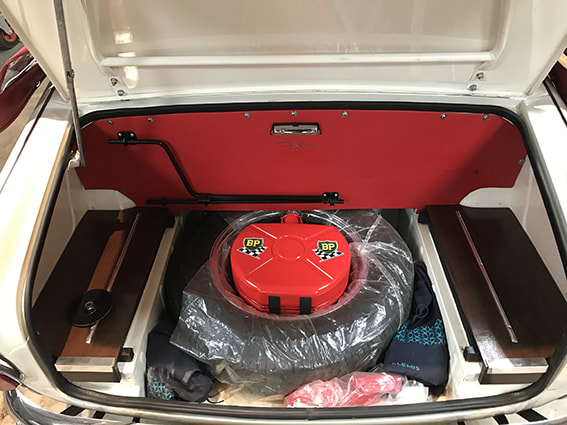
July 2017 - Spare wheel fuel can
We were at the Darling Buds of May Classic that takes place in July at Buss Farm in Kent UK. There were many stands selling old car parts and I spotted this fuel can. It was designed and made in the 1960's to fit inside the spare wheel. It seems to be fuel -tight so can be used. It was blasted and powder coated to match the car colours. End result is a tad orange but it will dull down over time.


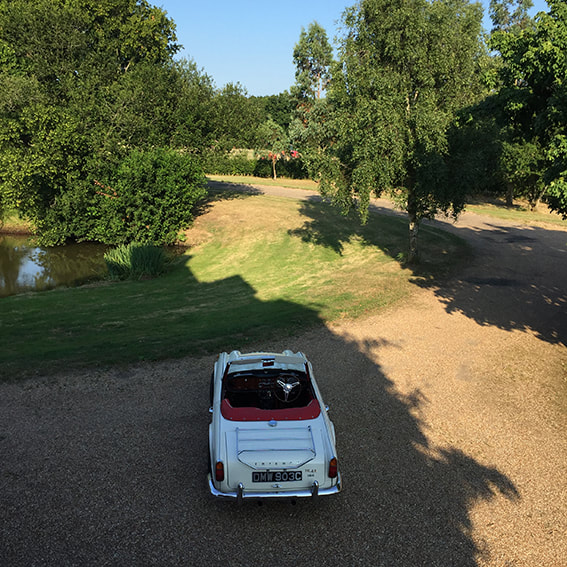
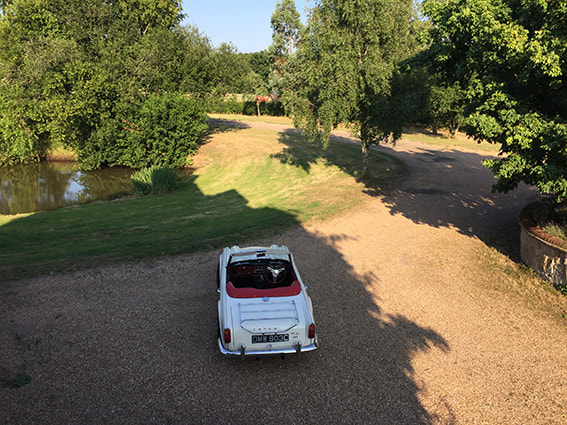
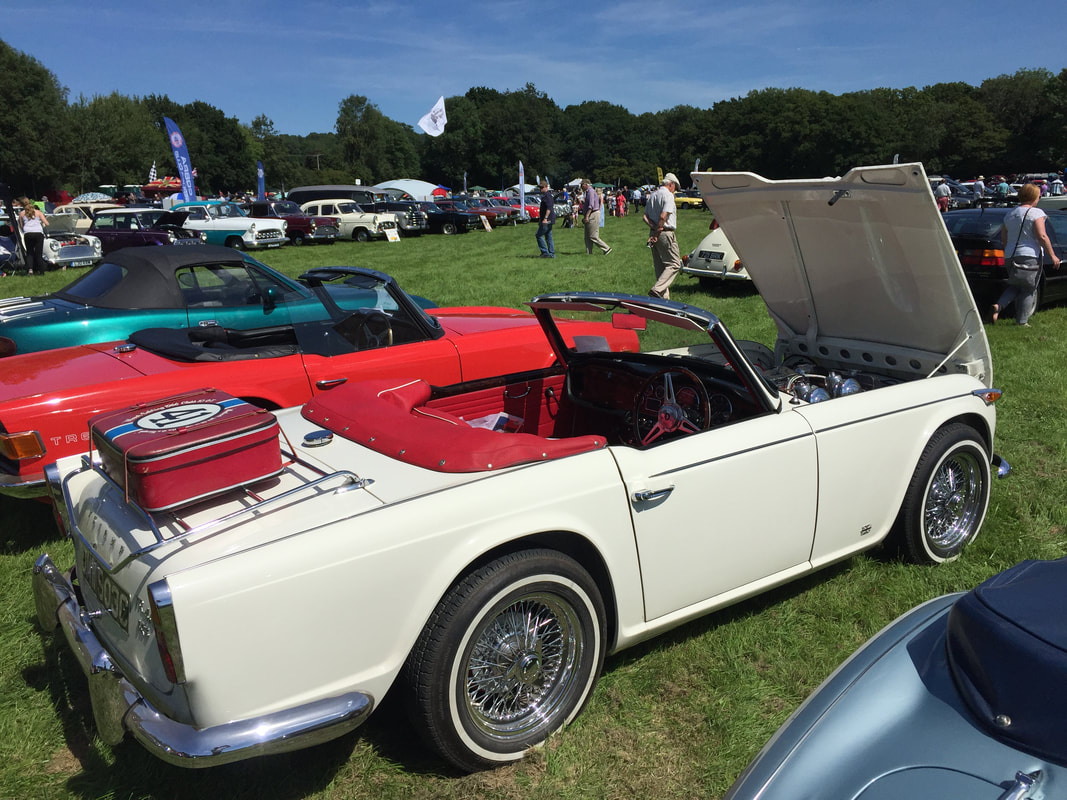
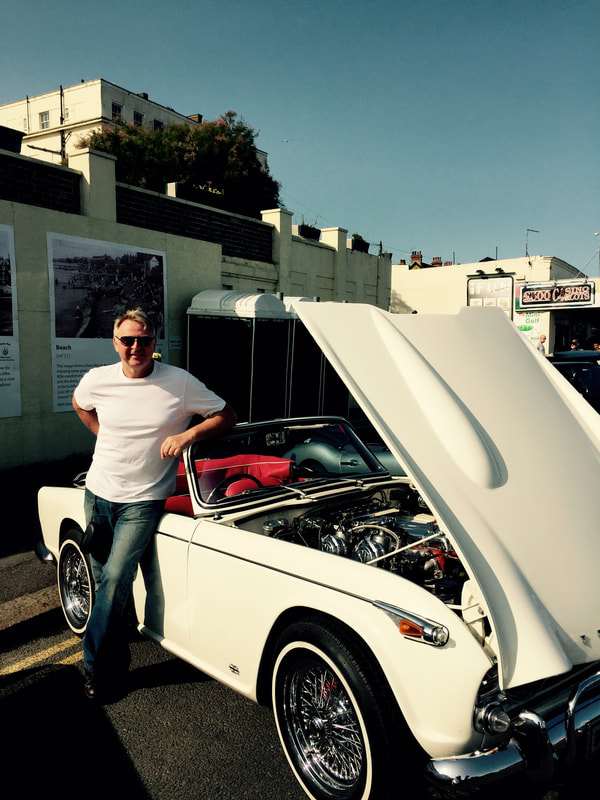
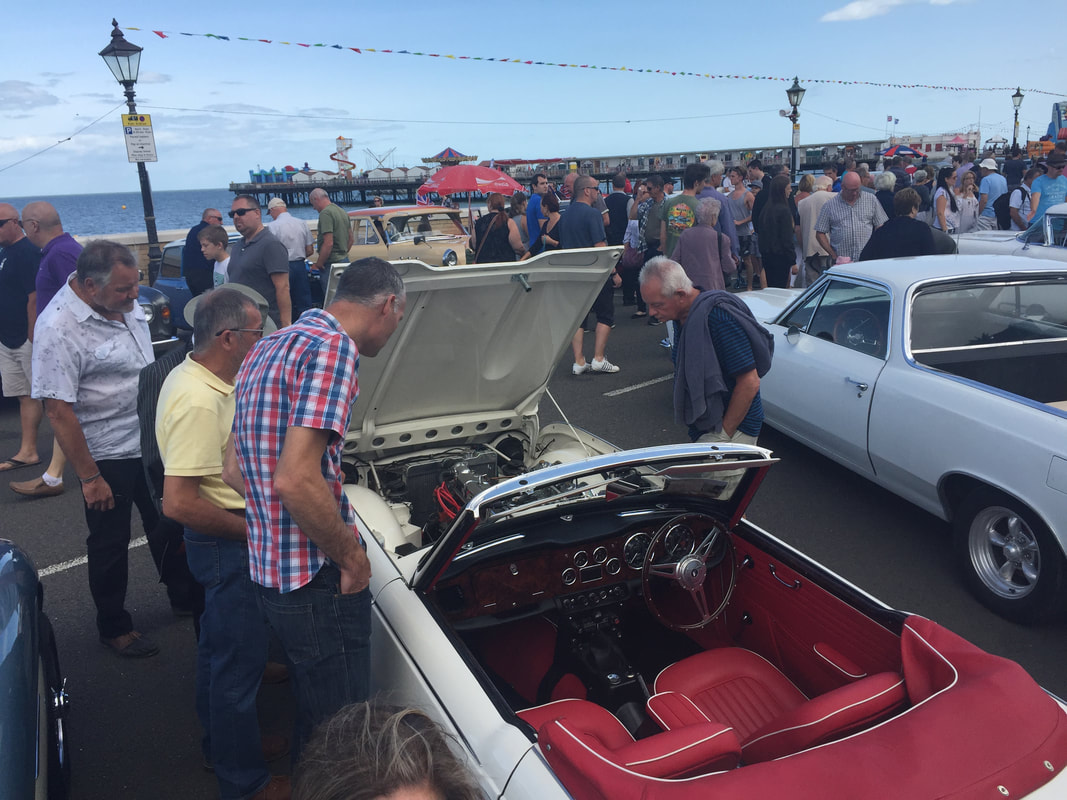
Using the TR4A on a daily basis. |
The Triumph TR4A cuts a classic shape amongst the new cars. Seen here parked at the train station
|
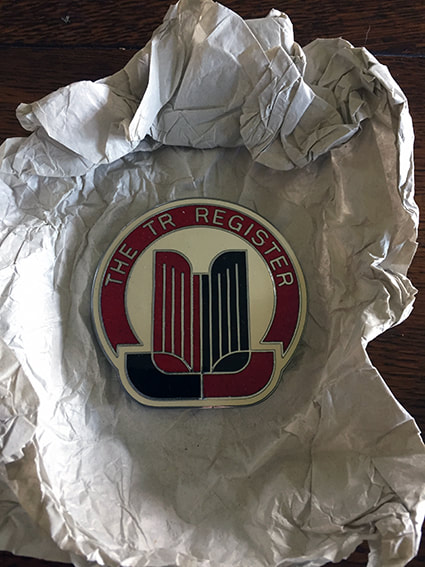
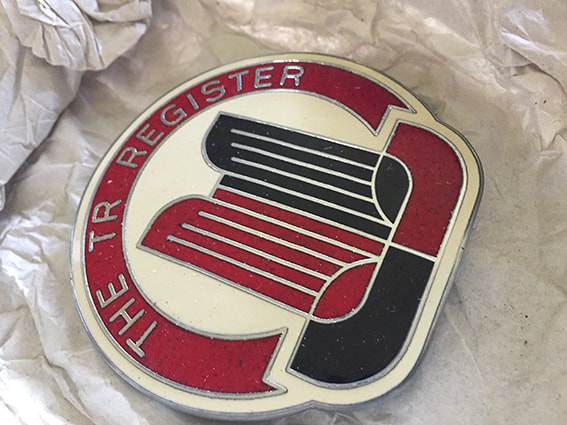
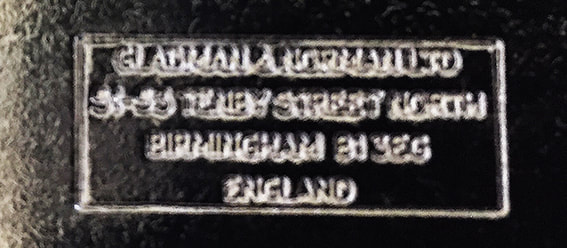
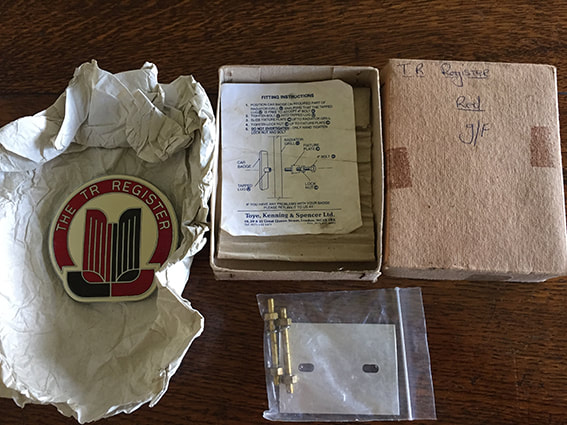
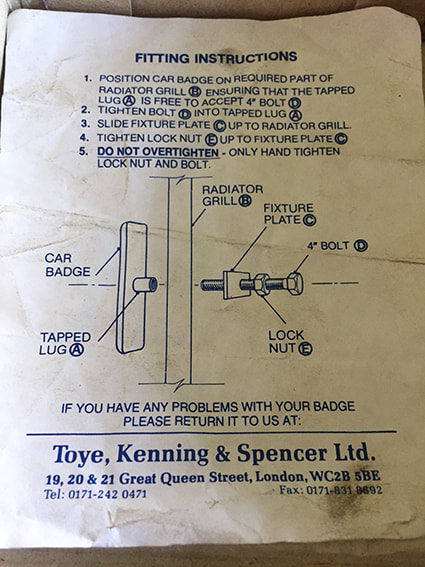
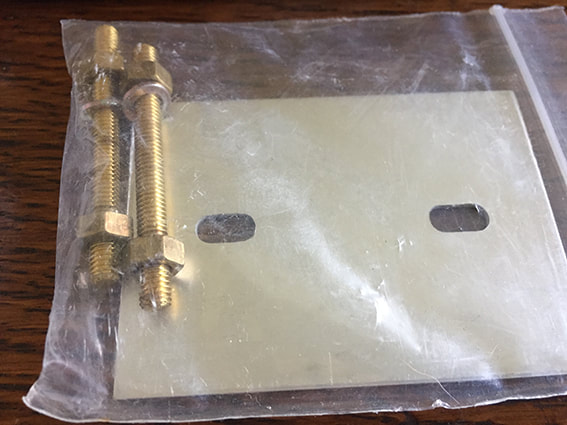
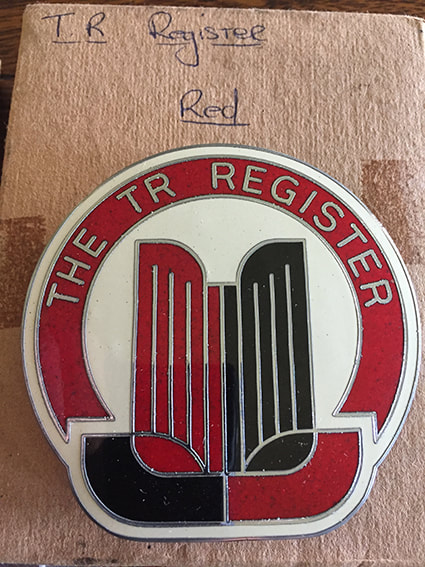
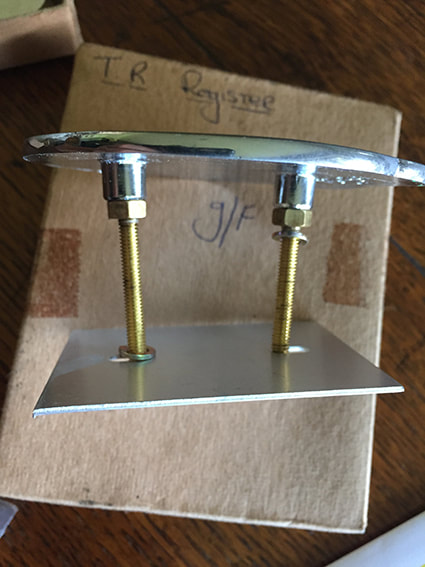
Original TR Register Car Mounted Badge |
This is a very rare find I Paid £25 for this mint and 'in-box' TR Register car mounted badge. Found on EBay. Glad it is in red and white to match my Triumph Tr4A IRS. You can by a slightly more modern version, brand new from the TR Register and they cost £40. You can find them HERE or click the TR Register logo on the left.
|

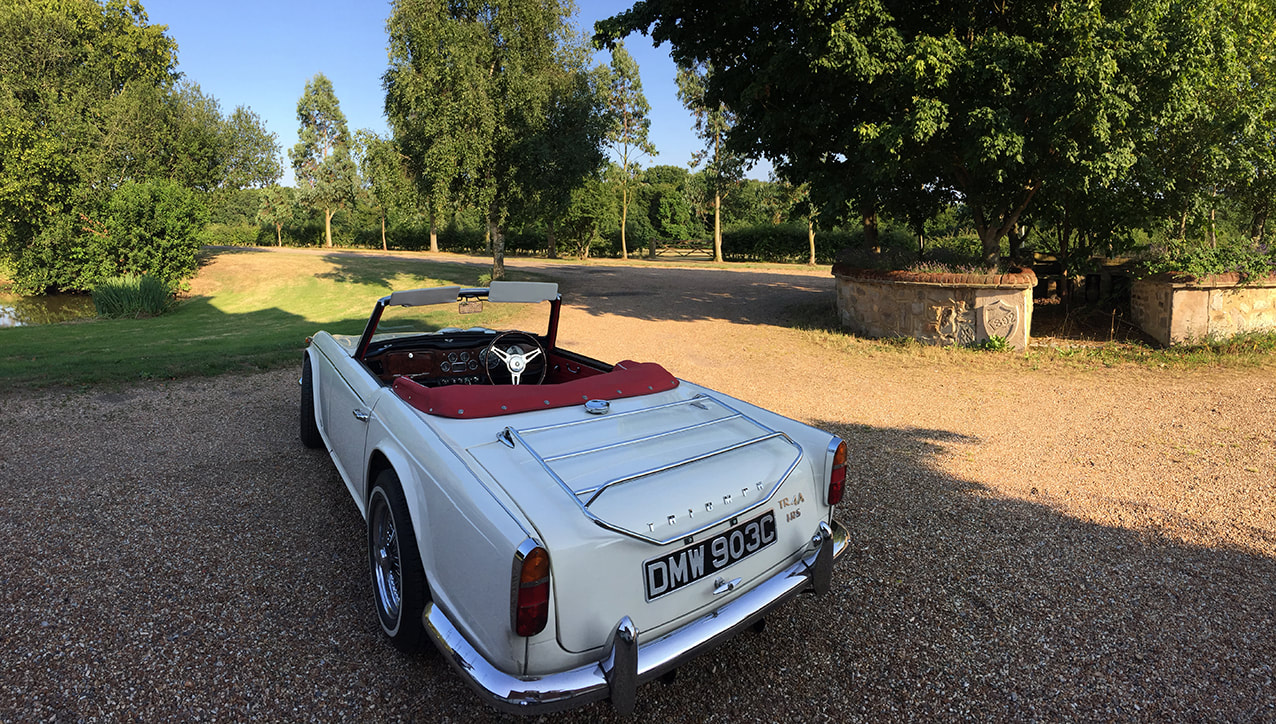
A few late afternoon pictures

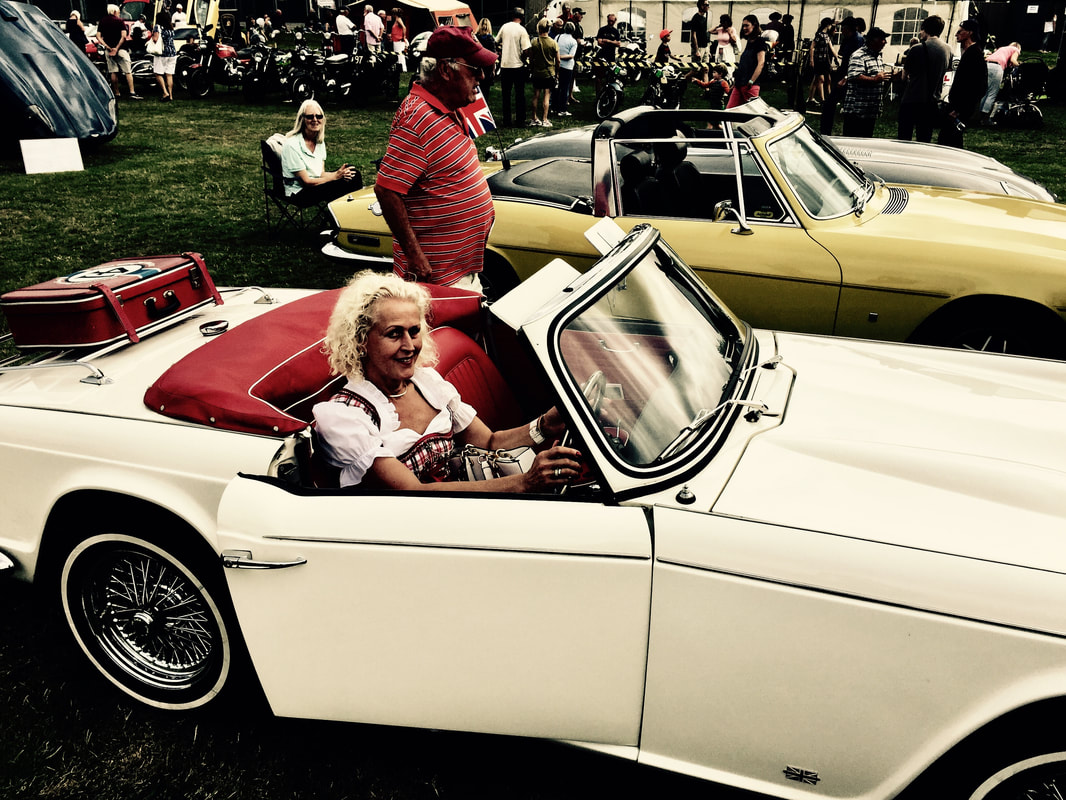
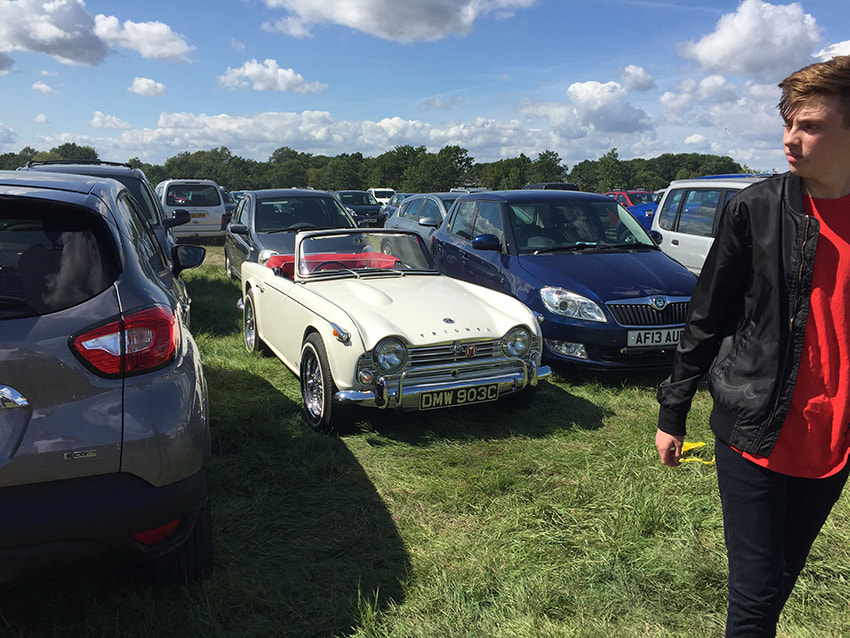
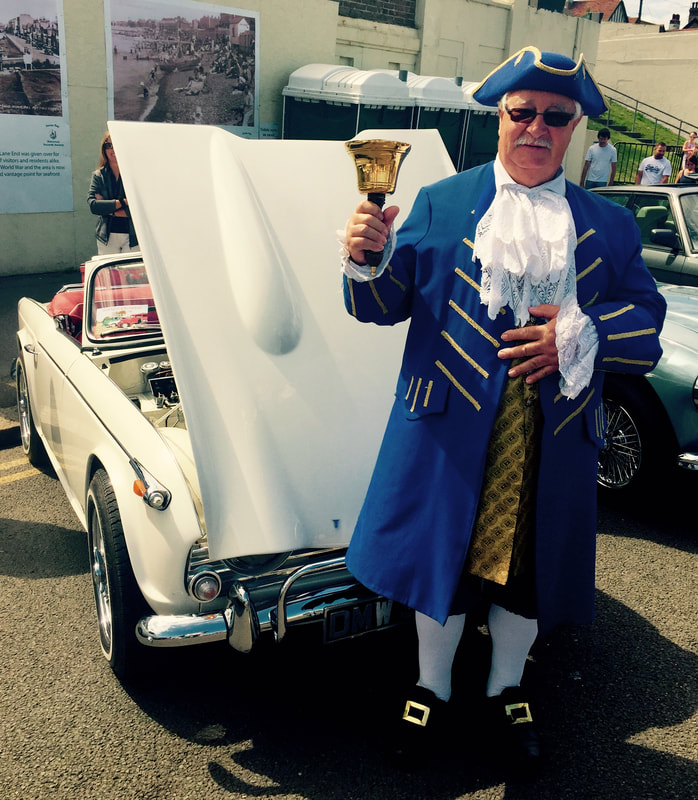
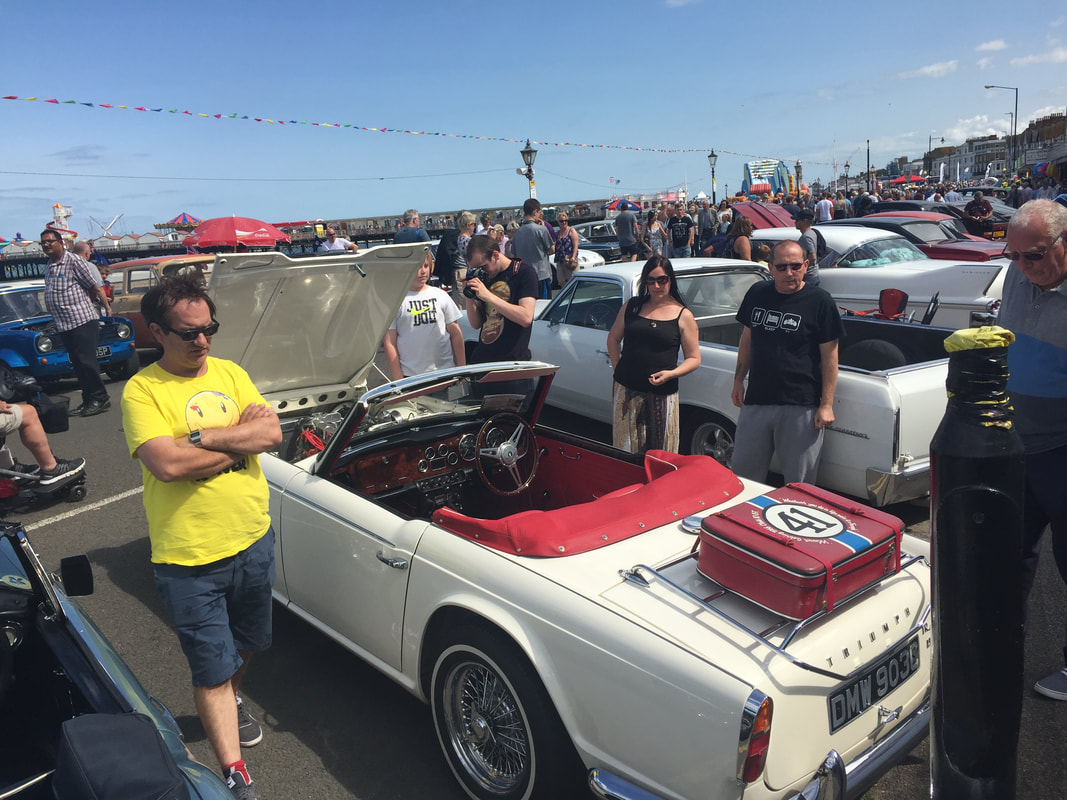
Appledore Classic Car Show - Kent - July 2017 |
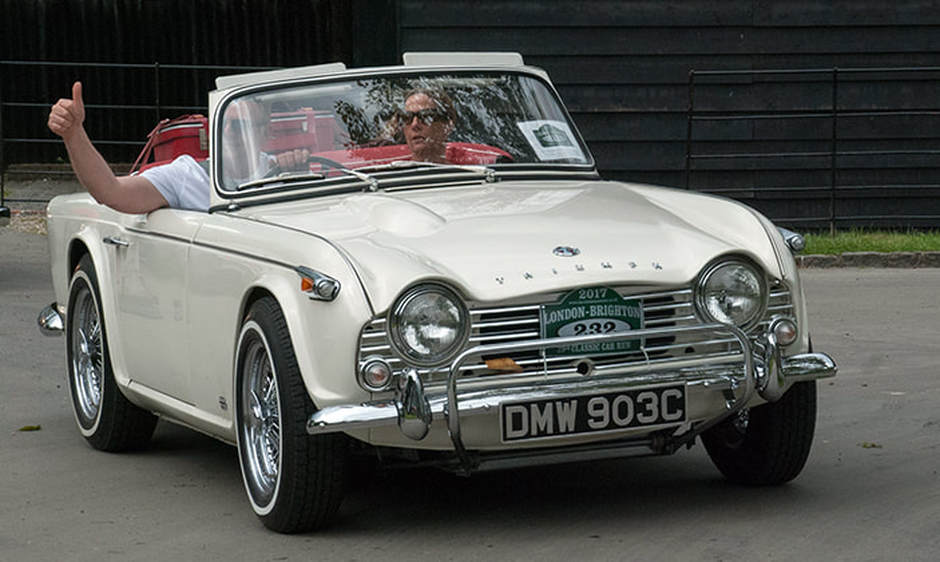
A German lady in full national costume asked to sit in out TR4A for a picture and then tried to buy it off us:-) This one is not for sale!
|


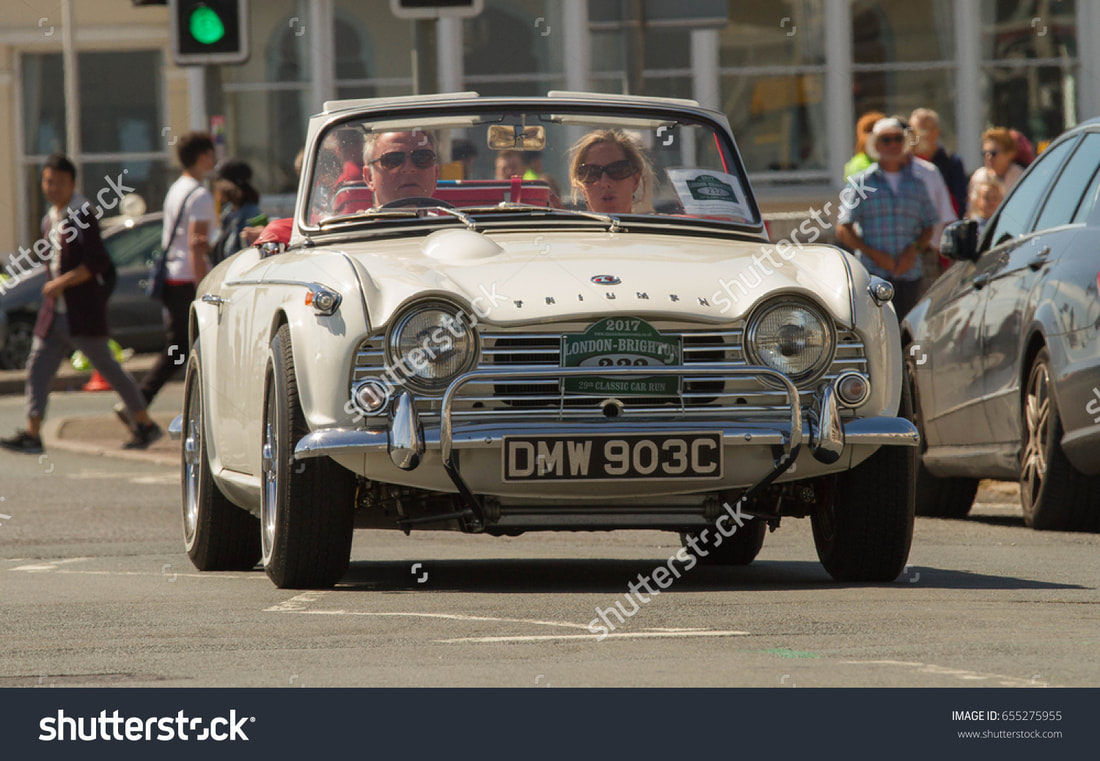
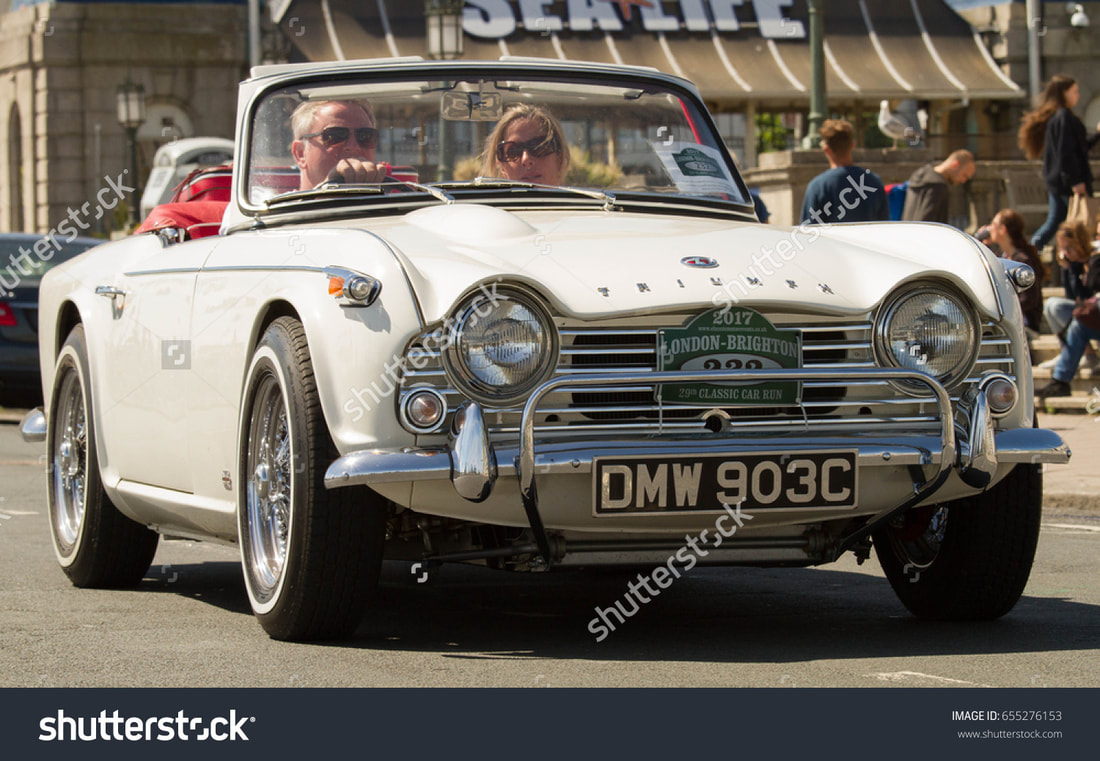
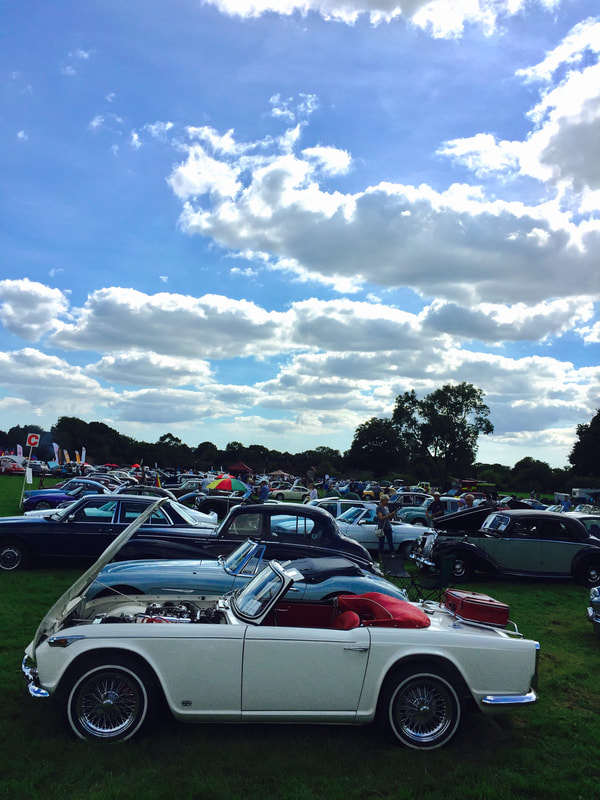
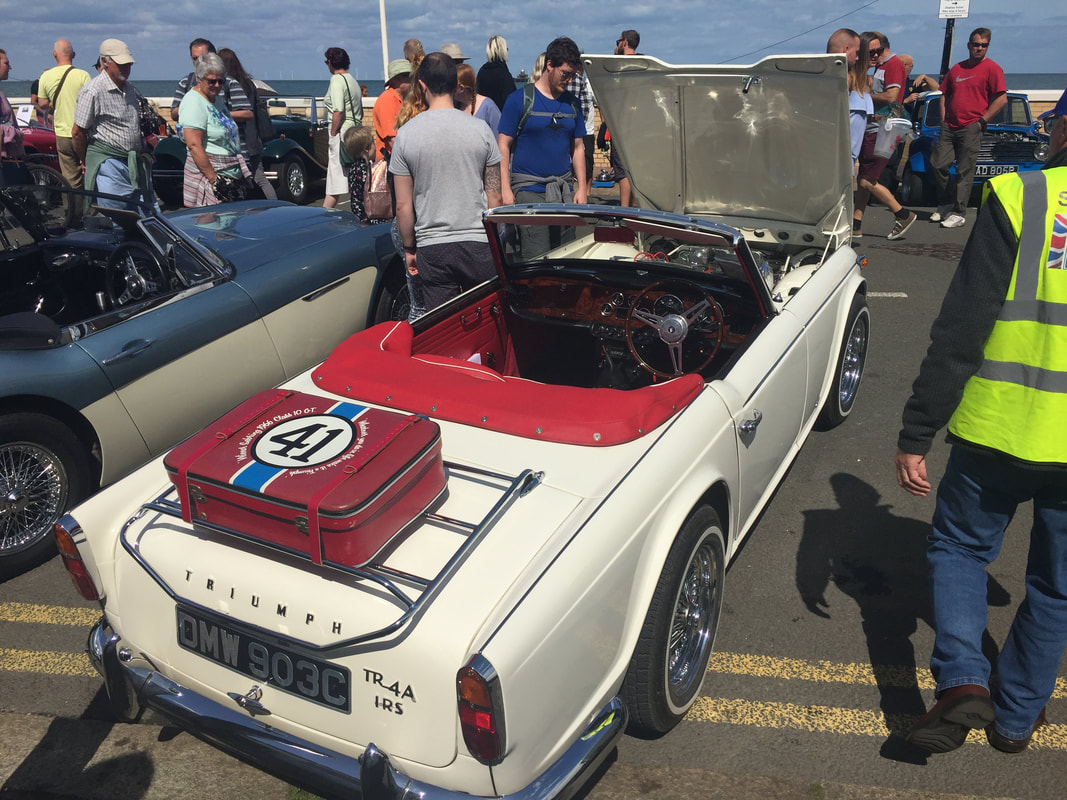
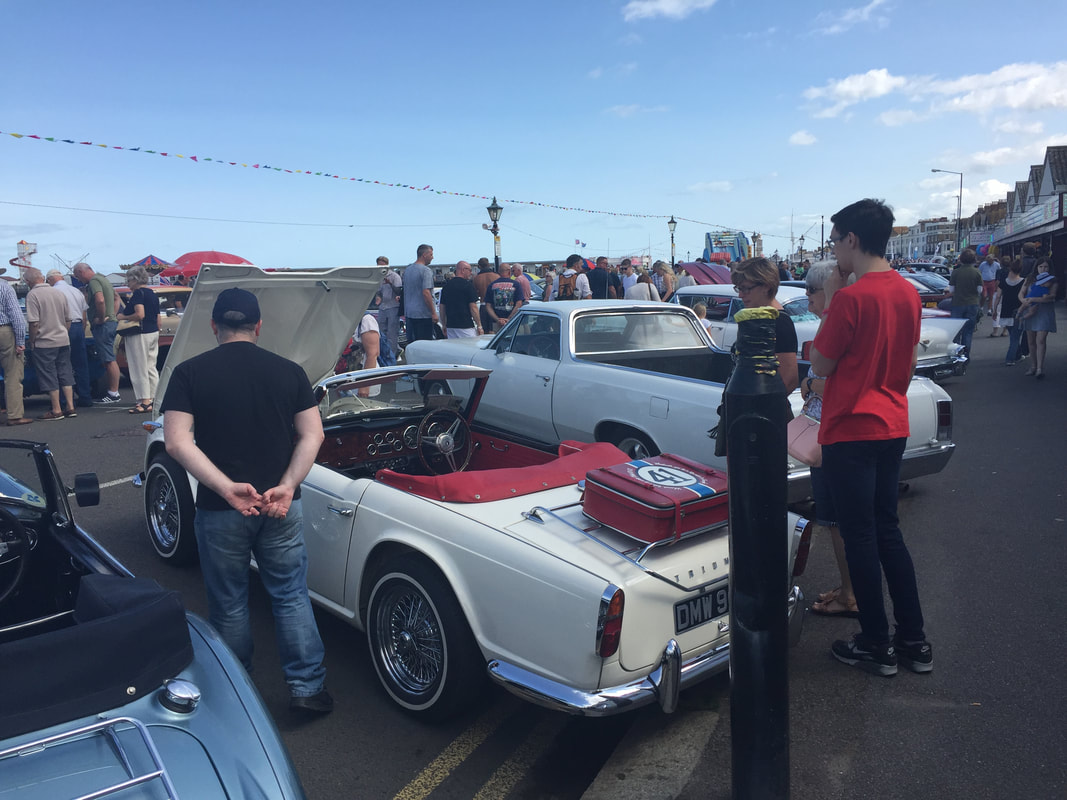
We are 'Stock-shot' people!You never know where a picture of you will end up! This one is available on the Shutterstock photographic library for editorial use. The picture was taken at the London to Brighton Classic, June, 2017.
Picture below from another website taken at the same event at Brooklands. |
|
|
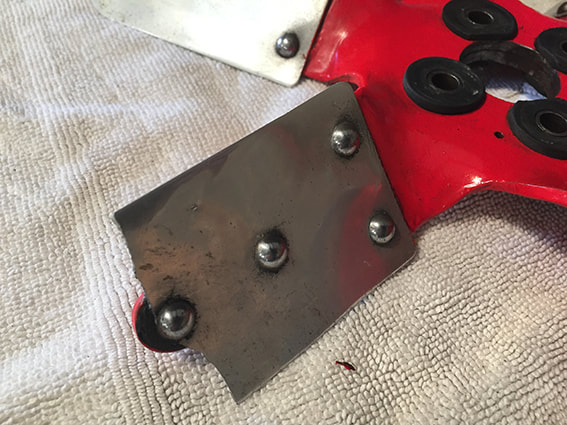
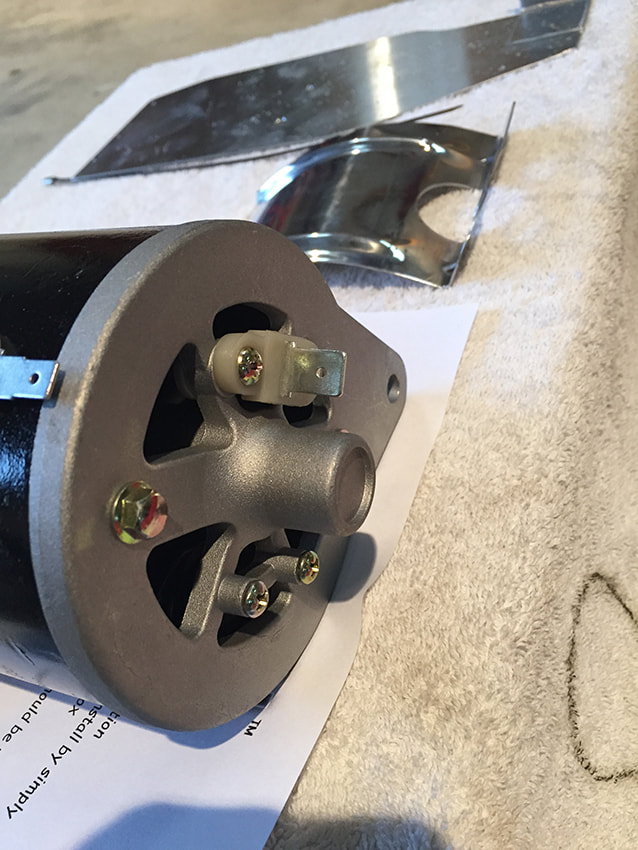
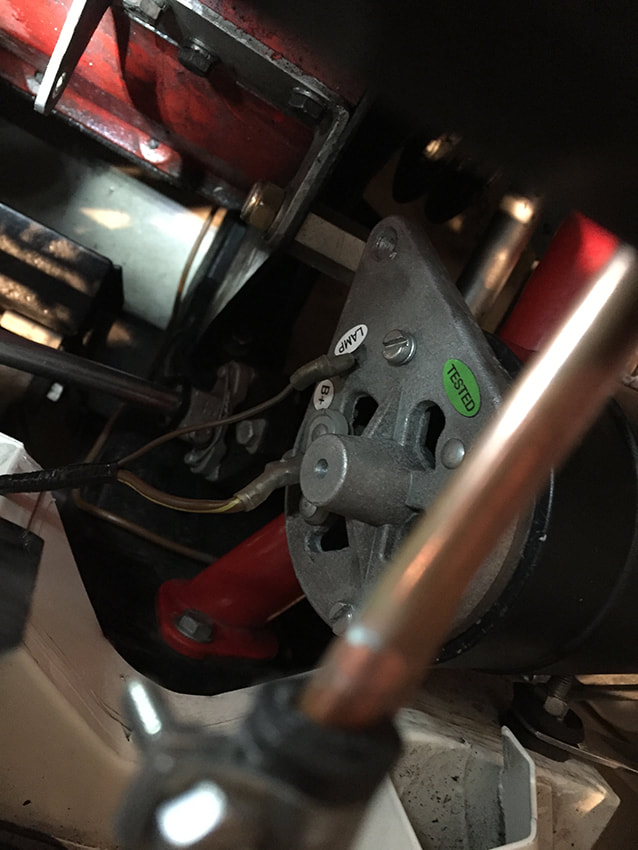
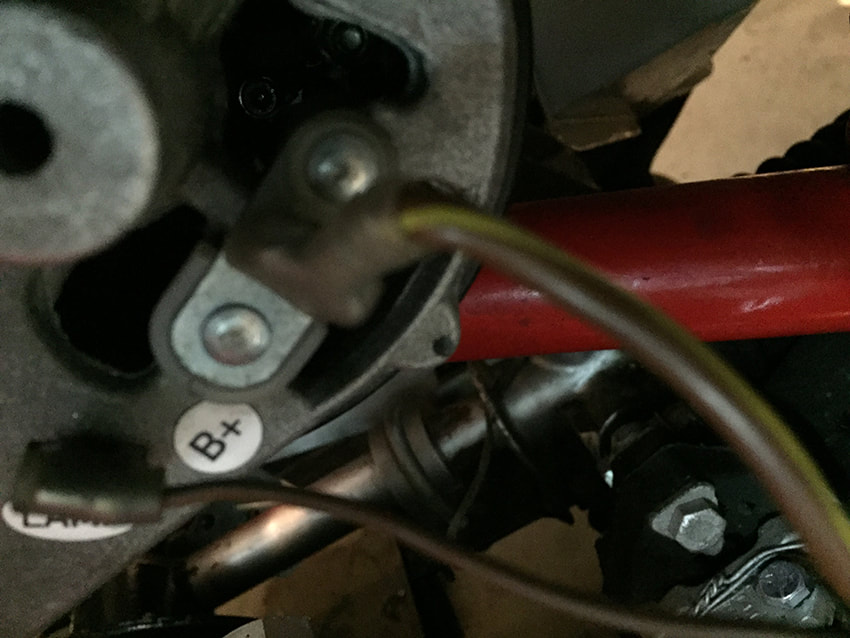
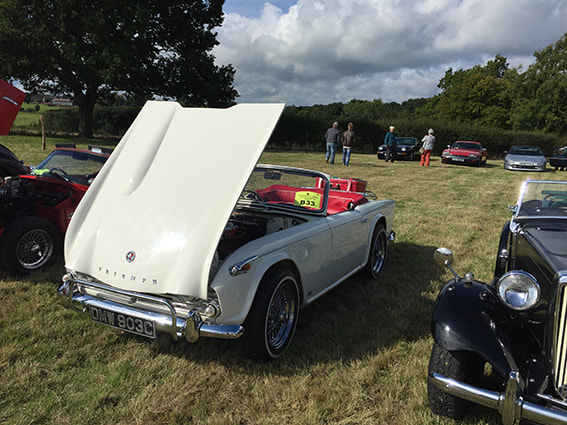
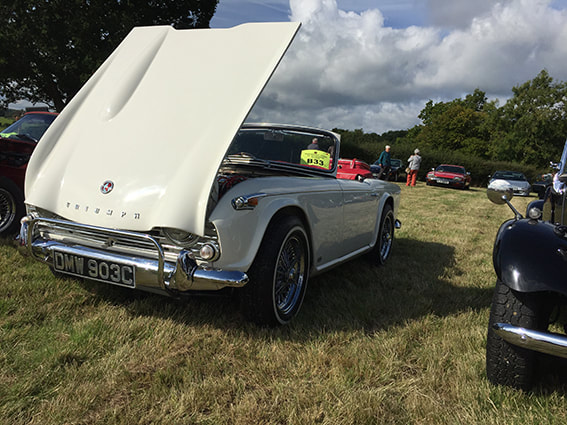
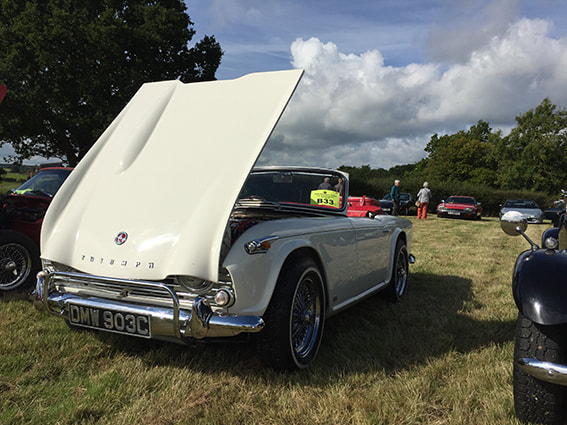
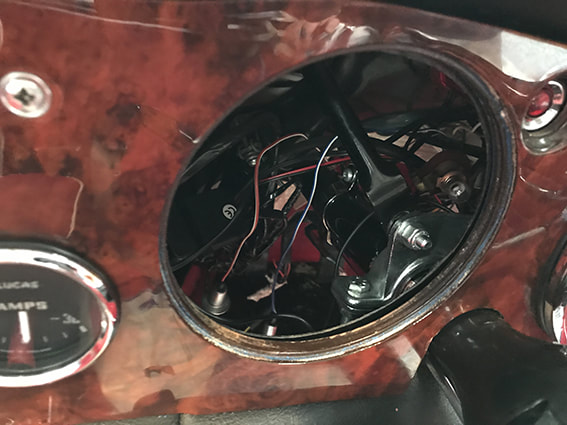
Charging issue throws up a few nasties! |
The ignition light came on and stayed on. When revving the car at 4000rpm it went out. I knew the fan itself had lost a blade. Wiring to the alternator (We don't have a dynamo) seemed fine with no loose connections. We ere getting no charge. So We took the fan off to get a look at the broken blade. When the fan belt was removed we could see that it was split quite badly. A new belt and a new fan have been fitted but the problem persists meaning the alternator is going to need hlp.
|
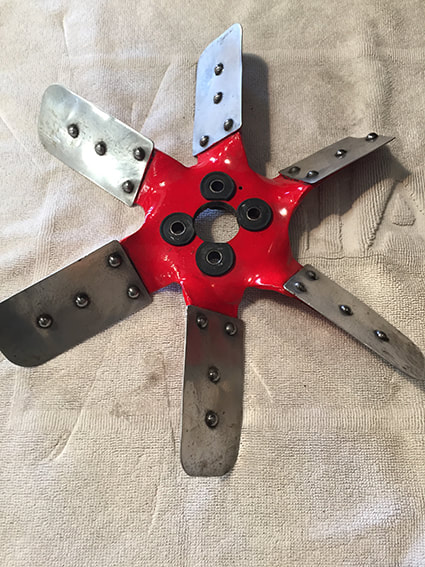
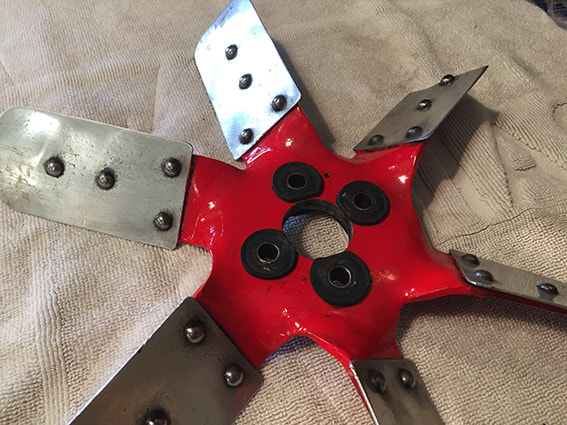


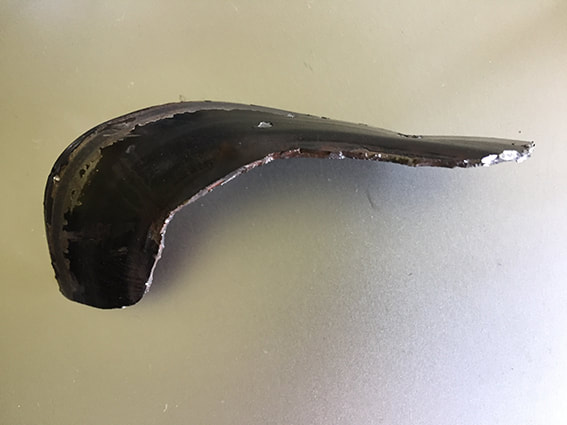
The broken fan was sold to a TR chap in Italy. His intention is to restore it and use it on his TR4A..
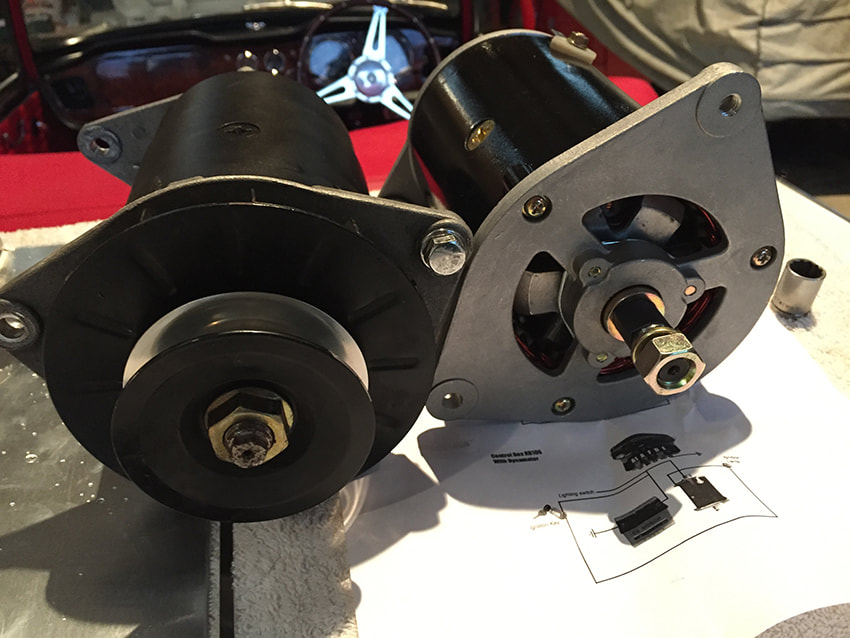
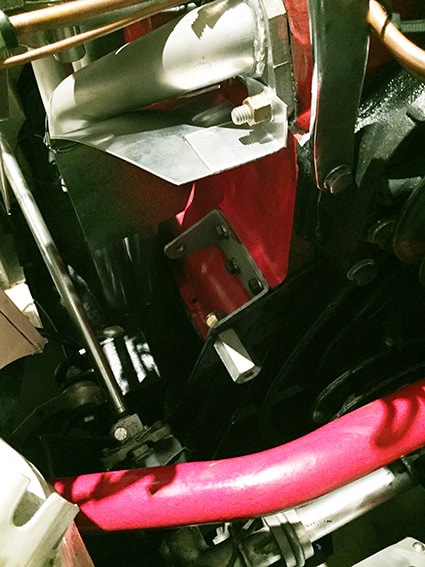
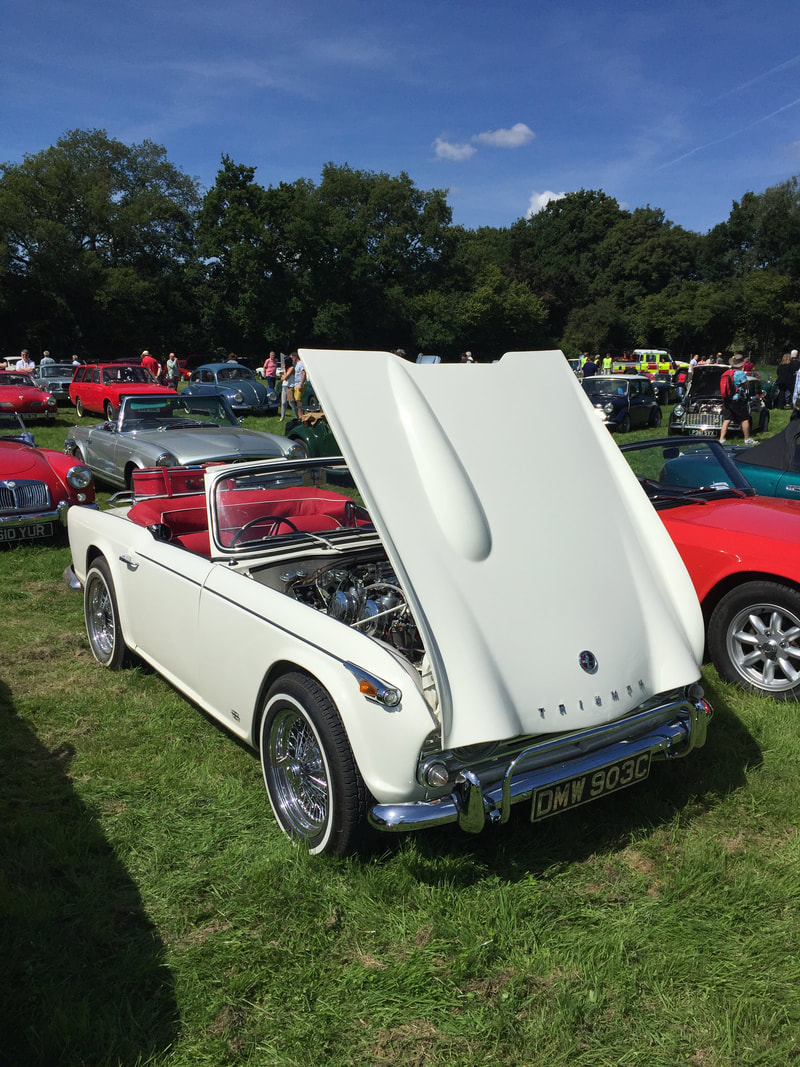
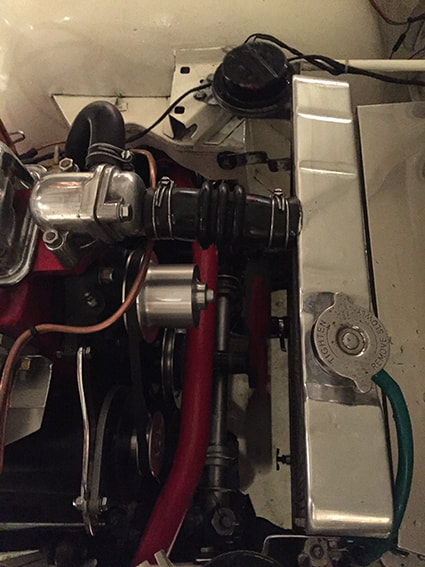
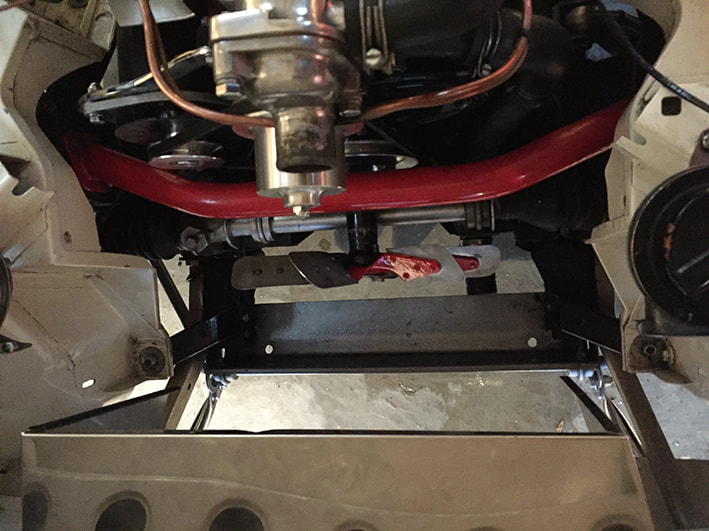
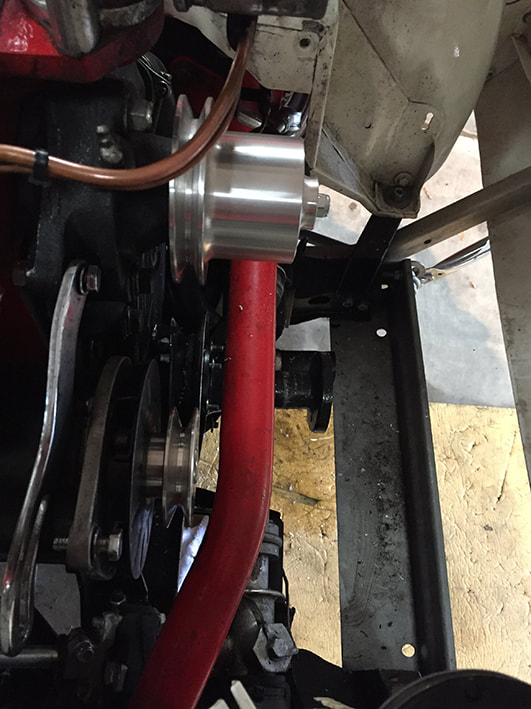
Fitting the alternator and heat shields |
Pictures show the heat shield from Revington c£25 and a heat shield for an E-type with the new dynomator alongside from Accuspark.
|

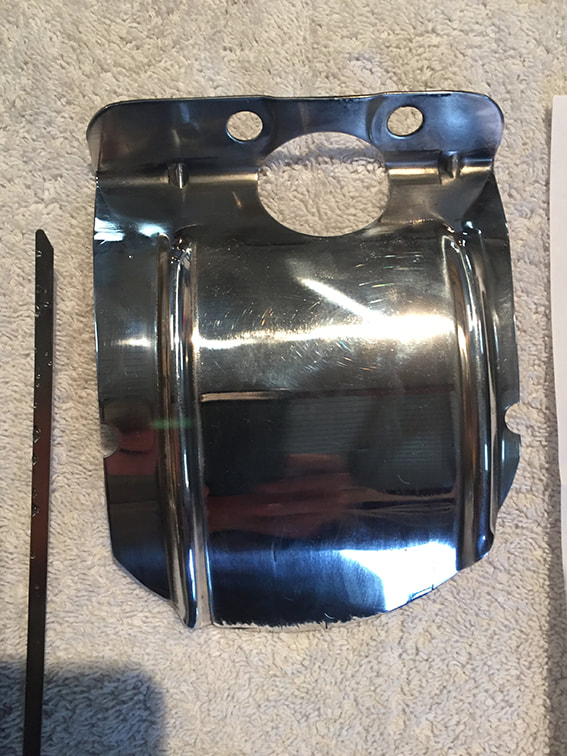


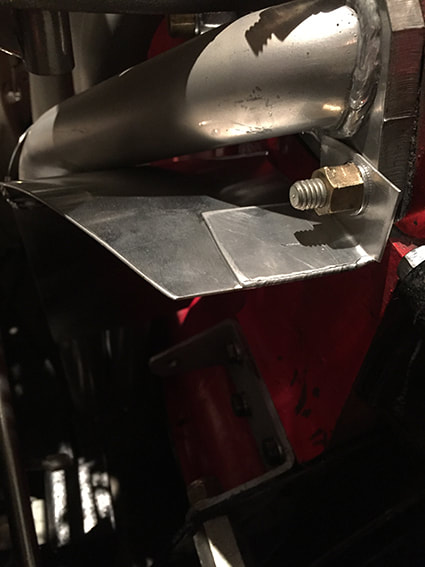
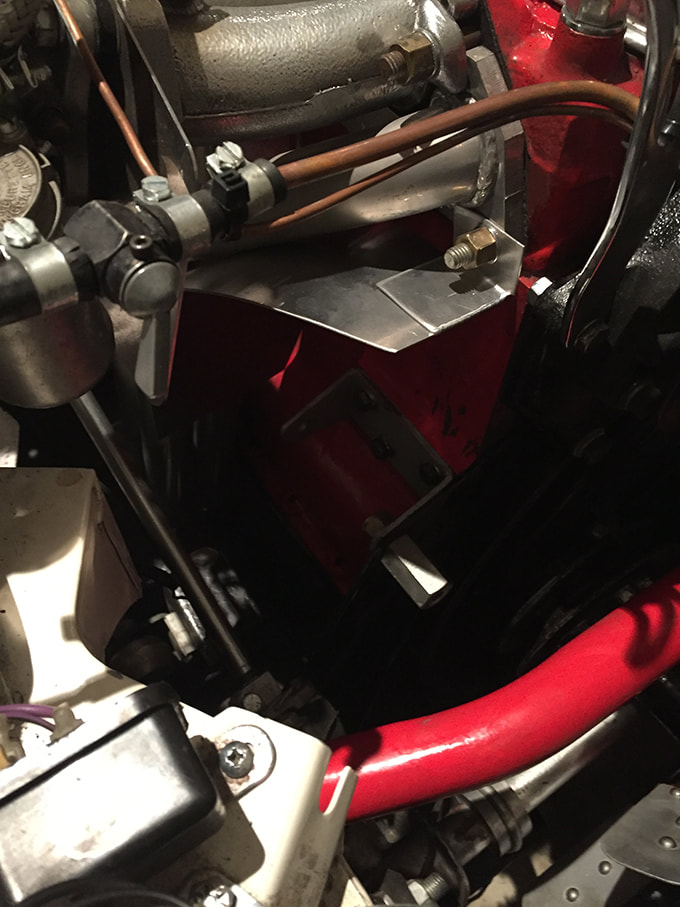
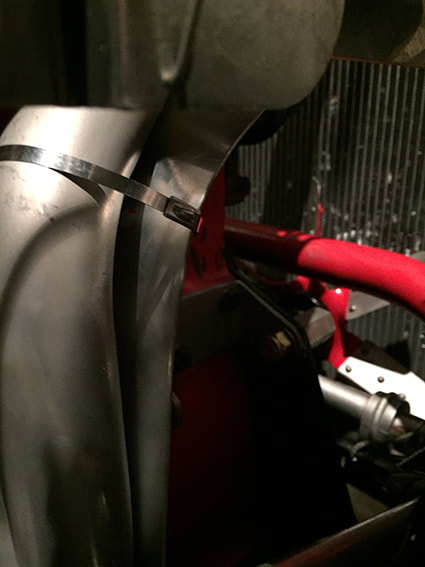
Triumph TR4A Heat shield |
Here's the heat shield installed. Simple job as it fixes via a manifold stud and a metal cable tie.
|


The missing woodruff key |
The Woodruff Key from the Dynamator went missing in the workshop???? Trying to get a replacement was a mission but it was solved as we found a imperial spec Woodruff Key and ground it back to 3mm on a friends machine.A mission yes but it got us up and running.
|

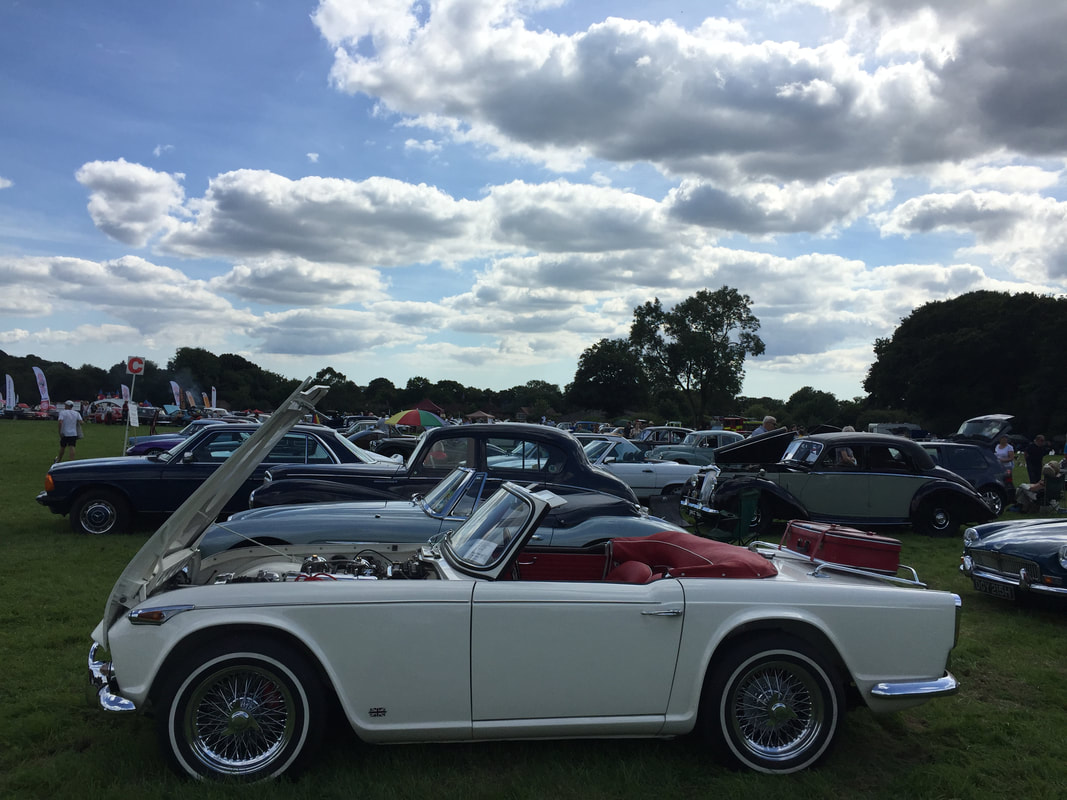
Weald of Kent Steam Rally
Our Triumph TR4A parked amongst the new cars at the Weald of Kent Steam Rally, Woodchurch, Kent. August 2017. This rally takes place at the end of our road and is a great mix of steam engine, traction engines, classic cars, classic military vehicles, aircraft and a traditional funfair.
Cranleigh Classic, Surrey, UK. August 2017The Cranleigh Classic is a really great Classic Car show. The 2017 show was made so much better through the fantastic weather on the day. To visit the show click HERE.
At the show there are plenty of auto jumble stalls, plenty of food and plenty of car clubs as well as individual cars. They separate the classics from modern so the general public car park is well away from the classics. This makes for a great show. I loved it. The organisers do a great job:-) |

|
|

|


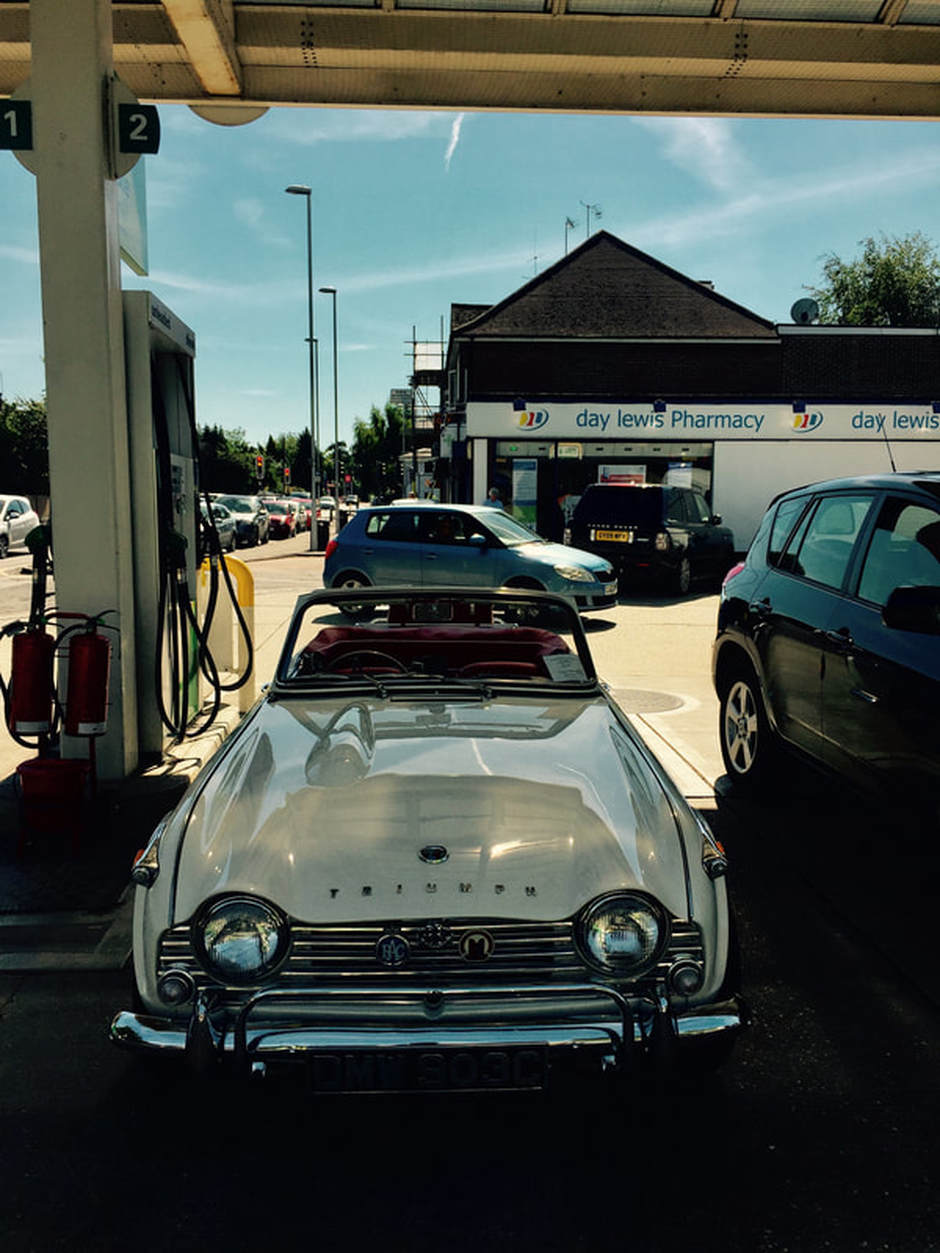
Quick Fuel stop |
Love this picture. Sunny day. Old car in a modern garage in the summer heat.
|
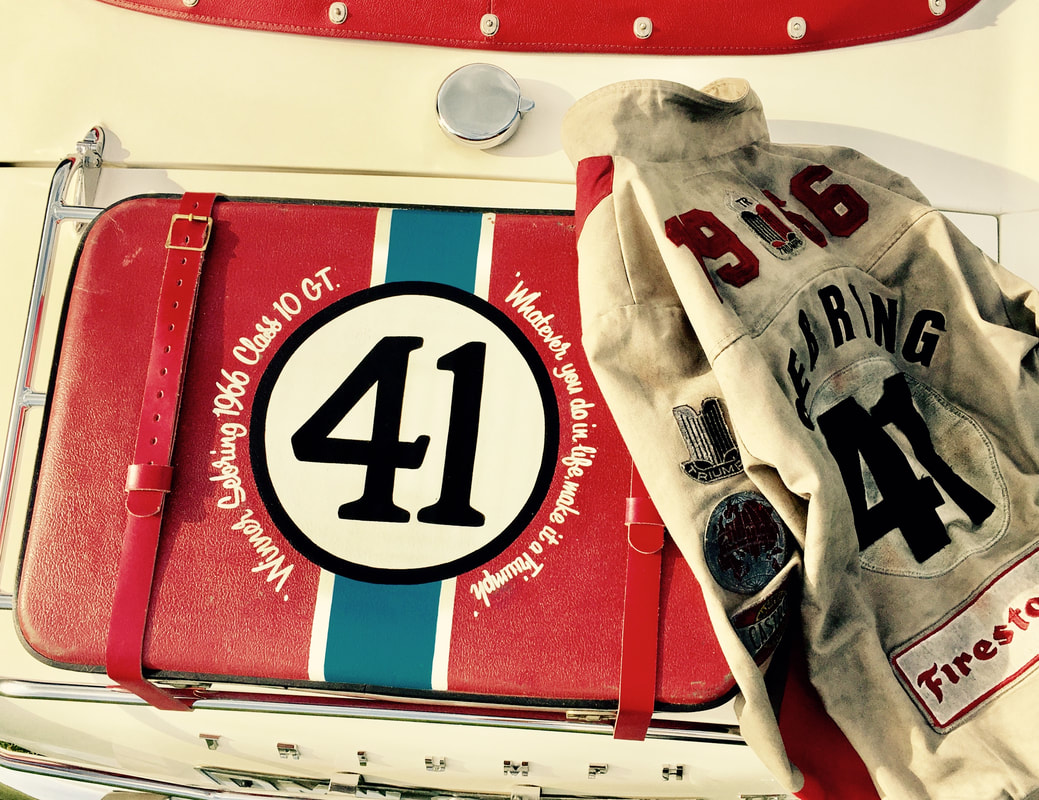
TR4A 1966 Sebring case and jacket - These live with my TR4A.
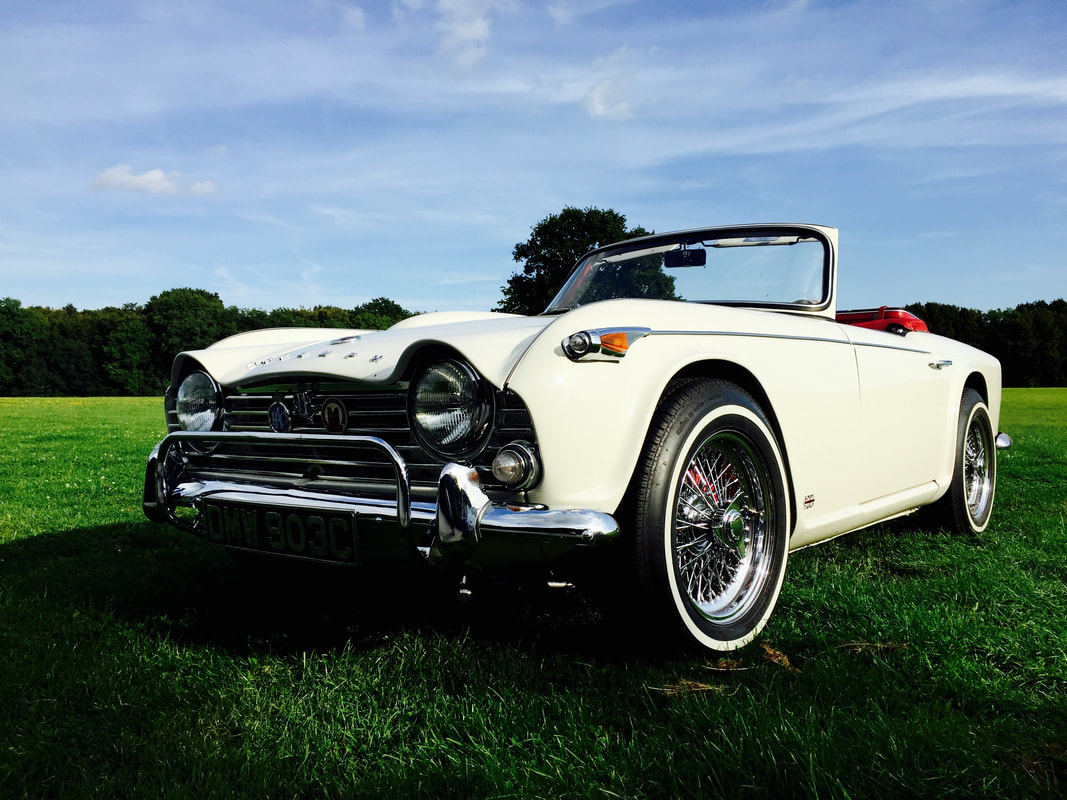
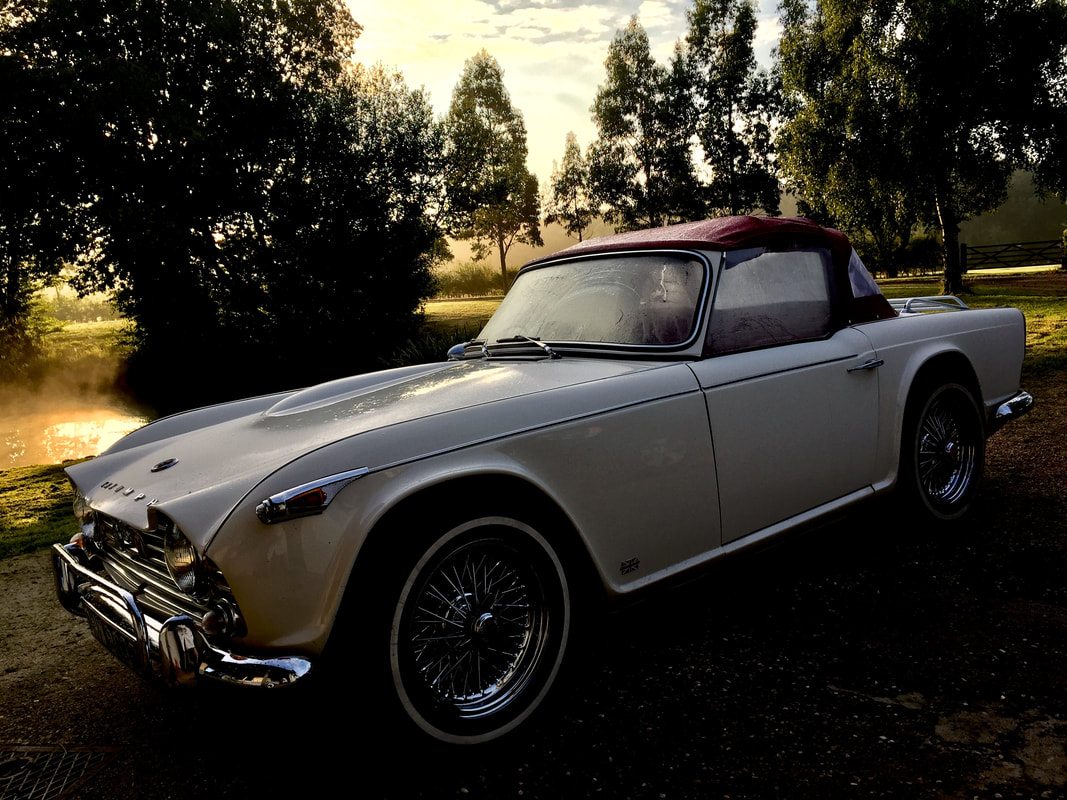
Our TR4A at its home in Kent, UK. |
These pictures were taken after a 170 mile round trip to Surrey. The car did not miss a beat.
|
|
|
Picture in the workshop before heading off to the Herne Bay Classic 2017
Herne Bay Classic August 2017
|
Love this event. It is a classic car show along the sea front at Herne Bay in Kent, UK. The whole road is closed off. Thousands of people but a real family atmosphere. Met loads of people and our TR was a popular exhibit.
|
A picture by someone else.There must be hundred of pictures out there sitting in mobile phones and laptops of your car.
I keep coming across pictures of our car Triumph Tr4A IRS DMW 903C from the many car shows we go to. The picture on the left was taken at the Herne Bay Classic 2017. I remember the day well as it was hot with plenty of sunshine and a very relaxed atmosphere by the seaside. |

|
Spotlights for our Triumph TR4A? Yes or no?
We have talked about getting a set of spotlights for our TR4A for a while. Do we need a set? No. Would they look cool? Maybe? Below is a photo mock-up to help with the decision. Right now (August 2017) I am thinking that it is an accessory to far and my headlights are good enough.
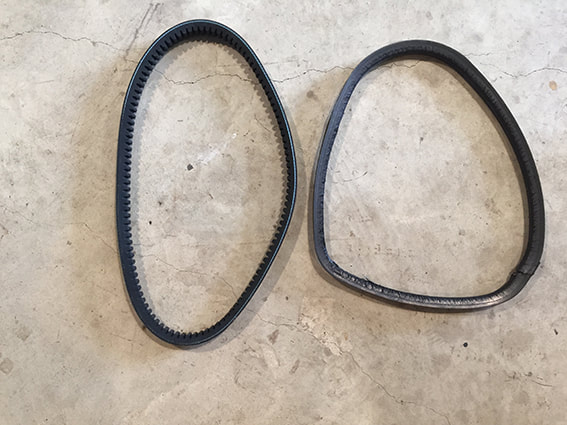
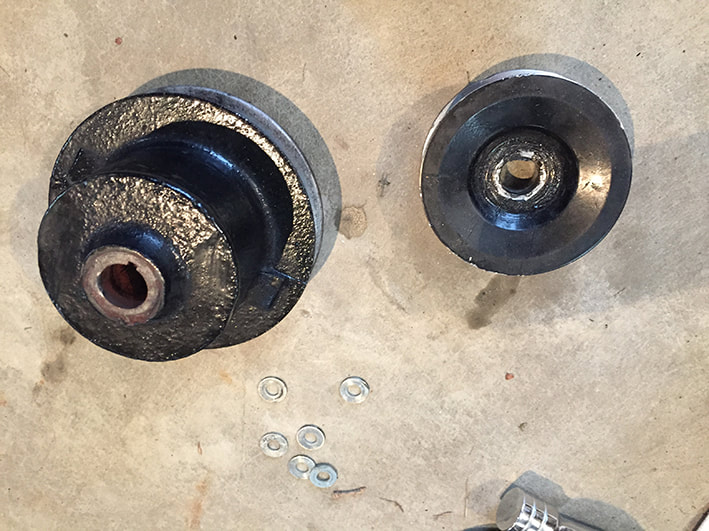
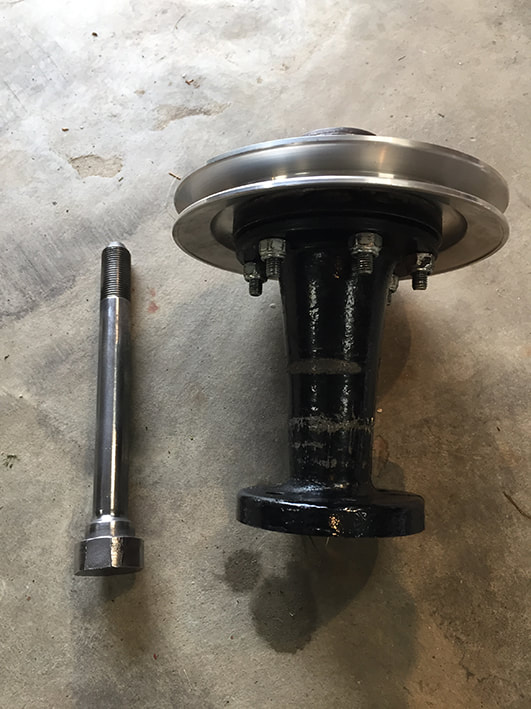
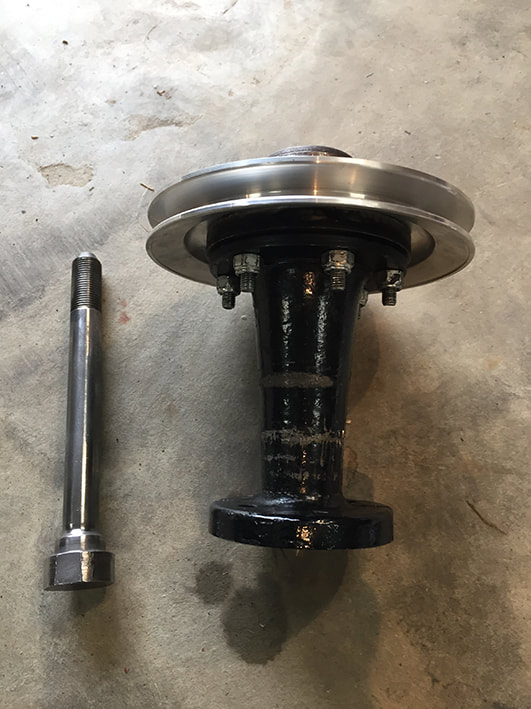
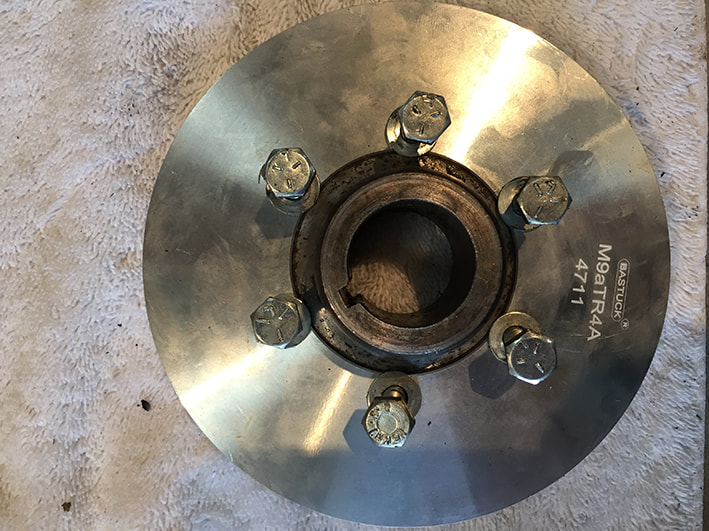
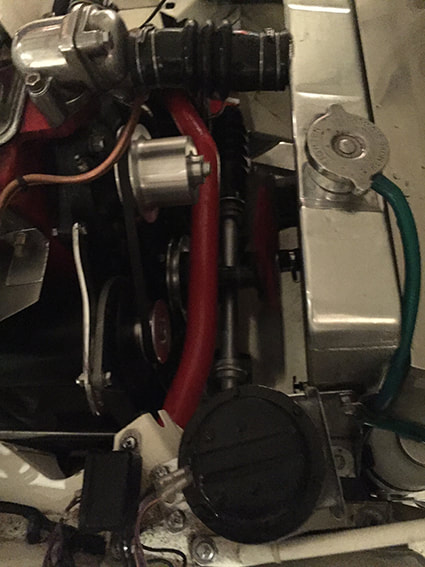
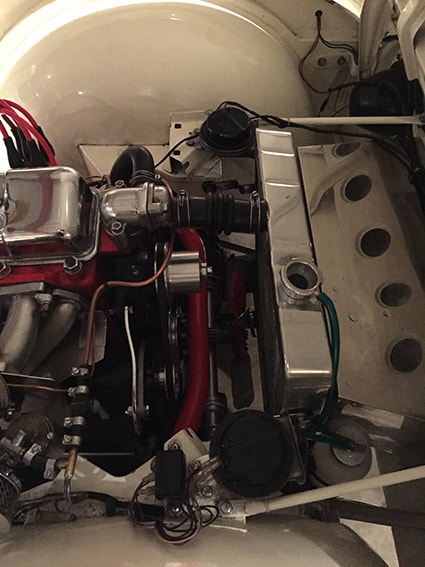
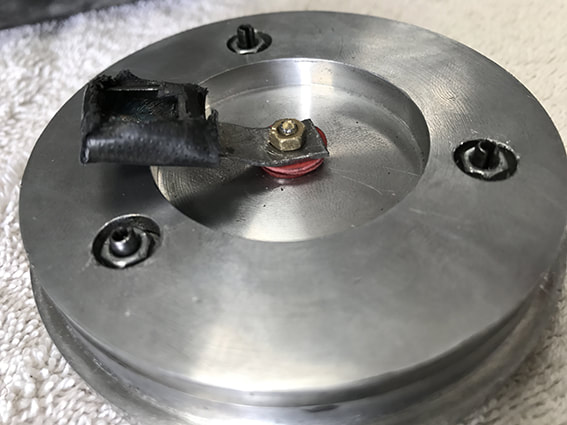
Lower pulley sheers??????? August 2017
On our way to a car show there was a loud bang from the front. It turned out to be the lower pulley that had cracked and shot off a big chunk. This three the fan belt of and the expected overheat and no charging started. We managed to make it home without going in to the red. So, our plan is to fit a narrow belt conversion kit and be done with it all. The TR Shop supplied the Narrow Belt Kit for £125.
|
|
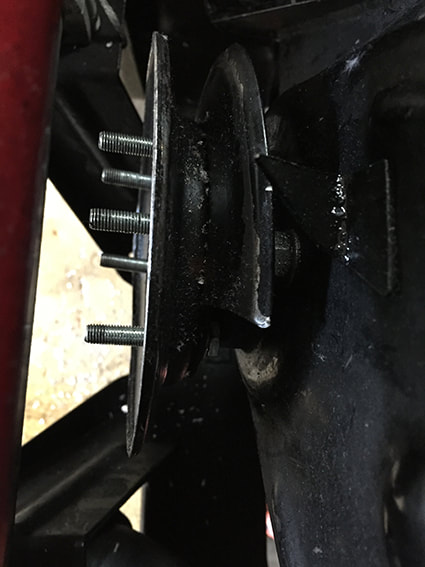
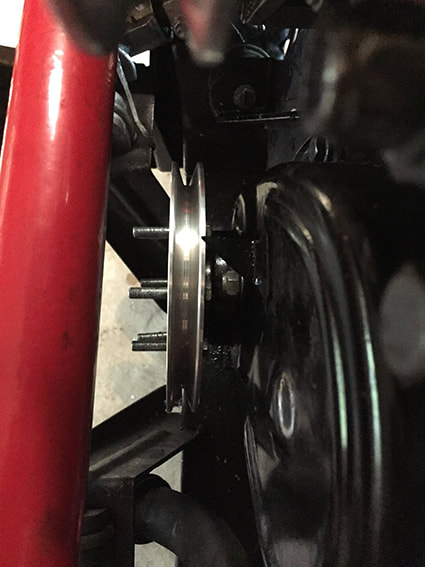
Now we have to remove the pulleys.
Radiator has to come out. Front air cowl has to come out. Then you loosen off the dynamo.
1: Remove the dynamo pulley with a hub puller and replace.
2: Remove the water pump pulley with a hub puller
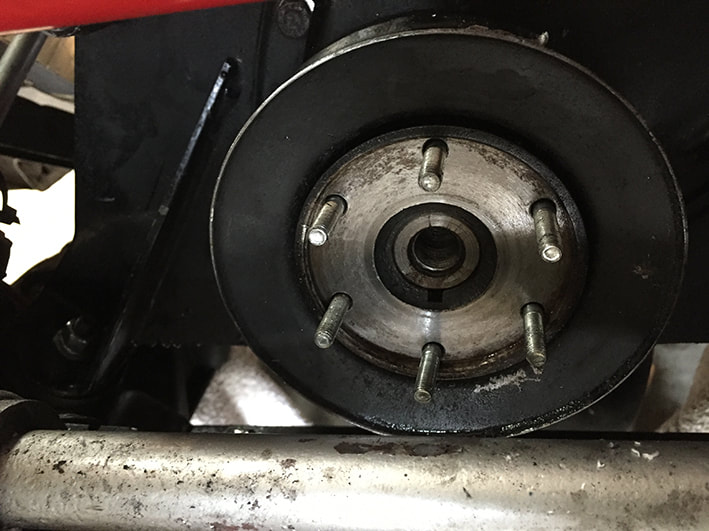
3: To remove the lower pulley you have to take the fan off. Then you have to remove the dog bolt. It was called a dog bolt as it took the hand crank but on a TR4A this does not exist as it is just a bolt. Once the bolt is out you can then use a puller to remove the pulley. It is important to note Top Dead Centre on the pulley and replace with the new pulley and mark. accordingly.
I found this very useful text online and went out an about a large pipe wrench. It really works:-)
Working from memory, yes, you do need to remove the fan. Mark it so that you can replace it in the same location.
Then, you need a large pipe wrench to hold the fan extension hub and apply the torque to the dog bolt with a long extension.
Sounds bizzare, but I was told by a long-time mechanic who worked on the originals that that's how they did it at the factory, and you can see the pipe wrench marks on the original extension.
Anyway, I followed his advice, and it worked like charm.
On reinstalling it, use the pipe wrench again to hold the extension as you tighten the dog bolt. It's important that the timing mark be correct when you reinstall the crankshaft pulley, so it would be useful to follow the shop manual or Haynes for the full procedure.
It's not complicated, but the manual will point out the points to watch.
Don't overtighten the stud holding the timing chain tensioner spring - it's very easy to strip.
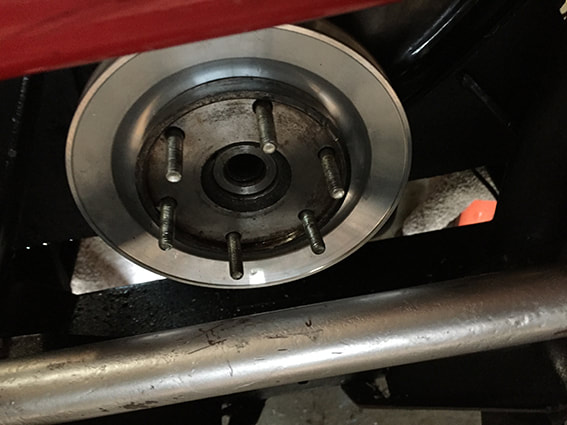
In truth, this job is a bitch:-) I had assorts of issues. The pulleys do not come off so easily. Don't loose heart though - they do come off.
Pictures bellow show some of the process and the finished result.
1: Remove the dynamo pulley with a hub puller and replace.
2: Remove the water pump pulley with a hub puller
3: To remove the lower pulley you have to take the fan off. Then you have to remove the dog bolt. It was called a dog bolt as it took the hand crank but on a TR4A this does not exist as it is just a bolt. Once the bolt is out you can then use a puller to remove the pulley. It is important to note Top Dead Centre on the pulley and replace with the new pulley and mark. accordingly.
I found this very useful text online and went out an about a large pipe wrench. It really works:-)
Working from memory, yes, you do need to remove the fan. Mark it so that you can replace it in the same location.
Then, you need a large pipe wrench to hold the fan extension hub and apply the torque to the dog bolt with a long extension.
Sounds bizzare, but I was told by a long-time mechanic who worked on the originals that that's how they did it at the factory, and you can see the pipe wrench marks on the original extension.
Anyway, I followed his advice, and it worked like charm.
On reinstalling it, use the pipe wrench again to hold the extension as you tighten the dog bolt. It's important that the timing mark be correct when you reinstall the crankshaft pulley, so it would be useful to follow the shop manual or Haynes for the full procedure.
It's not complicated, but the manual will point out the points to watch.
Don't overtighten the stud holding the timing chain tensioner spring - it's very easy to strip.
In truth, this job is a bitch:-) I had assorts of issues. The pulleys do not come off so easily. Don't loose heart though - they do come off.
Pictures bellow show some of the process and the finished result.


Update September - 2017
When looking at the car today I feel the belt is slightly out of line. I am hopeful that the Dynomator can be placed behind the dynamo bracket. If it can, everything should line up perfectly. It may be putting undue stress on the belt currently.
Our Triumph TR4A at the 'Tenterden Lions Classic Car Extravaganza' 10th September 2017.
This is a very local car show for us and the first time it has taken place. Good show all round with about 150 cars. Around 4 TRs on show and a few lesser Triumphs:-)


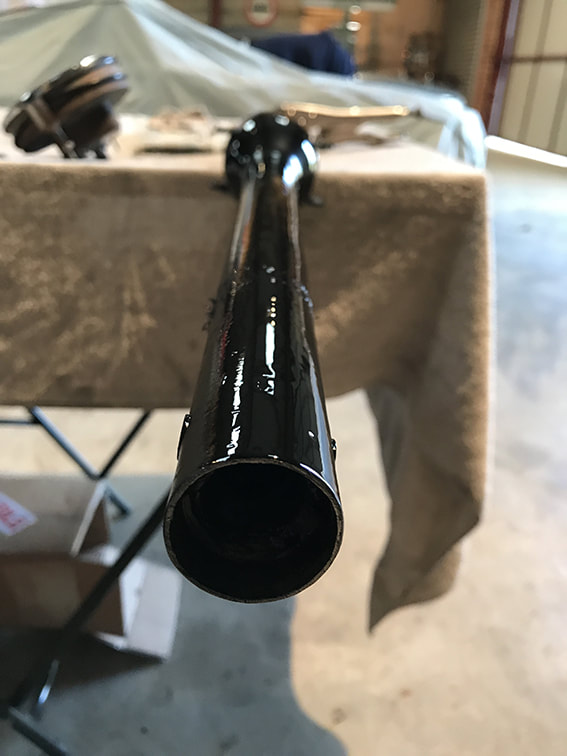
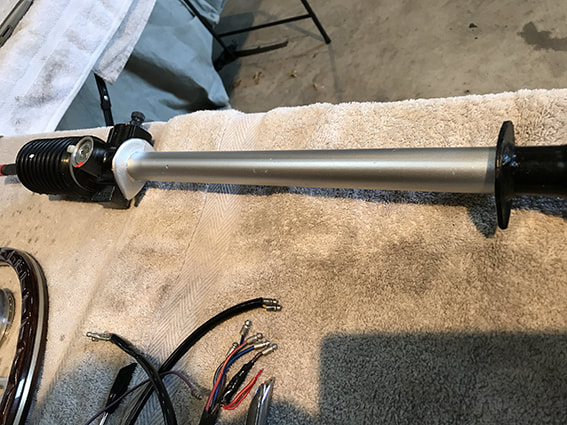
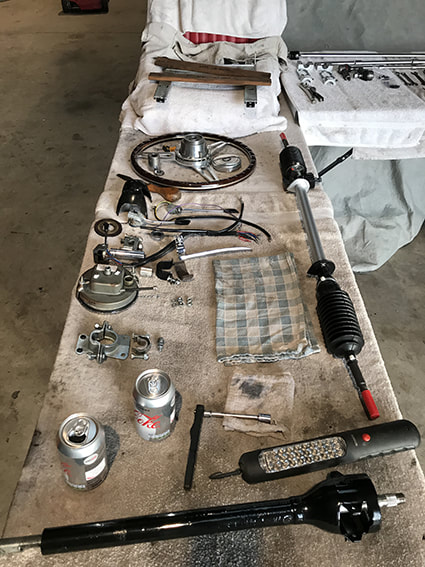
Triumph TR4A IRS Fast Steering Rack
|
I was in the fortunate position to meet up with a chap who had bought a TR4A brand new off the production line. As soon as he got it home he changed the TR4A steering rack for a triumph TR4 one. The reason being that the TR4 rack offers less turns lock to lock making the handling a lot faster and sharper. As I will be rebuilding the steering at some point due to the column bushes not working out I thought I would replace the rack for the TR4 variant to get the better handling overall.
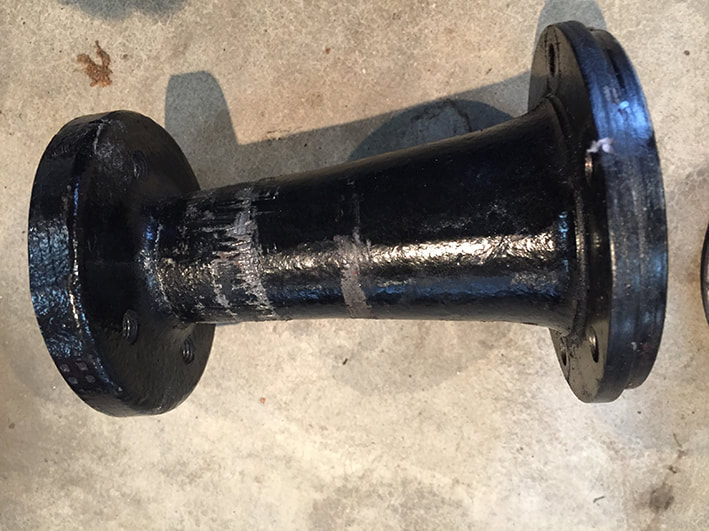
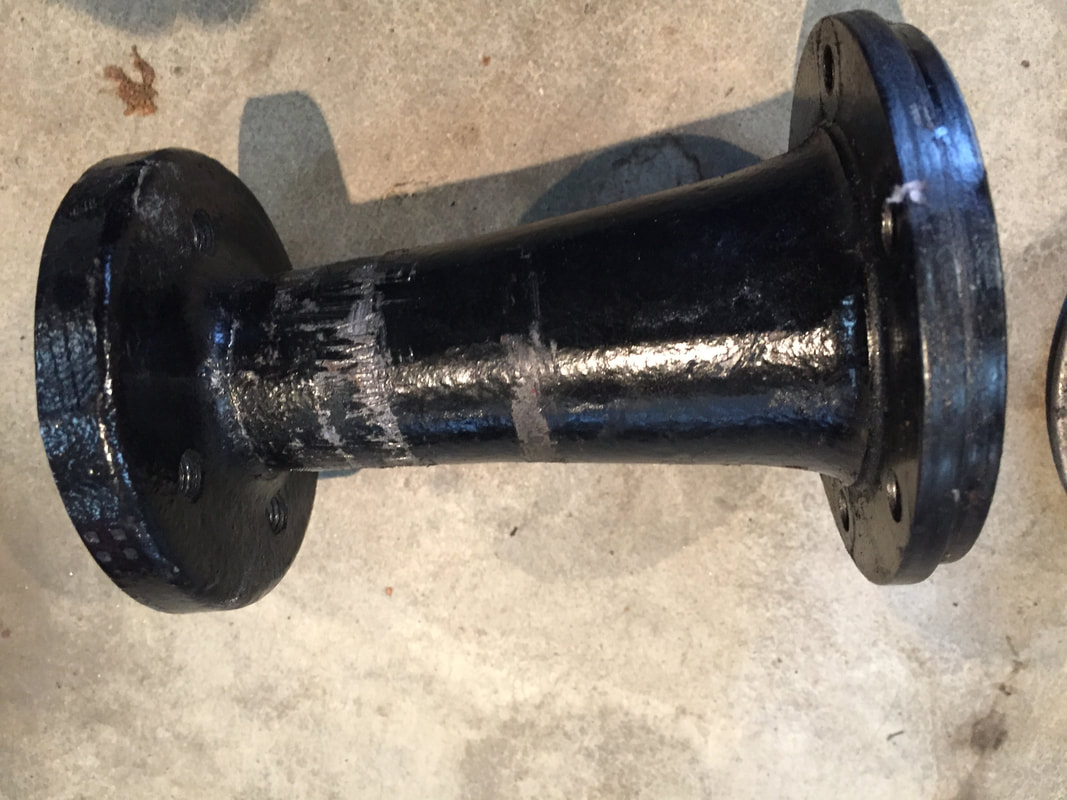
In the TR4 Parts Book, it lists Rack and Pinion Assemblies thus: 305648 (RHS), 305647 (LHS) fitted up to Commission No. CT20063 LHS and CT20265 RHS only 305930 (RHS), 305929 (LHS) fitted from to Commission No. CT20064 LHS and CT20266 RHS & future. In the TR4A Parts Book, it lists: 306829 (RHS), 306830 (LHS) The early TR4 has the rack mounted on a pair of aluminium blocks which are U-bolted to a pair of brackets rising vertically from the chassis - this is not the strongest arrangement unless, as was done on the Works Rally cars, a further pair of brackets is added, descending from the cross tube (linking the front suspensions) and interlocking at the U bolts holding the rack and blocks. |
Later (from CT20064 LHS and CT20266 RHS, according to the Moss catalogue), the rack mountings have the U bolts secured downwards into 2 horizontal brackets built onto the chassis, and this where the rubber comes in.
According to the Moss catalogue, the difference between the TR4 and TR4A R&P assemblies is their overall length: 1023mm and 1003mm, respectively. But where does the change from the quick to the slow rack occur? I can't find a definitive answer to that, although it seems certain that the TR4A had the slow (three and half turns) rack and some TR4s might also have had that type (Triumph was notorious for not having clean changeover arrangements!). The actual number of turns lock to lock does depend upon the settings of the lock stops, and those will depend upon the wheels and tyres fitted to the car. In general, the fast rack is about 2.5 and the slow about 3.5 turns. HIGH RATIO STEERING RACK TRIUMPH TR4A-6 RHD 2.6 TURNS LOCK TO LOCK - 306829HR. This is the description from Moss Europe for the 'Fast Rack'. These assemblies are factory lubricated with lithium grease (not oil as per the originals). They are sealed, and are not meant to be re-lubricated. |
See below for the fitting of the fast rack September 2017 - supplied by Moss Europe.
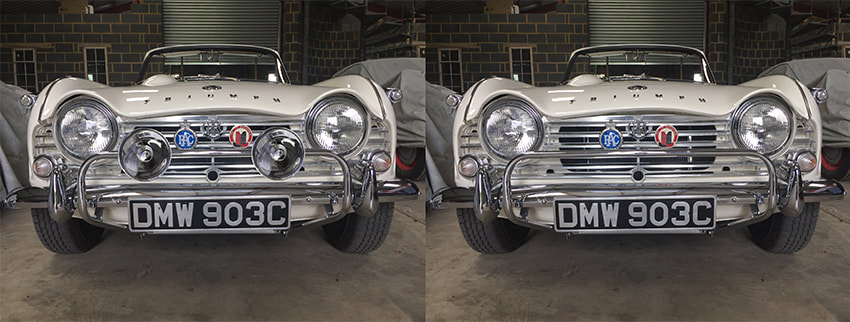
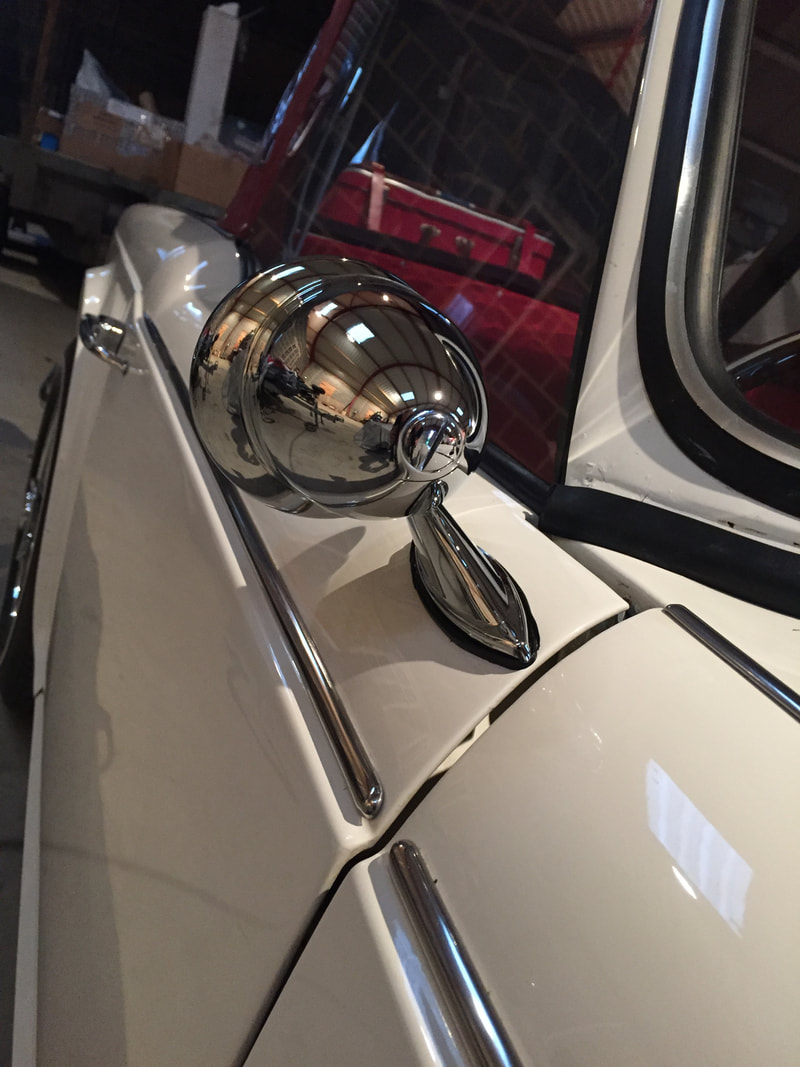
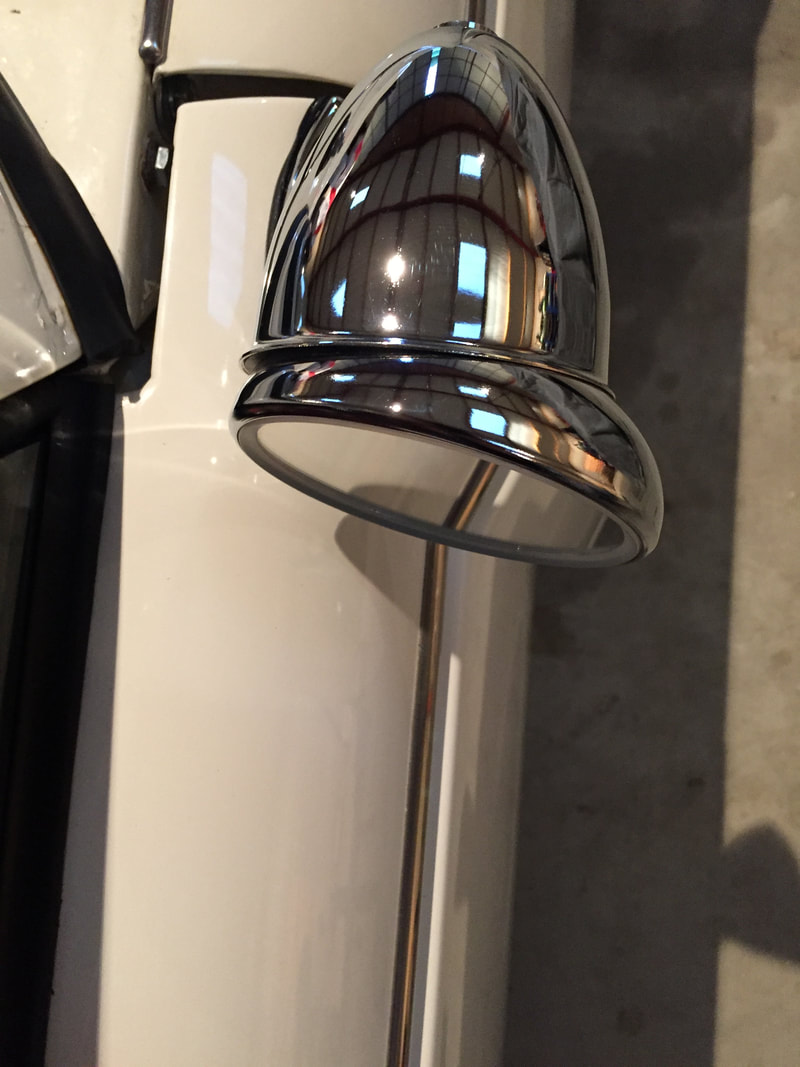
TR4A Door Mirror
Mirrors were specified from then factory. I know this as I met the original owner. I much prefer a door mirror so we have fitted this period LeMans type. There is just enough room in the door skin at the front to not have to remove the door inner workings to fit a door mirror.


Just back from a wedding - September 2017
Some friends were getting married a couple of hours away so we went in the TR4A. The drive home in the dark down all the country lanes was great. Just like a 1960's movie. Car behaved well. The picture below was taken early morning the day after the wedding. September means wet and damp starts.
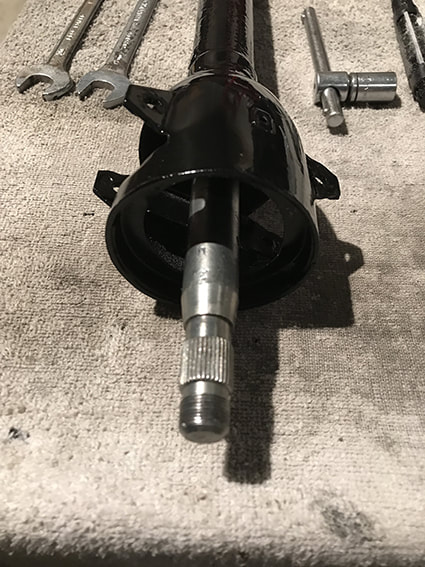
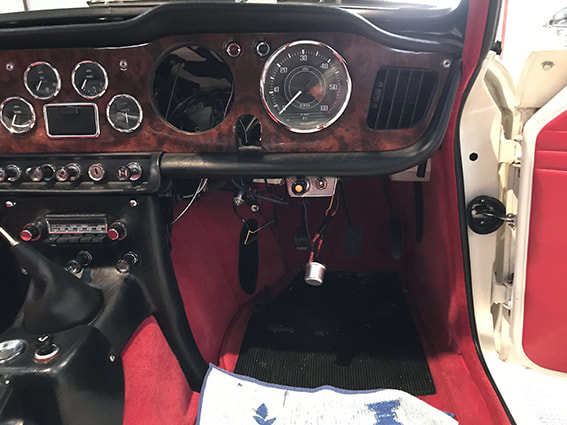
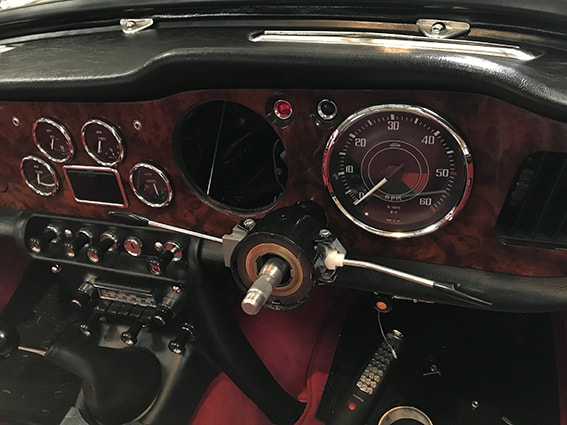
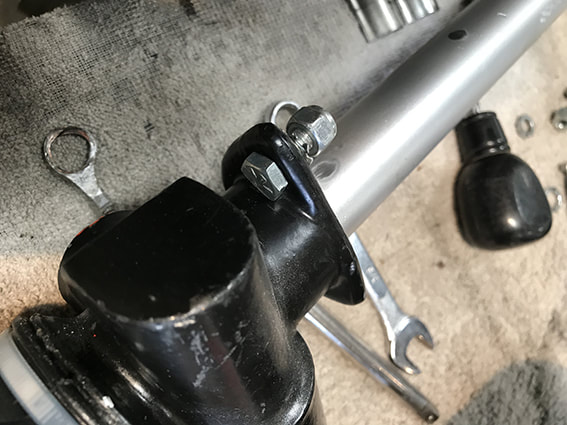
Triumph TR4A - steering strip down
In truth, I have never been happy with the steering. There was movement in the column and play at the steering wheel. So, I think I have got to the bottom of it and there are many factors.
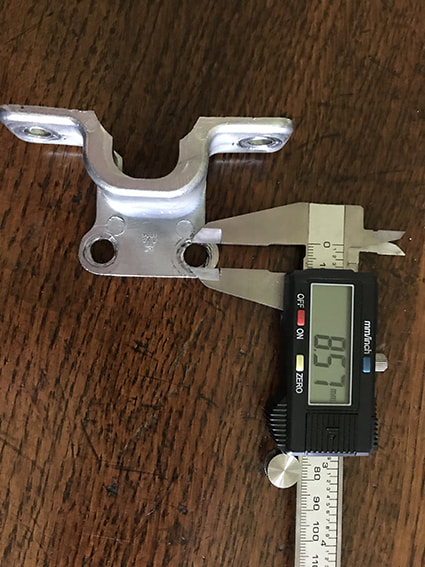
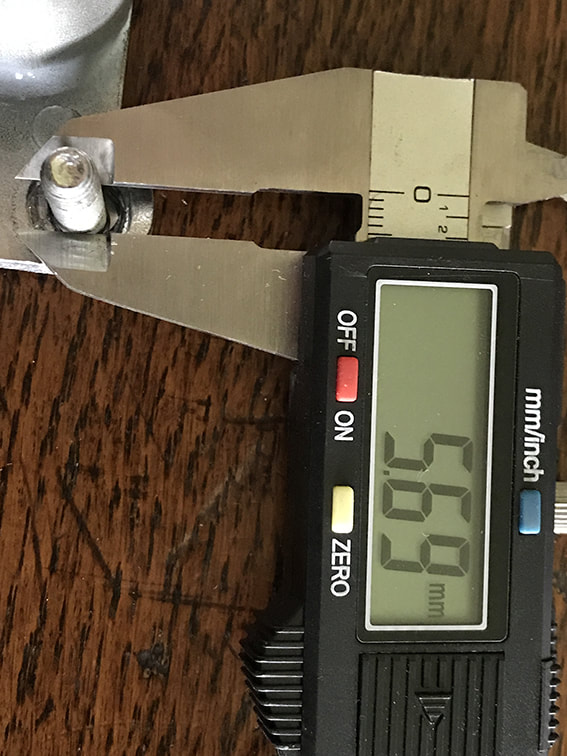
1: There is play in the bracket at the dash. The solution is to fit nylon inserts to take up all of the play. You can see the micrometer reading of 8.5mm and we have a bolt of 5.5mm. Quite a bit of play - hopefully the nylon inserts I have bought will sixths issue.
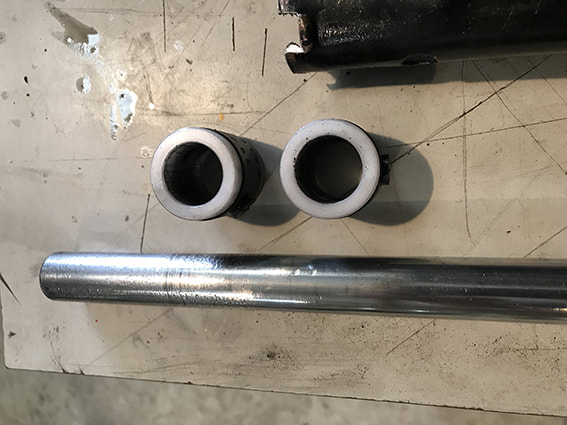
2: The bushes in the column are too loose. I had used a reamer no them and I think I cut off too much resulting in play. The new ones fit a little to tight like the last ones and that made the steering very unresponsive and sticky. I am hopeful that they will free off over time and bed in more. If they feel to tight it will mean stripping the column down again.
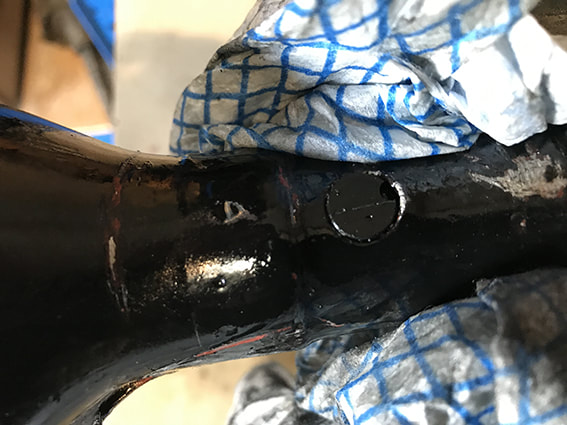
3: The steering column is not true - but it is also not too bad. This could be adding to the issues but I think it is OK overall.
4: When the bushes are in place they distort in shape as the outer column is alloy. The fix for this was to put it in a vice and fettle. It is better now but it was stiff after I had left for a few hours. Need to monitor this and make sure it is moving freely otherwise a strip down again. If this was the case it would mean removing the smallest of material from the bush. Would need to find the perfect reamer for the job??
1: There is play in the bracket at the dash. The solution is to fit nylon inserts to take up all of the play. You can see the micrometer reading of 8.5mm and we have a bolt of 5.5mm. Quite a bit of play - hopefully the nylon inserts I have bought will sixths issue.
2: The bushes in the column are too loose. I had used a reamer no them and I think I cut off too much resulting in play. The new ones fit a little to tight like the last ones and that made the steering very unresponsive and sticky. I am hopeful that they will free off over time and bed in more. If they feel to tight it will mean stripping the column down again.
3: The steering column is not true - but it is also not too bad. This could be adding to the issues but I think it is OK overall.
4: When the bushes are in place they distort in shape as the outer column is alloy. The fix for this was to put it in a vice and fettle. It is better now but it was stiff after I had left for a few hours. Need to monitor this and make sure it is moving freely otherwise a strip down again. If this was the case it would mean removing the smallest of material from the bush. Would need to find the perfect reamer for the job??


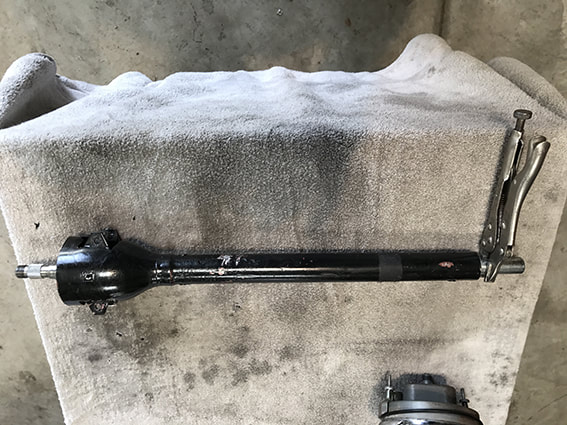
I repainted the alloy column after all of the messing around so it looks the part when fitted back. This time, I must not forget to fit the end cap on the column before I fix the column to the lower steering column.
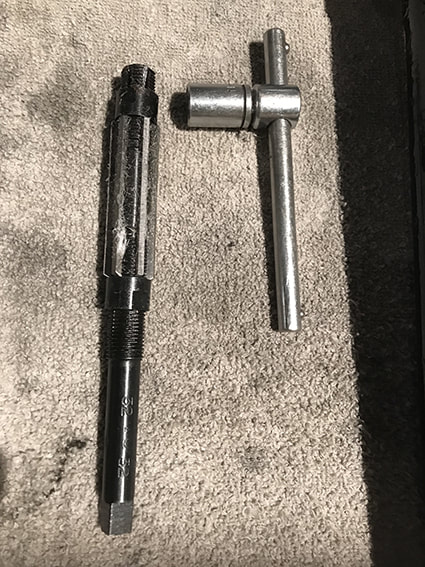
Fix on the column bushes. I had reamed the previous bushes but I had taken too much material off and it caused play in the column. The Triumph TR4A Column is 19mm in diameter. So, I have just paid £34 for a reamer that is 18.5 - 19.5 adjustable. I am hopeful at 19mm it will remove any flat spots and enable a smooth column feel. Right now it is high and I know it will be notchy and I don't want that again!!
Fix on the column bushes. I had reamed the previous bushes but I had taken too much material off and it caused play in the column. The Triumph TR4A Column is 19mm in diameter. So, I have just paid £34 for a reamer that is 18.5 - 19.5 adjustable. I am hopeful at 19mm it will remove any flat spots and enable a smooth column feel. Right now it is high and I know it will be notchy and I don't want that again!!


The Reamer worked!!!!!
The is definitely a case of the right tool for the job. At 18.5mm the reamer was very loose in the bushing. At 19.mm it caught on some edges of the bush. At 19.5 mm we have a bush that is the perfect size for our column and it moves freely without any play - this should go a long way to keeping the steering wheel solid when fitted. The reamer cost £34 which appears to be cheap compared to others.

Steering bracket issues resolved
The holes in the steering column bracket were worn and this mean the bracket had play in it. This was contributing to the play at the steering wheel. I drilled the holes and fitted nylon inserts. The inserts hug the bolt tight - actually they have formed a thread when the bolt was put in - and they have stopped all play. Hopefully another step forward for better steering.

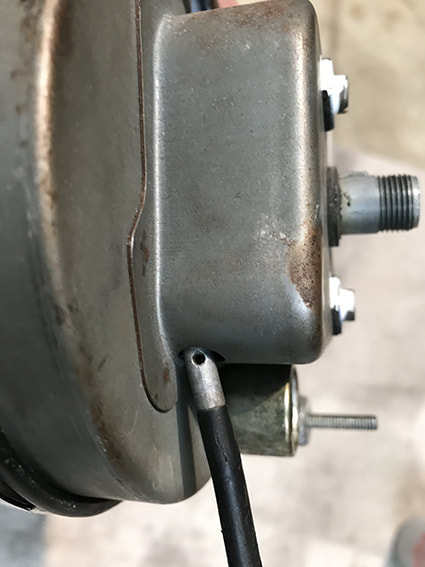
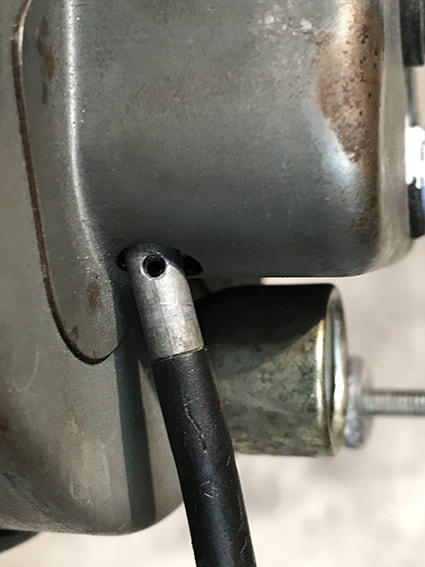
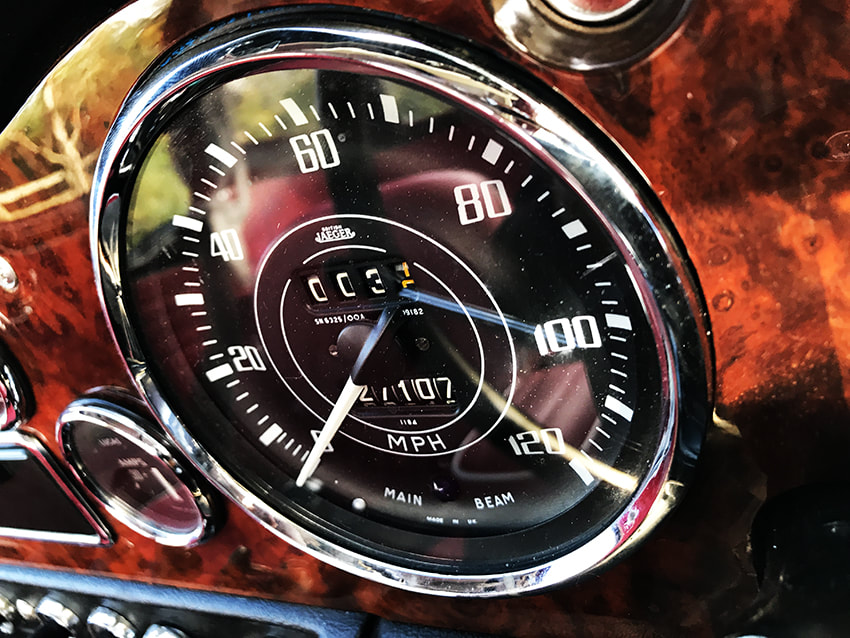
TR4A Speedo Trip control issues
The brass screw fell out. On the hunt for a new one?!?!?


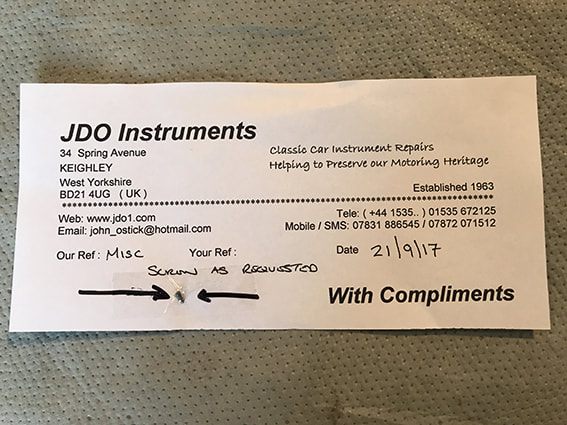
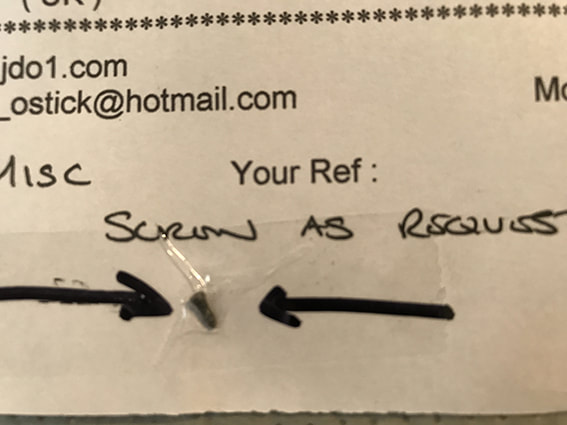
The speedo fix.
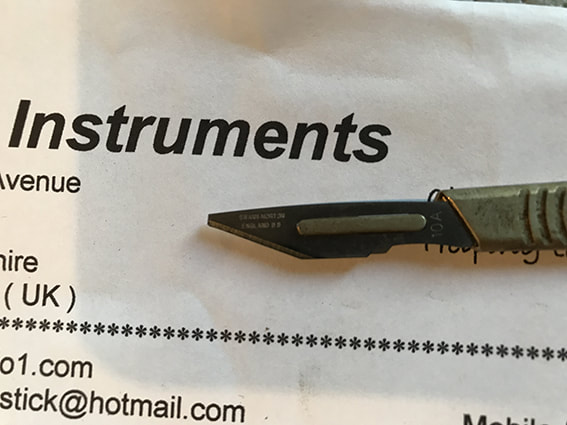
John Ostik from JDO instruments came to my rescue and gave me a screw:-) Top man John! The screw in the speedo is very small and the screw he'd needed to tighten it up is super thin. So, I broke the end off a scalpel blade with some pliers and it worked a treat. I did put a small blob or Areldite over the screw to make sure it did not work loose like the last one. I am hoping this never happens again:-)

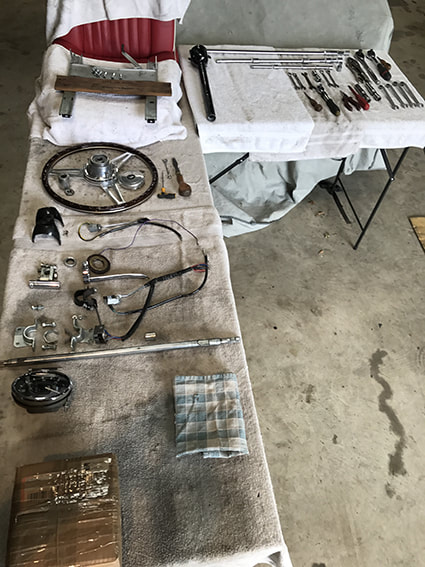
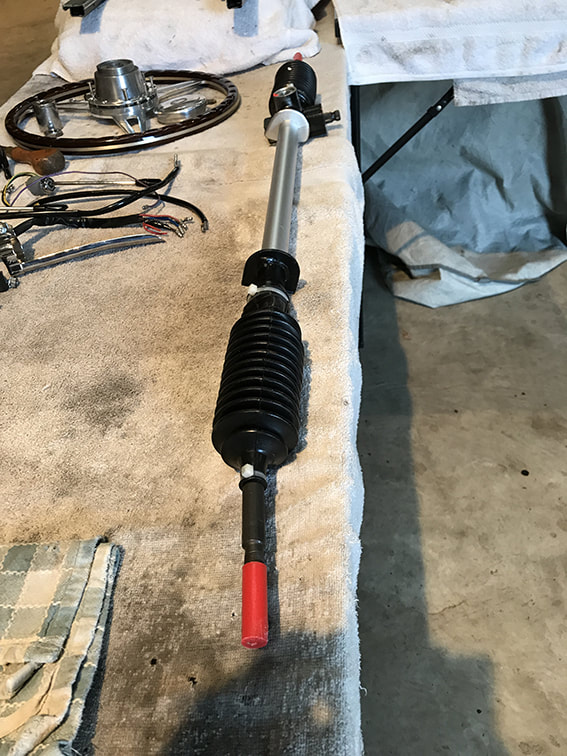
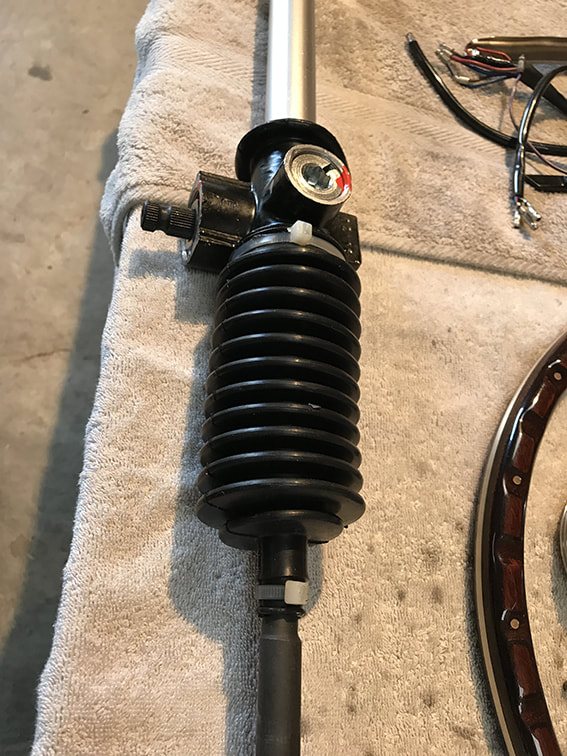
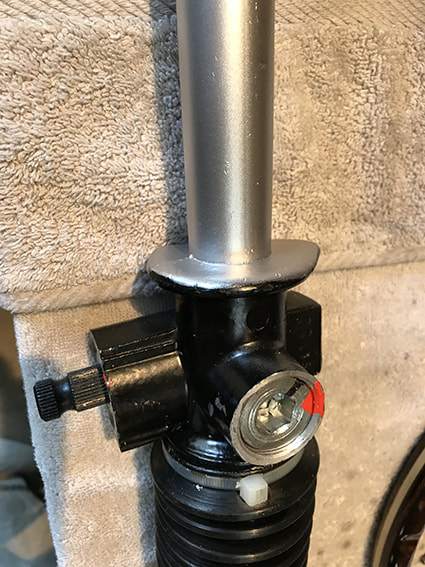
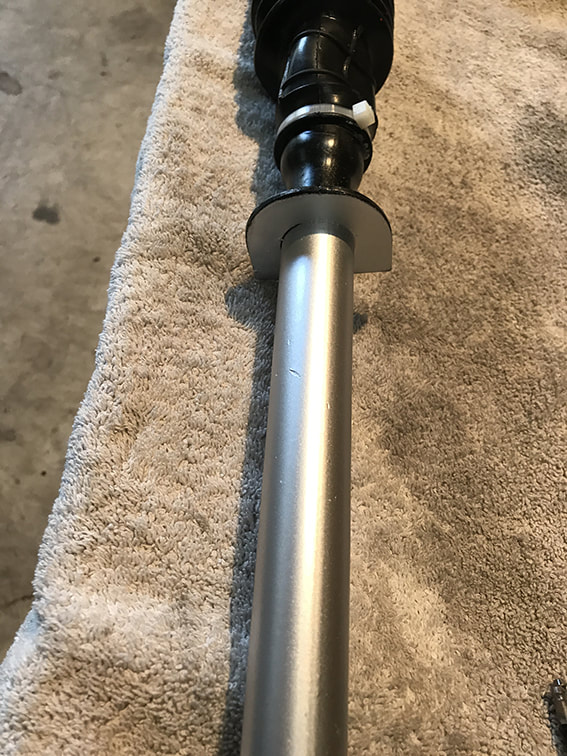
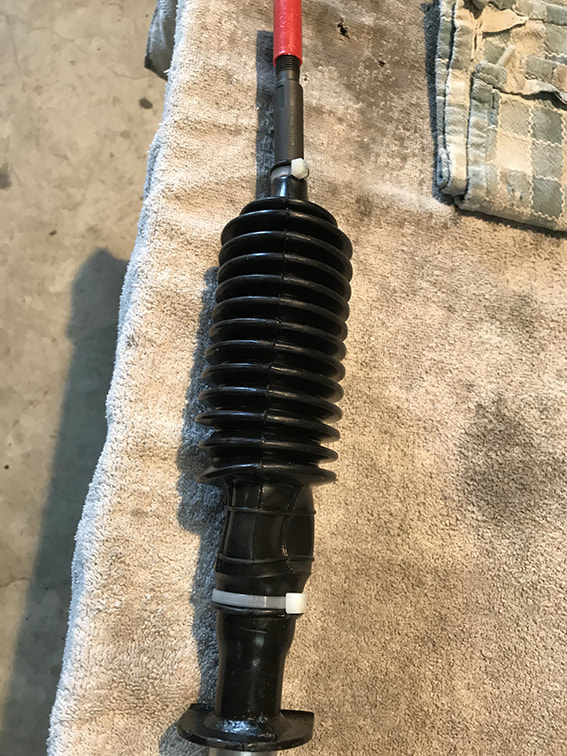
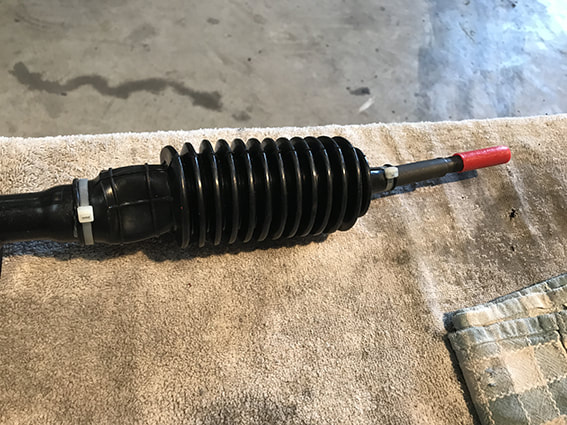
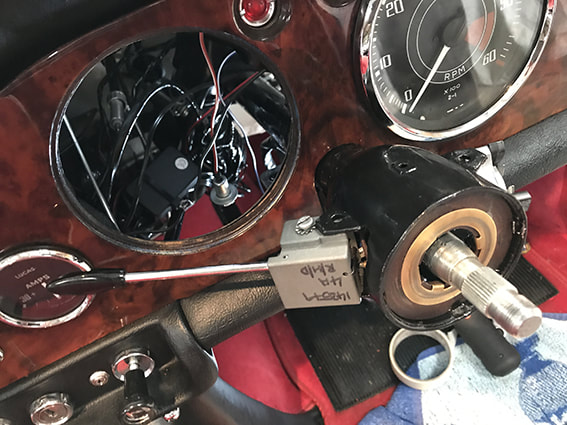
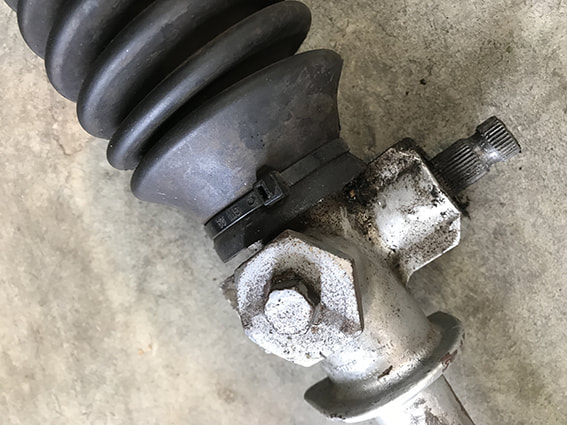
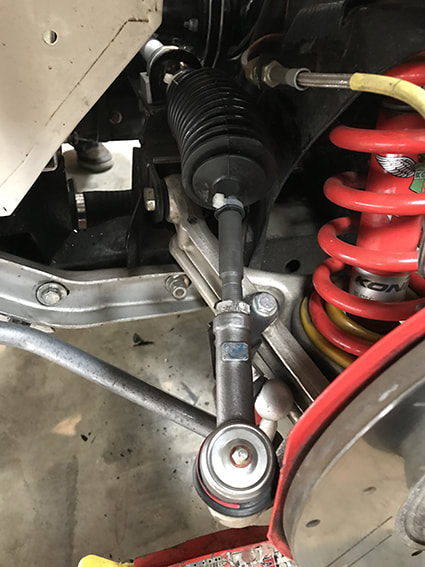
Triumph TR4A Fast Rack Fitting
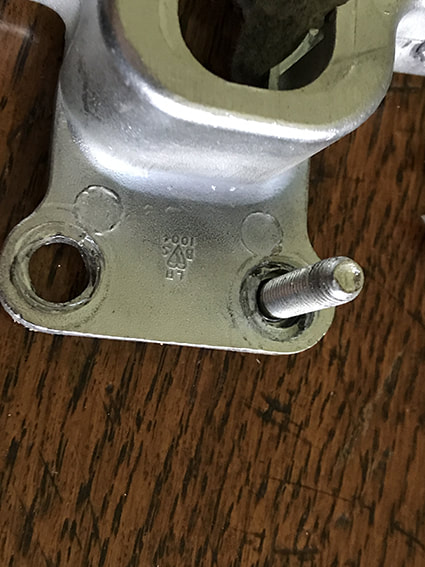
The fast rack arrived. They are made in Argentina and supplied by Moss Europe. It is painted in a satin black finish. I prefer silver so I have painted the centre section as that is the part visible in the engine bay. I have also bought new rack mounts as it was the 'uprated' rack mount that failed. The new ones, like the old, are made of alloy. The trick i have learnt with them is to use a conventional nut on the U-bolt and once tight use a nyloc nut behind it. The nylon thread can strip on the nyloc nuts and that is what caused our rack movement. The movement also stripped the thread on the U-bolt.


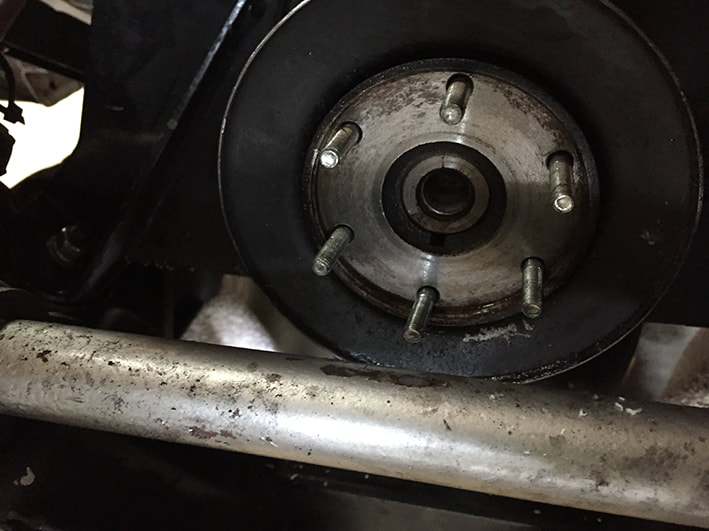
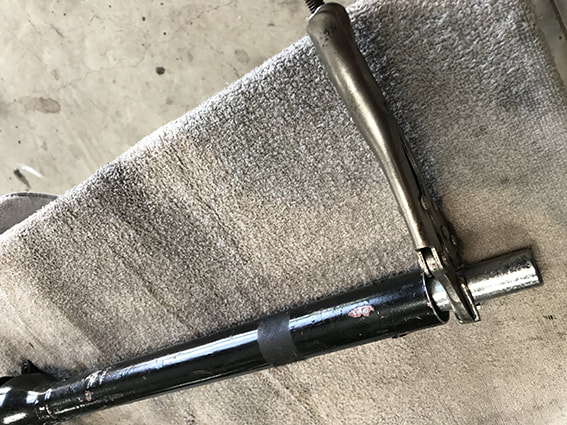
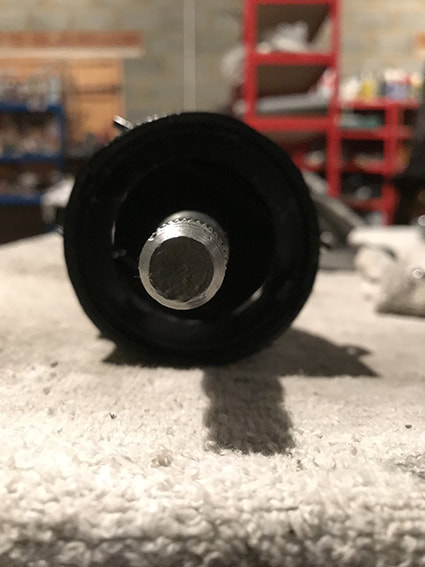
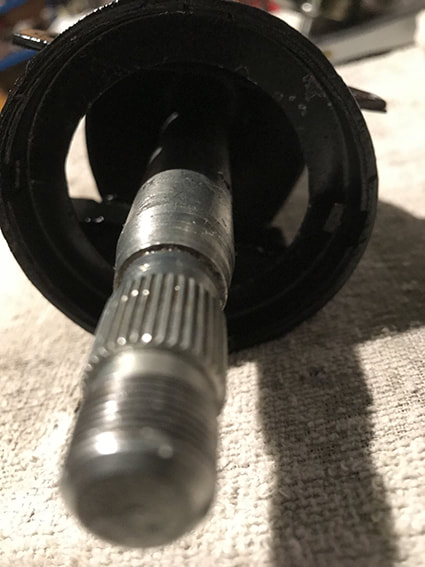
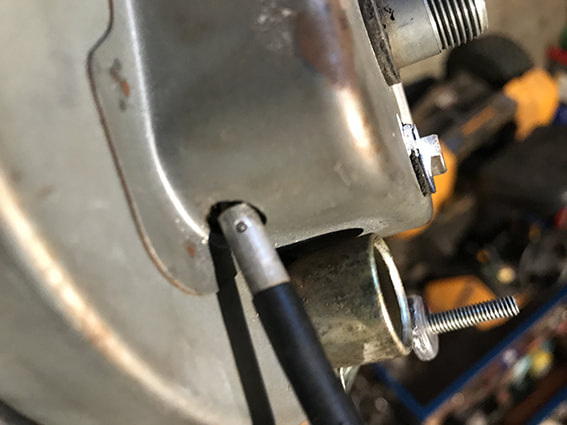
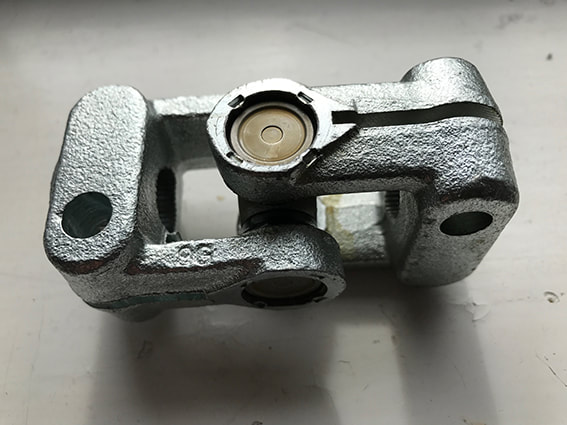
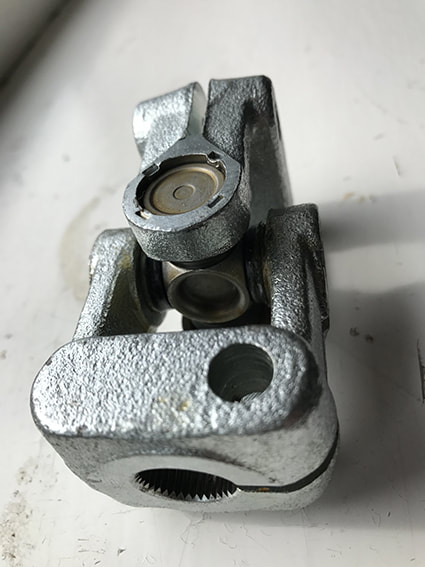
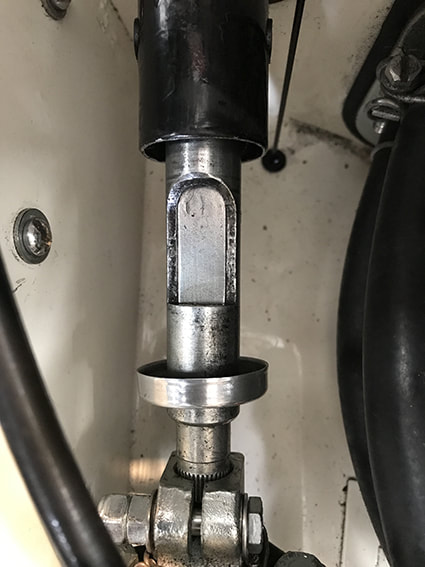
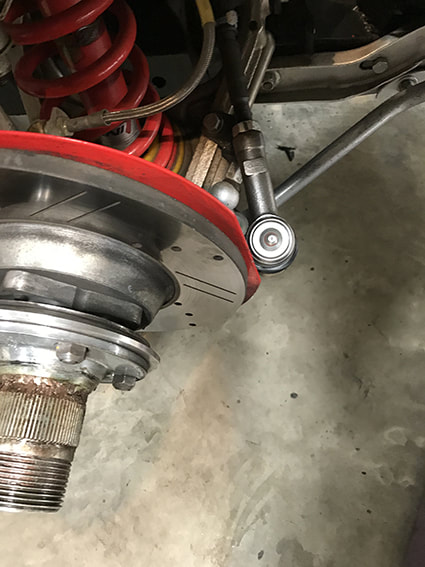
Uprated UJ JointThis replaces the bottom steering coupling that is made of rubber. I have heard that it takes all of the play out of the steering at that point.
There is not a version of this for the upper coupling. My view on this was it was one more area where the steering could be made more solid and every little helps. It looks like the top column bracket will now have no play in it and the centre column thanks to the nylon bushes. With the new faster rack and the lower steering UJ I am hoping that the steering will be transformed. |
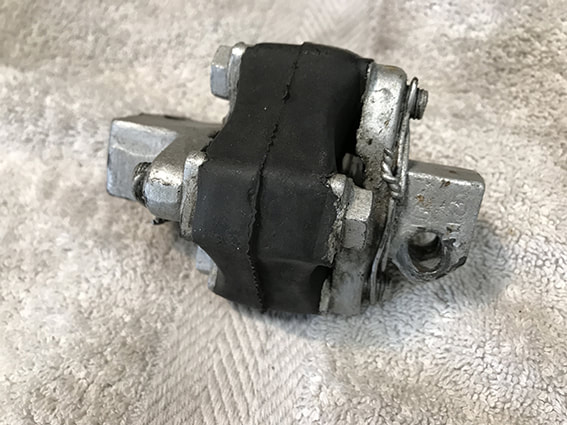
Above you can see the original coupling. There are 2 of these on a TR4a. This the lower one that is replaced for the Tr6 unit.
|
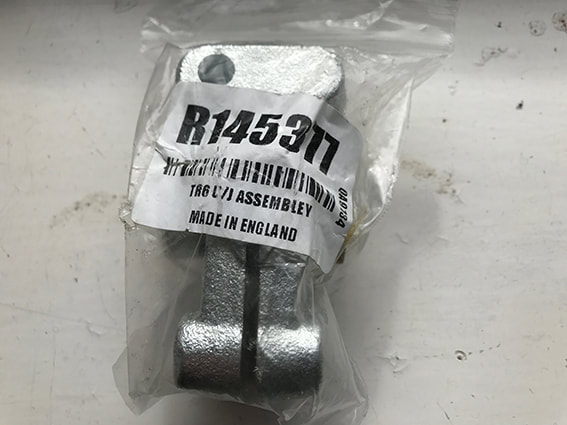
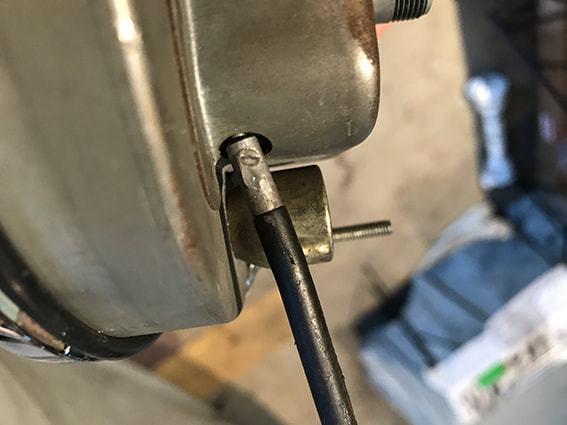
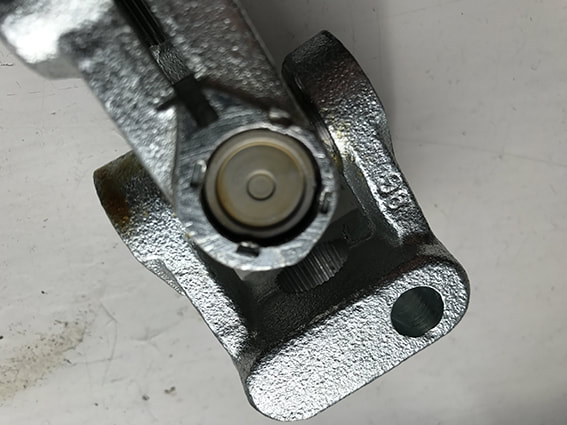
Above the TR6 unit that does away with the need for an earth cable.
|
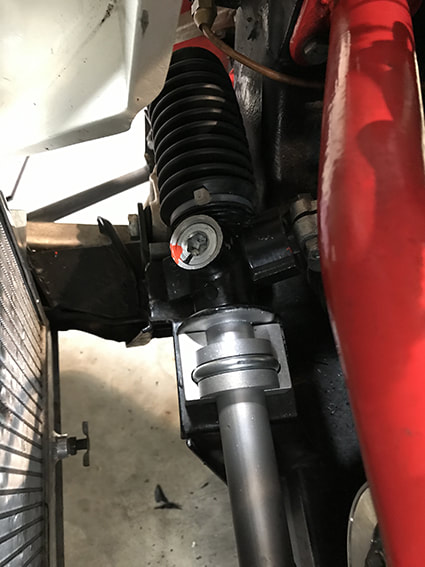
TR4A Fast rack fitted.
Here's a tip. If y9u are taking the whole steering column out at the dash it is made so much easier if the speedo is removed.
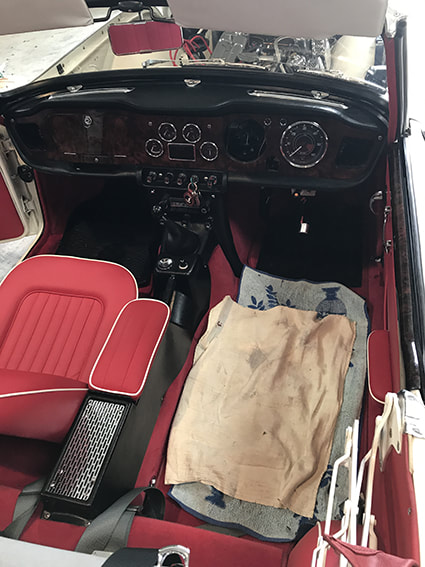
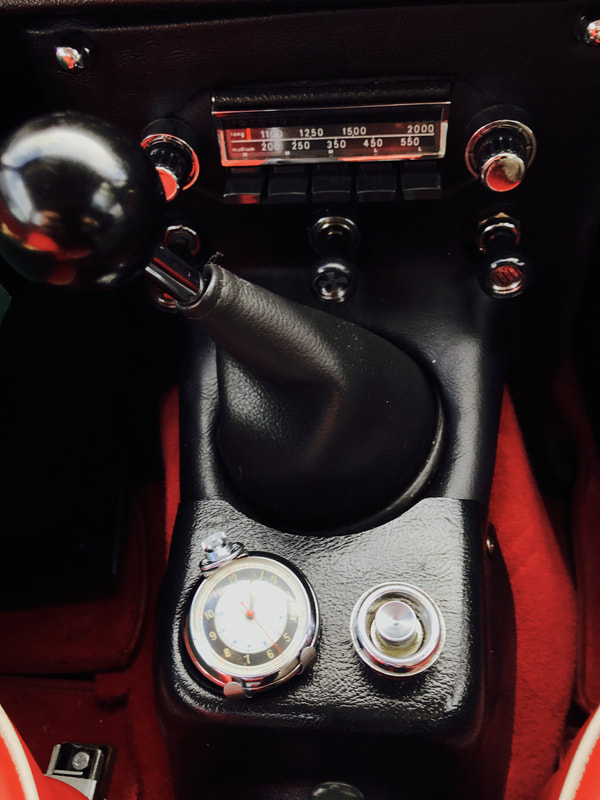
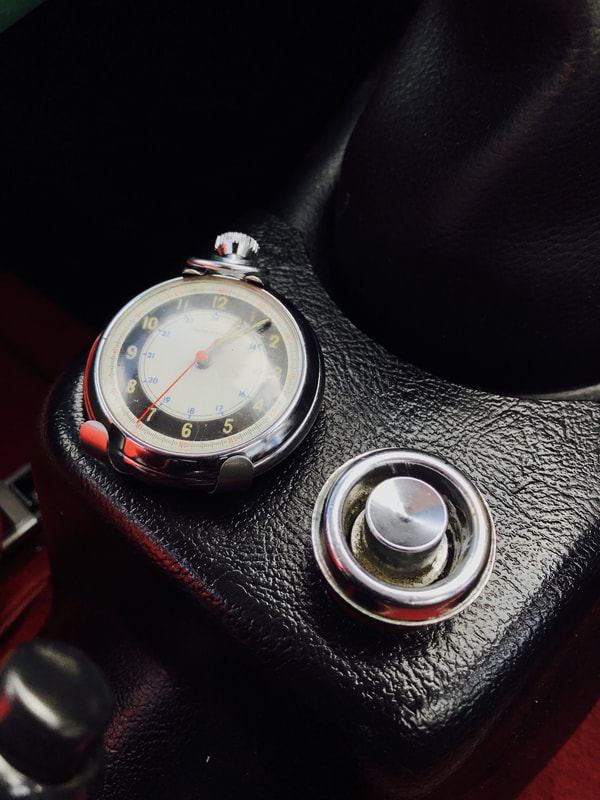
A perfect fit for our period time piece
The TR4A never came with a clock. There are many options on how people have fitted a clock but here is ours. As we are lucky enough to have an original AMCO centre console, we have reutilised the ashtray to hold the period 1960s watch. Watch holders are hard to come by. This one is from a pilot supplies store. They cost around £9.
|
|
Horn woes! - Sorted.
|
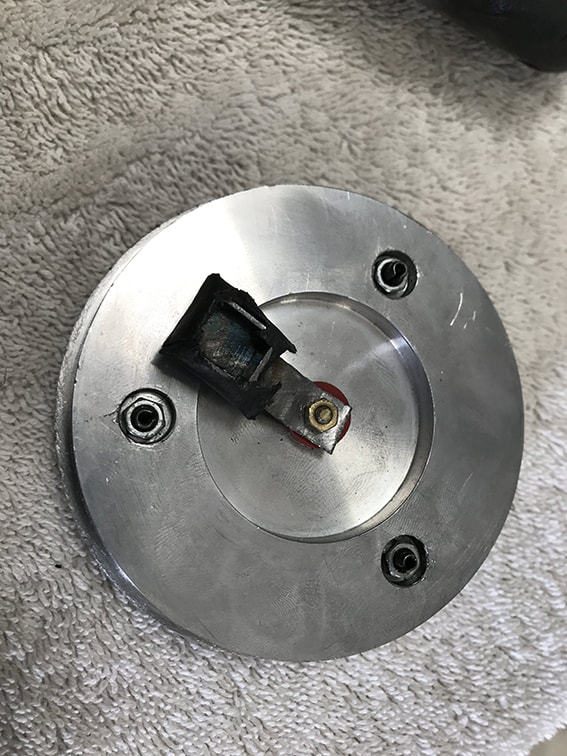
The horn ket going off when turning corners. The fix was to use a fibre washer to make sure it was insulated and to cover the horn contact bracket that we made.
The bracket ensures there is a contact between the horn push and the contact that touches the brass ring on the steering column. If you ever have to adjust a horn centre like the one pictured those nuts do not screw on the pull off and are a tight fit to the roll pin they are mounted on. They allow you to adjust the horn centre perfectly so it is all flush when viewed from the steering wheel. |
We are officially run in!
With the speedo showing just 3 miles over zero I know we have hit the 3000 mile mark and we are ready for the next service. Since restoration the car has done 3504 miles and is now well and truly run in. The plan will be to get it on a dyno now to see what increase in BHP we achieved with all the work done to the engine and exhaust. Teetotal mileage for our TR4A since new was 127,107 miles with the complete rebuild taking place at 123,607 miles. When Harry Liddle the first owner sold the car he had put 80,000 on the clock. Not bad going!
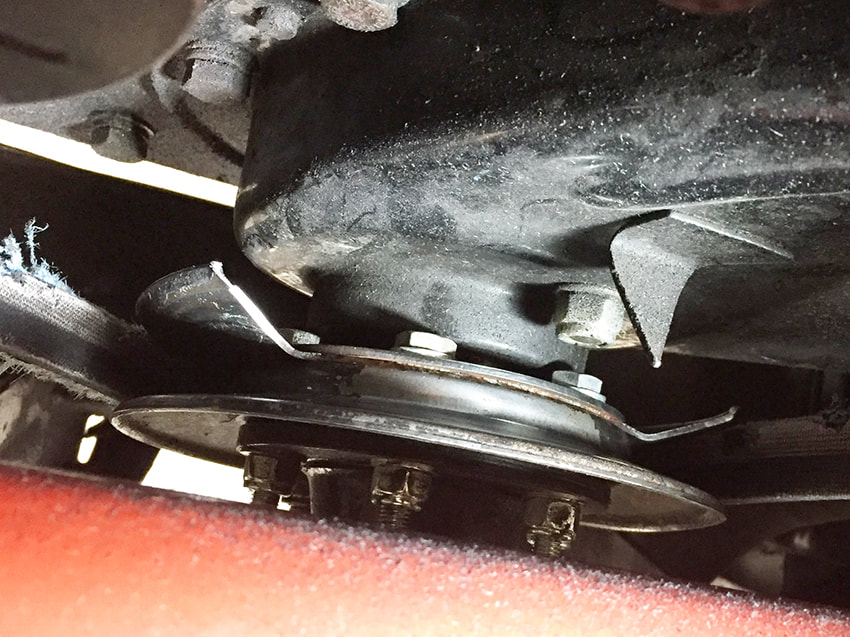
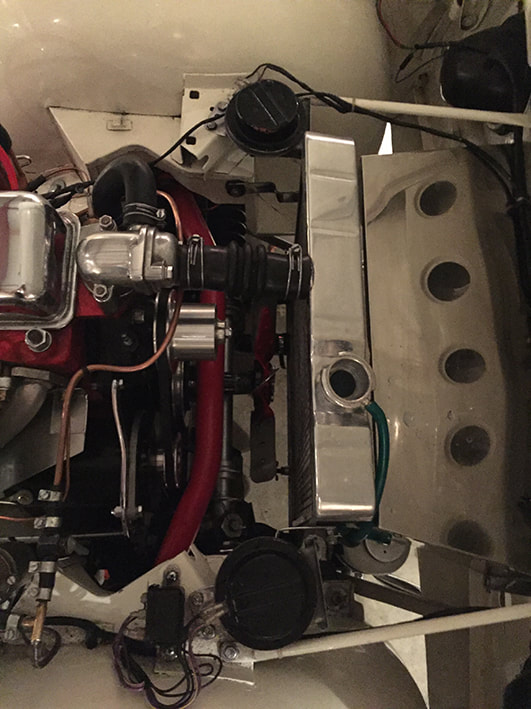
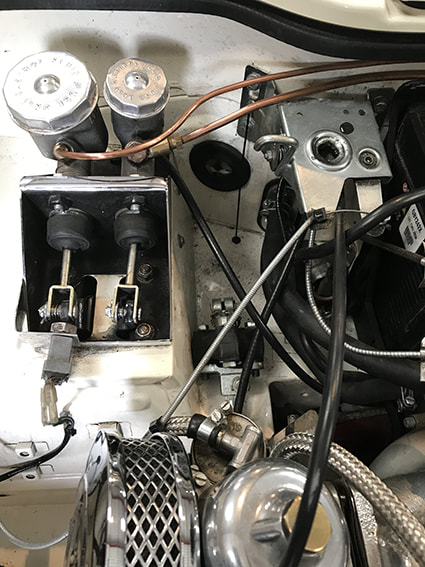
Another Dynomator - December 2017
The first dynomator we fitted fried due to heat from the exhaust header. A heat shield was fitted and a different make of alternator was fitted. This also died. So, I bought a new Dynolite and fitted a new pulley on it too. This has had the affect of getting the fan belt lined up better. Fingers crossed that the new unit, combined with the heat shield and a better aligned belt will sort the problem for good.
