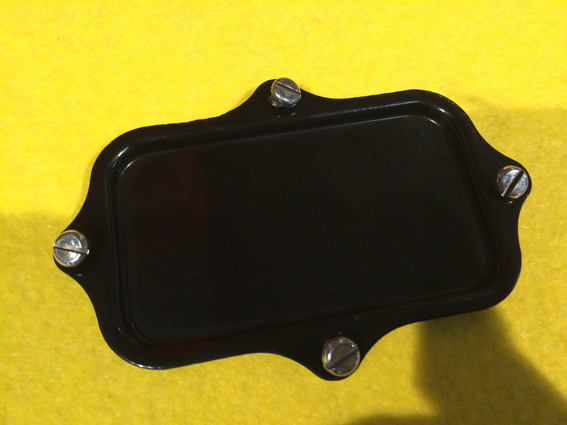
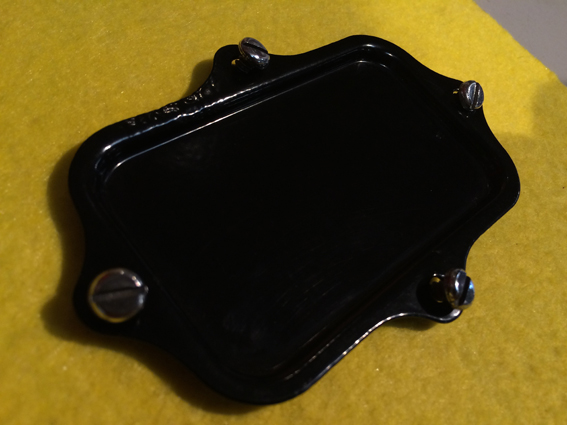
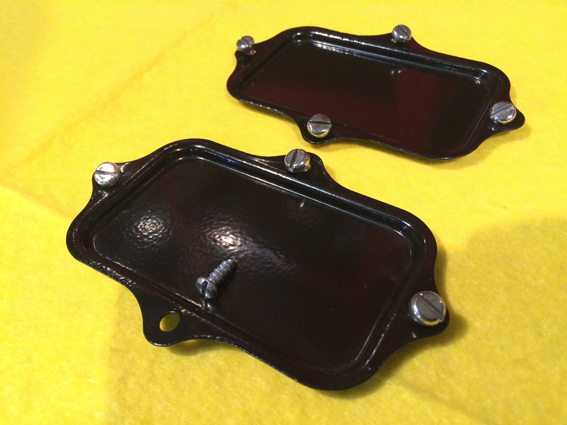
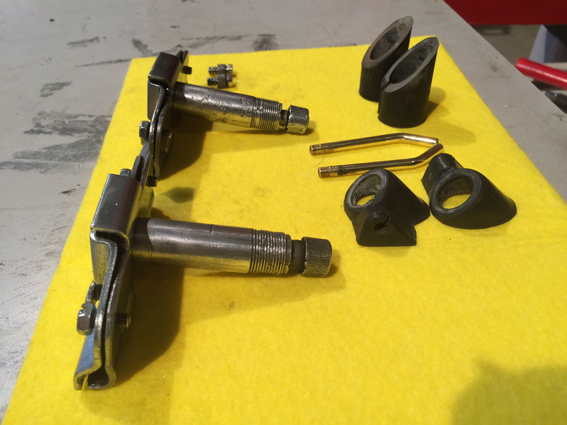
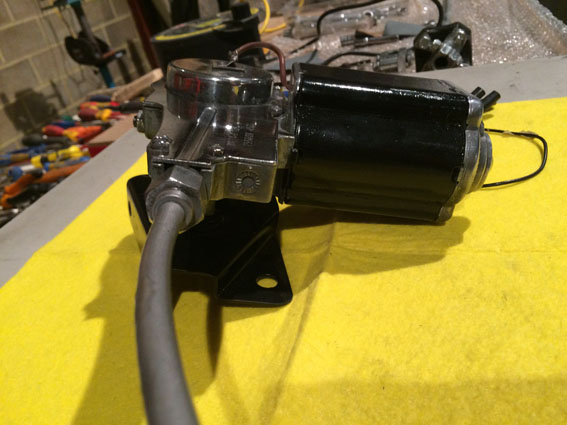
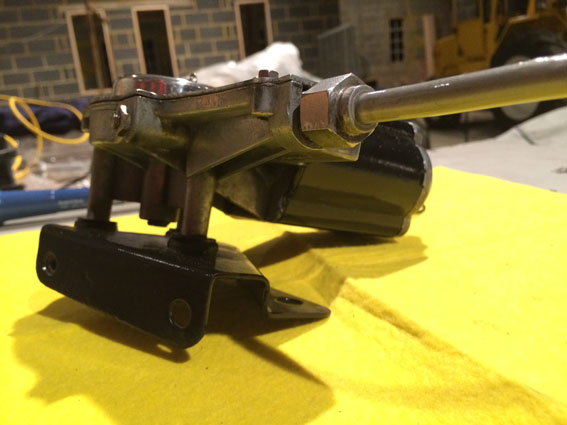
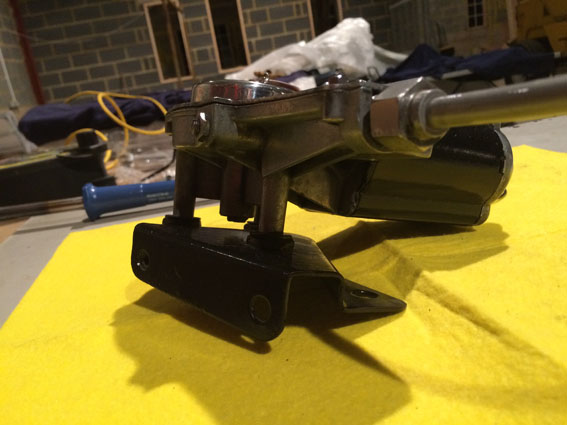
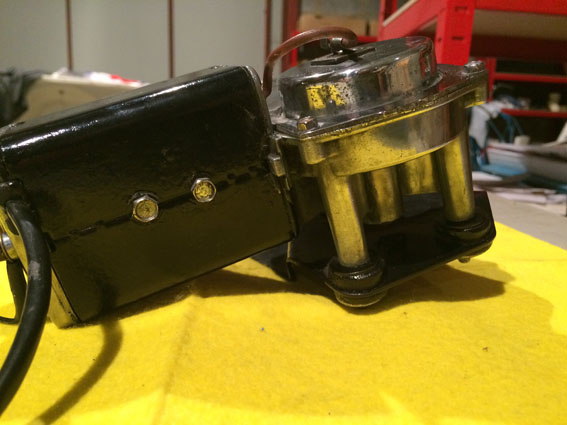
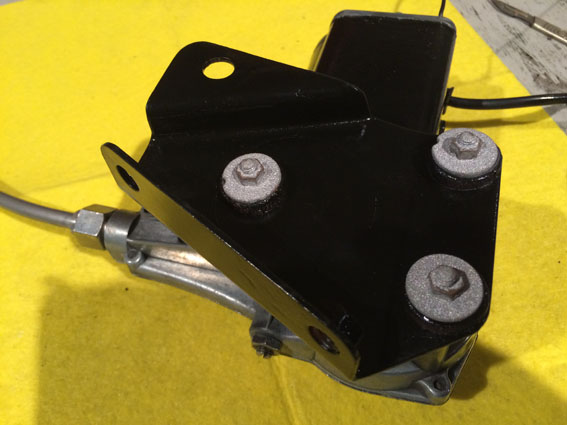
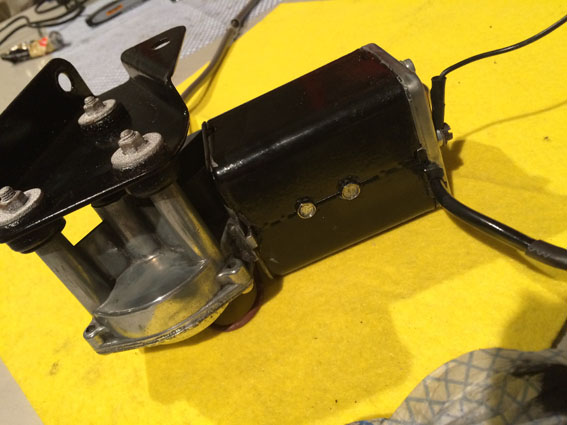
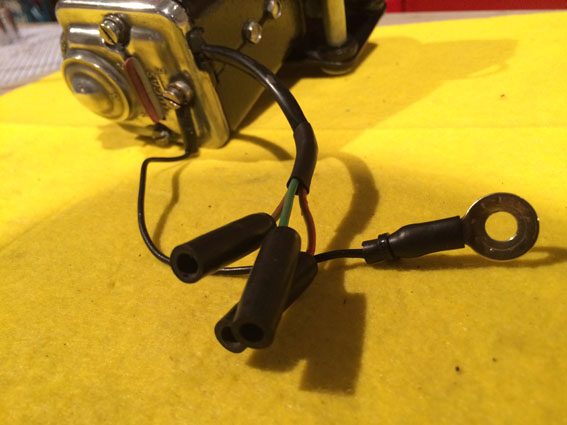
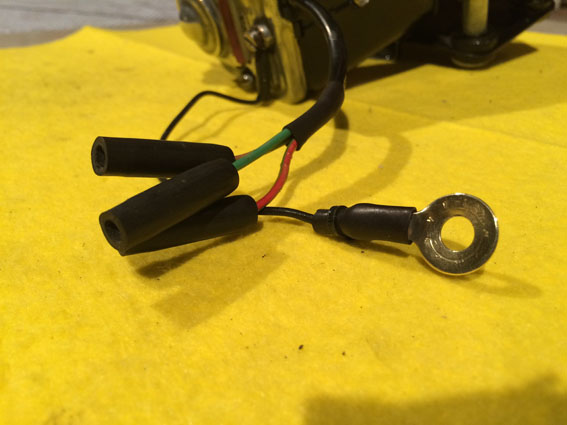
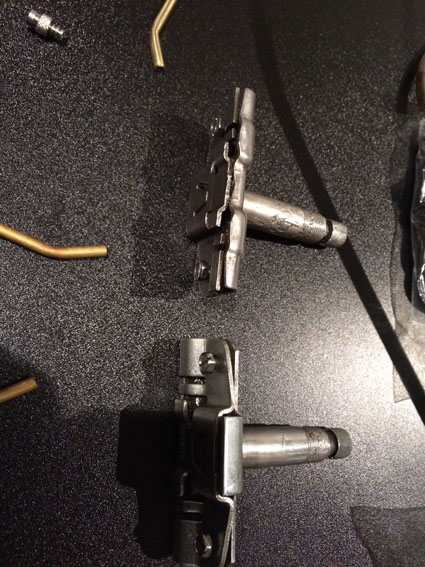
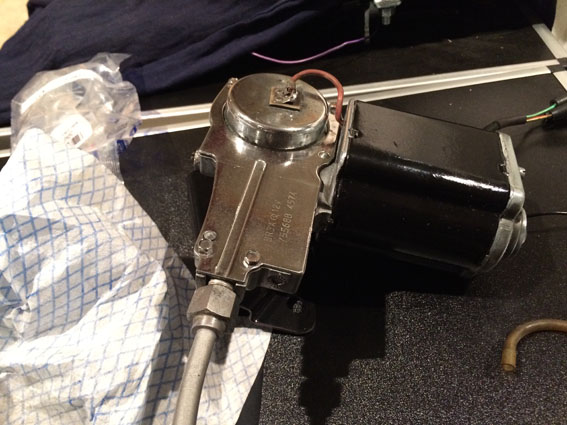
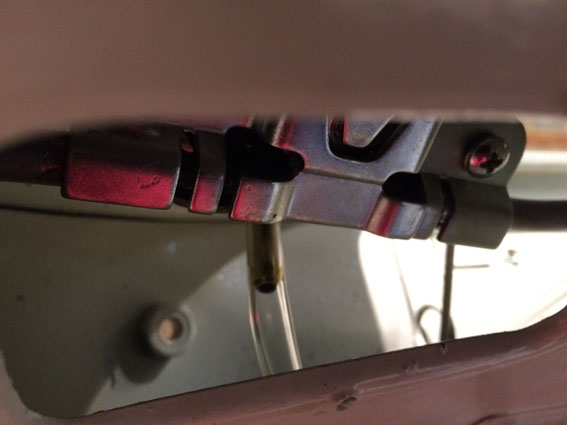
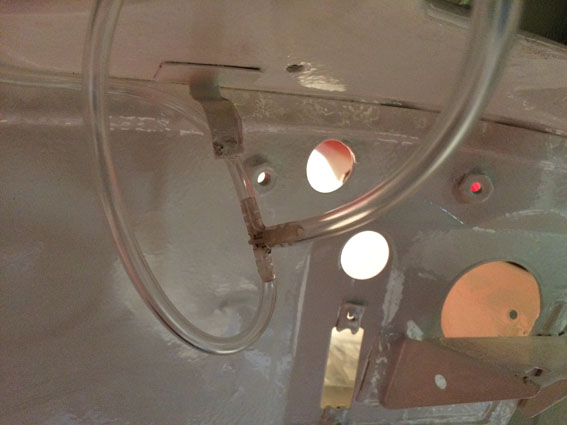
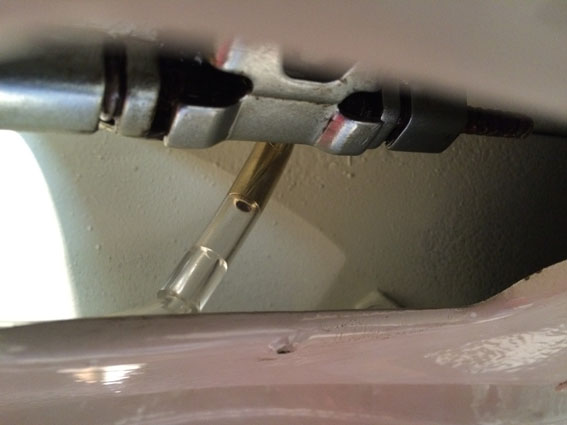
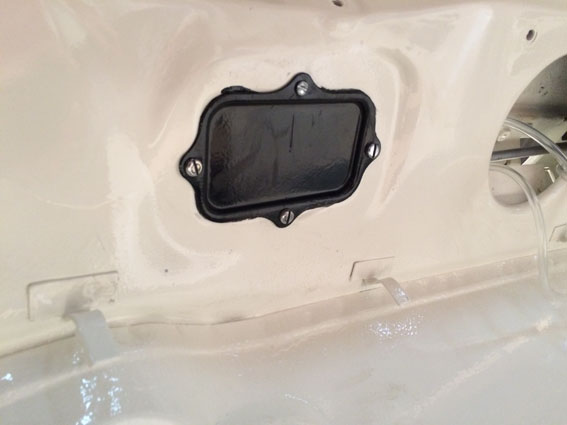
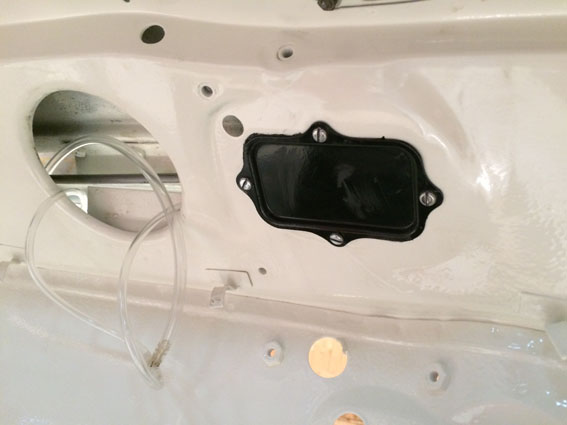
Wiper Motor and boxes
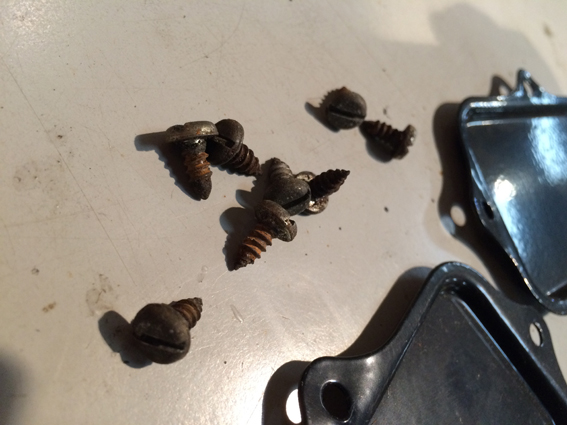
We have kept all of the original equipment because it worked well:-) I remember I had to have the wiper motor replaced back in the day at a huge cost of £250. Looking at it now, that is a very fair price considering all of the work involved. Our wiper boxes had to be replaced as the teeth were very worn.


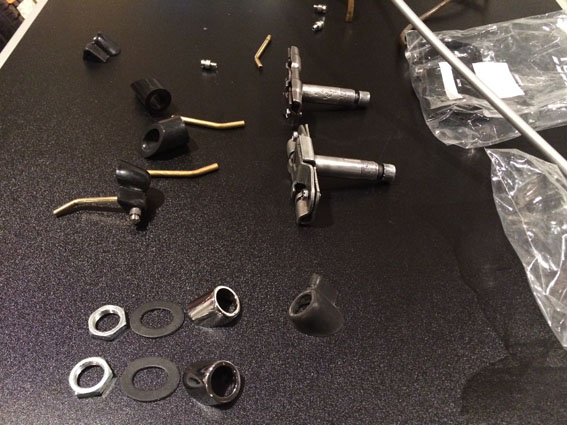


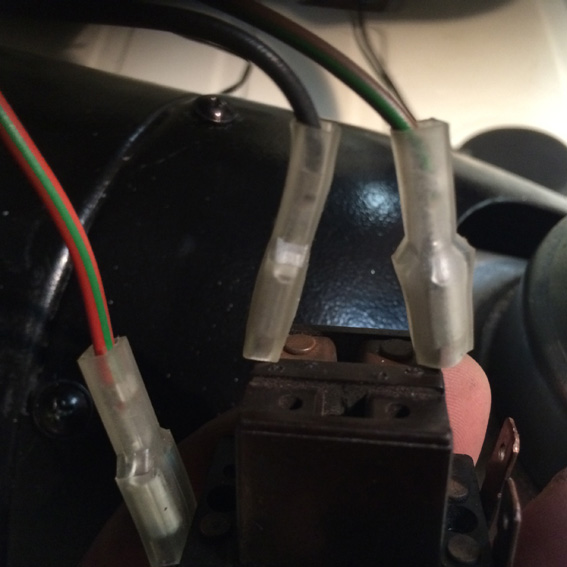
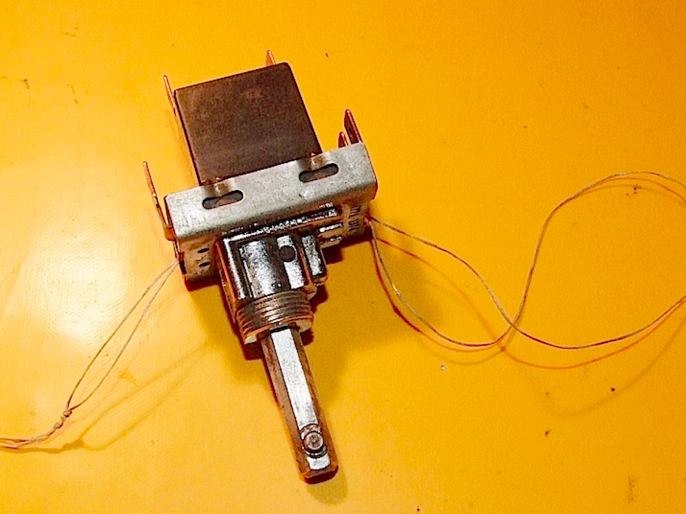
Wiper Switch
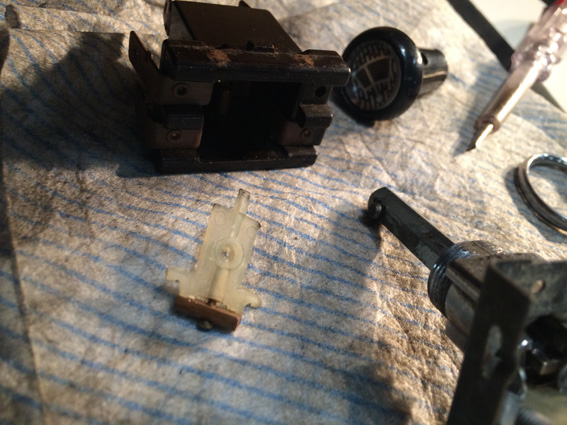
We have had 2of the unobtainable switches disintegrate. So after spending 40 minutes trying to rebuild one we gave up and decided to seek help from a pro. The results will be posted below. In the meantime you can see the mess we got in to.


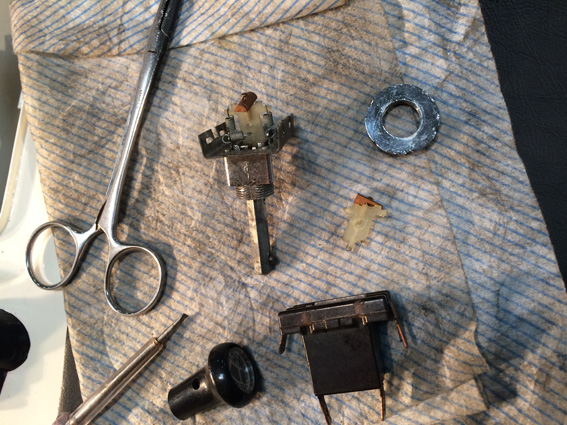
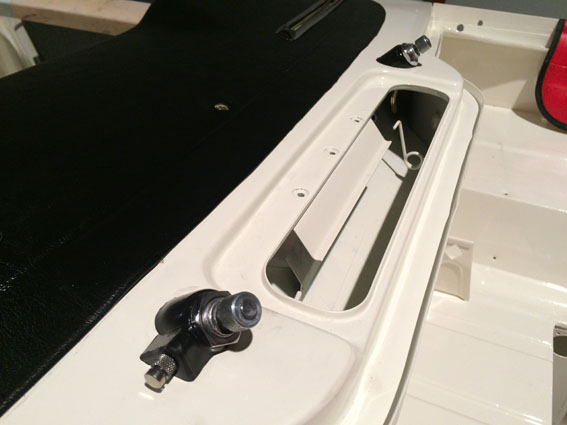
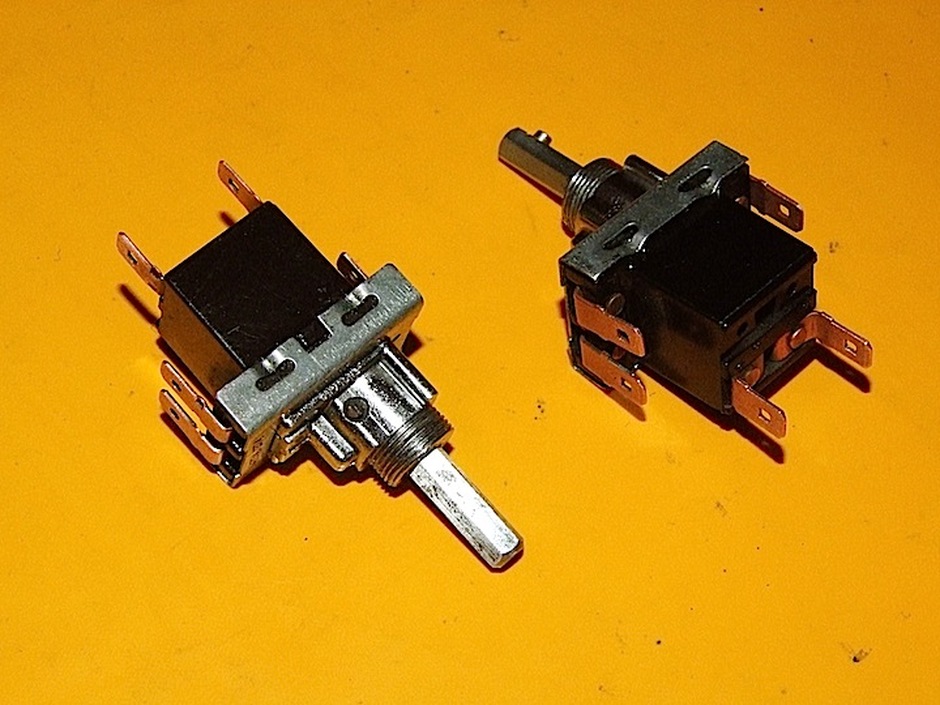
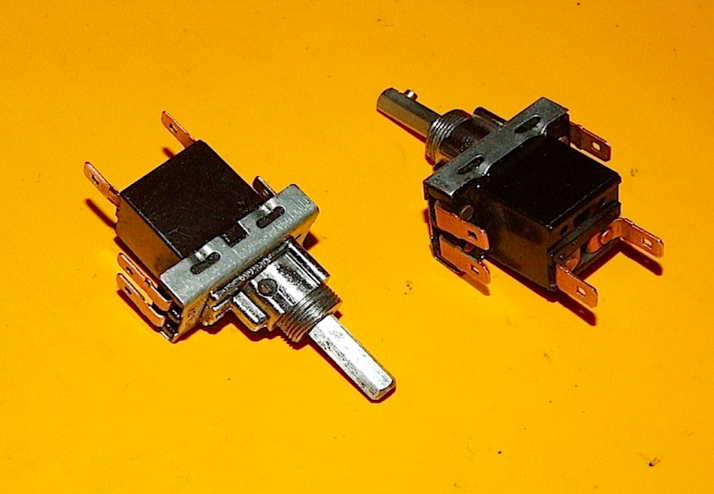
The wiper switches back together
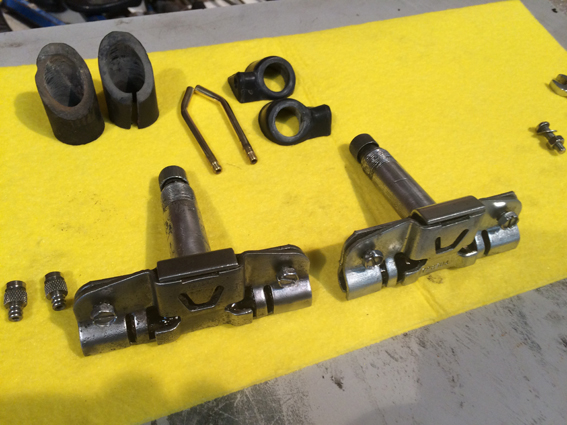
Many thanks to Al and his 'Special Tools'. He has rebuilt both of our wiper switches and firmed them up so they don't fall apart again. Top job by a top man. You can read below how he did it.
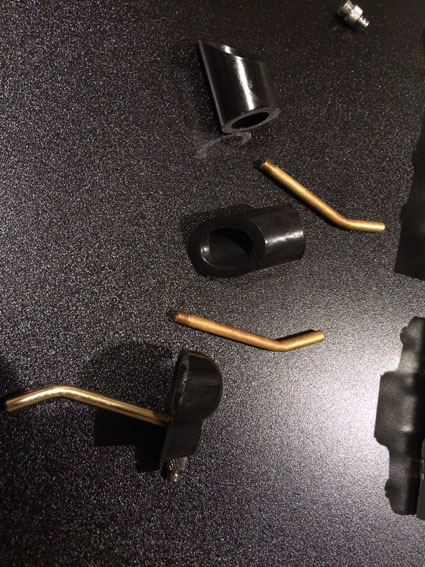
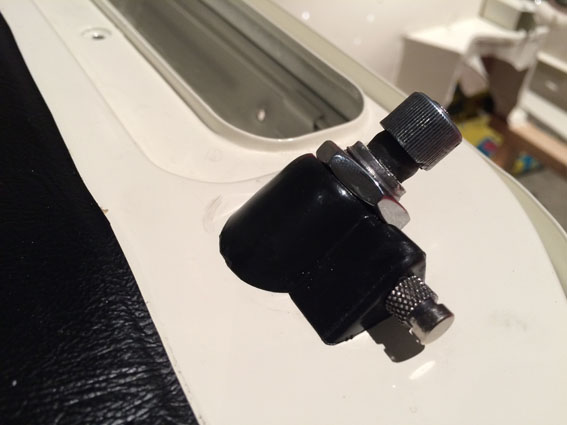
Fixing the 3-Position Pull-Push Switch - used for TR Lights and Wipers.
|
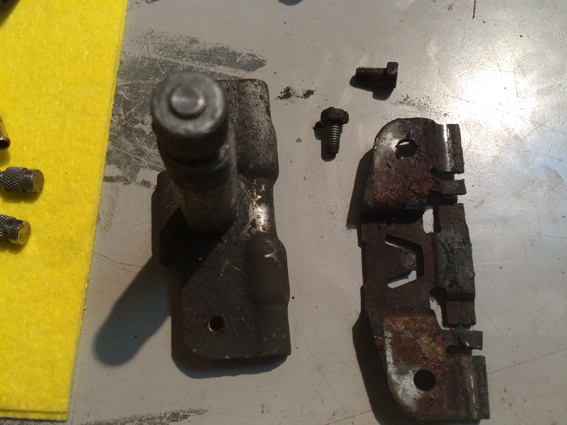
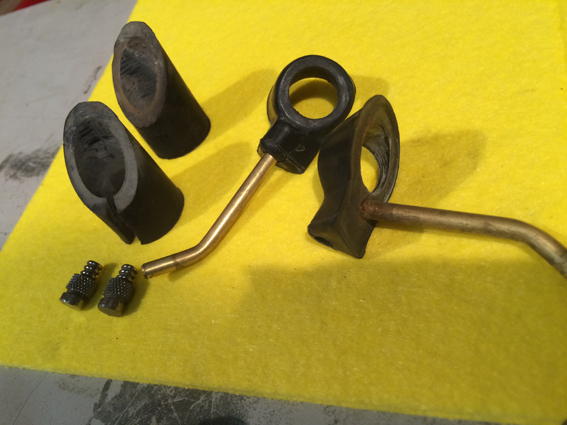
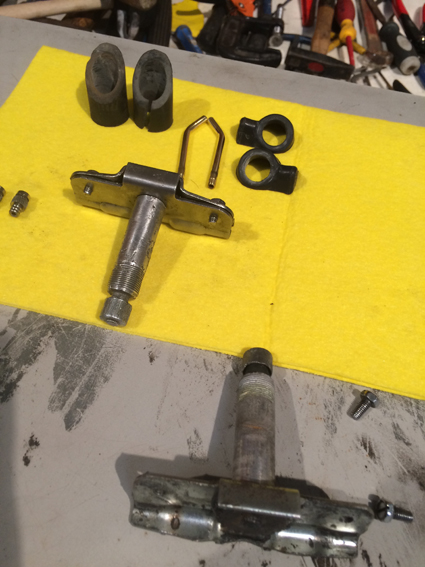
Two such switches came to me from a fellow member of the TR-register. He had been heavy-handed and managed to pull them apart. Luckily he sent all the bits and had not broken anything.
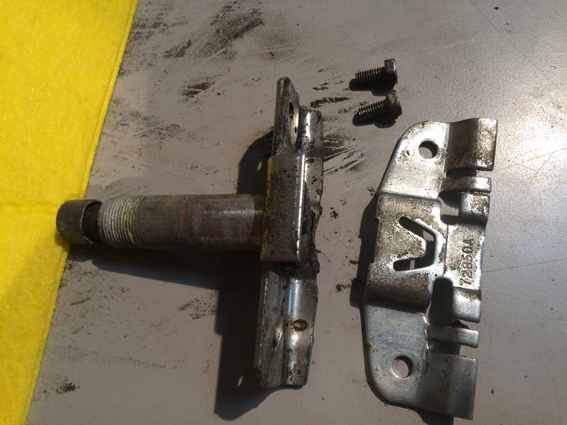
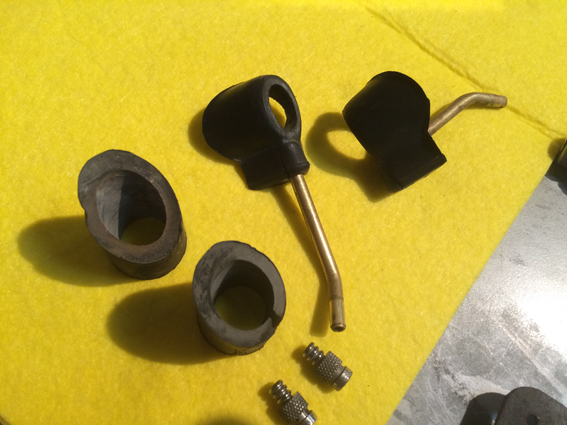
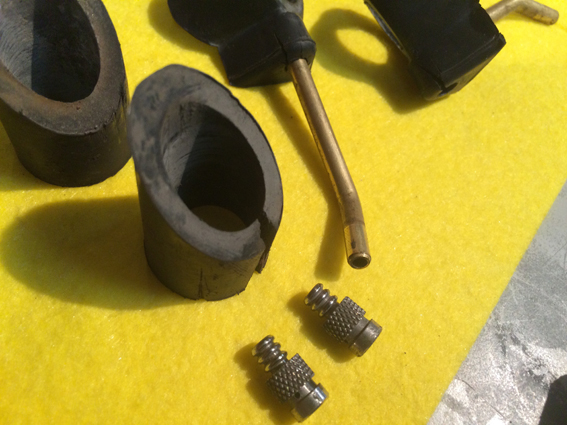
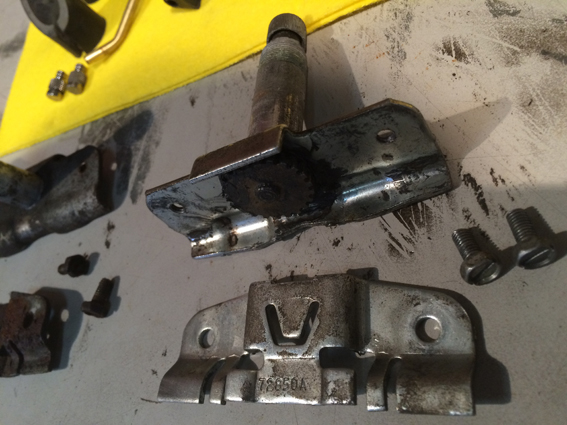
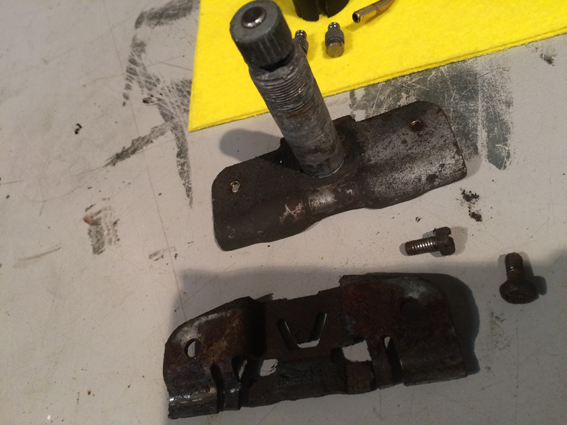
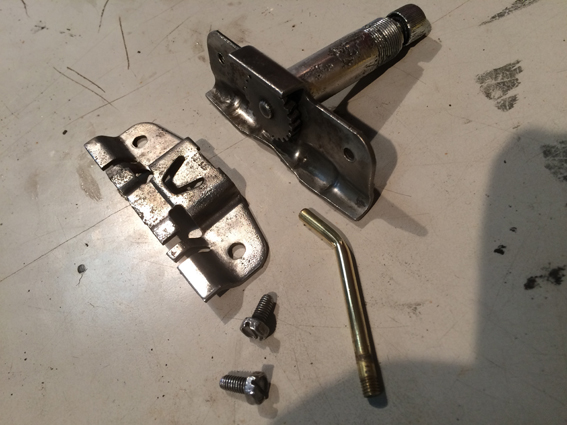
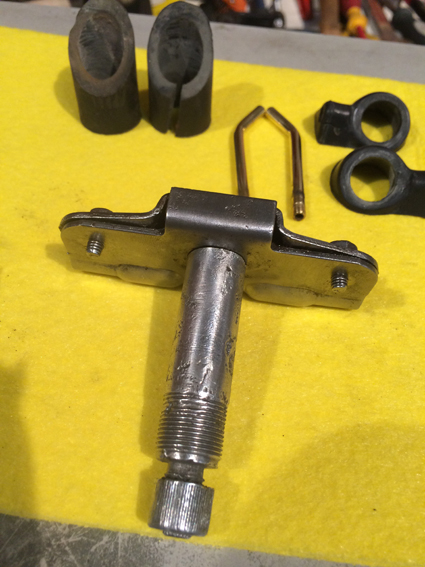
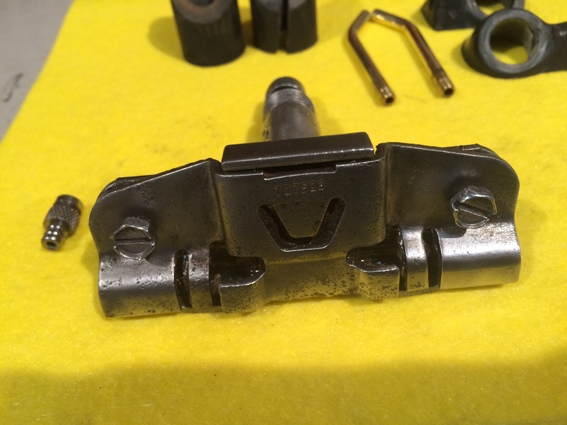
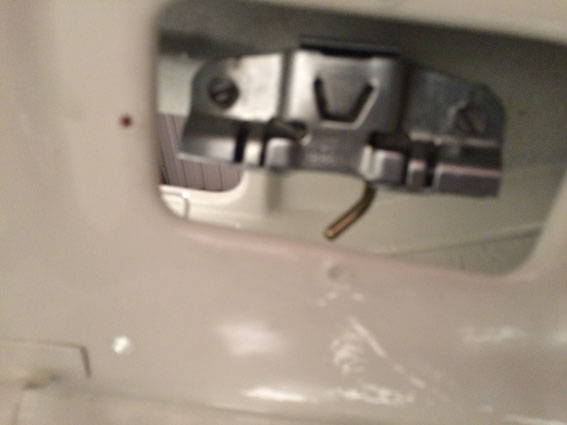
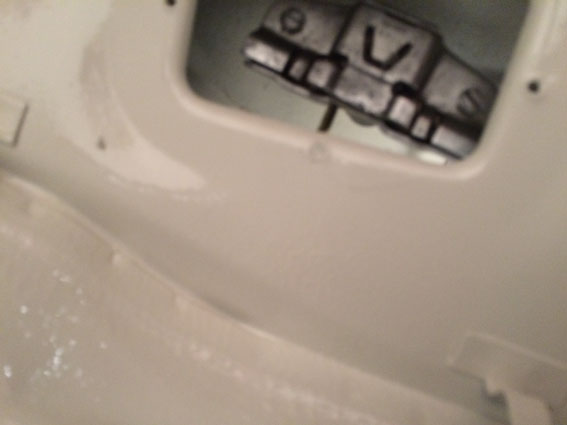
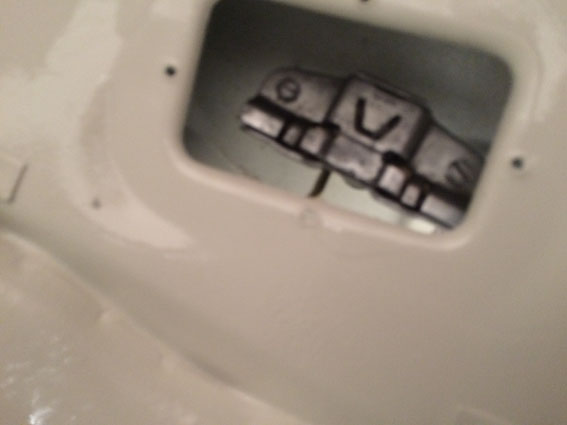
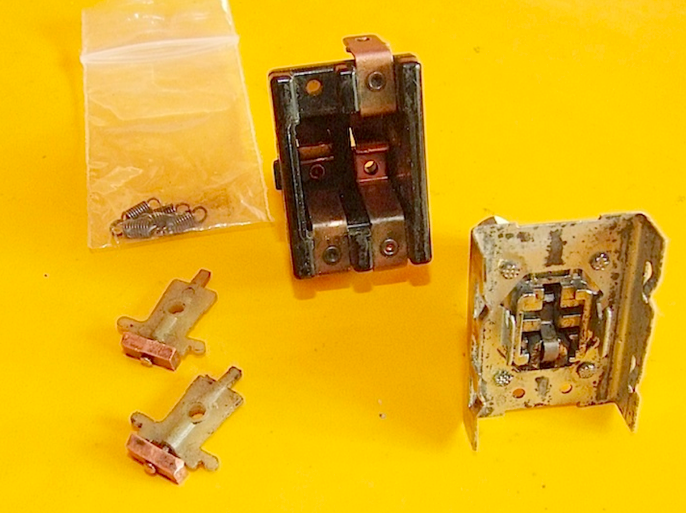
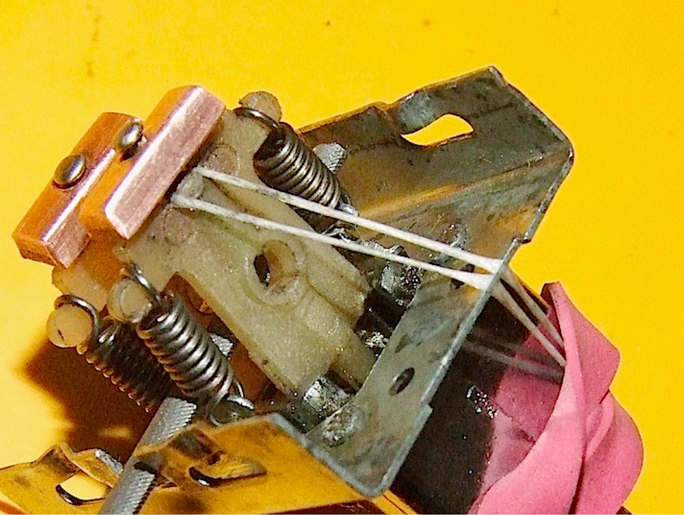
He had made some attempts to put these back and actually assembled one. But It only had two-positions instead of three. Disheartened, he gave up and asked me to help. Note that there are two flat-arms that each carry a contact-bar, a metal base-plate that includes the shaft and has an internal rocker-bar, a Bakelite-moulding with rivetted contacts and four springs. When you see a thing like this you must remember that they were built quickly and easily on the production line. So if you are stuggling, then you are not doing it right or have NOT understood something. A simple jig or fixture may have been used or some other simple method was devised. I studied the action for a while and marked the shaft to show the three positions. The springs were left off while I did this, so as to lessen the chance of breaking of the ears that hold the springs or the central peg. These switches are not a strong design! I was pretty sure I knew how both of the pegs should sit on the central rocker bar. In the middle position of the three, the two flat-arms stand up from the base-plate at about 90-degrees. In the other positions they flap over to one side or the other. It seemed likely that the base-plate and Bakelite-moulding were mated with the arms in this 90-degree position. This proved to be correct. Relocating the the first flat-arm was quite easy. I hung the springs over the two ears on the arm and they dangled down and were fairly easy to slip over the hooks on the base-plate. The flat arm could then be pulled away from the base-plate and the peg dropped into the slot in the rocker. This only needed finger strength, no tool was needed. It does not matter which side of the rocker is done first, the arms are symetrical and identical. I chose to hang the springs so as to maximise the space between the two flat arms. Doing the second flat-arm is harder because the first one is in the way. I tied it back using a loop of dental floss and a rubber-band. A 3/32in rod is handy to engage in the central hole in the second flat-arm, to pull it and stretch the springs. If unrestrained, the springs cause the two flat-arms to come together, at the end where the contact-bar is. This would prevent the Bakelite-moulding being mated to the base-plate. For my first attempt I slipped a needle-file between the arms and this held them apart. You can see this in the photo. But it was too thick to allow the Bakelite-moulding to enter the base-plate. Something much thinner is needed. So I tied off two loops of dental-floss, fed them through the central hole in the flat-arms and looped them back over the pin that carries the contact-bar. Using these loops I could spread the flat-arms apart and engage the Bakelite moulding with the base-plate. This is actually pretty easy and they could have done it like this in production. I had already carefully reset the shape of the base-plate and removed burrs. I also smoothed the Bakelite-moulding and made sure that these two parts would snap together easily and stay locked in place. I engaged the clips and partially mated the moulding with the base-plate. I withdrew the loops of dental floss without much effort. You have to cut it of course! |
At the first attempt I found that, I too only had two-positions. Luckily it was easy to separate the moulding and base-plate with the aid of a small screwdriver.
One flat arm is easy to engage with the rocker, but the other arm tends to miss its notch and jump into an adjacent gap in the rocker. This jams out one of the three positions. I remade the loops and on the second try got three positions and a working switch. Doing the second switch was much quicker! |
